Article Series
Now for the rear installation – this was significantly easier than the front as there is more room to work and the brake lines and ABS sensors aren’t as closely located to the damping components you need to remove and install. A fairly simple removal and installation here with a few notable steps.
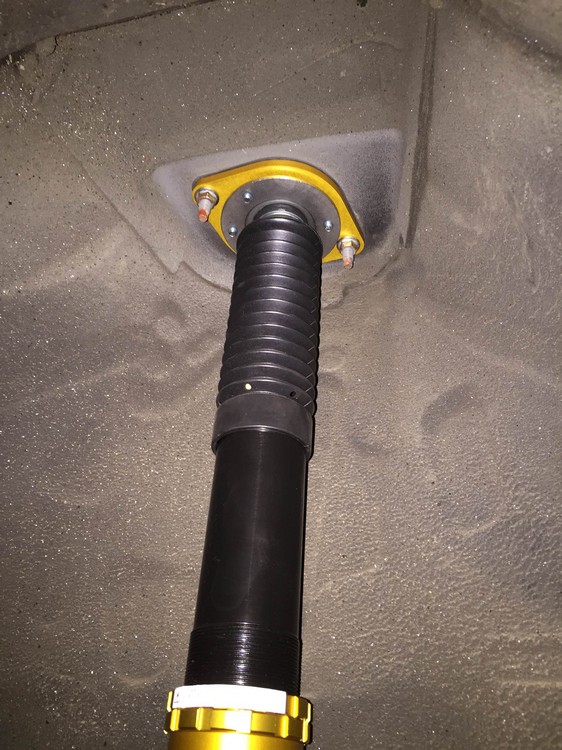
TRICKY PART #2: The top of the rear dampers aren’t accessible from the hatch, and this is where HKS has you remedy this by drilling holes in your interior paneling so you can access the adjusters for the damper. They provide you with rubber grommets for each side so you have a more “finished” look to it. At the time of installation, I didn’t have a drill, so I test fit the dampers to ensure there was enough clearance for the adjusters to fit without drilling the holes, and they do just fine – this is only so you may access the adjusters. HKS is also exceptionally thorough with their installation instruction – they measure out the dimensions of the hatch area to pinpoint the areas you need to drill. They’re pretty much dead on here, although they do give the caveat that each vehicle may vary somewhat, so I chose to mark from the inside of the strut tower and go from there to ensure I hit the right point. There is some sound deadening material here, so drilling can get a bit messy. A hint from Captain Obvious – if you decide to drill from the bottom, be sure to open your hatch first.
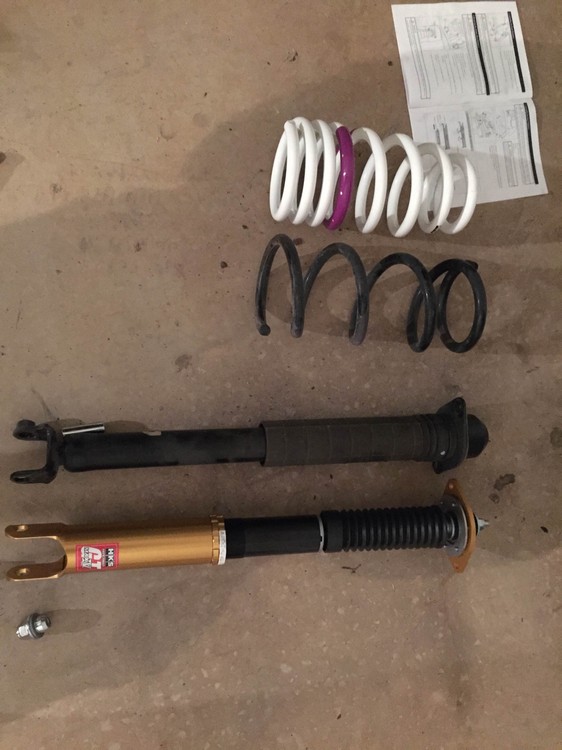
Here is a before and after of OEM to HKS:
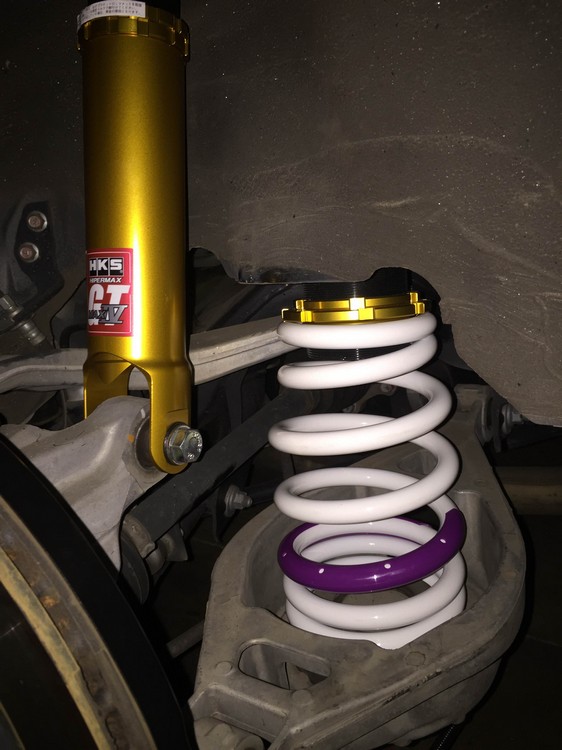
And here is what it all looks like installed:
There aren’t any other tricky areas on the rear installation that HKS doesn’t have covered thoroughly in the instructions. No surprises and nothing difficult. Just the way I like it.
Next up – Let’s make some adjustments… or not.