Overview:
The 240sx convertible, built from 1992 to 1994, started life as a leftover 240sx base coupe. Nissan sent these cars, which weren’t selling well, to ASC in California (one of the nation’s foremost experts on custom coachworks) for conversion to convertibles.
ASC added a lot of bracing to the convertible, for 3 reasons:
1) To enhance structural rigidity.
2) To ensure occupant safety.
3) To comply with the then-mandatory “automatic seat belt” requirement.
Remember, that the Federally-mandated (but short-lived) “automatic seat belt” requires a roof rail for the shoulder harness to attach to. Well, there’s the problem – What to do in a convertible?
ASC solved this problem by adding a LONG seatbelt in front, with a spool in the top and bottom of the door. The idea was to LEAVE the seatbelt buckled (per the Owner’s Manual) and simply open the door to get in and out. Since the belt was attached at the top and bottom of the door, the occupants could get in and out without unbuckling.
This required a LOT of seatbelt webbing (those doors are long, and swing WAY out). It also required BIG spools, which necessitated thicker doors, added bracing, and a lot more weight.
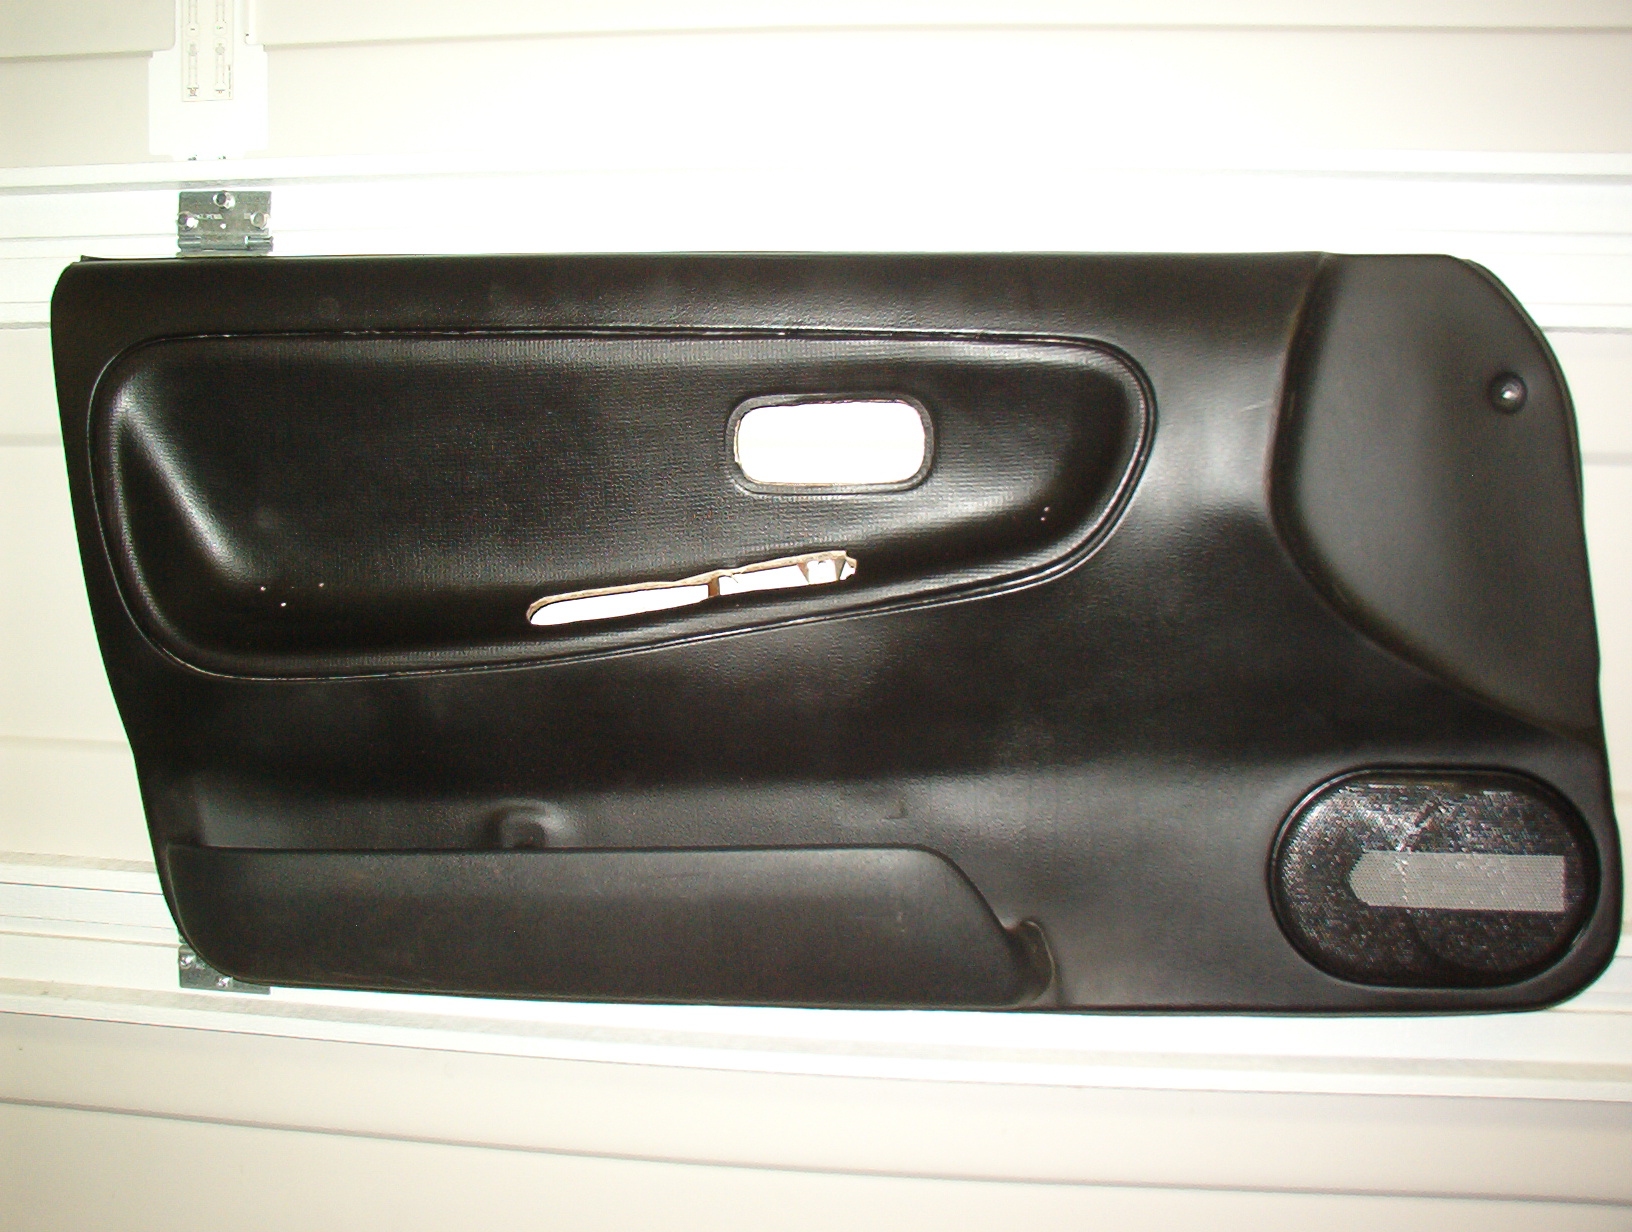
The ASC-produced door panels for the convertible are TERRIBLE, and it’s almost impossible to find a set in good shape. However, Coupe door panels can be found easily, and this modification will remove nearly 80 pounds from your Convertible.
(NOTE:In the interest of legality and protection from frivolous lawsuits, it should be noted that this conversion is for vehicles that will never be driven on public roads. Performing this conversion is done at your own risk.)
Difficulty: ***
Time: 4-8 hours
Cost:
Tools:
– hammer
– screwdrivers
– power drill
– socket wrench set and ratchet
– die grinder or plasma cutter
Materials:
– 240sx coupe door panels
– 240sx coupe rear seatbelt assemblies
Procedure:
Let’s get started!!!
(NOTE: You can also simply obtain a set of Coupe doors and swap them – Far easier, but mine were in perfect shape and I didn’t want to repaint a set of doors.)
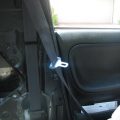
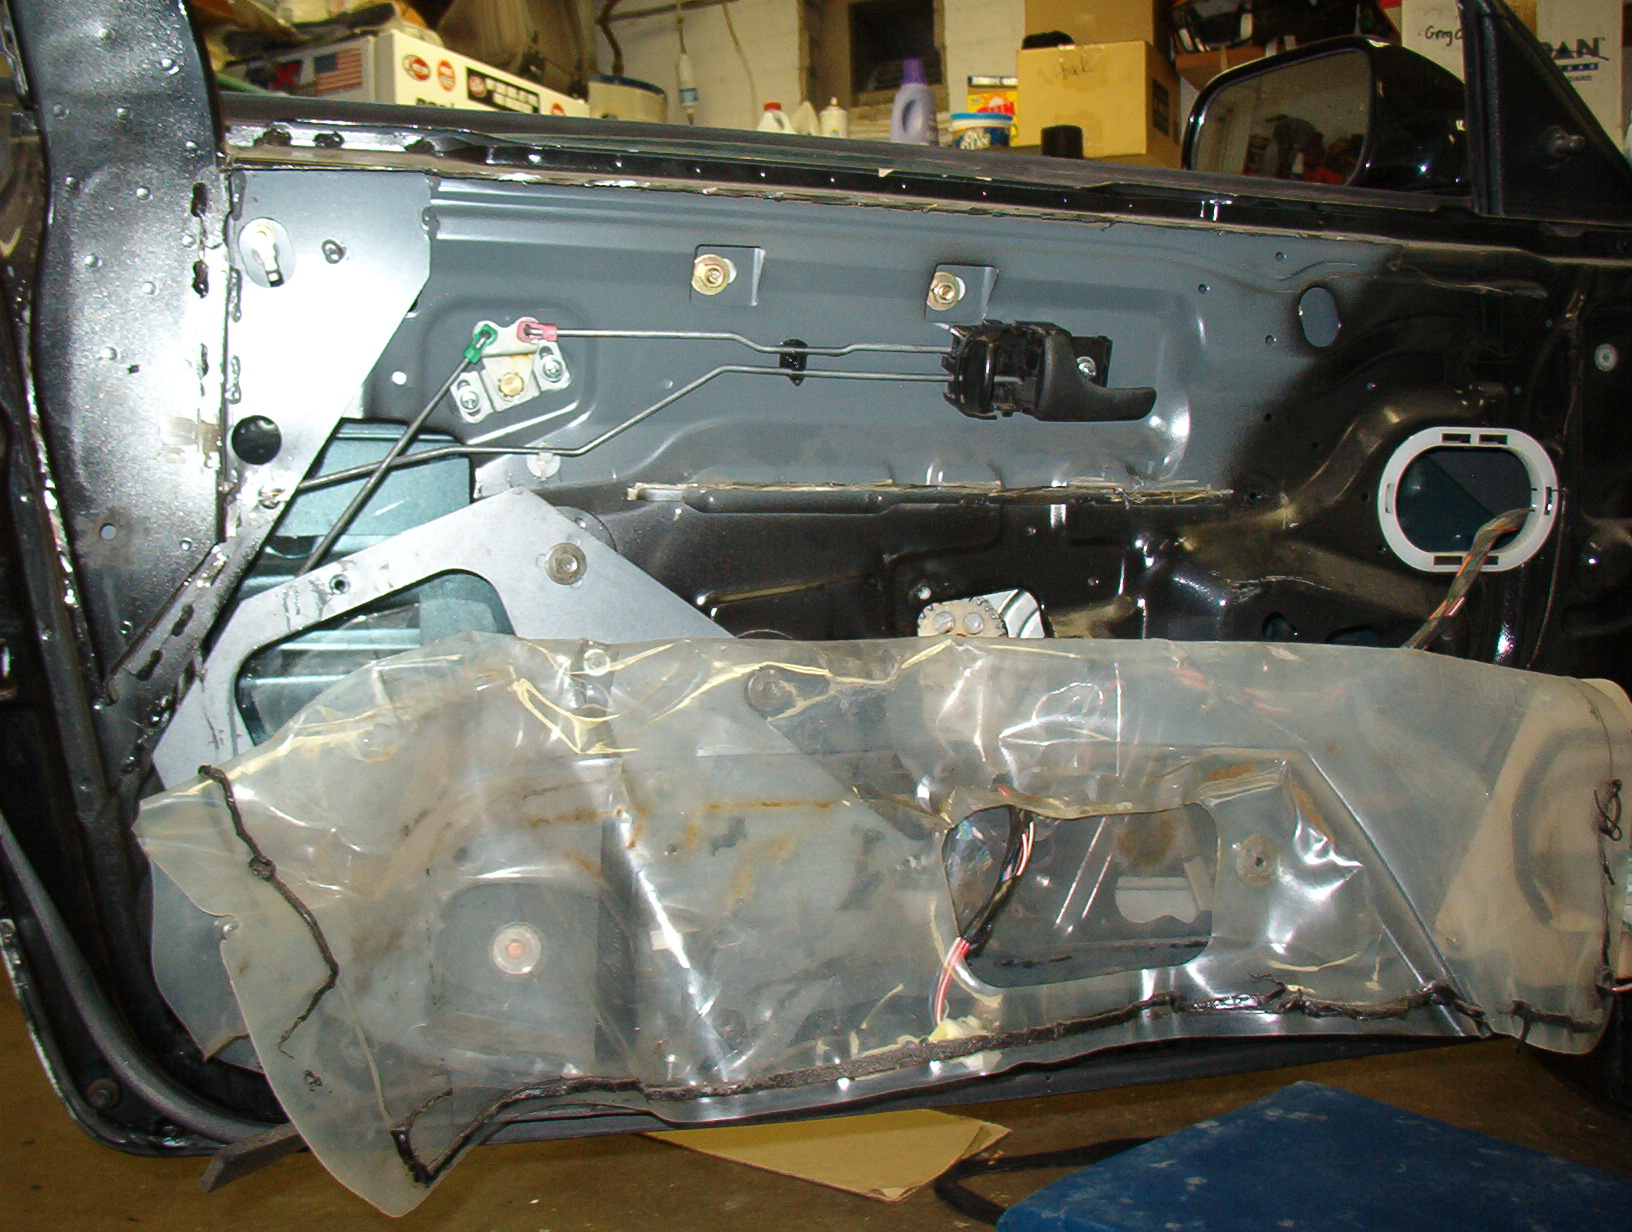
We’ll be using the REAR seat belts for this project. Unbolt the rear seat belt retractors (make sure you have your keys, you’ll want to run the top up to get to the back bolt. The seat belts are easy to remove. Here’s a pic of the seatbelt retractor, close to its new home:
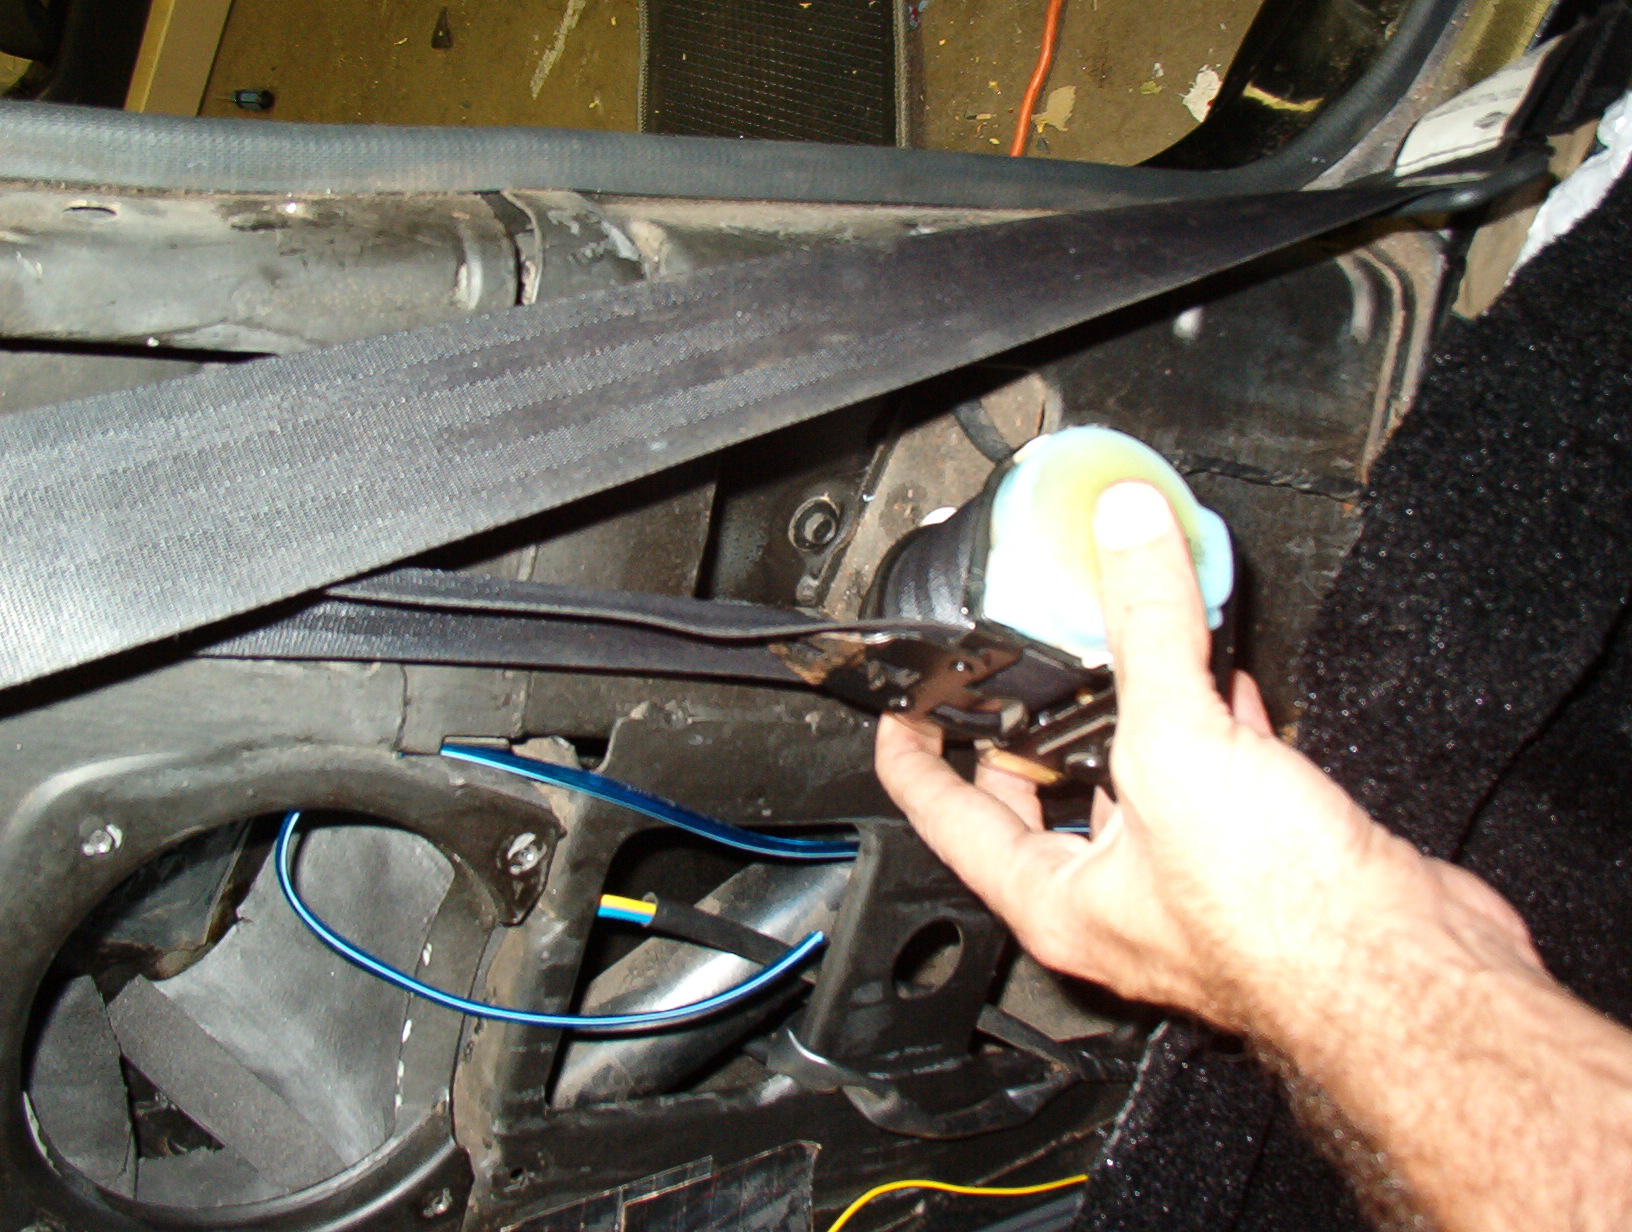
Place the seatbelt retractor mechanism in the lowermost hole in the panel behind the door, FACING INWARD (opposite of how it looked in its stock location. It should fit, you MAY have to whack the side of the opening with a hammer to “persuade” the hole to grow a tiny bit.
You have to mount the seat belt retractors PERFECTLY perpendicular to the ground to keep them from auto-locking. You should be able to see the little ball or catch that activates the locking mechanism…
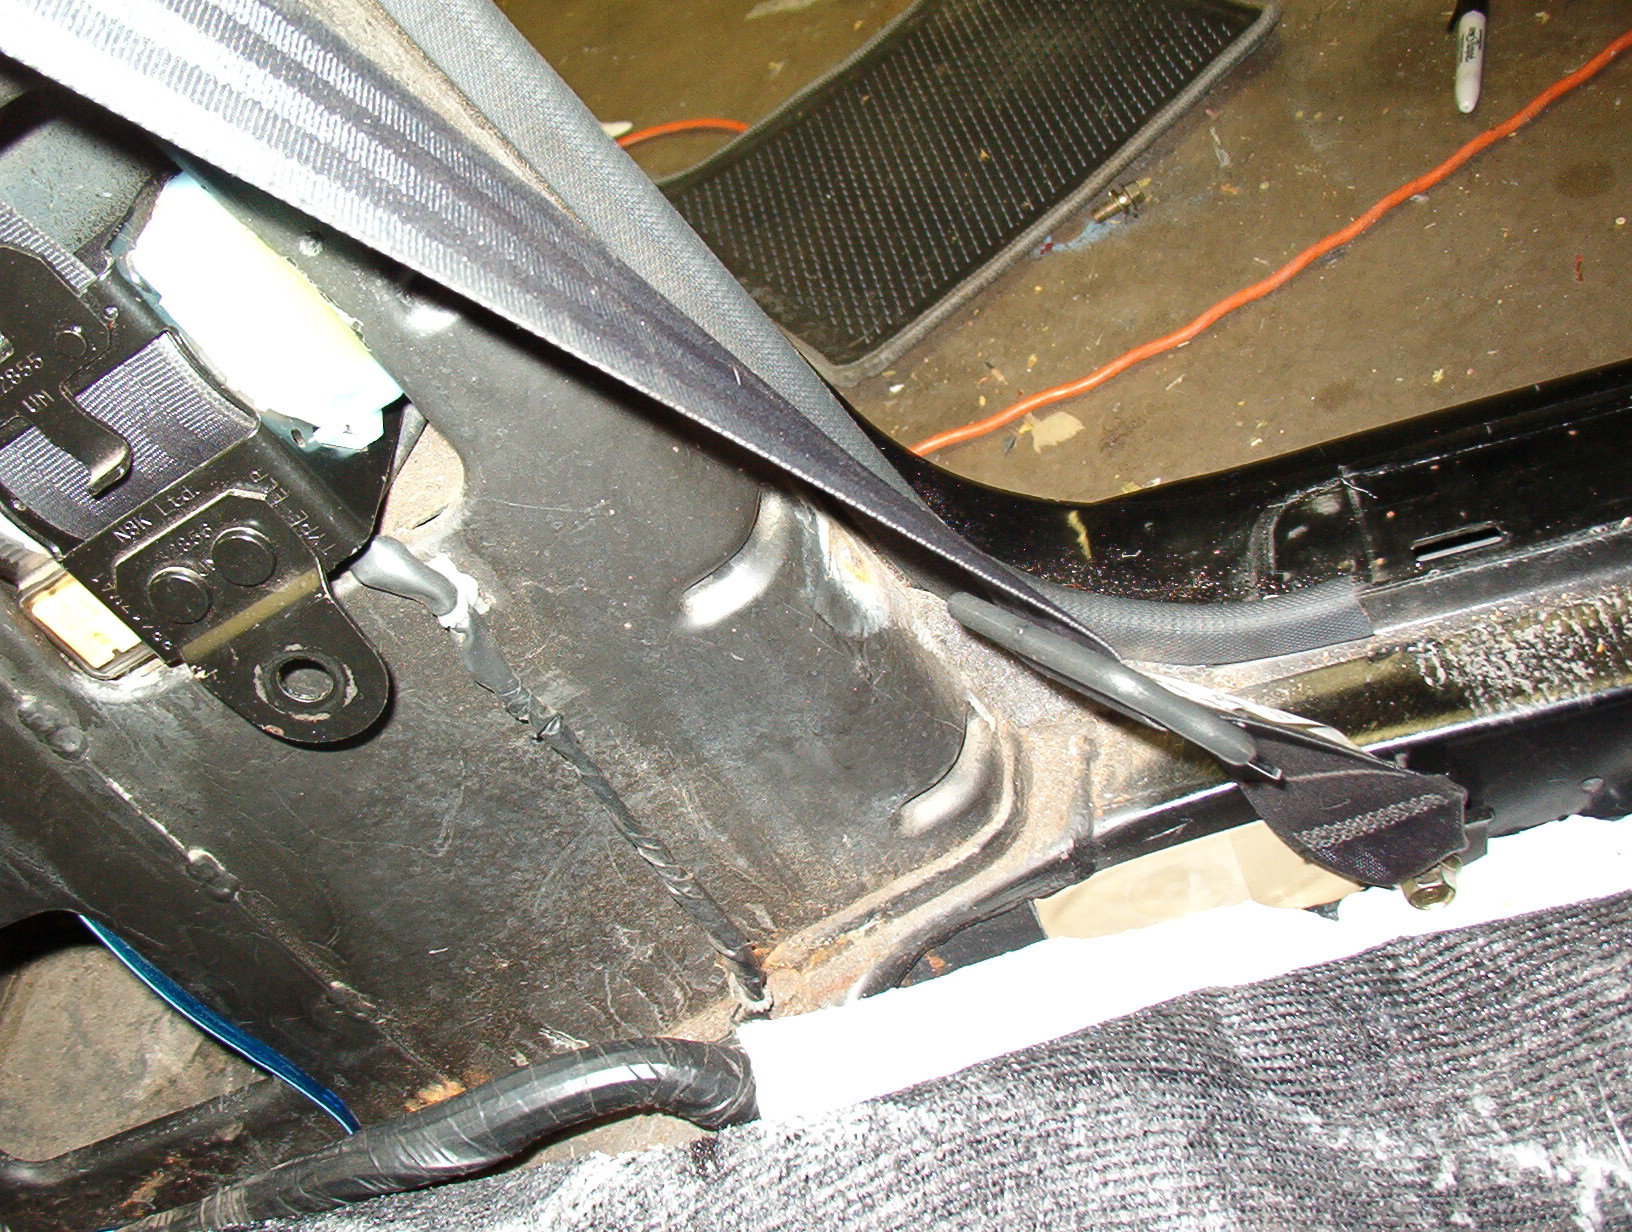
NOT PICTURED: Use the BOTTOM mounting tab, and drill a hole into the underlying metal, and run a bolt in there. This will keep the seatbelt mechanism square and solid.
Also (not pictured), for the TOP mounting tab, you obviously can’t put a bolt through there, as the seatbelt runs between the tab and the body. Therefore, I took a piece of metal strip, placed a bolt through the top mounting hole and screwed it into the body metal on either side (this will brace the TOP of the seatbelt retractor while allowing space for the belt to retract and spool out.
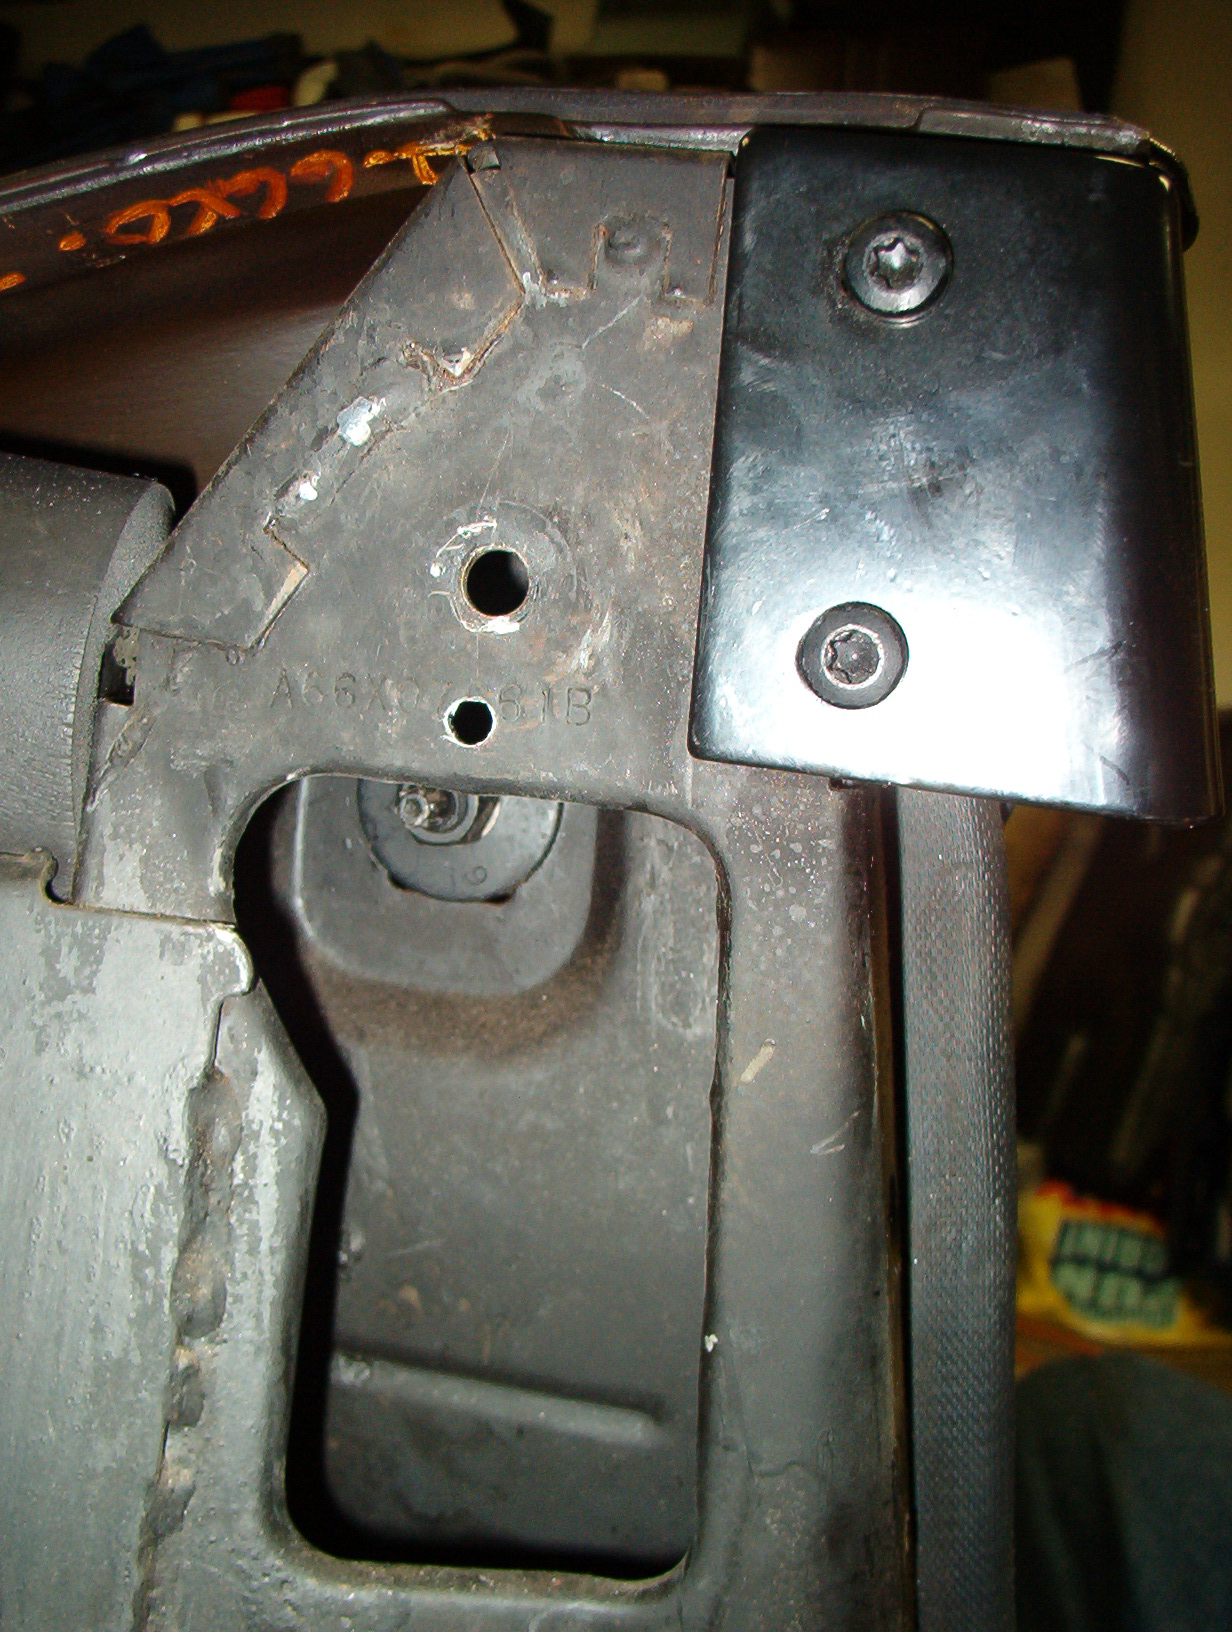
You’ll be using the FACTORY seatbelt mounting hole (from the coupe) which is also seen in this pic.
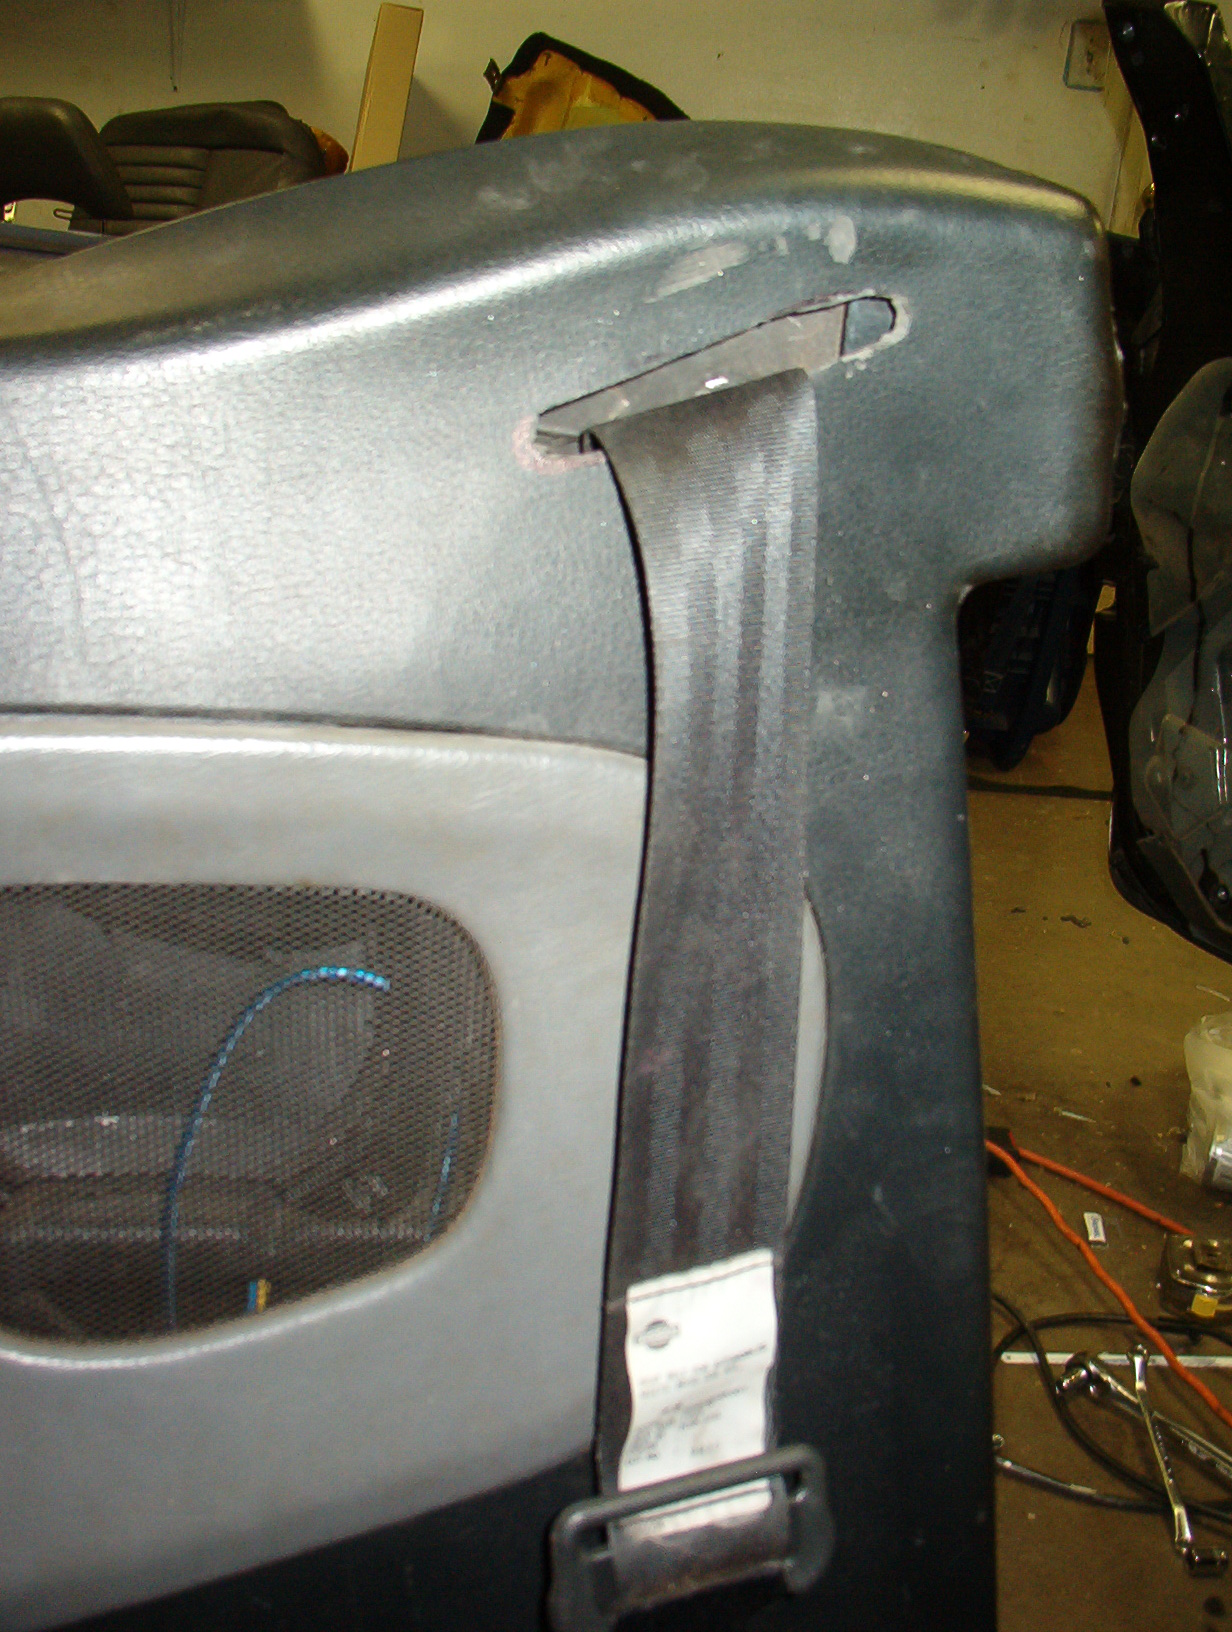
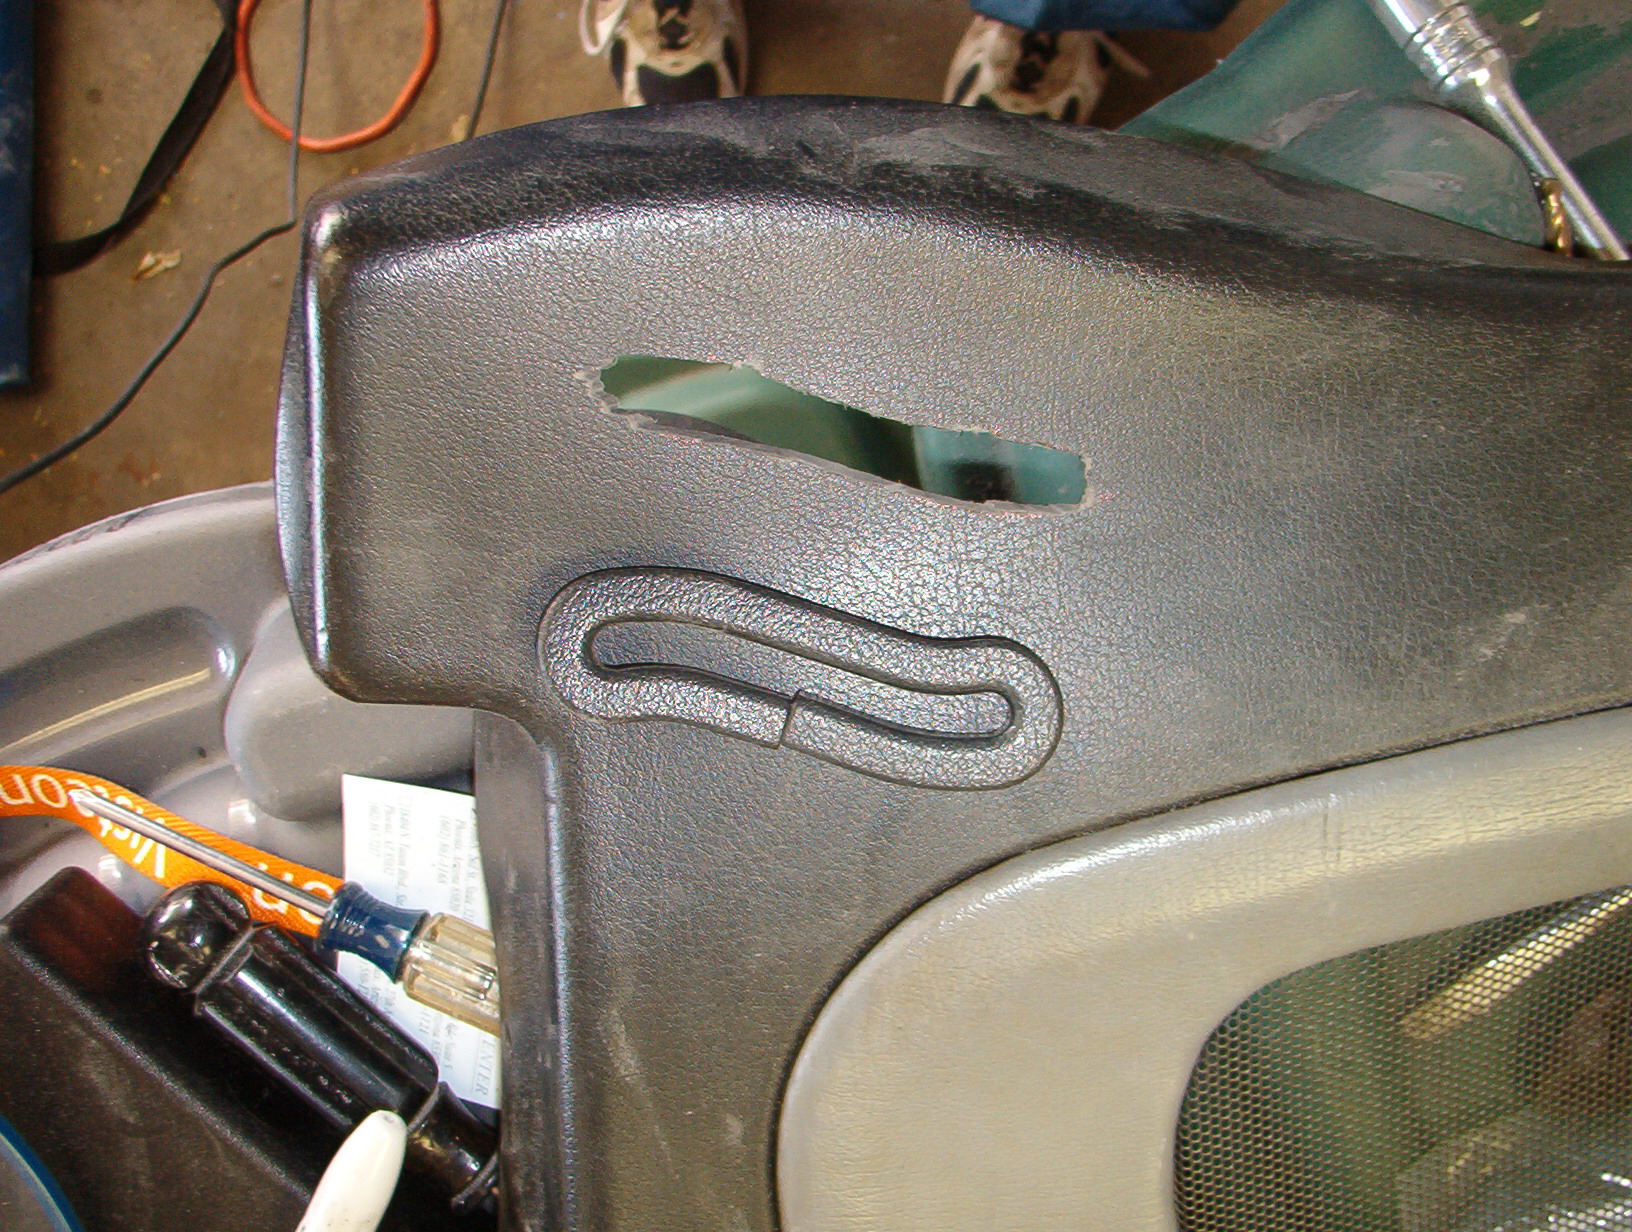
Drill a hole (as shown) near the topmost hole in the panel, and mount your seatbelt loop there. Make sure the mounting tab is INSIDE the metal panel. This is ALSO a rear seatbelt part. Waste not, want not.
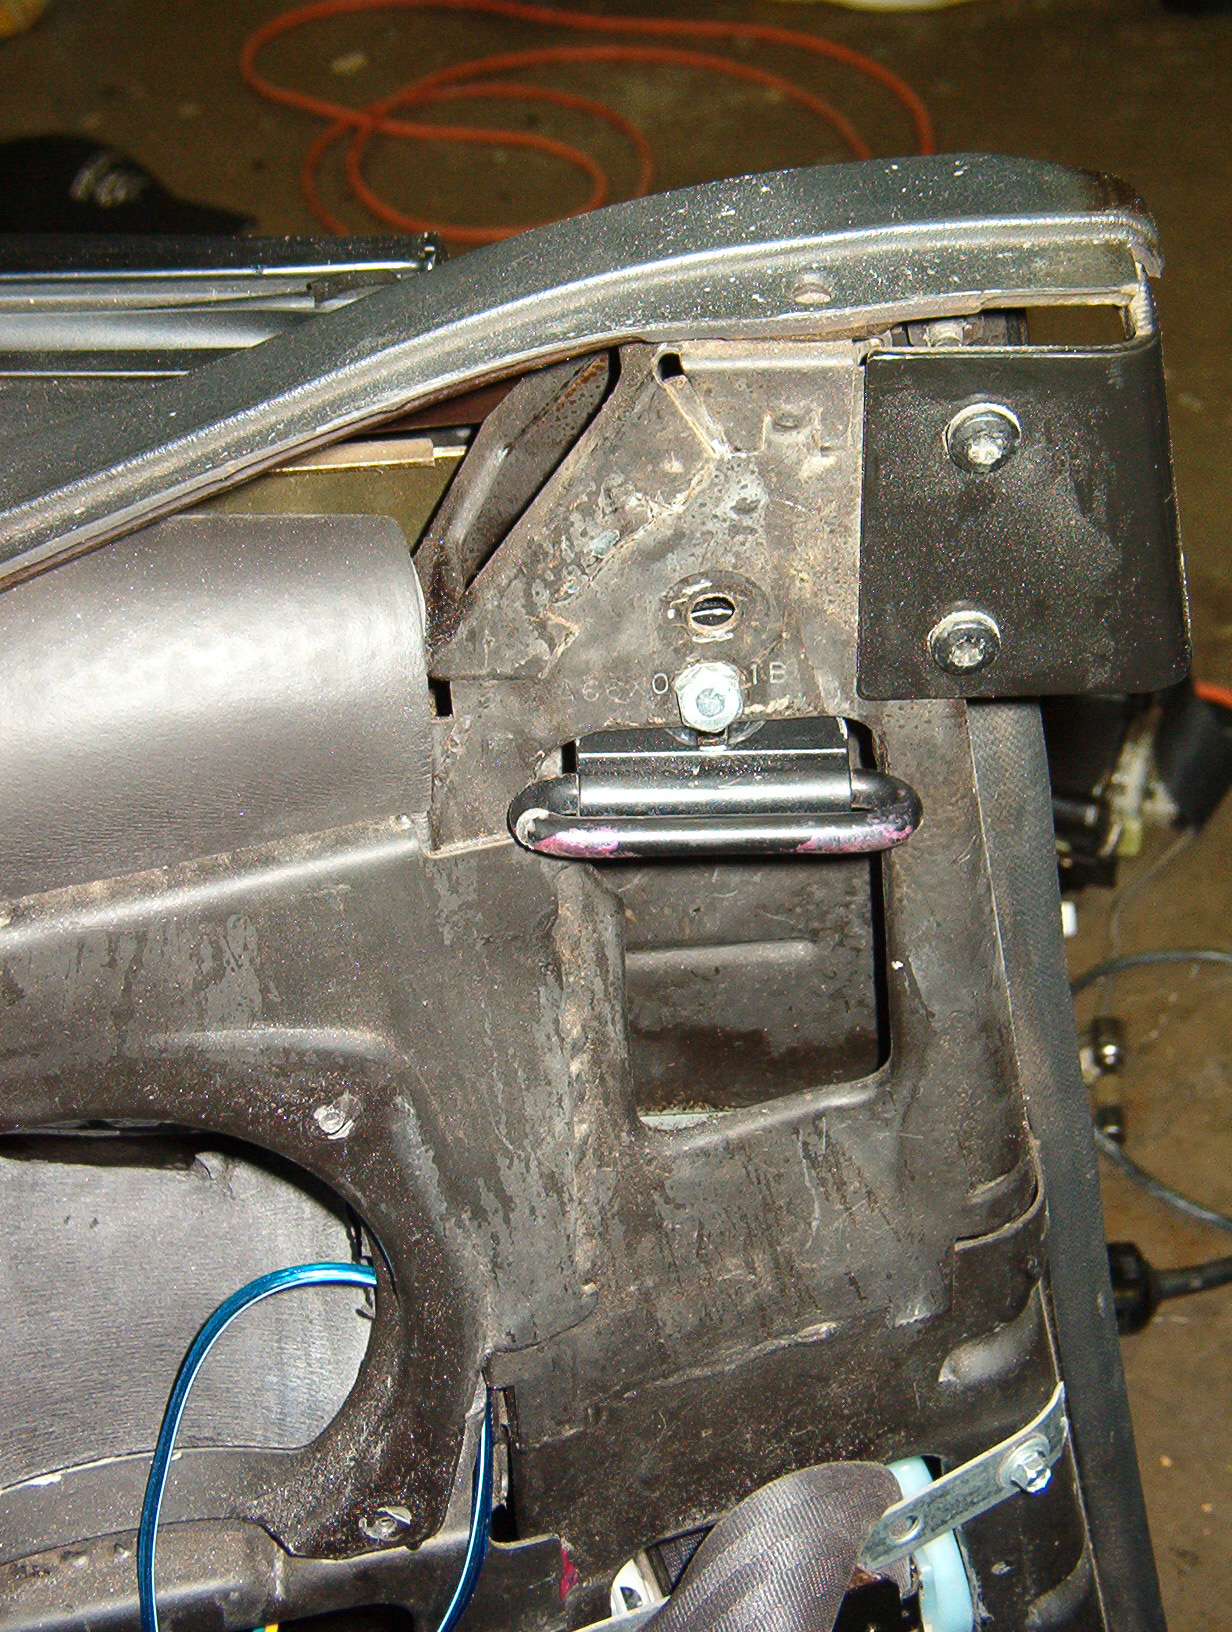
Here’s the seatbelt loop properly installed (properly if you’re ghetto-rigging new seat belts for a convertible).
Next, cut a slot in your rear side panel (somewhat of a slight angle) as shown here. A Dremel with a reinforced cutoff wheel works great.
BEFORE you cut the slot, you’ll need to lop off the big chunk of plastic on the back. A hacksaw blade (held by hand) works great here, as you can lay it flush and cut it off smooth.
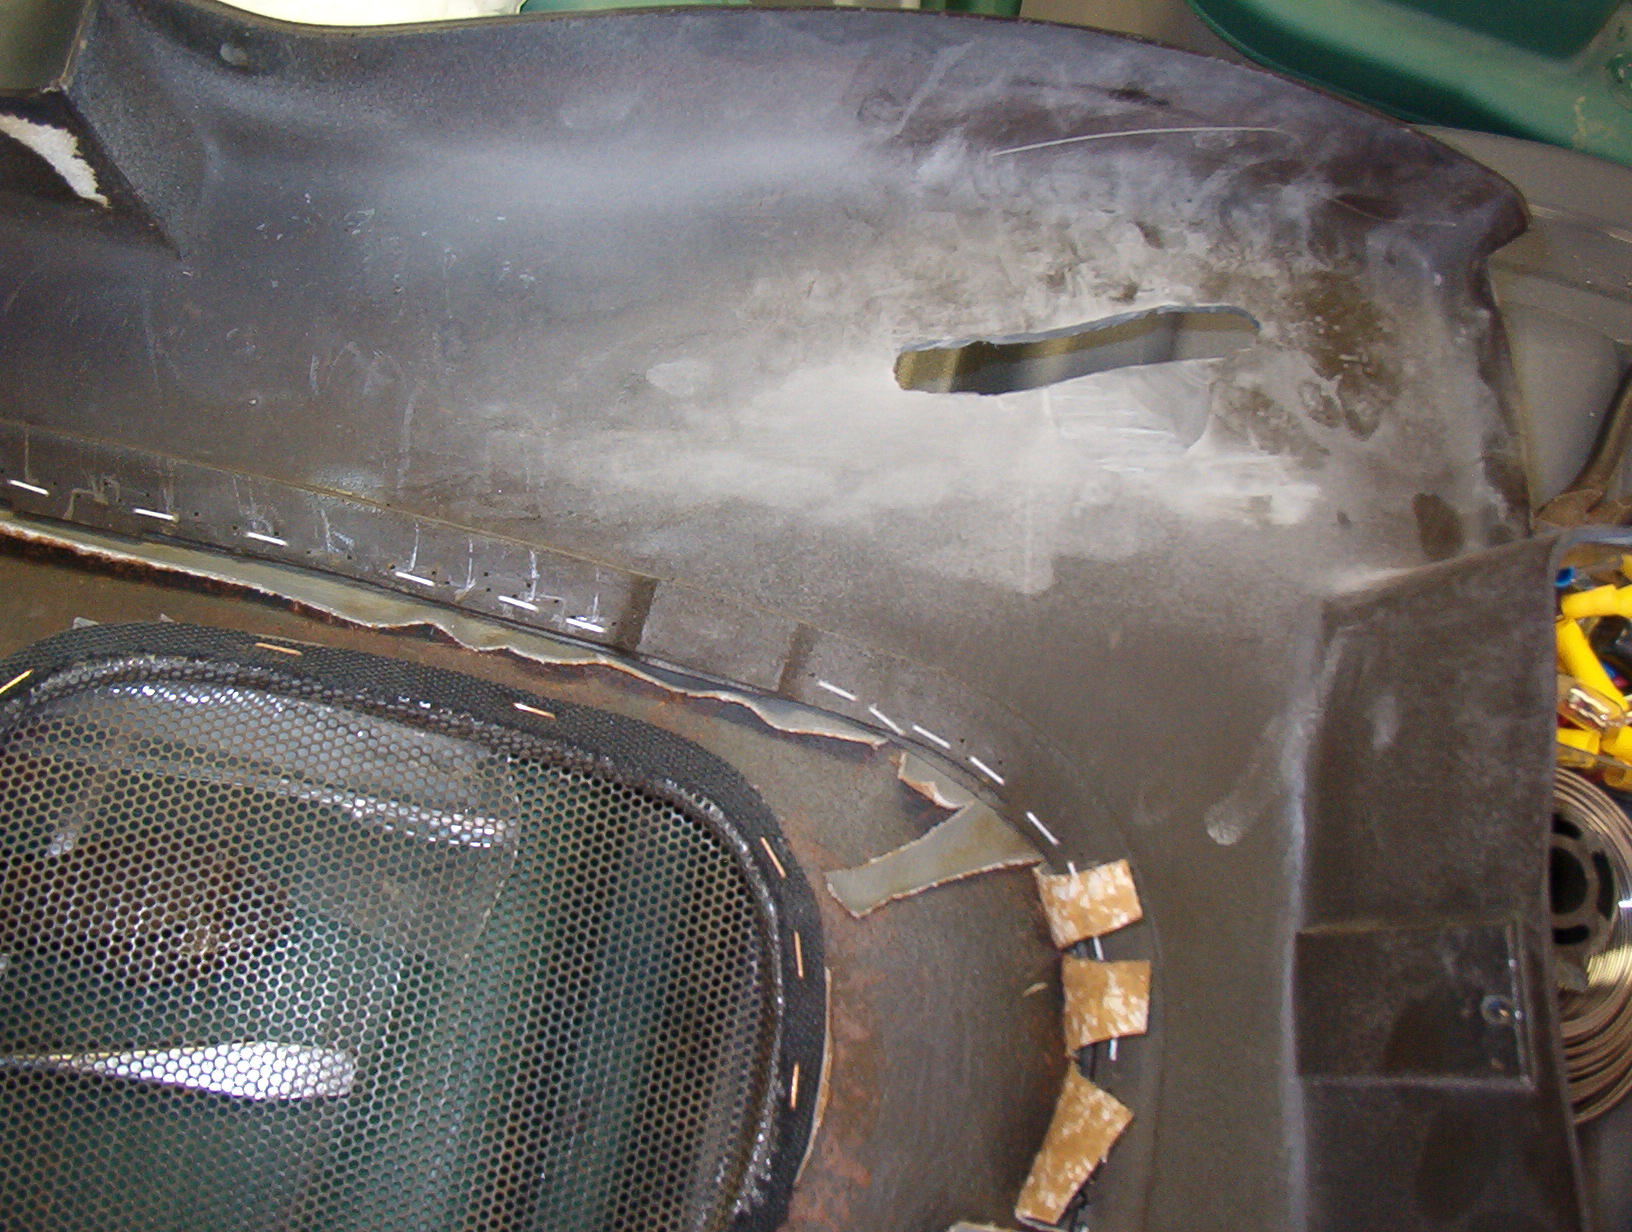
There’s a great little seatbelt grommet in the FRONT door panels (at the bottom). Remove this (waste not, want not!) and use it in the rear panel as shown. It helps if you grind down the little nubs on the back side, as the rear panels are not as flexible as the fronts).
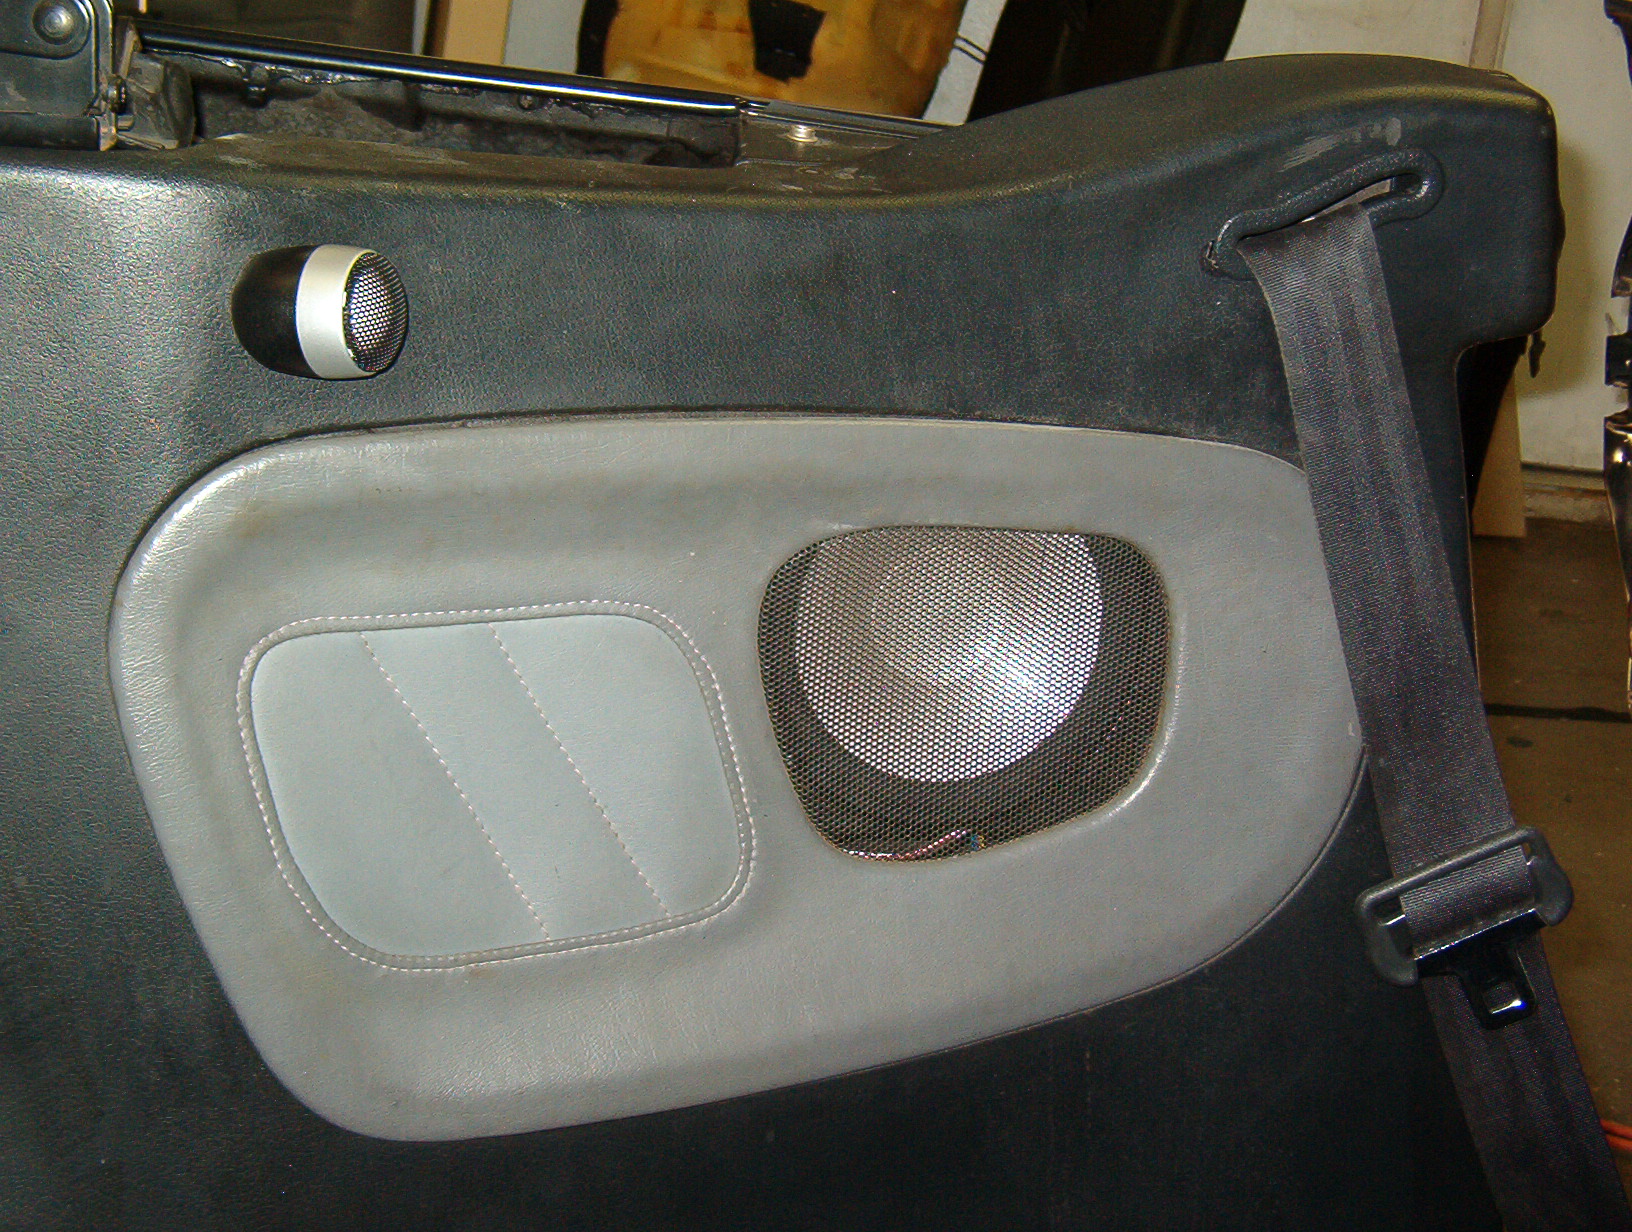
Infinity Reference separates and crossovers are a nice fit behind these panels (while we’re at it).
Here’s how it looks (roughly fitted, not finished).
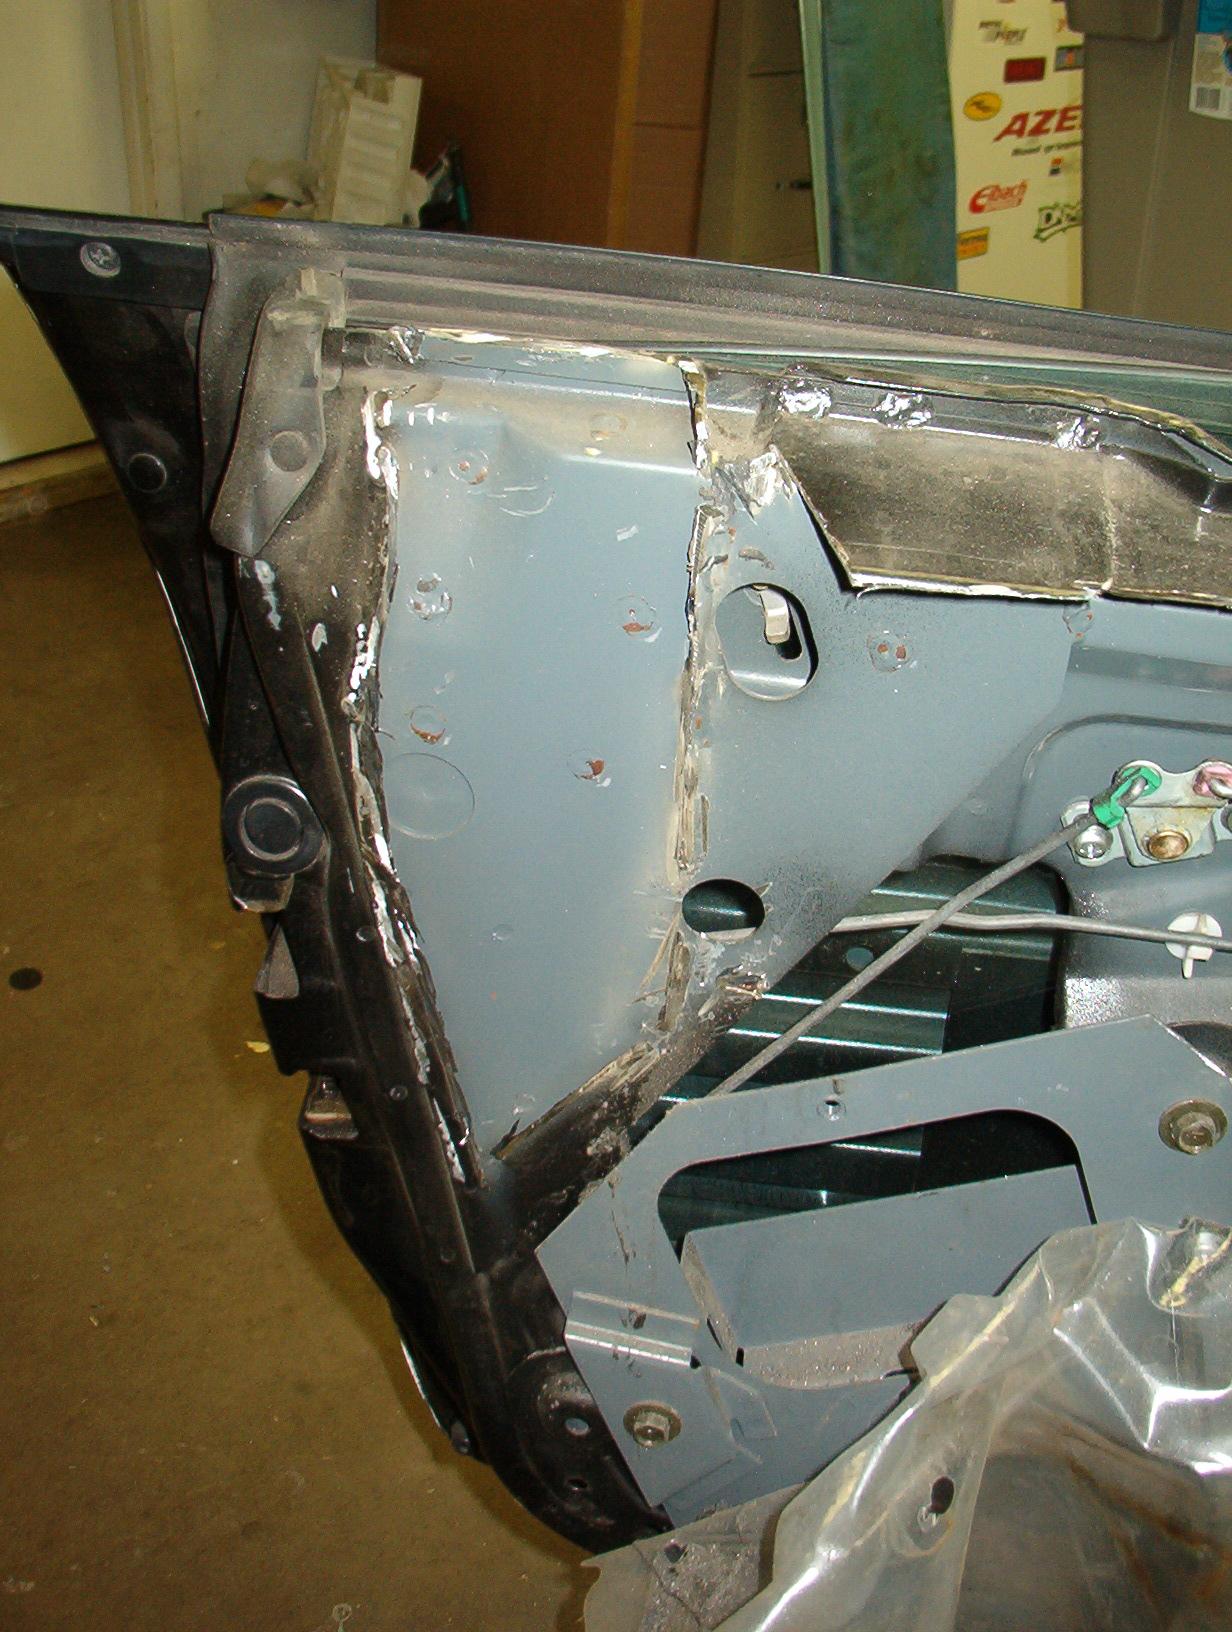
Upon disassembly of the doors, it is VERY interesting how they were done. They are thicker, but it appears ASC made an exact copy of the coupe door sheet metal and bumped it inboard approx 1.5″ (to clear all the seatbelt crap). Once you cut that off, there is an identical panel underneath, and you can transfer the door handle, the door lock rod guides, and the door release and locking mechanism to the “original” location (just as it would have been had it remained a coupe).
Here’s a pic of the first piece you need to cut off the doors.
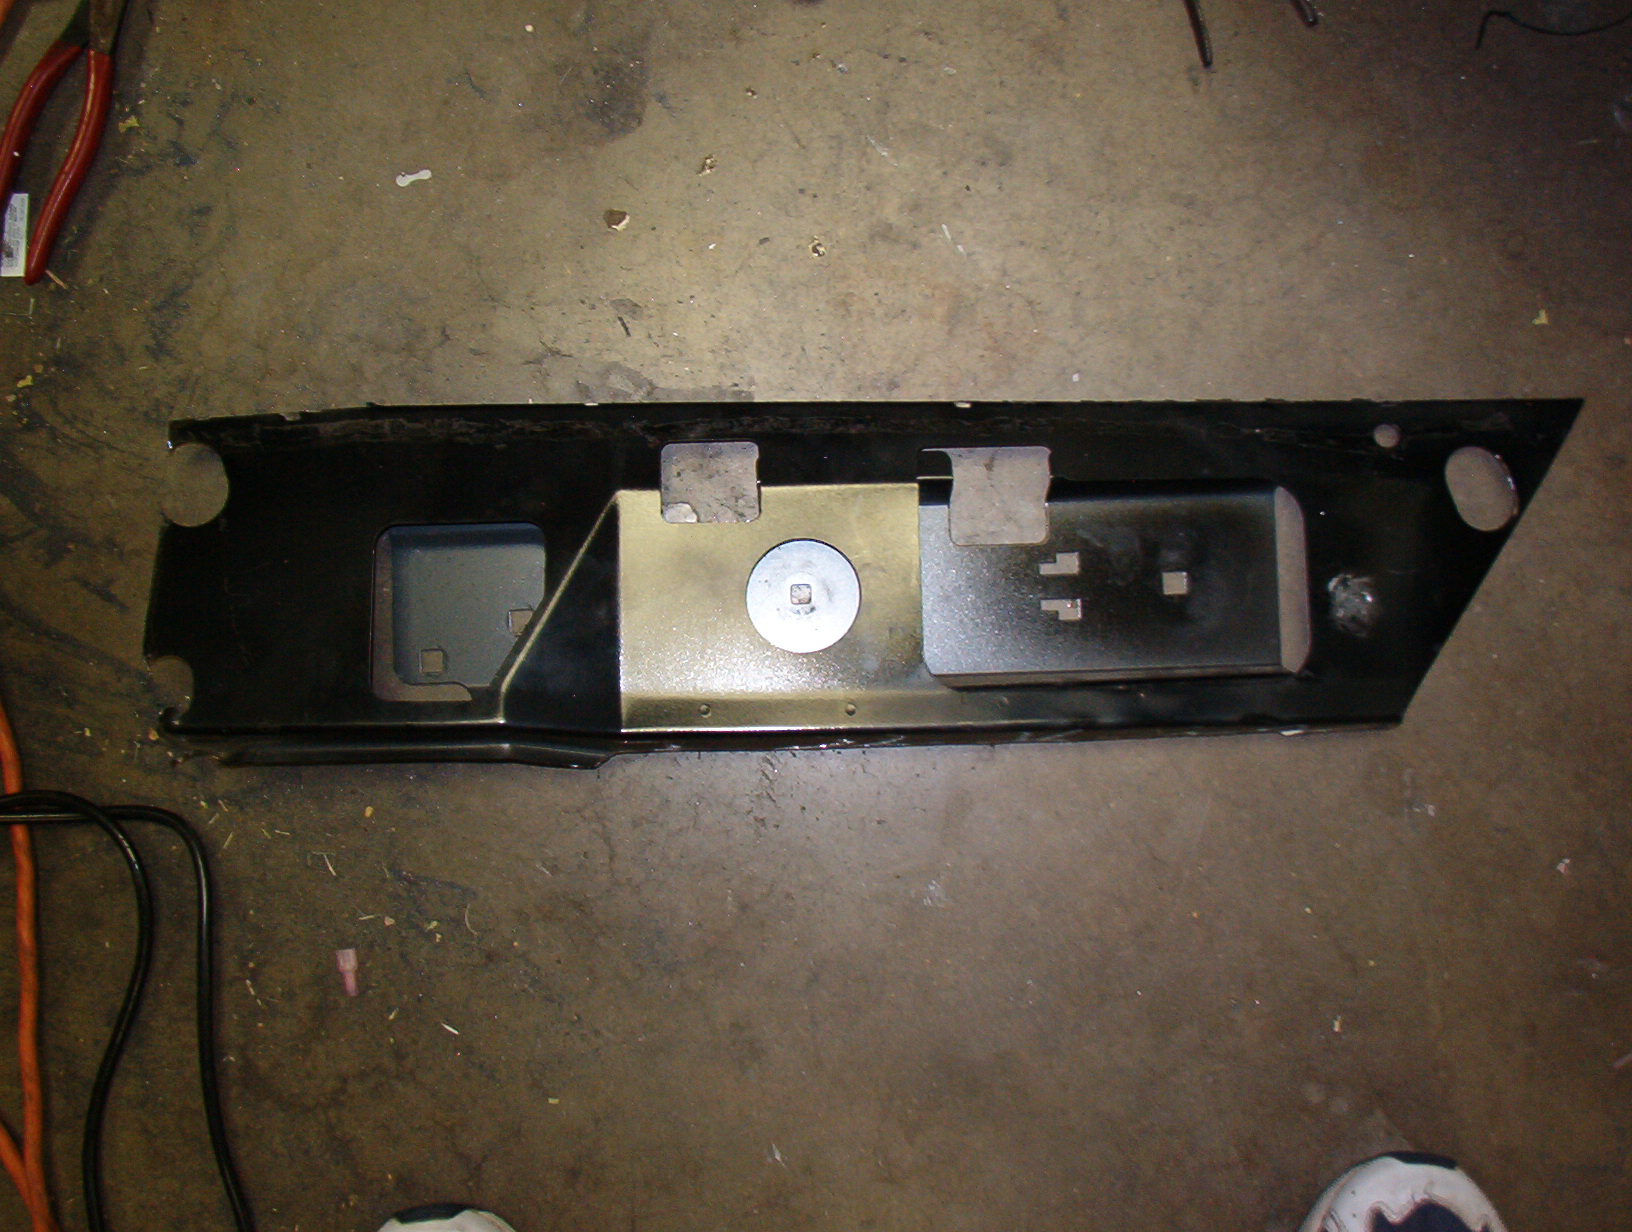
Notice that it’s an EXACT copy of the door panel underneath.
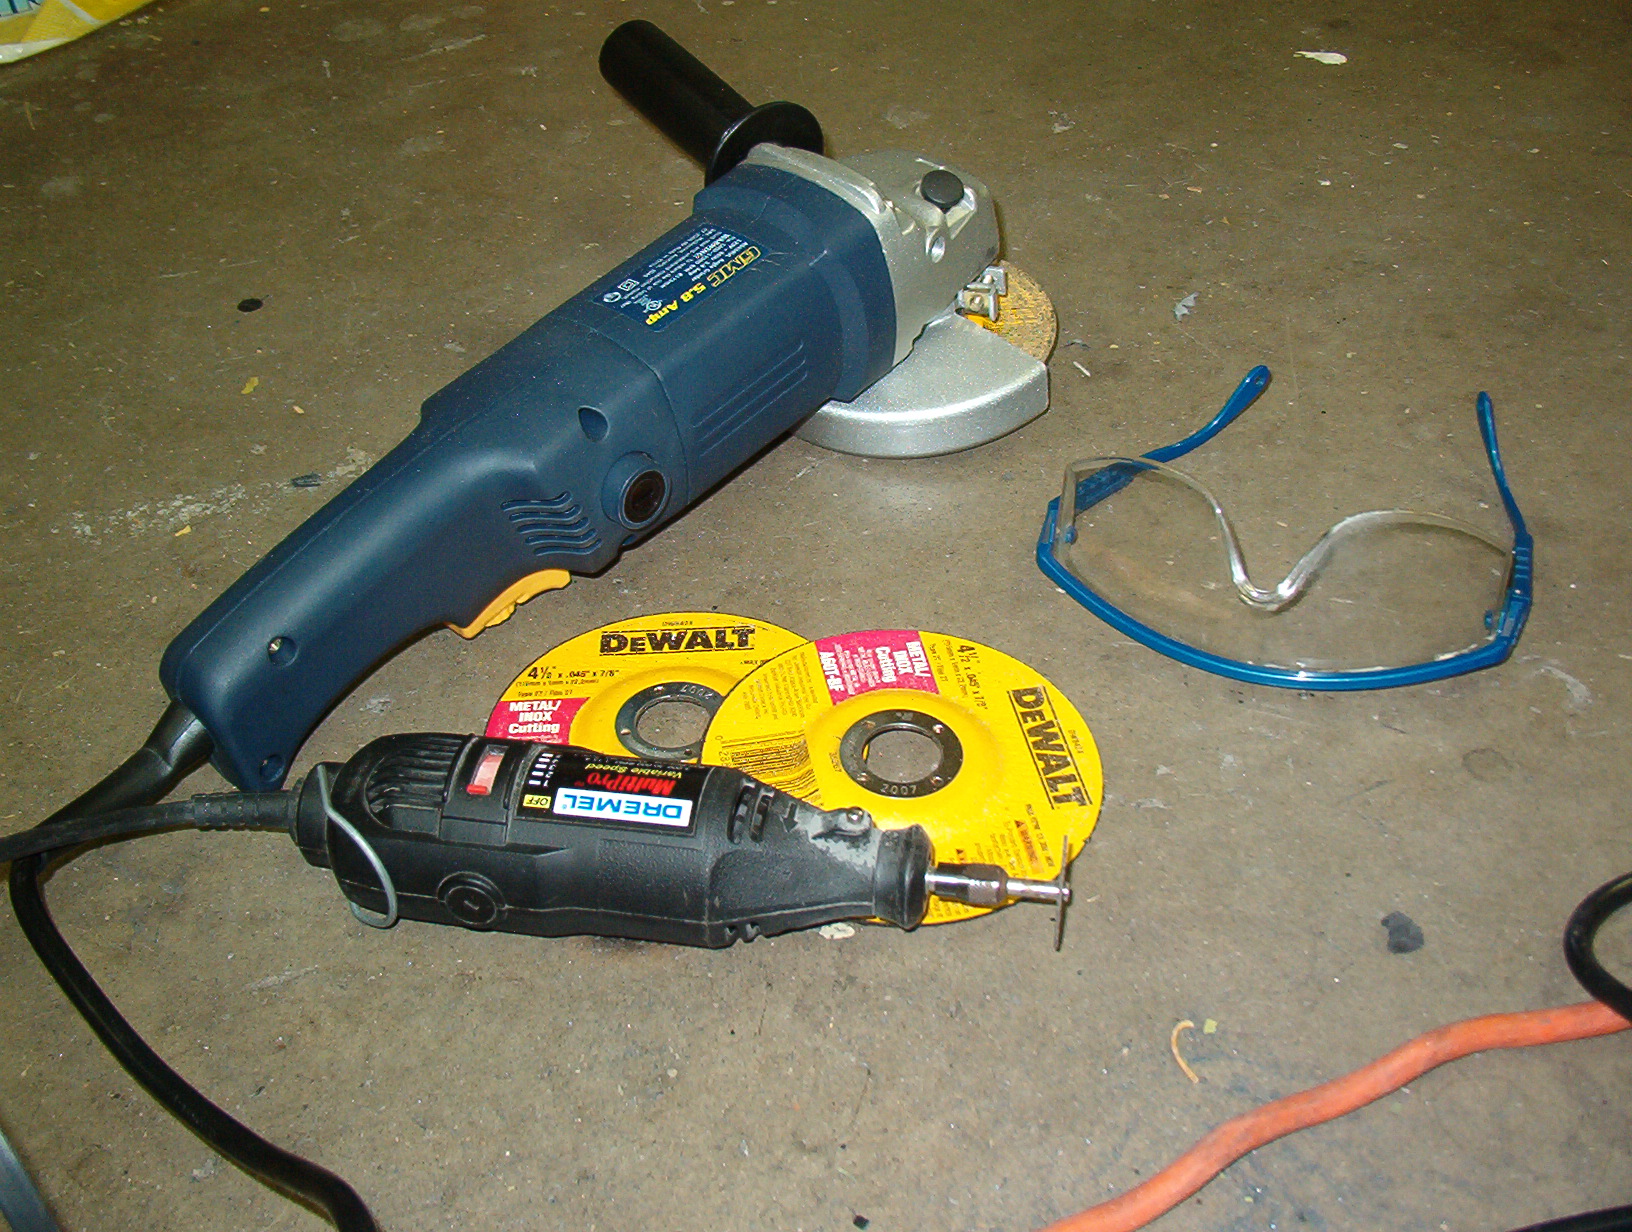
Tools of the trade:

Removing the second “chunk” of metal….

Removed!!!!

The parts – HA!

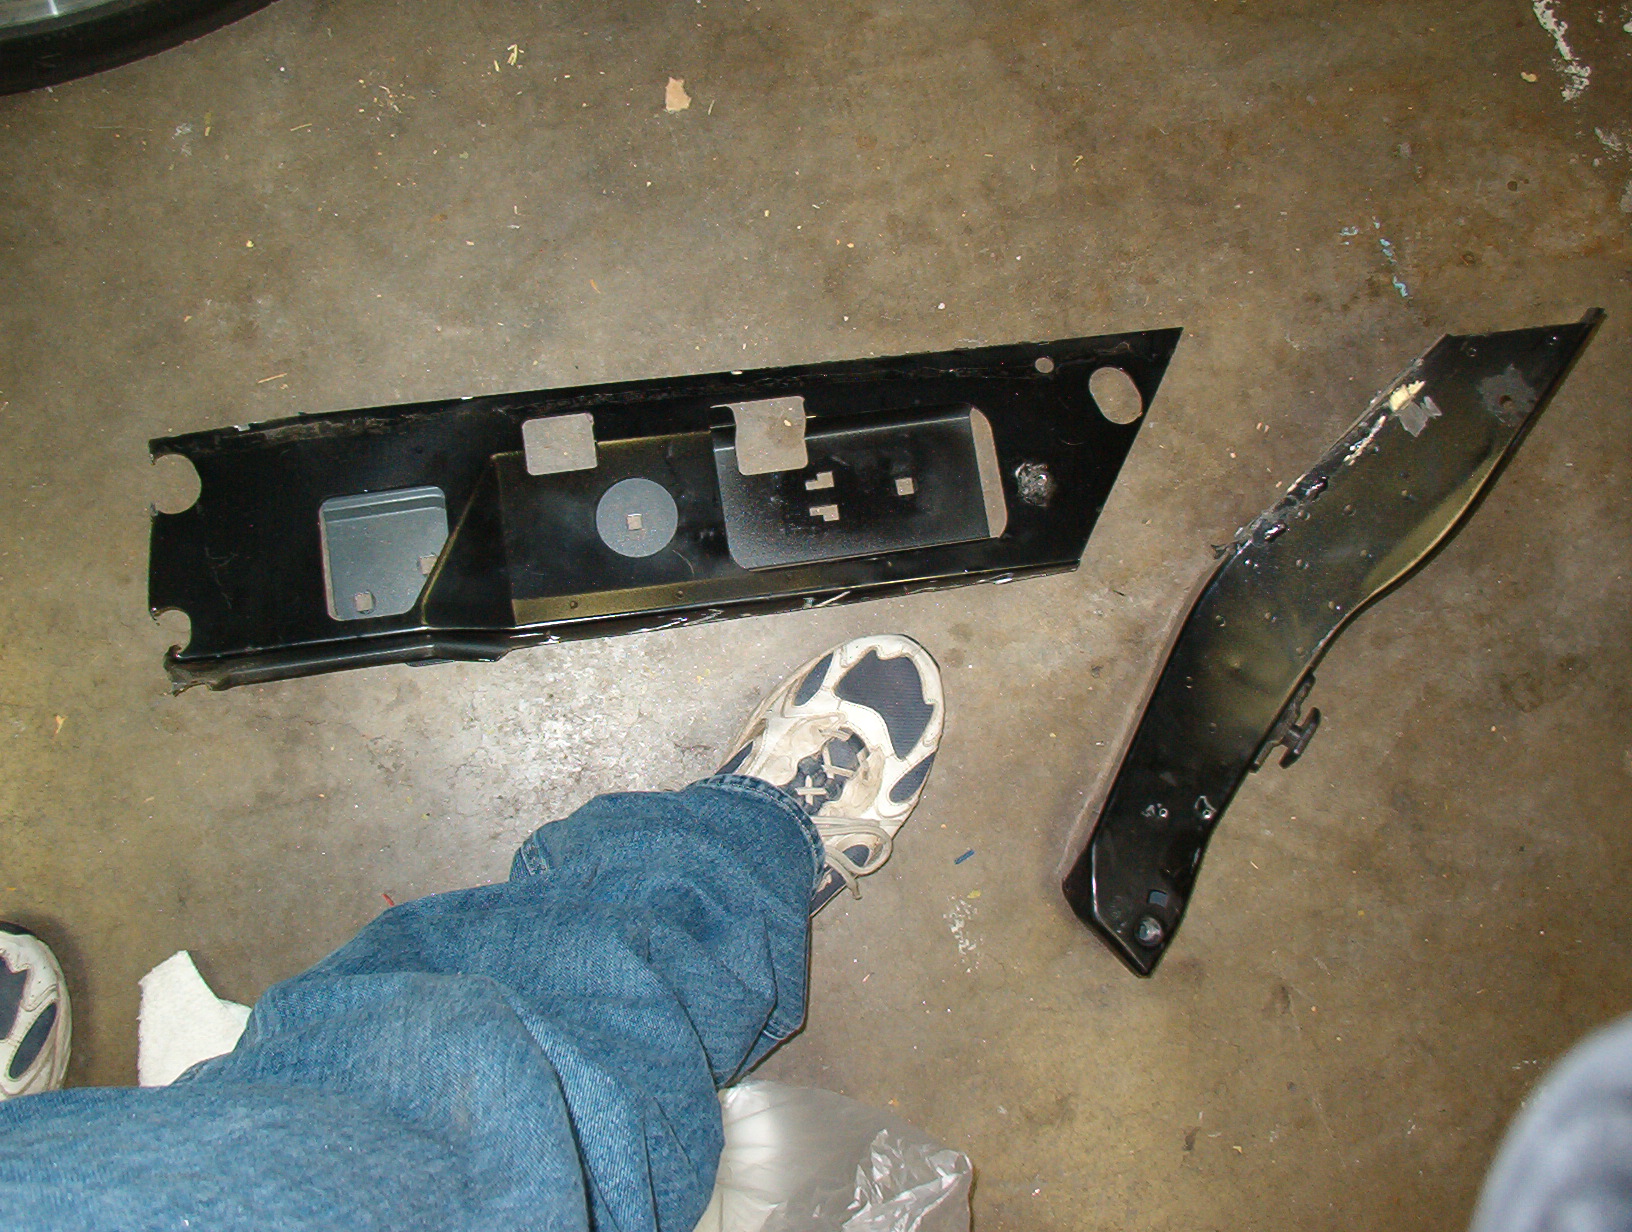
Owned (by the grinder!)
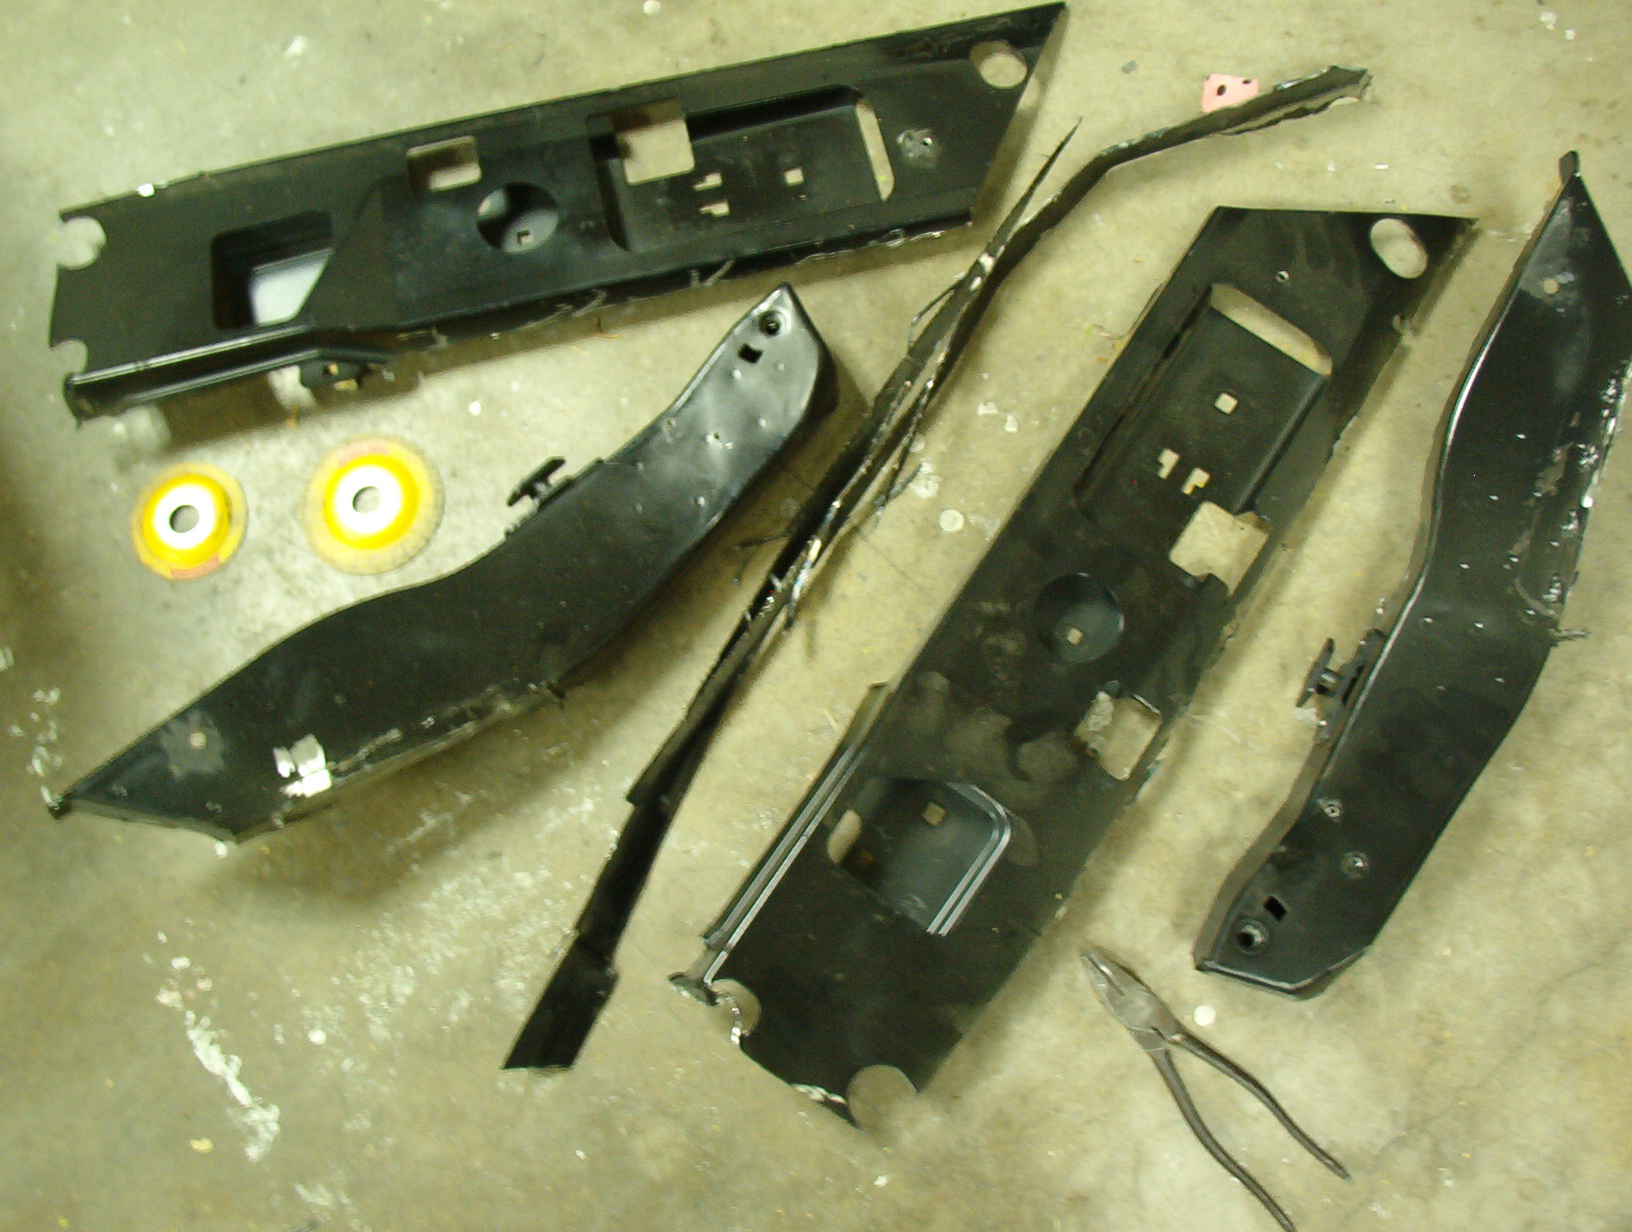
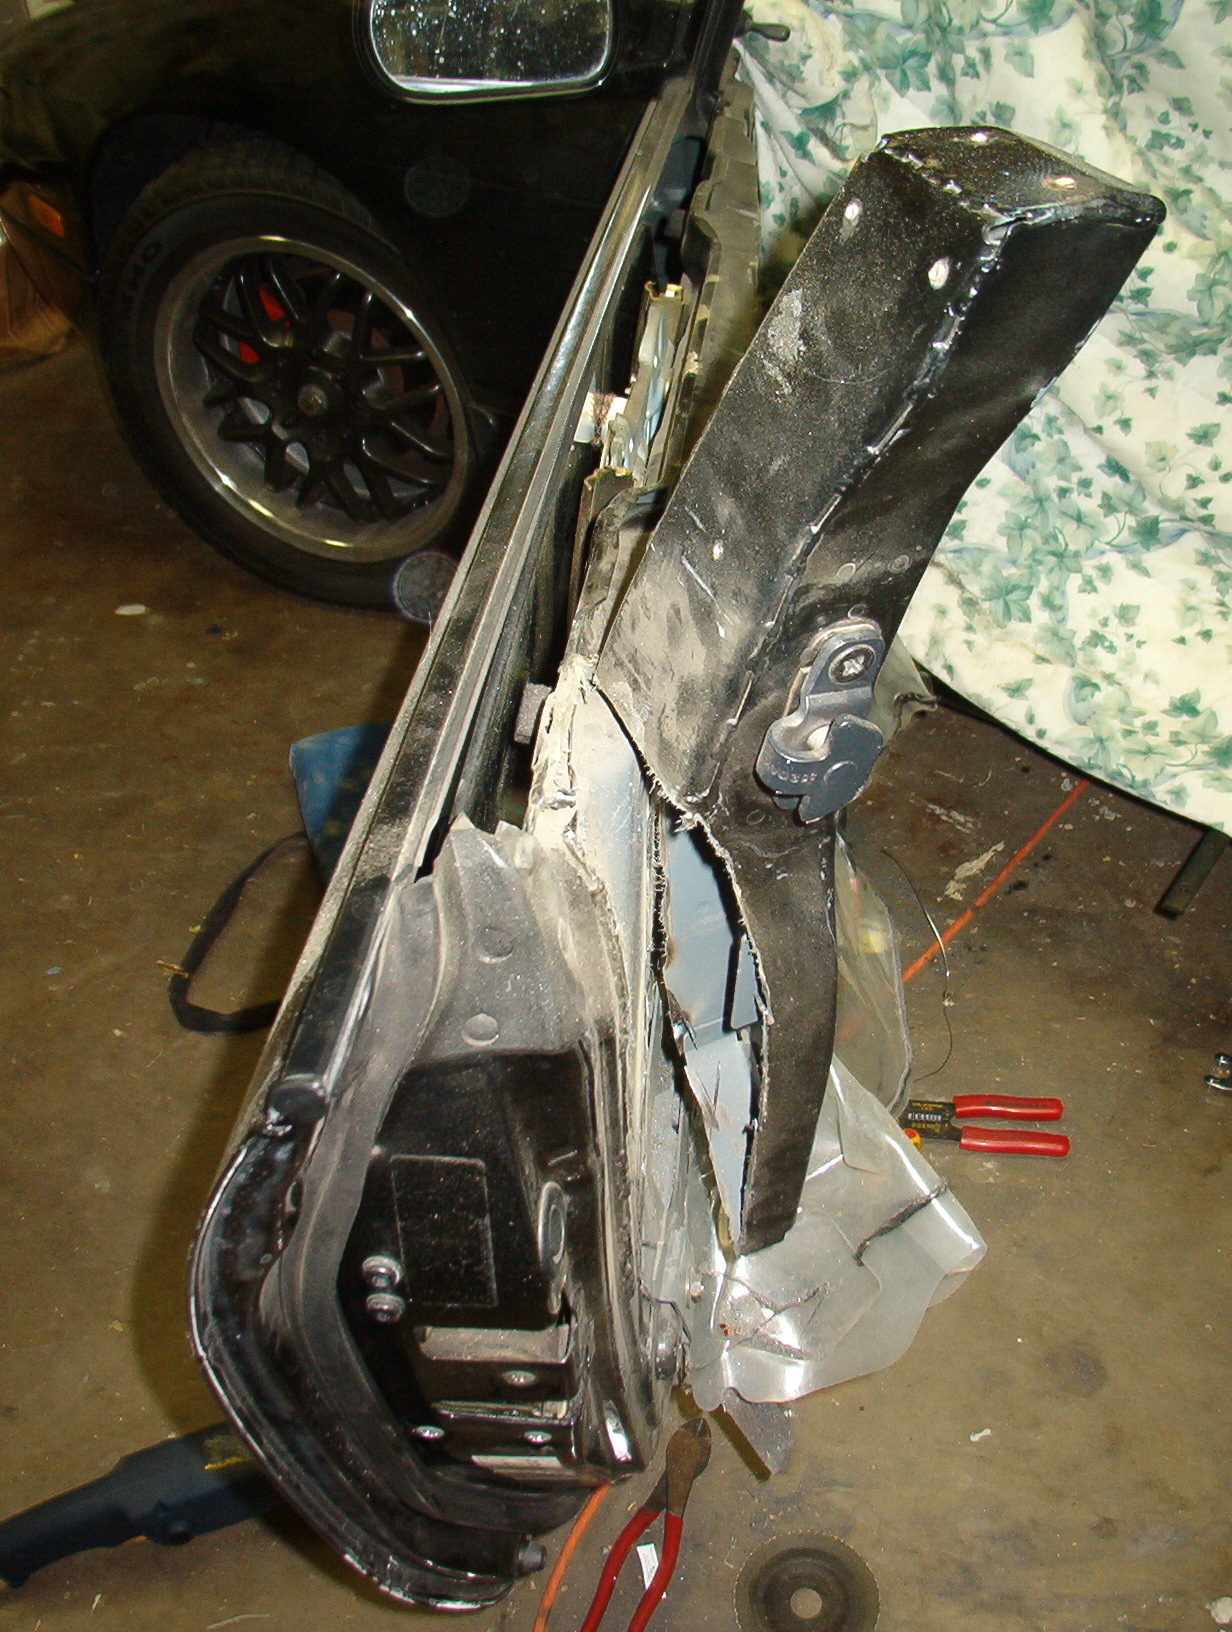
There’s one more piece of bracing that had to be removed.
Here it is:
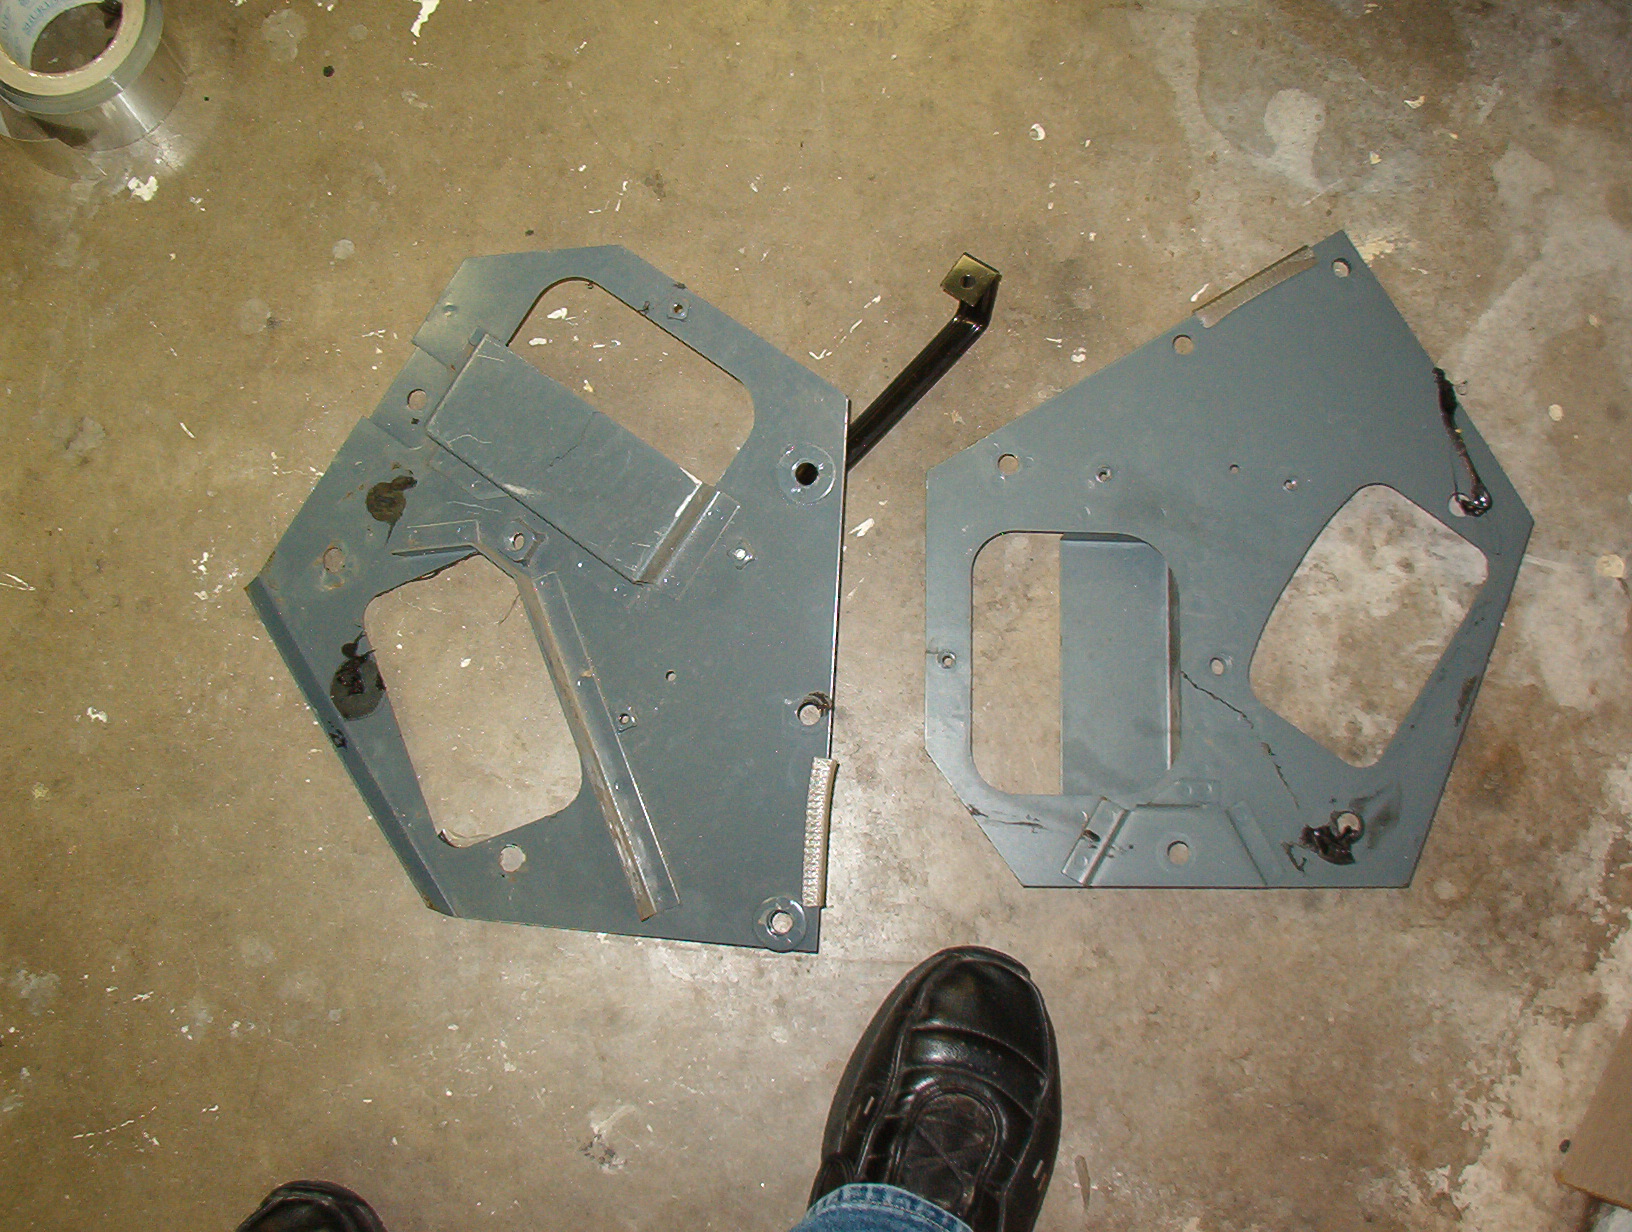
Also, there are two metal “nipples” for lack of a better term, about 1.5″ diameter, with threaded holes, that had to be lopped off to make the panels fit.
Total weight loss from this project: 79 pounds. Yes, 79. Amazing.
Nice new door panels, waiting for front speakers to arrive, then they’re going in.
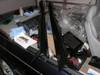
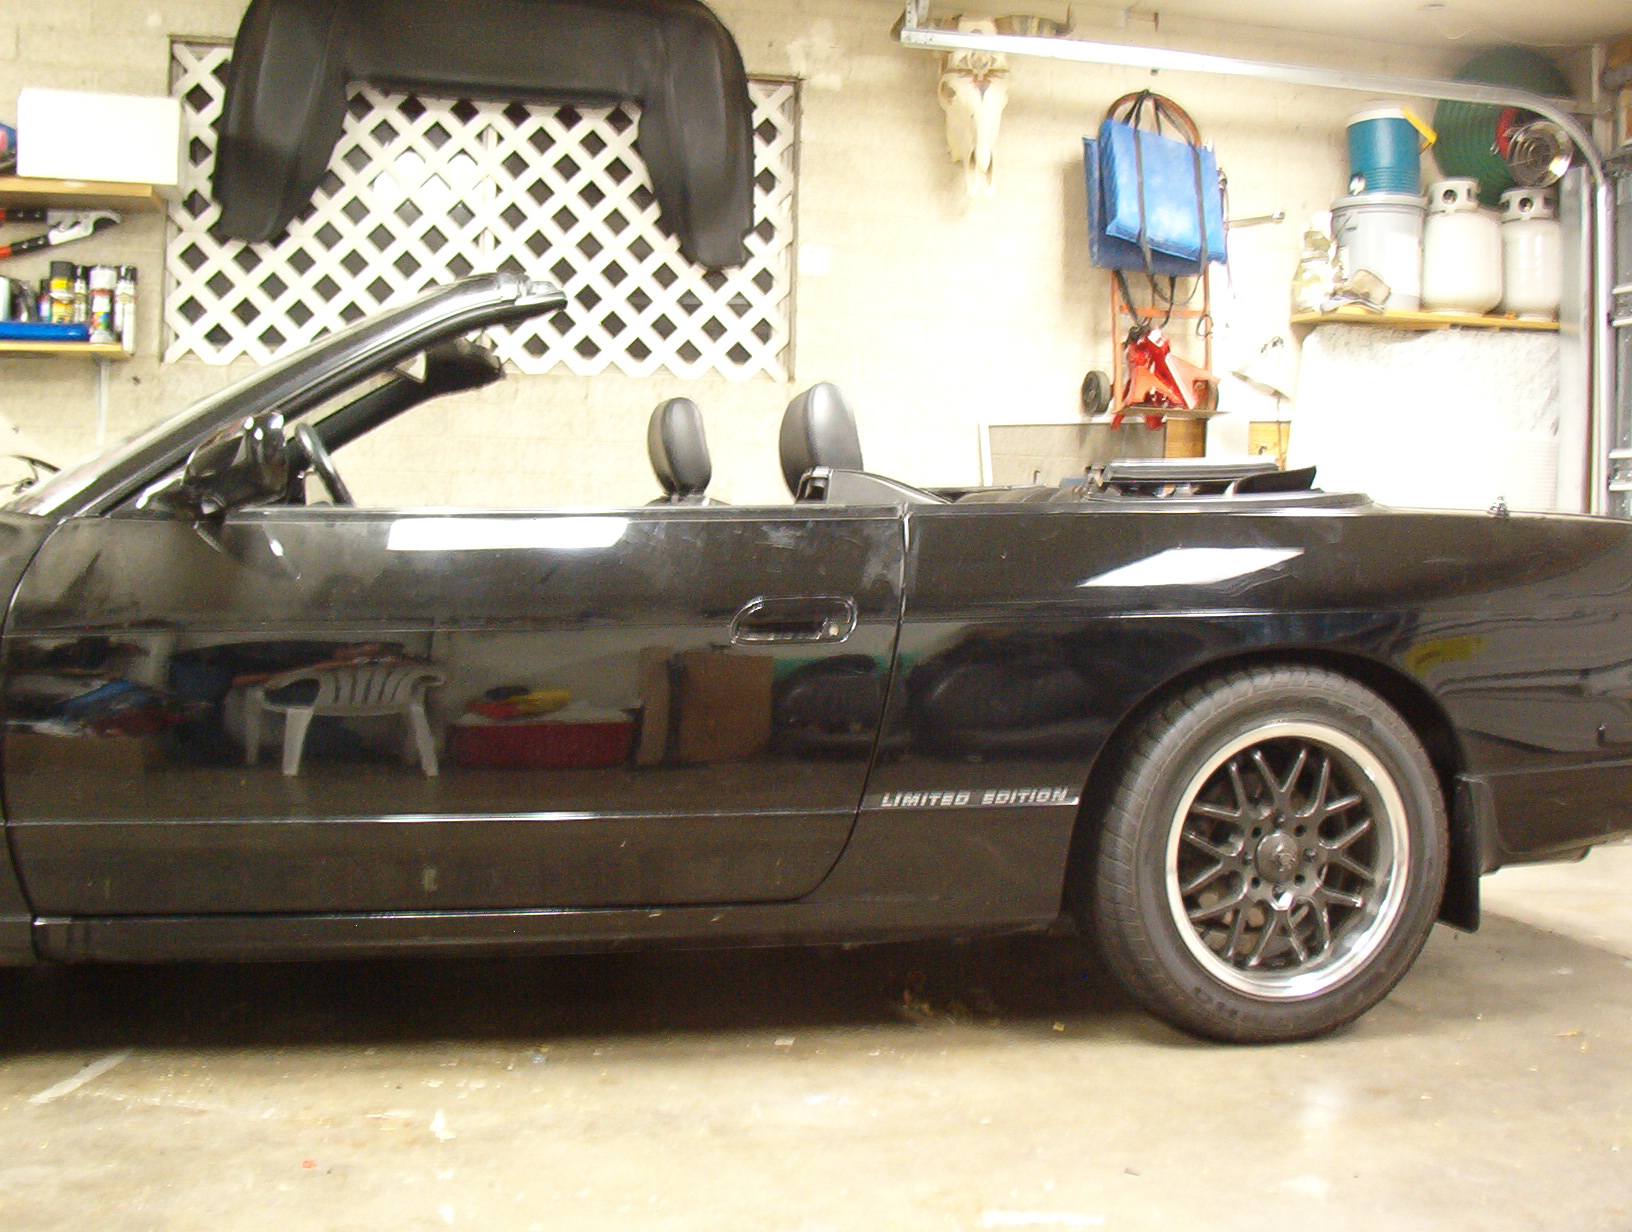
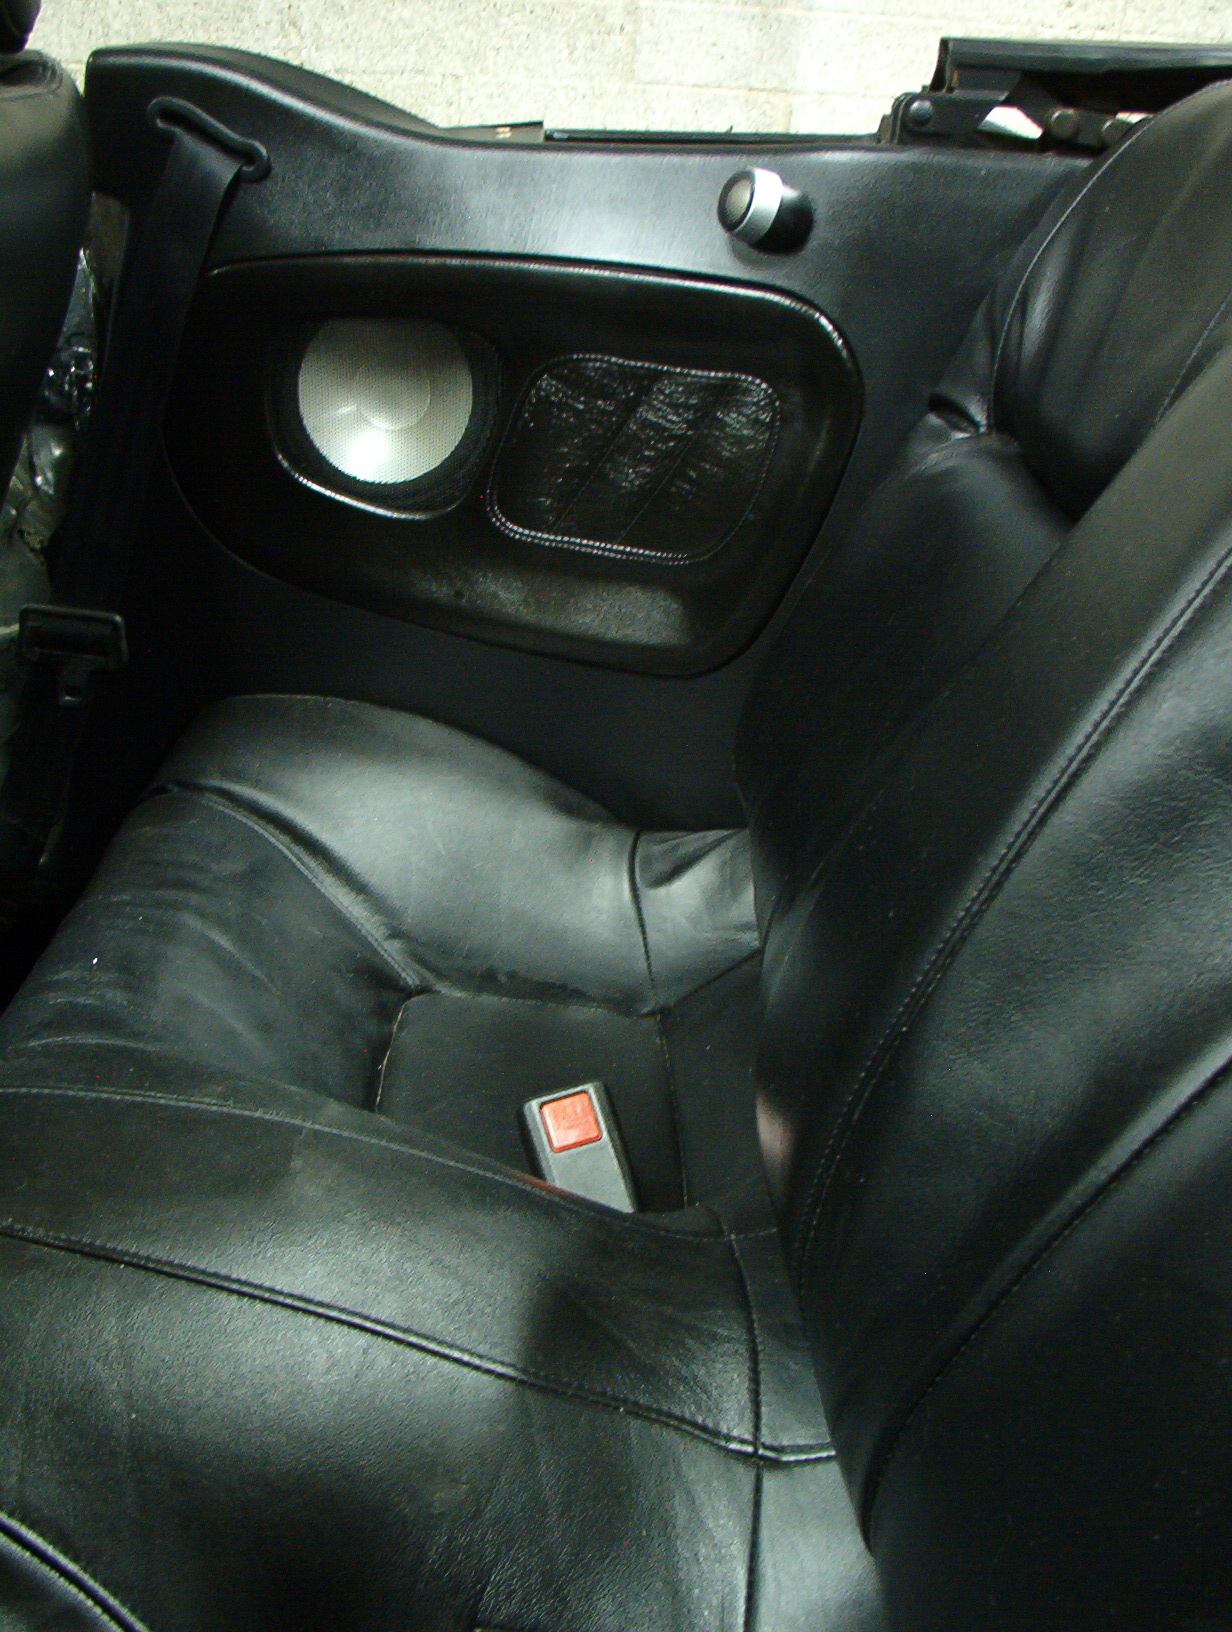
Some interior pics (before cleanup)…
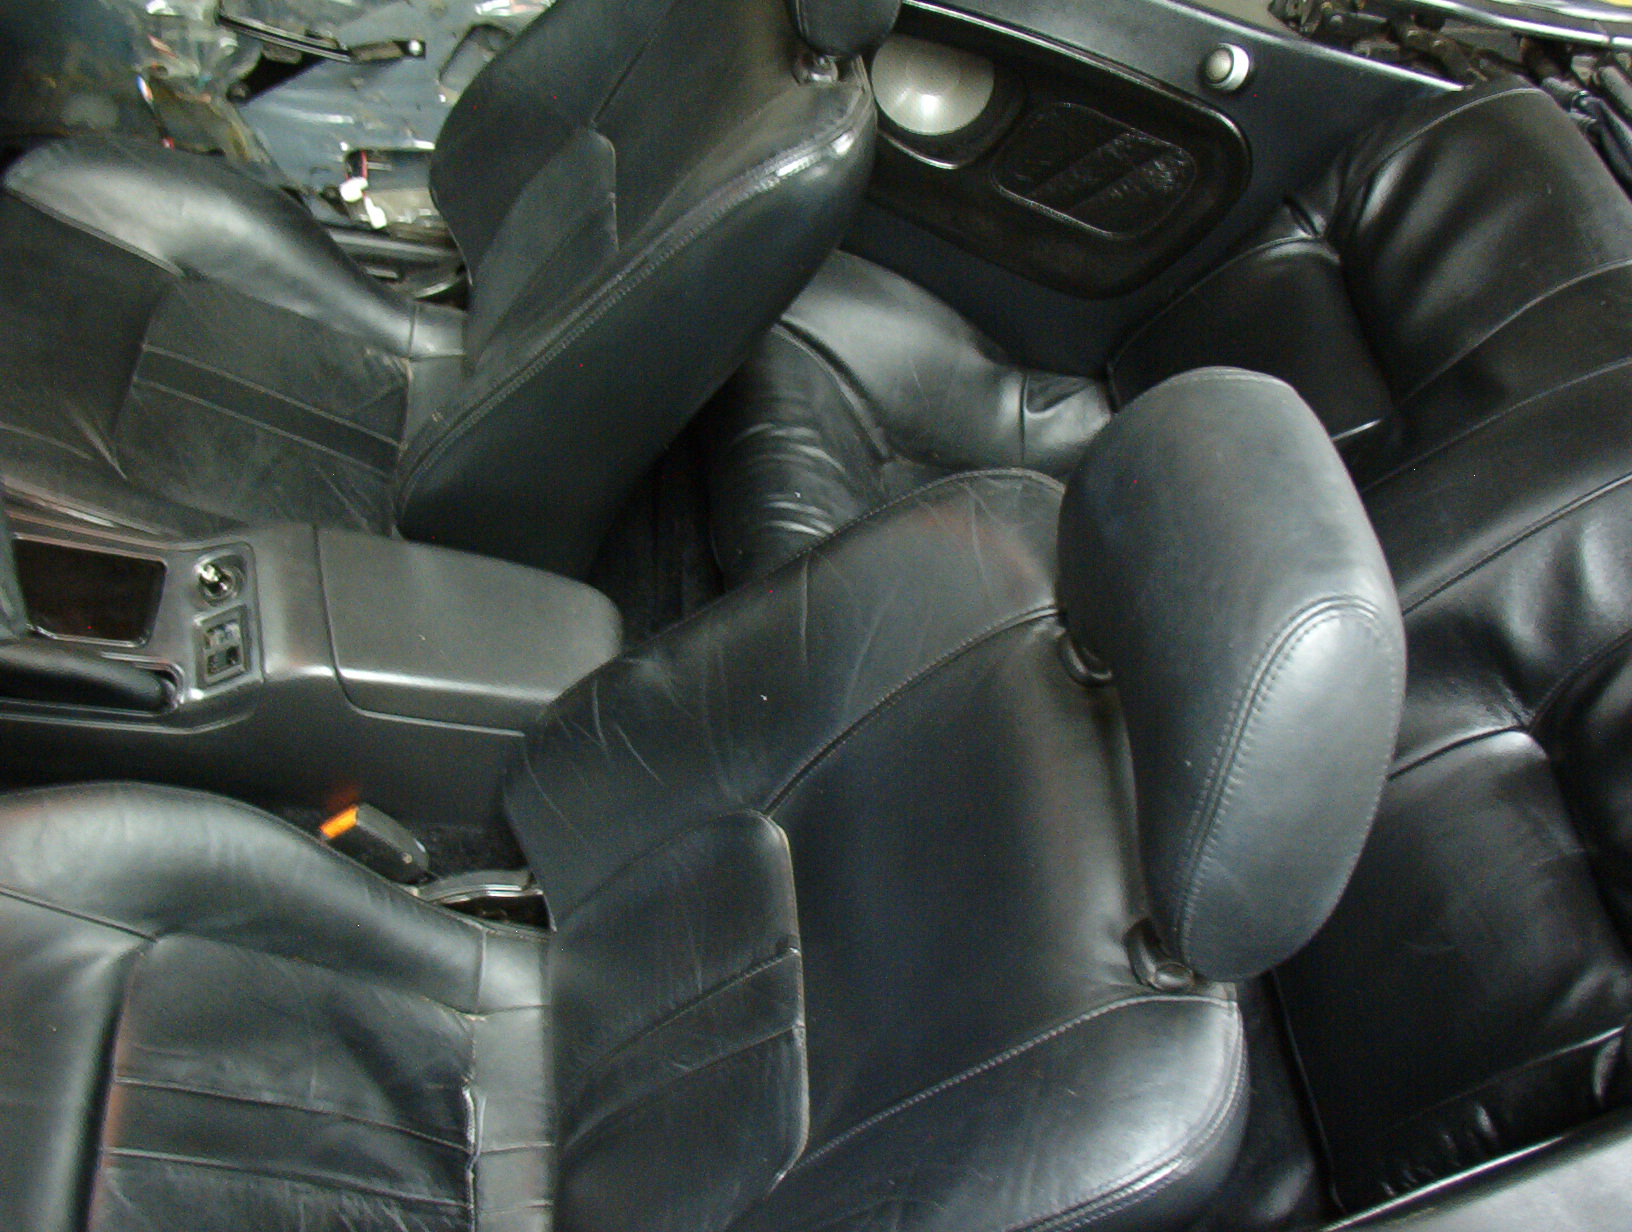
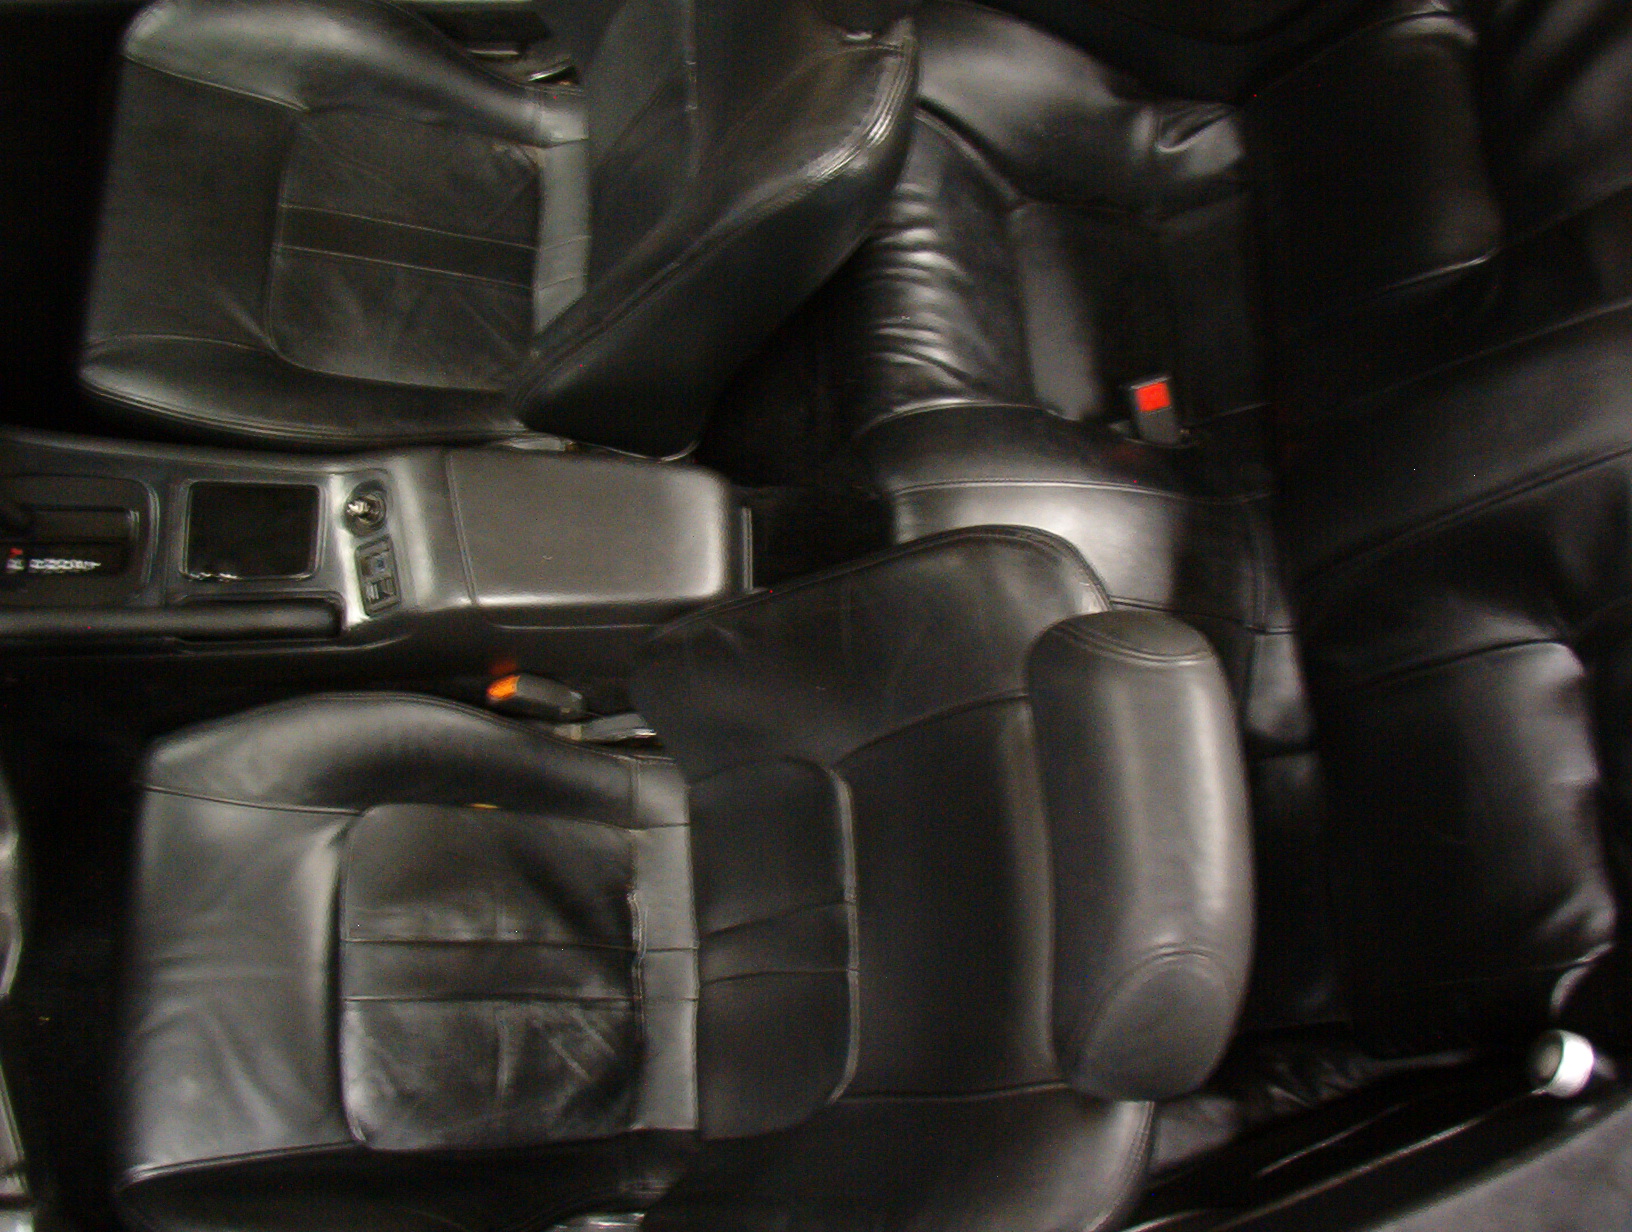
Sleek, light, pillar-free and needing a BATH!!!
S14 rear seats (heavily modified) WILL fit, but only after 20+ hours of modification! I recommend reupholstering your existing seats!
Questions, comments, or just want to share a better way you’ve found? Click the following link:
Nissan 240sx Convertible Door Pillar Removal and Seat Belt Modification – Discussion Thread
Like this article? Share it with the world!