How to Install Aerocatch Hood Locking Pins on a Carbon Fiber 240sx Hood
I’ve always been a proponent of using Aerocatch hood pins with carbon fiber hoods. However, the typical hood pins out there, although functional, have less than stellar form (i.e. Sparco hood pins). The ones that have some form, don’t work too well (i.e. carbon fiber key lock pins which have been known to not hold the hood in at all because of the weak lock-to-hood design).
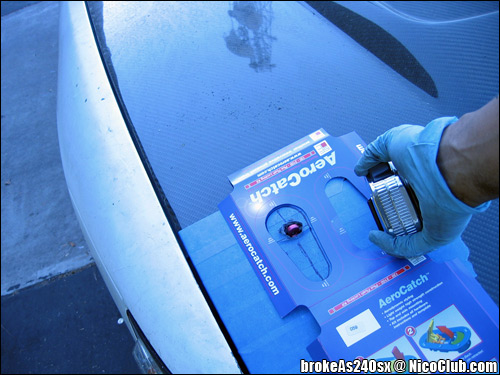
More expensive than normal hood pins, but significantly more pleasing to the eye and race proven.
There are a couple DIY’s out there on the web, and I thought I’d do the 240 community a service by detailing an application specific one for our cars. The following was done on an S13 w/ silvia front and carbon fiber hood. Installation is for an Aerocatch hood pin and latch set, but basic steps can be applied to other hood pin and latch kits also.
Also, after this article was completed, we found another really cool product that will make your AeroCatch hood pins MORE functional and WAY easier to install: Password JDM AeroCatch Mounting Plates!
Tools:
– Basic tool set (wrenches, pliers, allen keys)
– Drill & drill bit set
– Dremel with sanding and grinding bits
Materials:
– Painter’s tape
– SAR’s mask (or something to block the crazy fiberglass & cf dust)
– Some rags and towels to cover work area and clean up area
– Something to mark the hood pin and leave a mark for drilling (vaseline, hi-liter, etc)
– Sharpee or equivalent to stencil out hood latch location
– Silicone/RTV sealant (recommended, but not required)
– Baby powder (for your arms, helps keep fiberglass off)
Procedure:
Step 1: Clean Up and Mask Off Work Area
– The work are will get filled w/ dust, but you want a clean as possible area to work on
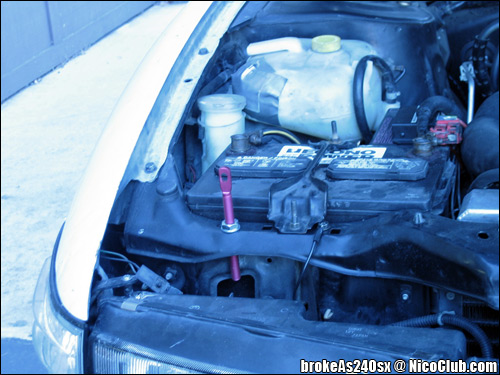
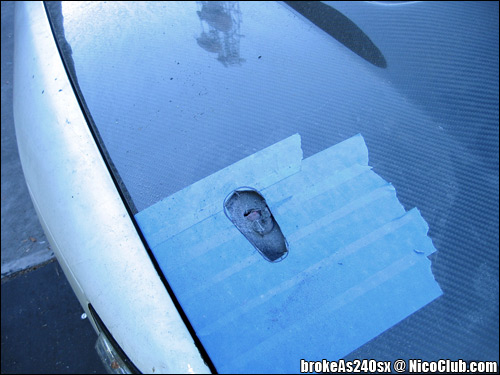
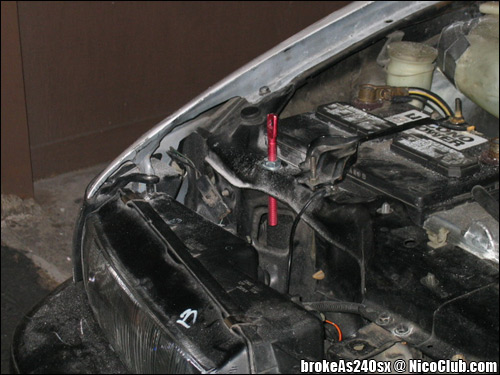
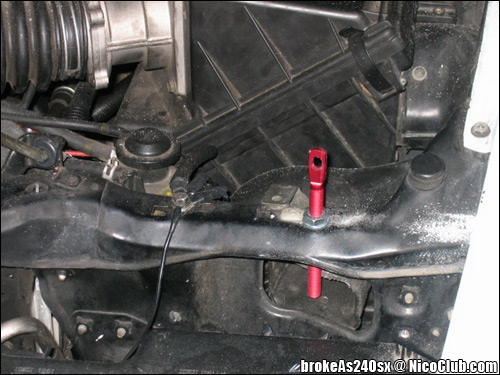
– Mask off the area you will be installing the hood pin and latch (both on top of carbon fiber, and below hood where the fiberglass skeleton is). For my particular hood, I decided to have the mechanism further toward the outside. I used stock holes (furthest square holes on headlight/radiator support closest to fenders on both sides). This provides a nice relatively even surface to mount the hood pin setup.
– Note: Aerocatch recommends facing the narrow end of the hood pin latch toward the front of the car – can also be slightly angled if desired. The maximum latching angle from hood pin to latch is suppose to be 15 degrees. The mounting location I chose seems to be pretty close to those specs.
Step 2: Start Drilling
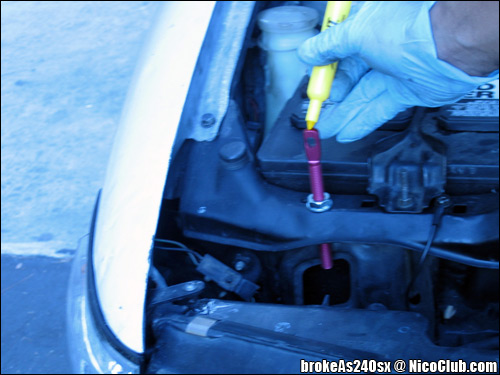
– Mark the top of the hood pin with something (either Vaseline, hi-liter, etc). Lower the hood, which will leave a mark on the painter’s tape. This will be where you start drilling.
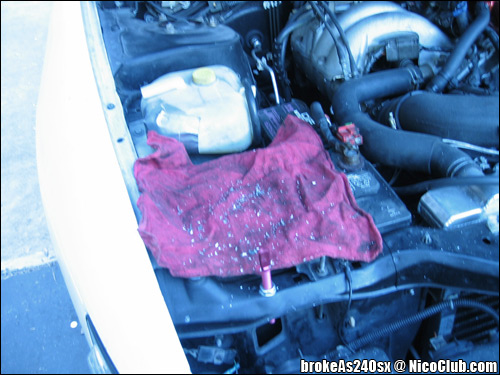
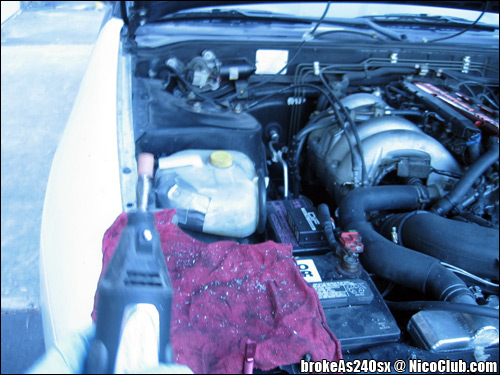
– We progressively moved from a 7/32″ drill bit to a 1/2″ drill bit, making sure the hood pin is lined up with the drilled hole. This is where the SAR’s mask comes in handy! Also, cover the engine area with some rags/towels to keep fiberglass and carbon fiber from getting all over your beautiful engine bay.
– At this point, you can notch out the hole a little more. You want to do just enough for the hood pin to stick out through the carbon fiber. This can be done with a Dremel with either a sanding or grinding bit.
– Measure twice, drill once… take your time, as you don’t want to have to buy a new carbon fiber hood from drilling the wrong location.
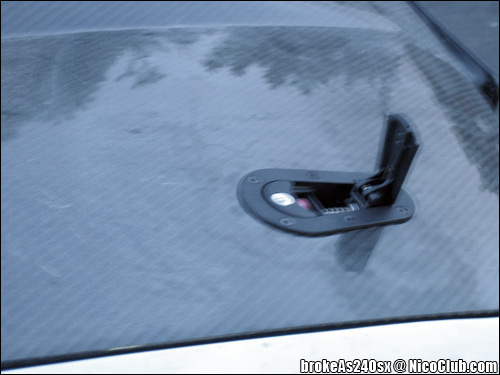
– At this point, for normal hood pins, you can just enlarge the hole a little more, and put the latch on top. Then adjust the pin height and you are basically done. The Aerocatch latch requires additional cutting.
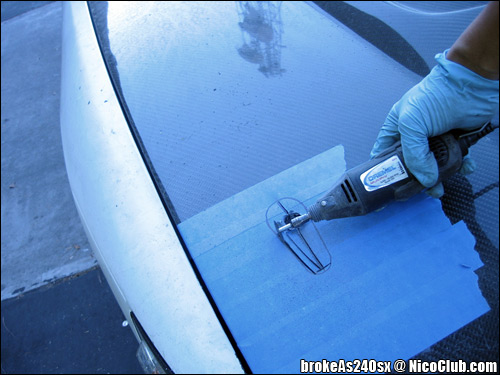
Step 3: Stencil and Grind
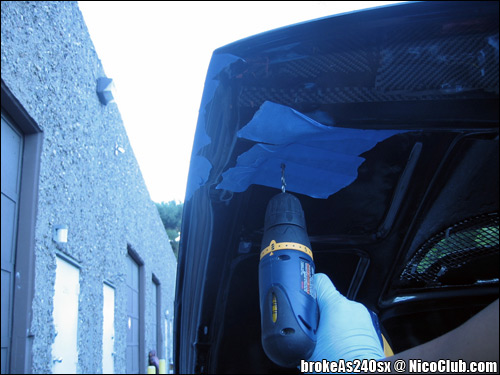
– Use the supplied stencil from Aerocatch and trace the pattern onto the painter’s tape.
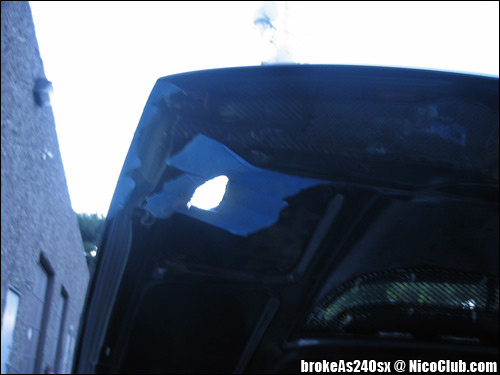
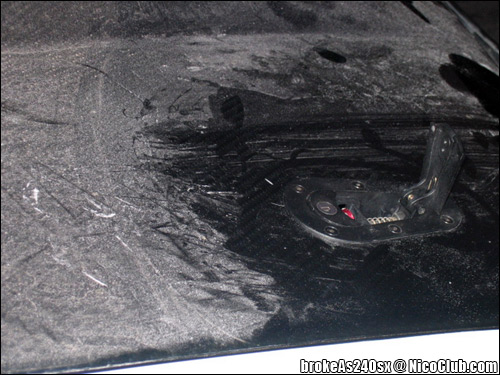
– Use a Dremel with grinding wheel and cut out the pattern. Note that you will most likely have to cut two layers: carbon fiber layer on top and fiberglass skeleton below. The skeleton below should be cut about 1/2″ larger than the carbon fiber area to allow room for installing the bolts & nuts. The baby powder recommendation comes in handy during this phase. The baby powder on your forearms will keep the fiberglass dust particles from sticking and itching. If you don’t, don’t come crying to us when you are still scratching yourself 3 days after the install!
– Once the basic shape is cut out, switch to a sanding bit and smooth out the rough edges and make the hole just large enough to fit the latch.
– Drill the 6 holes for each latch w/ a bit just large enough to fit the holes (I believe it was 7/32″ bit, but can be mistaken).
– Clean off the area again.
Step 4: Apply Lube & Screw It!
– It is recommended to seal up the areas you have just drilled/grinded/sanded to keep the carbon fiber from any possible cracking/spidering/etc.
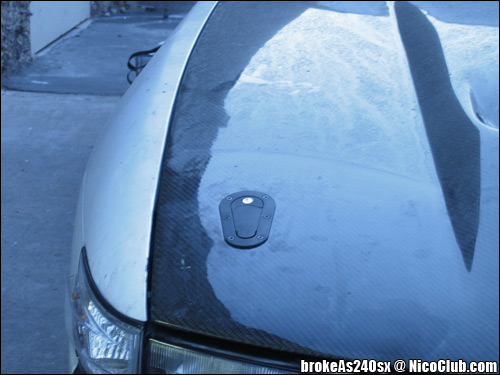
– Attach the hex screws & washers/nuts supplied with your kit. Screw it down just tight enough to keep it from moving – if you screw them in too tight, you may crack the carbon fiber. The nuts supplied are lock nuts, so they won’t loosen themselves.
– Adjust your hood pins accordingly so that they line up and close correctly. I spent a good 30 minutes on just this step, so some patience is required. Ideally, the hood should open and close freely while the latch is up. When the latch is locked, it should not put much pressure on the hood at all (i.e. make the carbon fiber hood bend).
– You can also cut the supplied rubber spacers supplied to length and attach them for some extra hood support and pimpness (not shown in pictures).

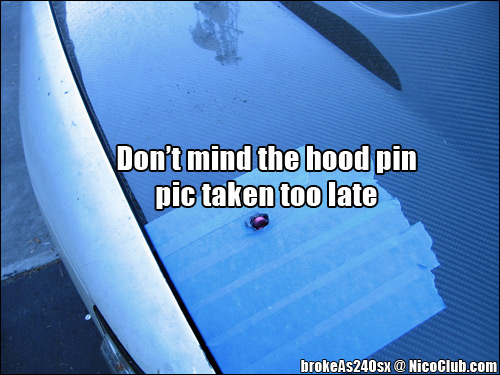
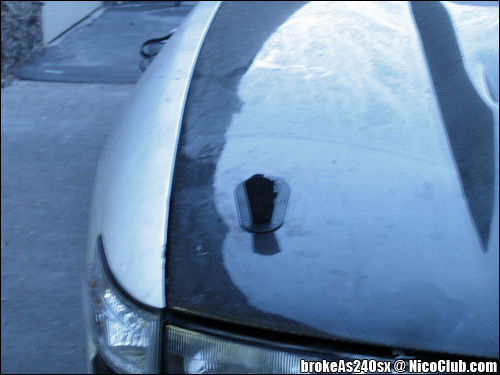
Step 5: Finished
– Now you can drive around town and show off your sleek hood pins, although they may not be noticeable because of their crazy sleek low-profile design!
– Note: You will obviously want to unlock and unlatch your hood pins before unlatching your hood from the stock latch… Make sure to do so first to prevent any nasty results from the pressure applied onto the hood pin latches by releasing stock latch prematurely!
If you liked this article, you’ll love the rest of our 240sx DIY Articles!