**Thanks to DJPantsSpecR for the awesome KA-tuning information**
Okay, the purpose of this write up is to provide a free solution to a 150 dollar problem.JWT offers these gears for that price, and while they are useful, few people actually find 150 dollars of horsepower here. However, if you want to use a 248 cam on your intake side, you’re going to be retarding that cam 1.7 degrees.This puts the intake opening event .7 degrees before TDC, which is certainly not helping your top end (which is why you have a 248 in there in the first place). So to correctly install a 248 on the intake side you would have to use a 2.5 degree advance, this would make you only .8 degrees advanced over stock.For this write-up i have taken my goals one step further, and i only redrill the gear for a 5 degree advance.
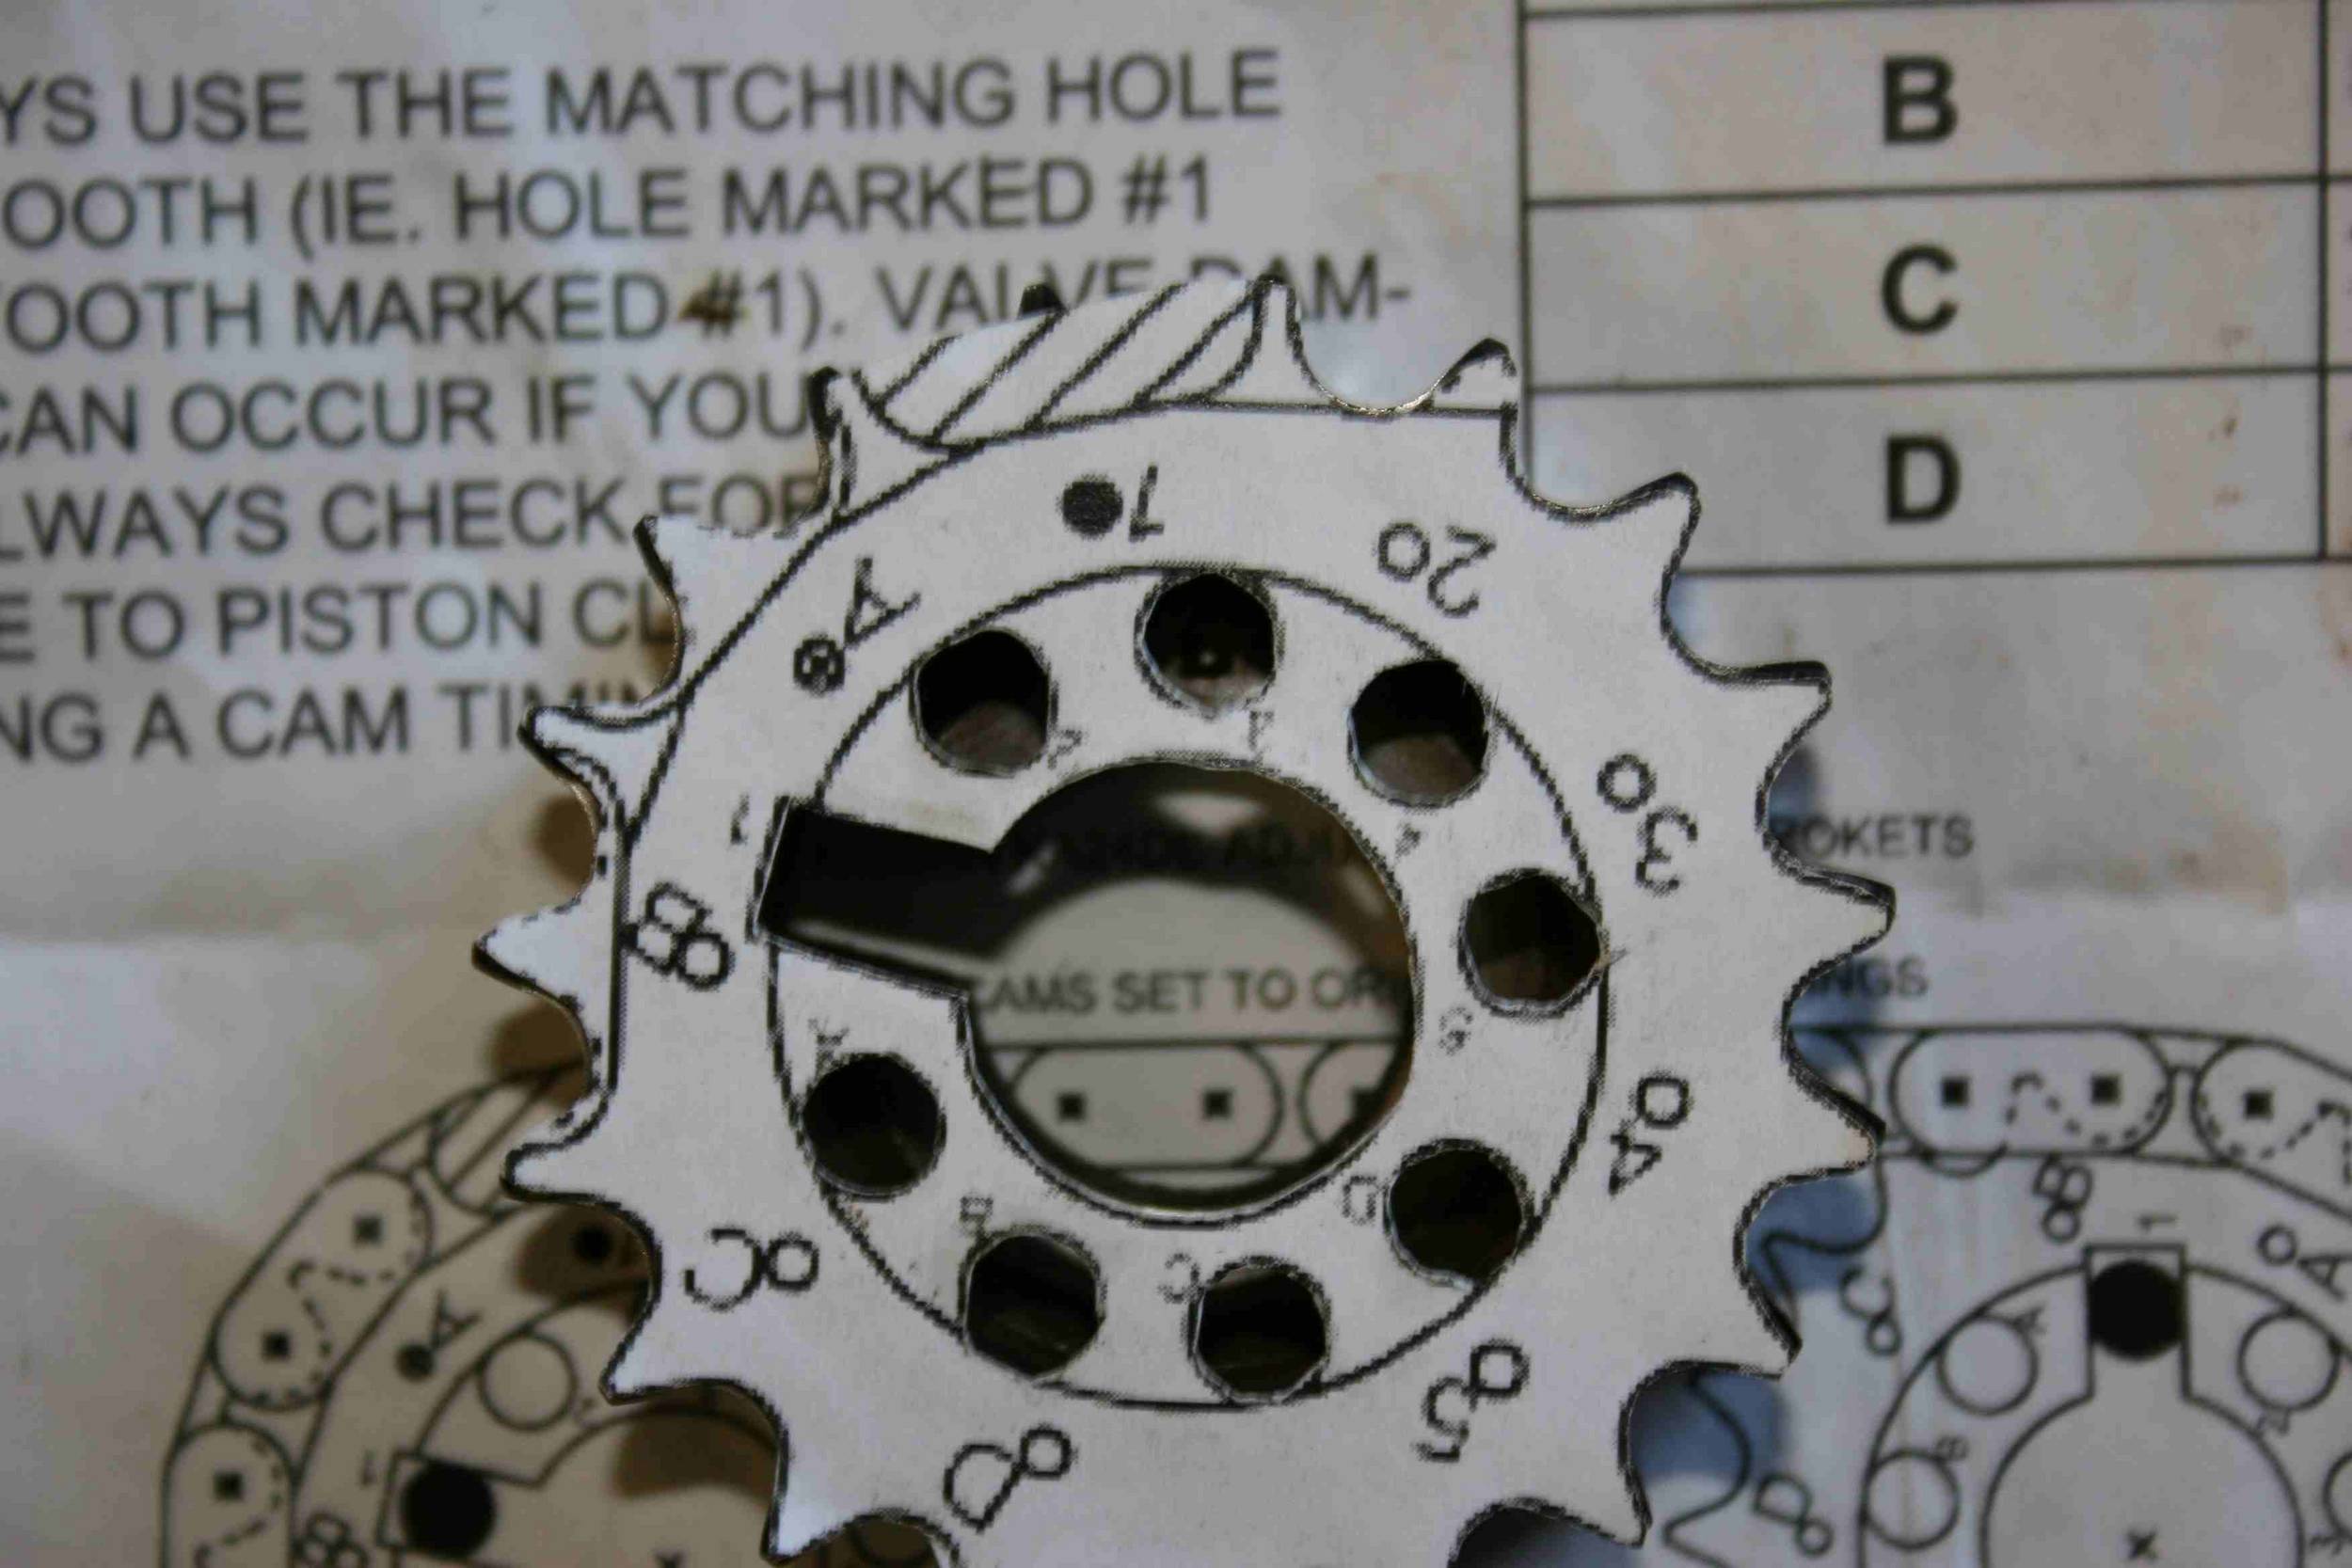
Similarly, you could drill all eight holes, or bring your gears to a maching shop and have them do it with the included template.But if youre like me and all you want is to properly install a 248 on the intake side, then all you need is to drill for 2.5 degrees advance.On the diagram/template 2.5 degrees of advance is the number 2, while stock is number 1.all the other holes can either be found on the JWT cam gear instructions form the site, or on one of my pictures.
For this write-up, i will be finishing with 248/248 with +5 degrees of advance on the intake side.i wouldnt recommend 248/248 to anyone unless they either do +2.5 or +5.
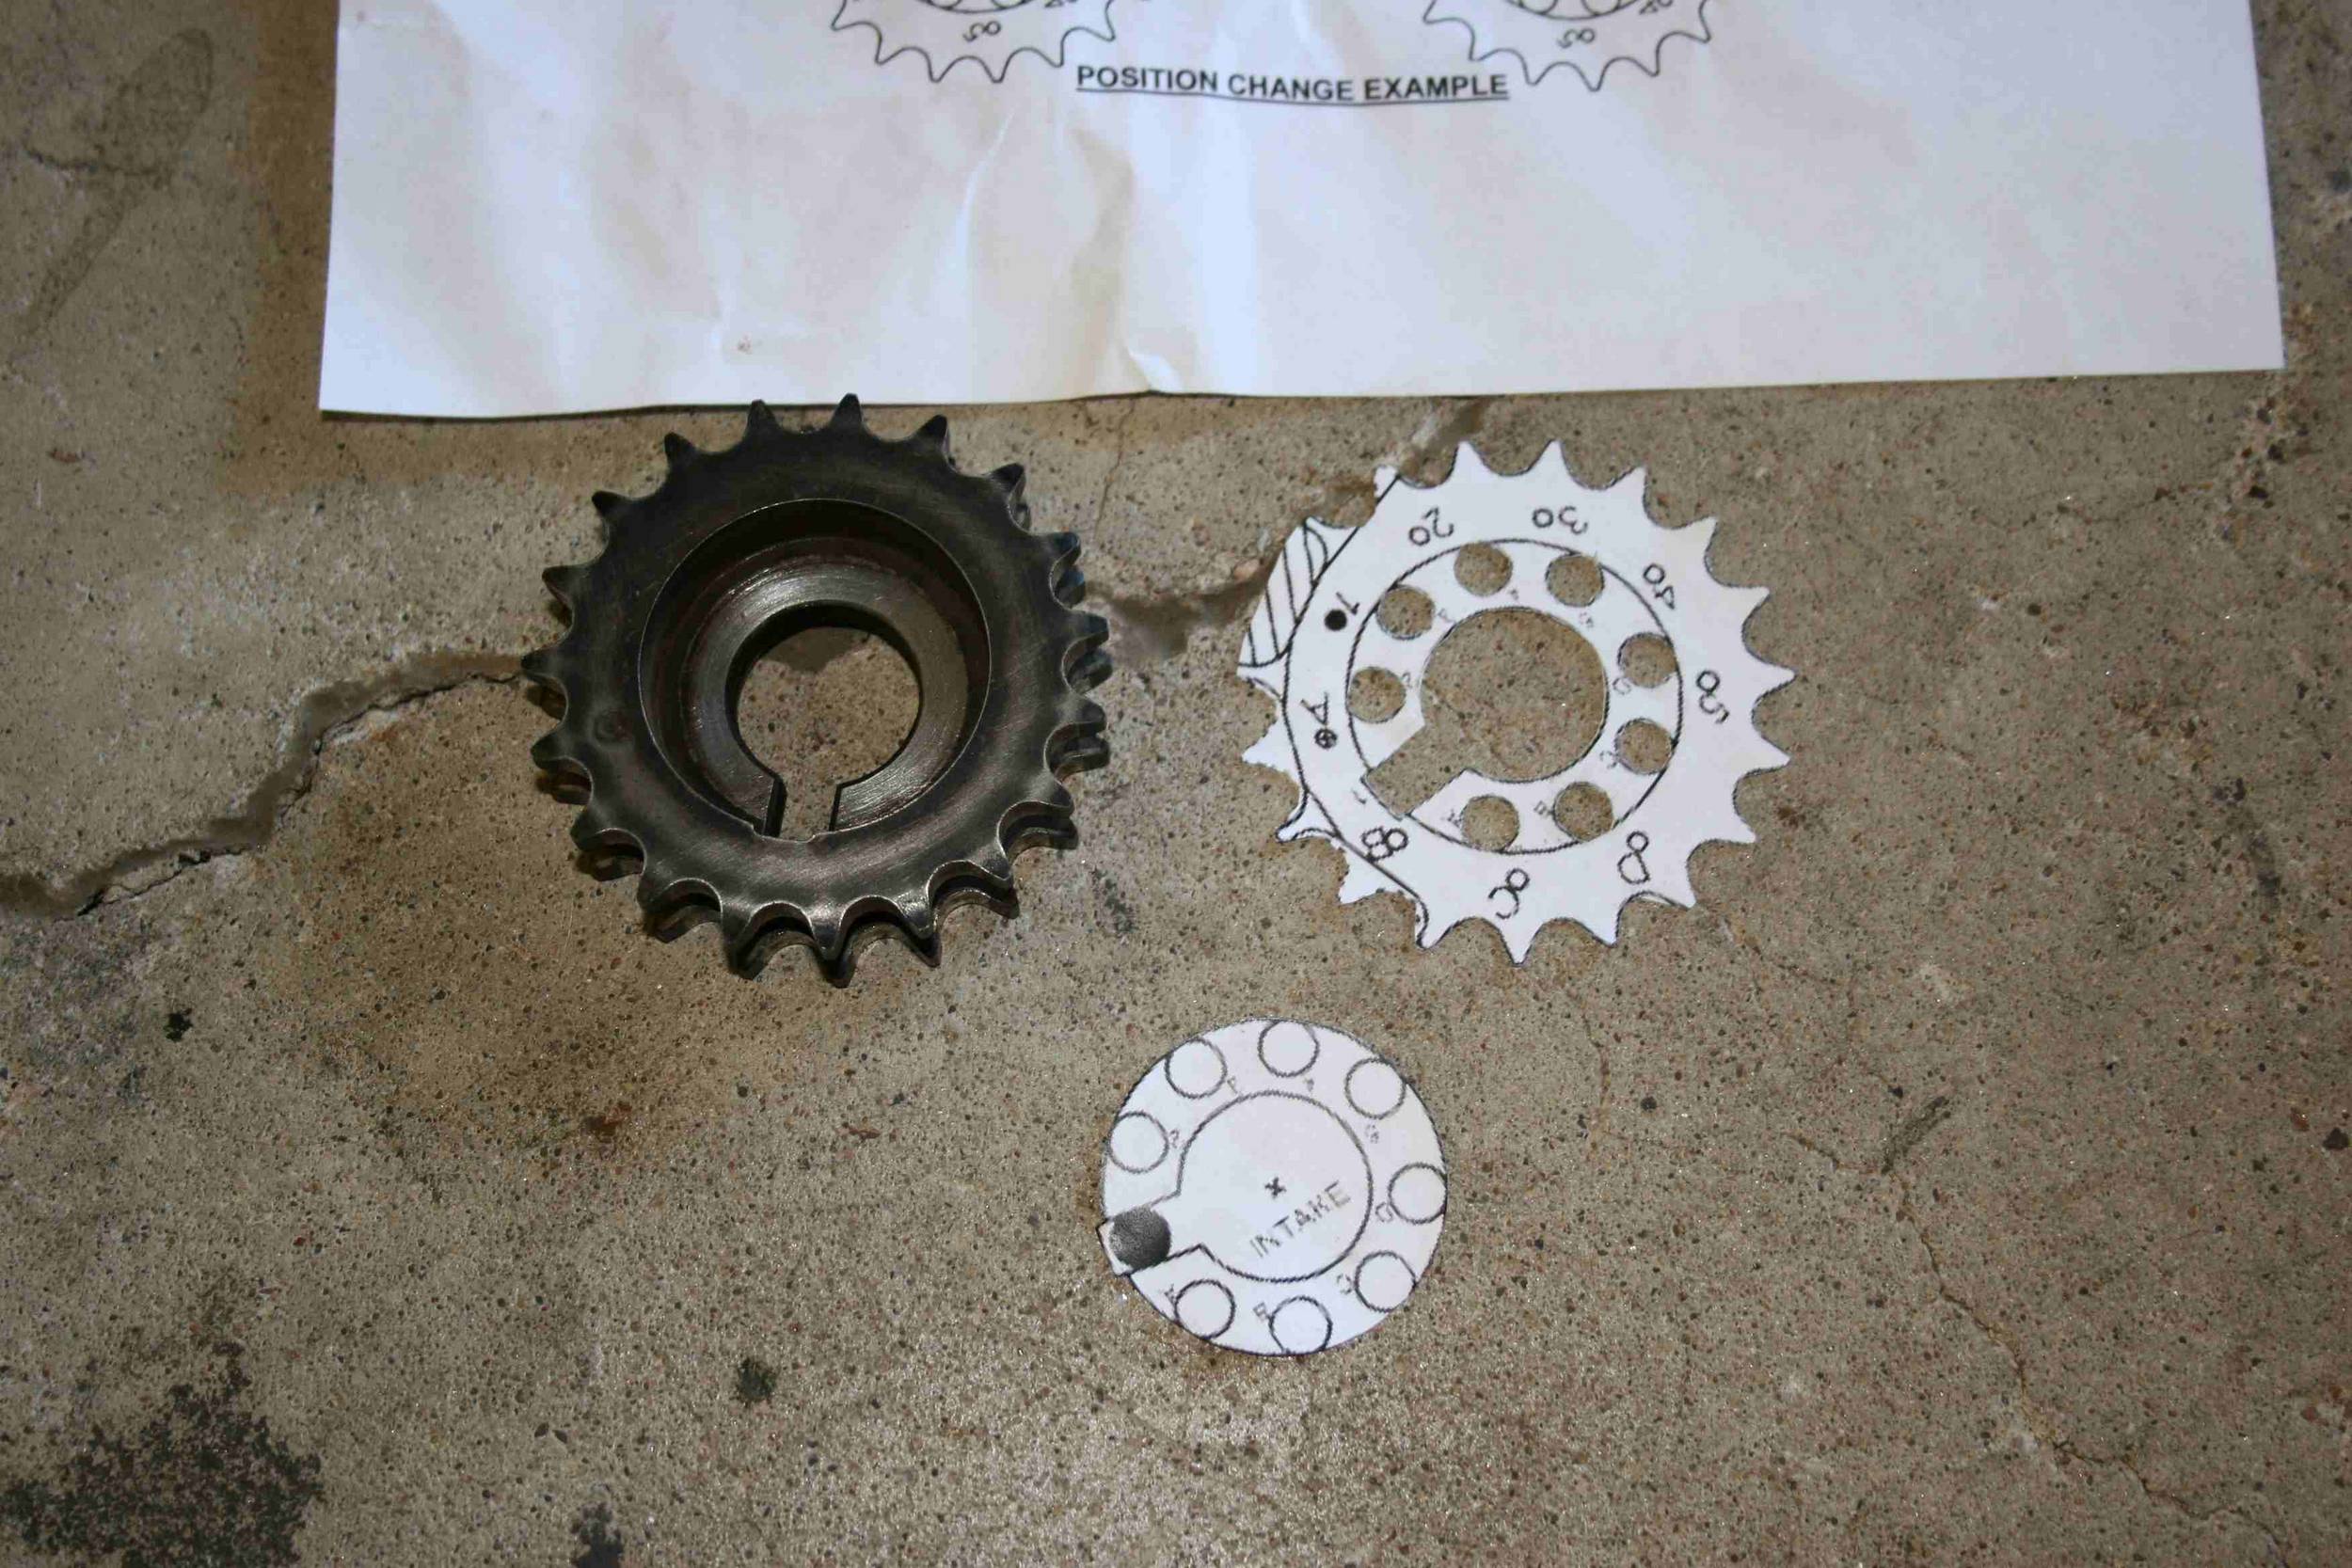
First things first: you must print out this template.i brought it to a 1:1 scale for you, but it only works in photoshop, so you may have to re-size and print to get it to fit.Either way, it is correct, and it fits the gear perfectly.
Now, as for the template you only need to cut out the inner ring.for this picture ive cut both the template and the inner ring.the template is good to have as a check of placement.
Now, place the inner ring into the cam gear, it should fit EXACTLY.
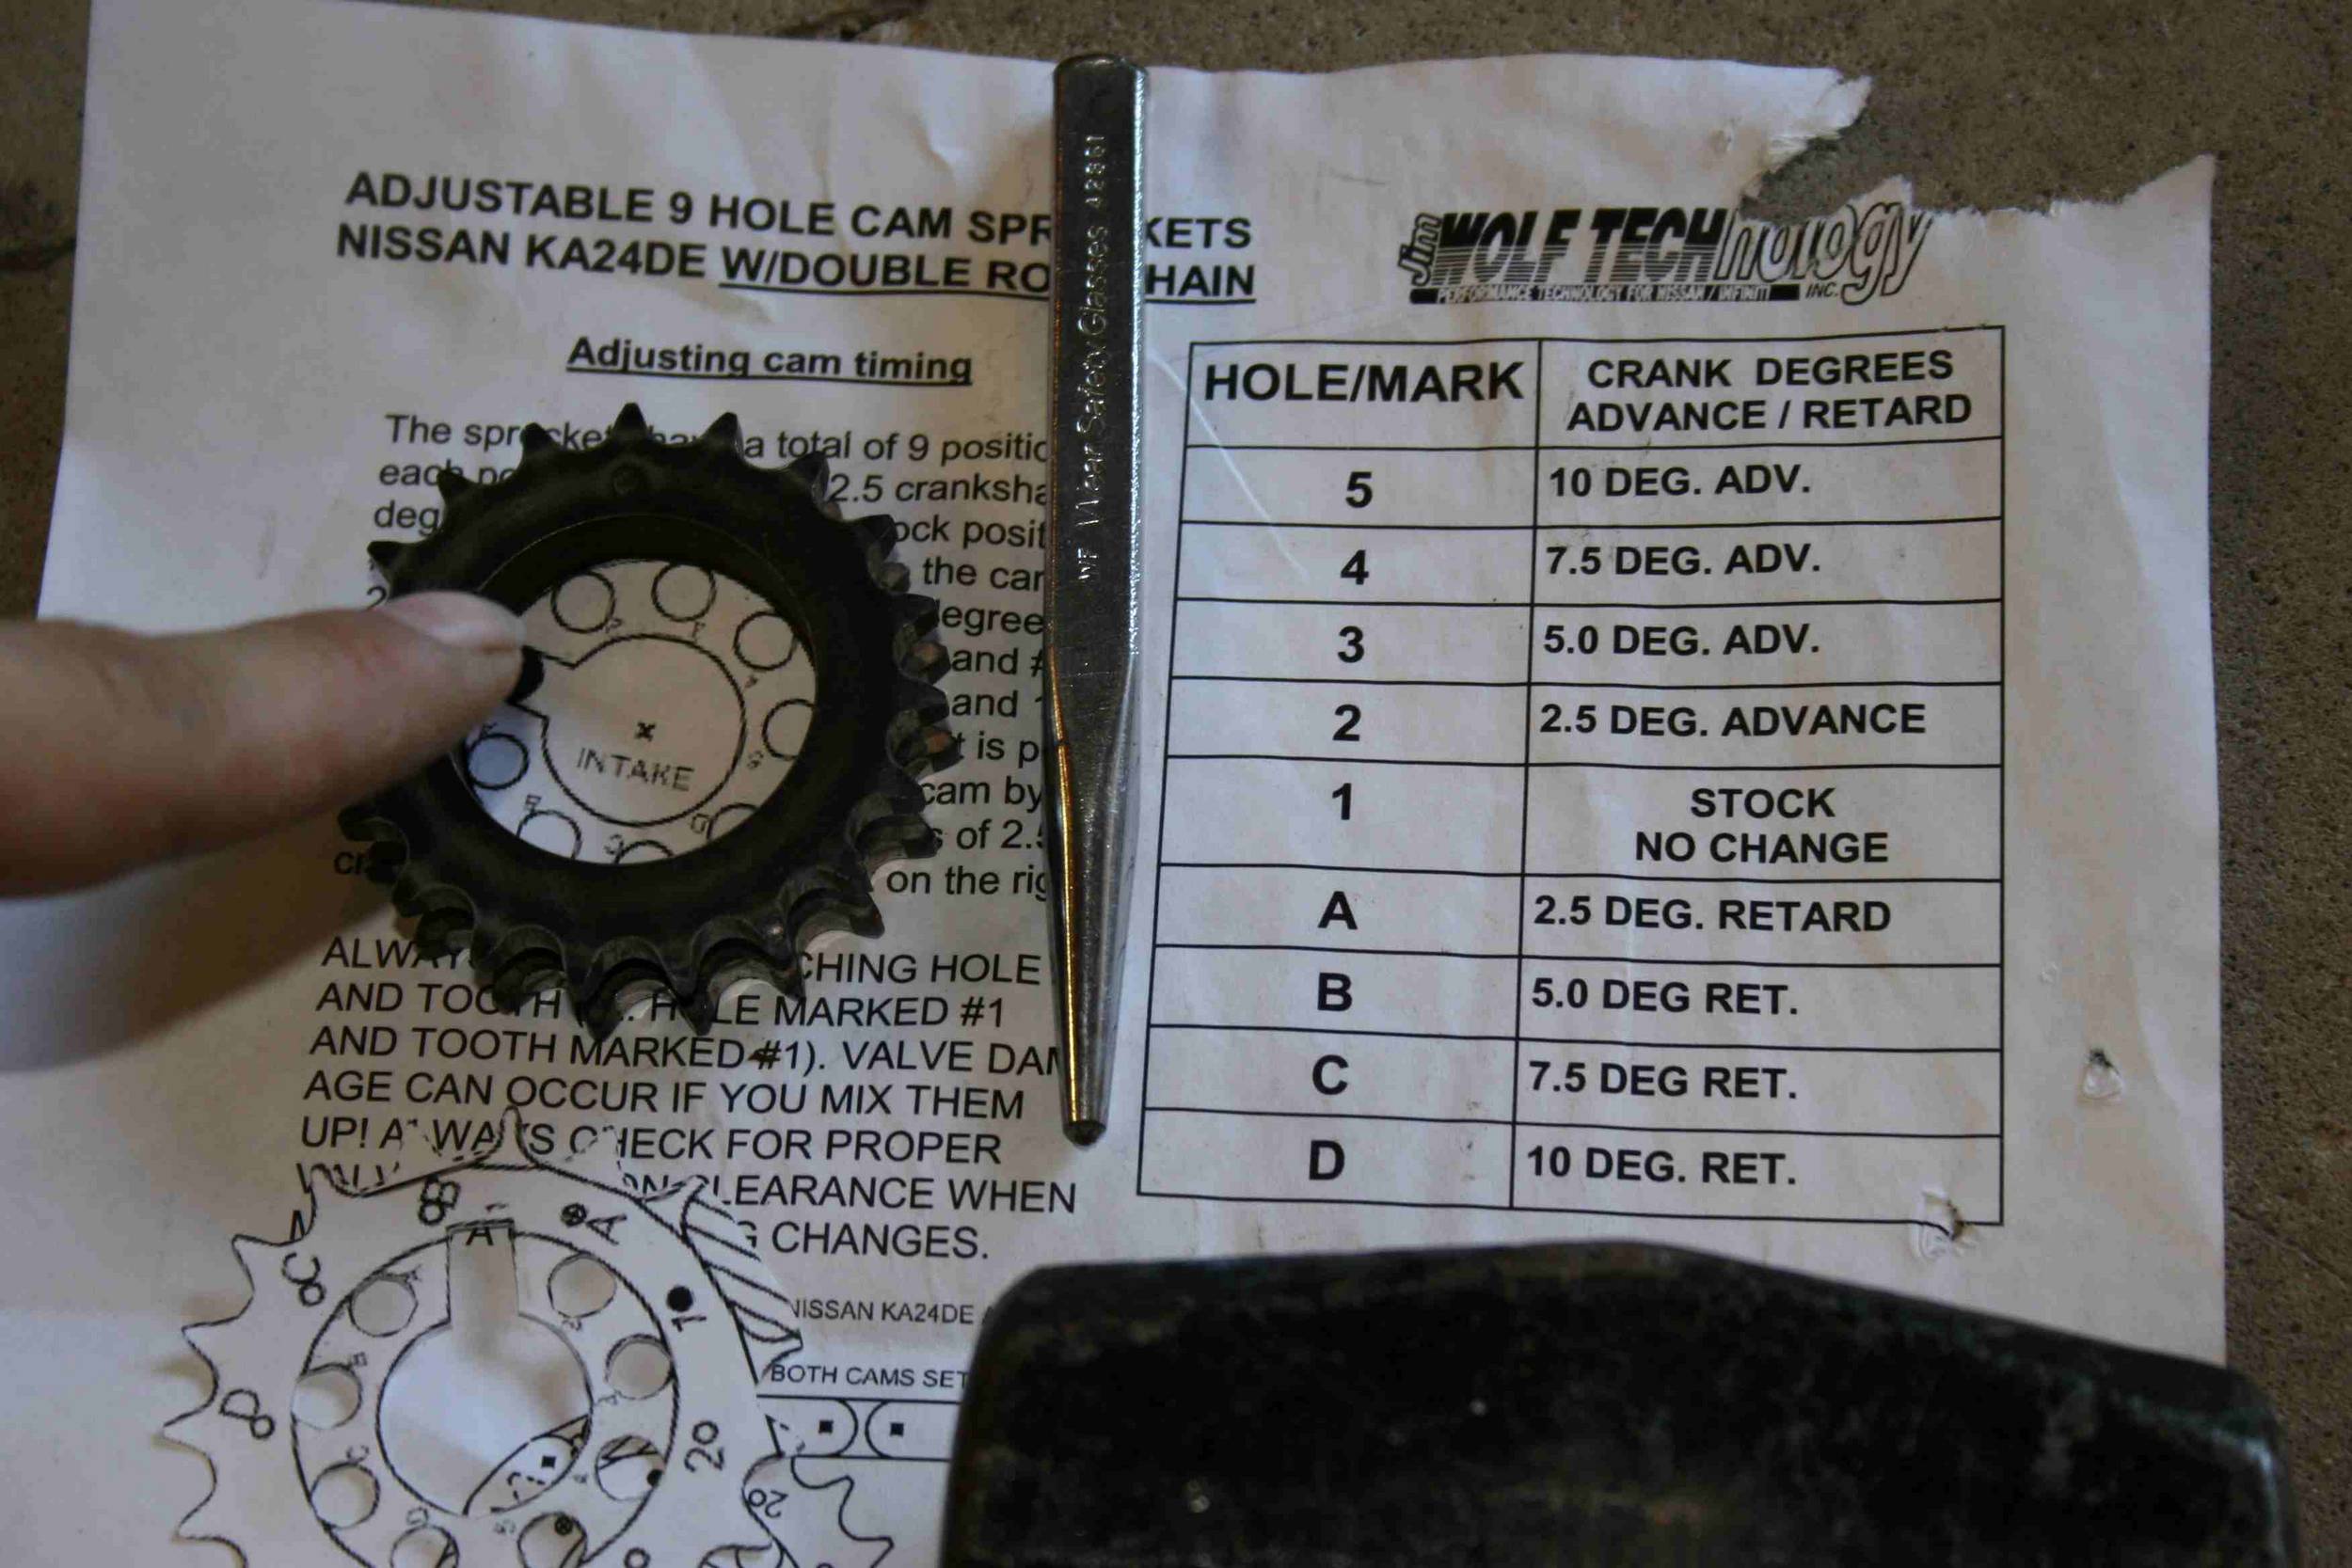
This picture shows your magic formulas for advance and retard.i’ll be using hole number 3 for 5 degrees of advance.Now get out your centerpunch.Put iit exactly in the middle of the “hole” on the template and give it a whack.if you didnt get it in the center, dont even bother continuing.grab another gear if you must.
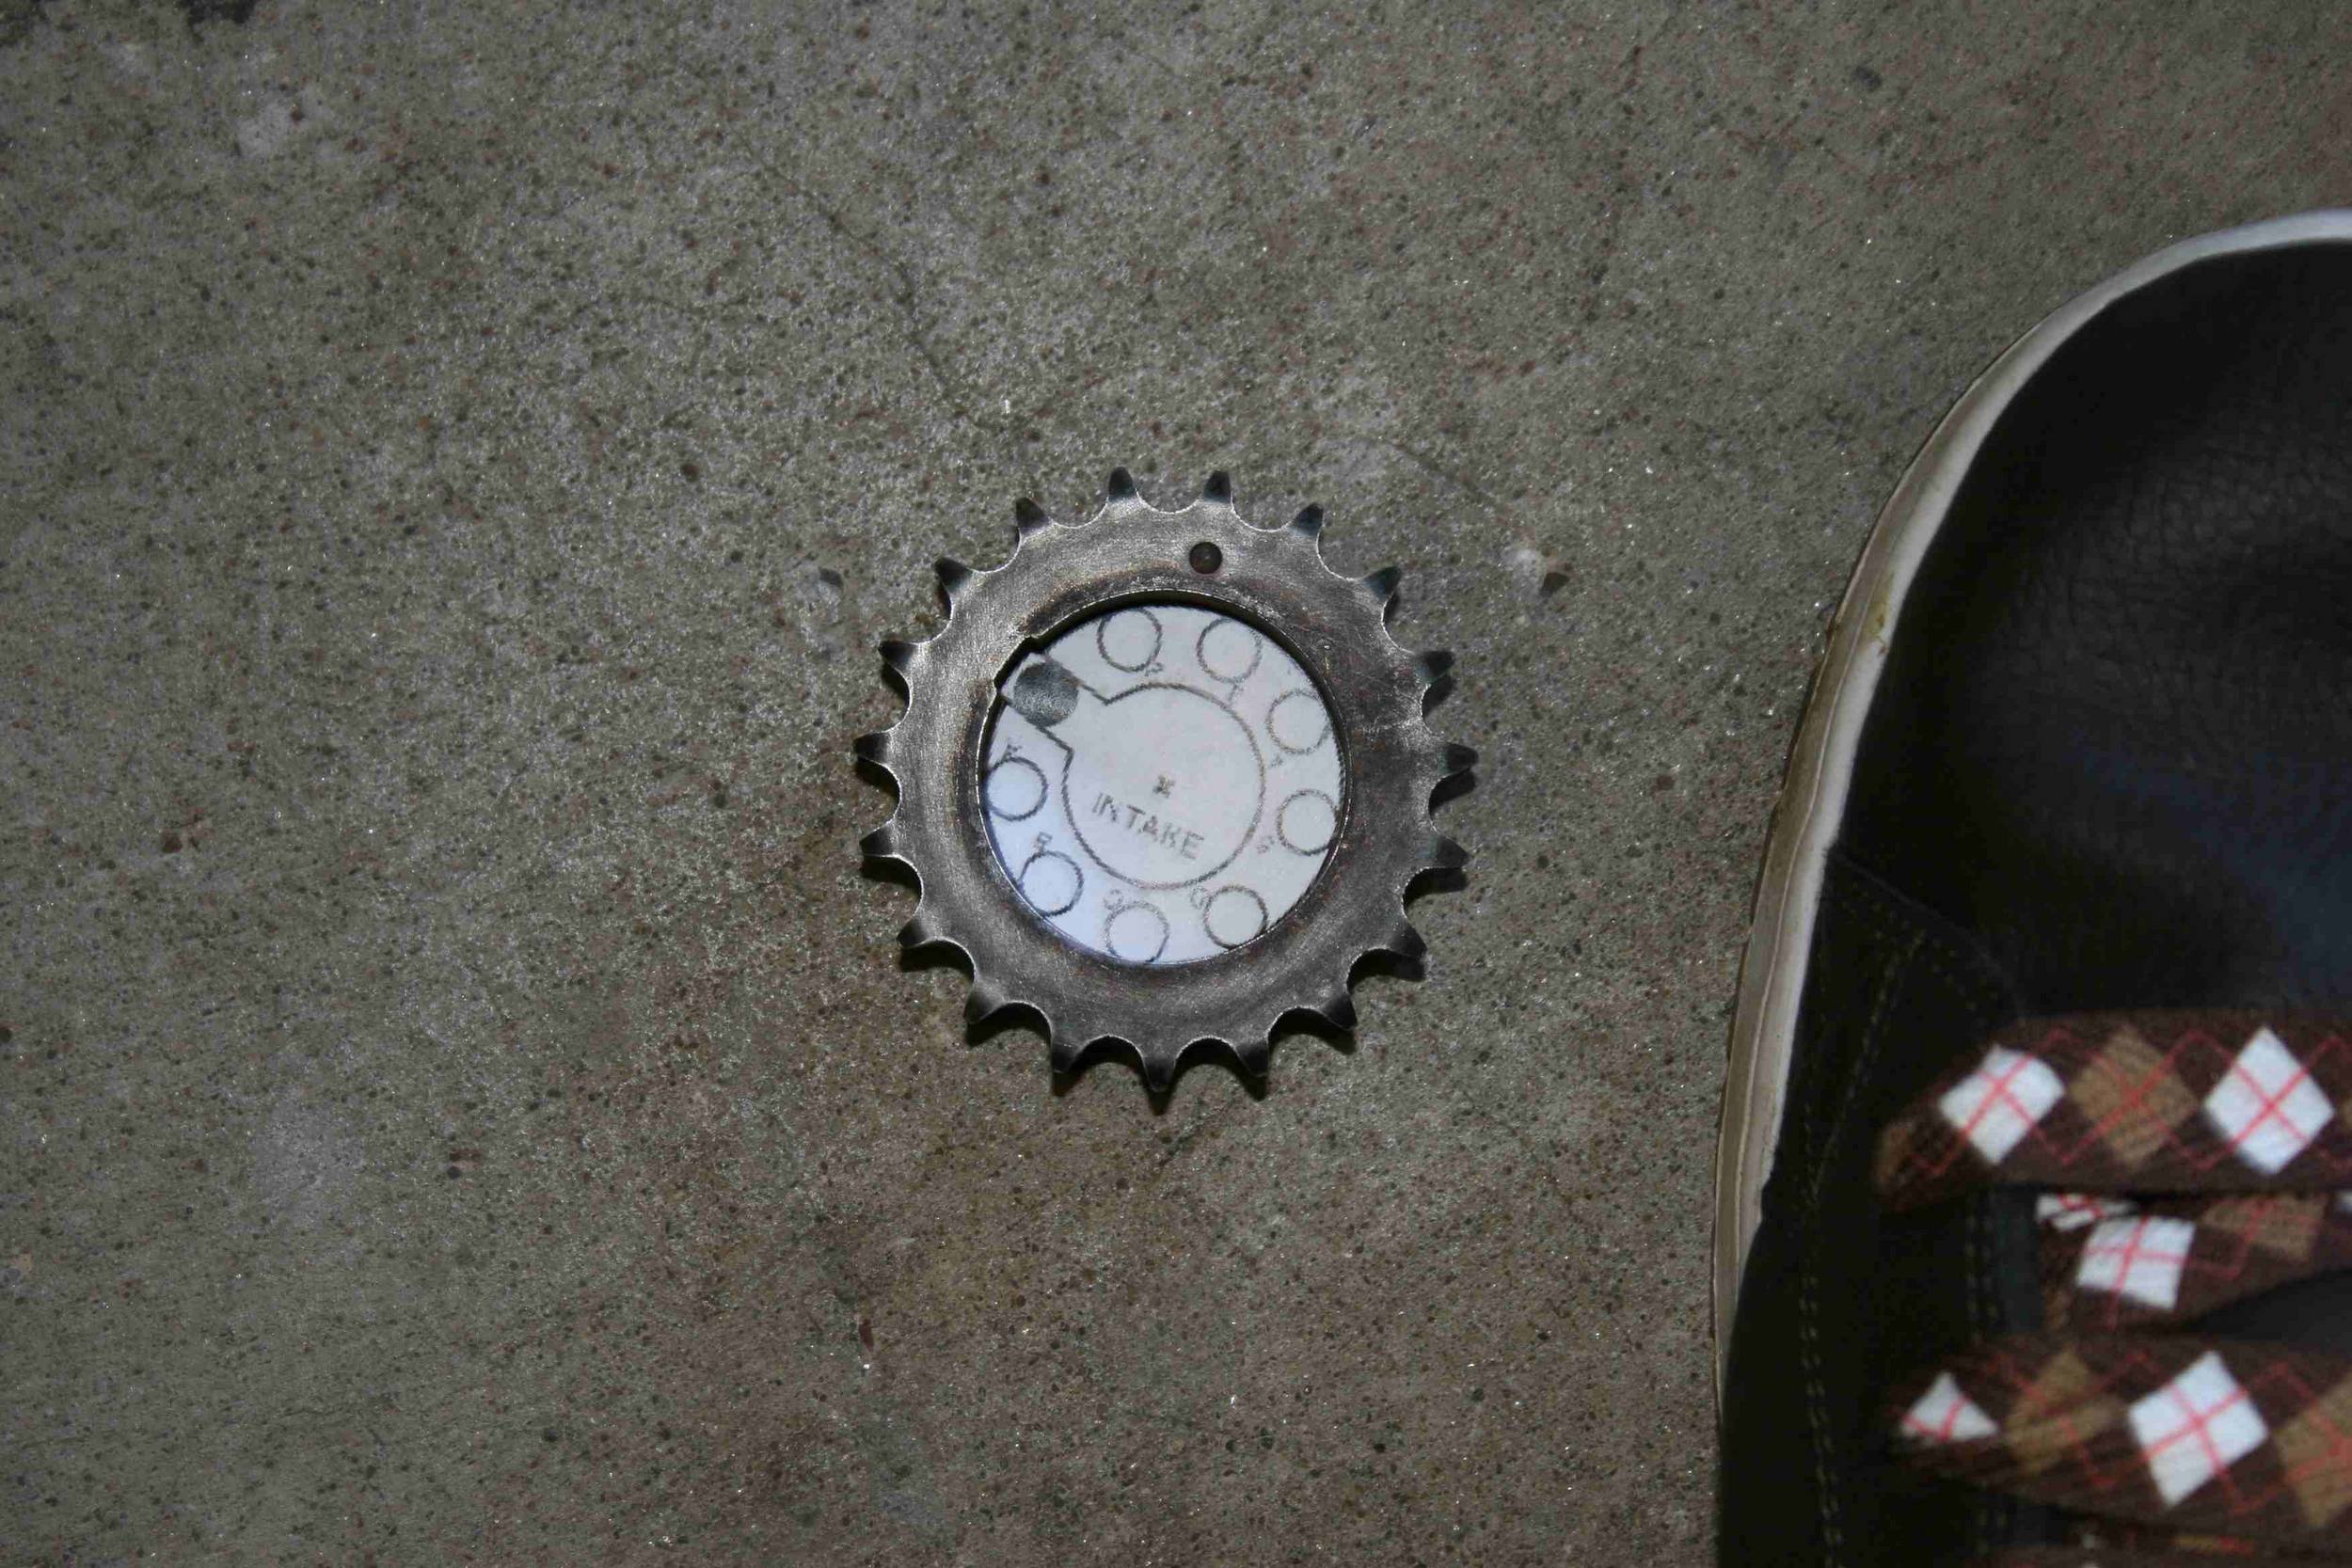
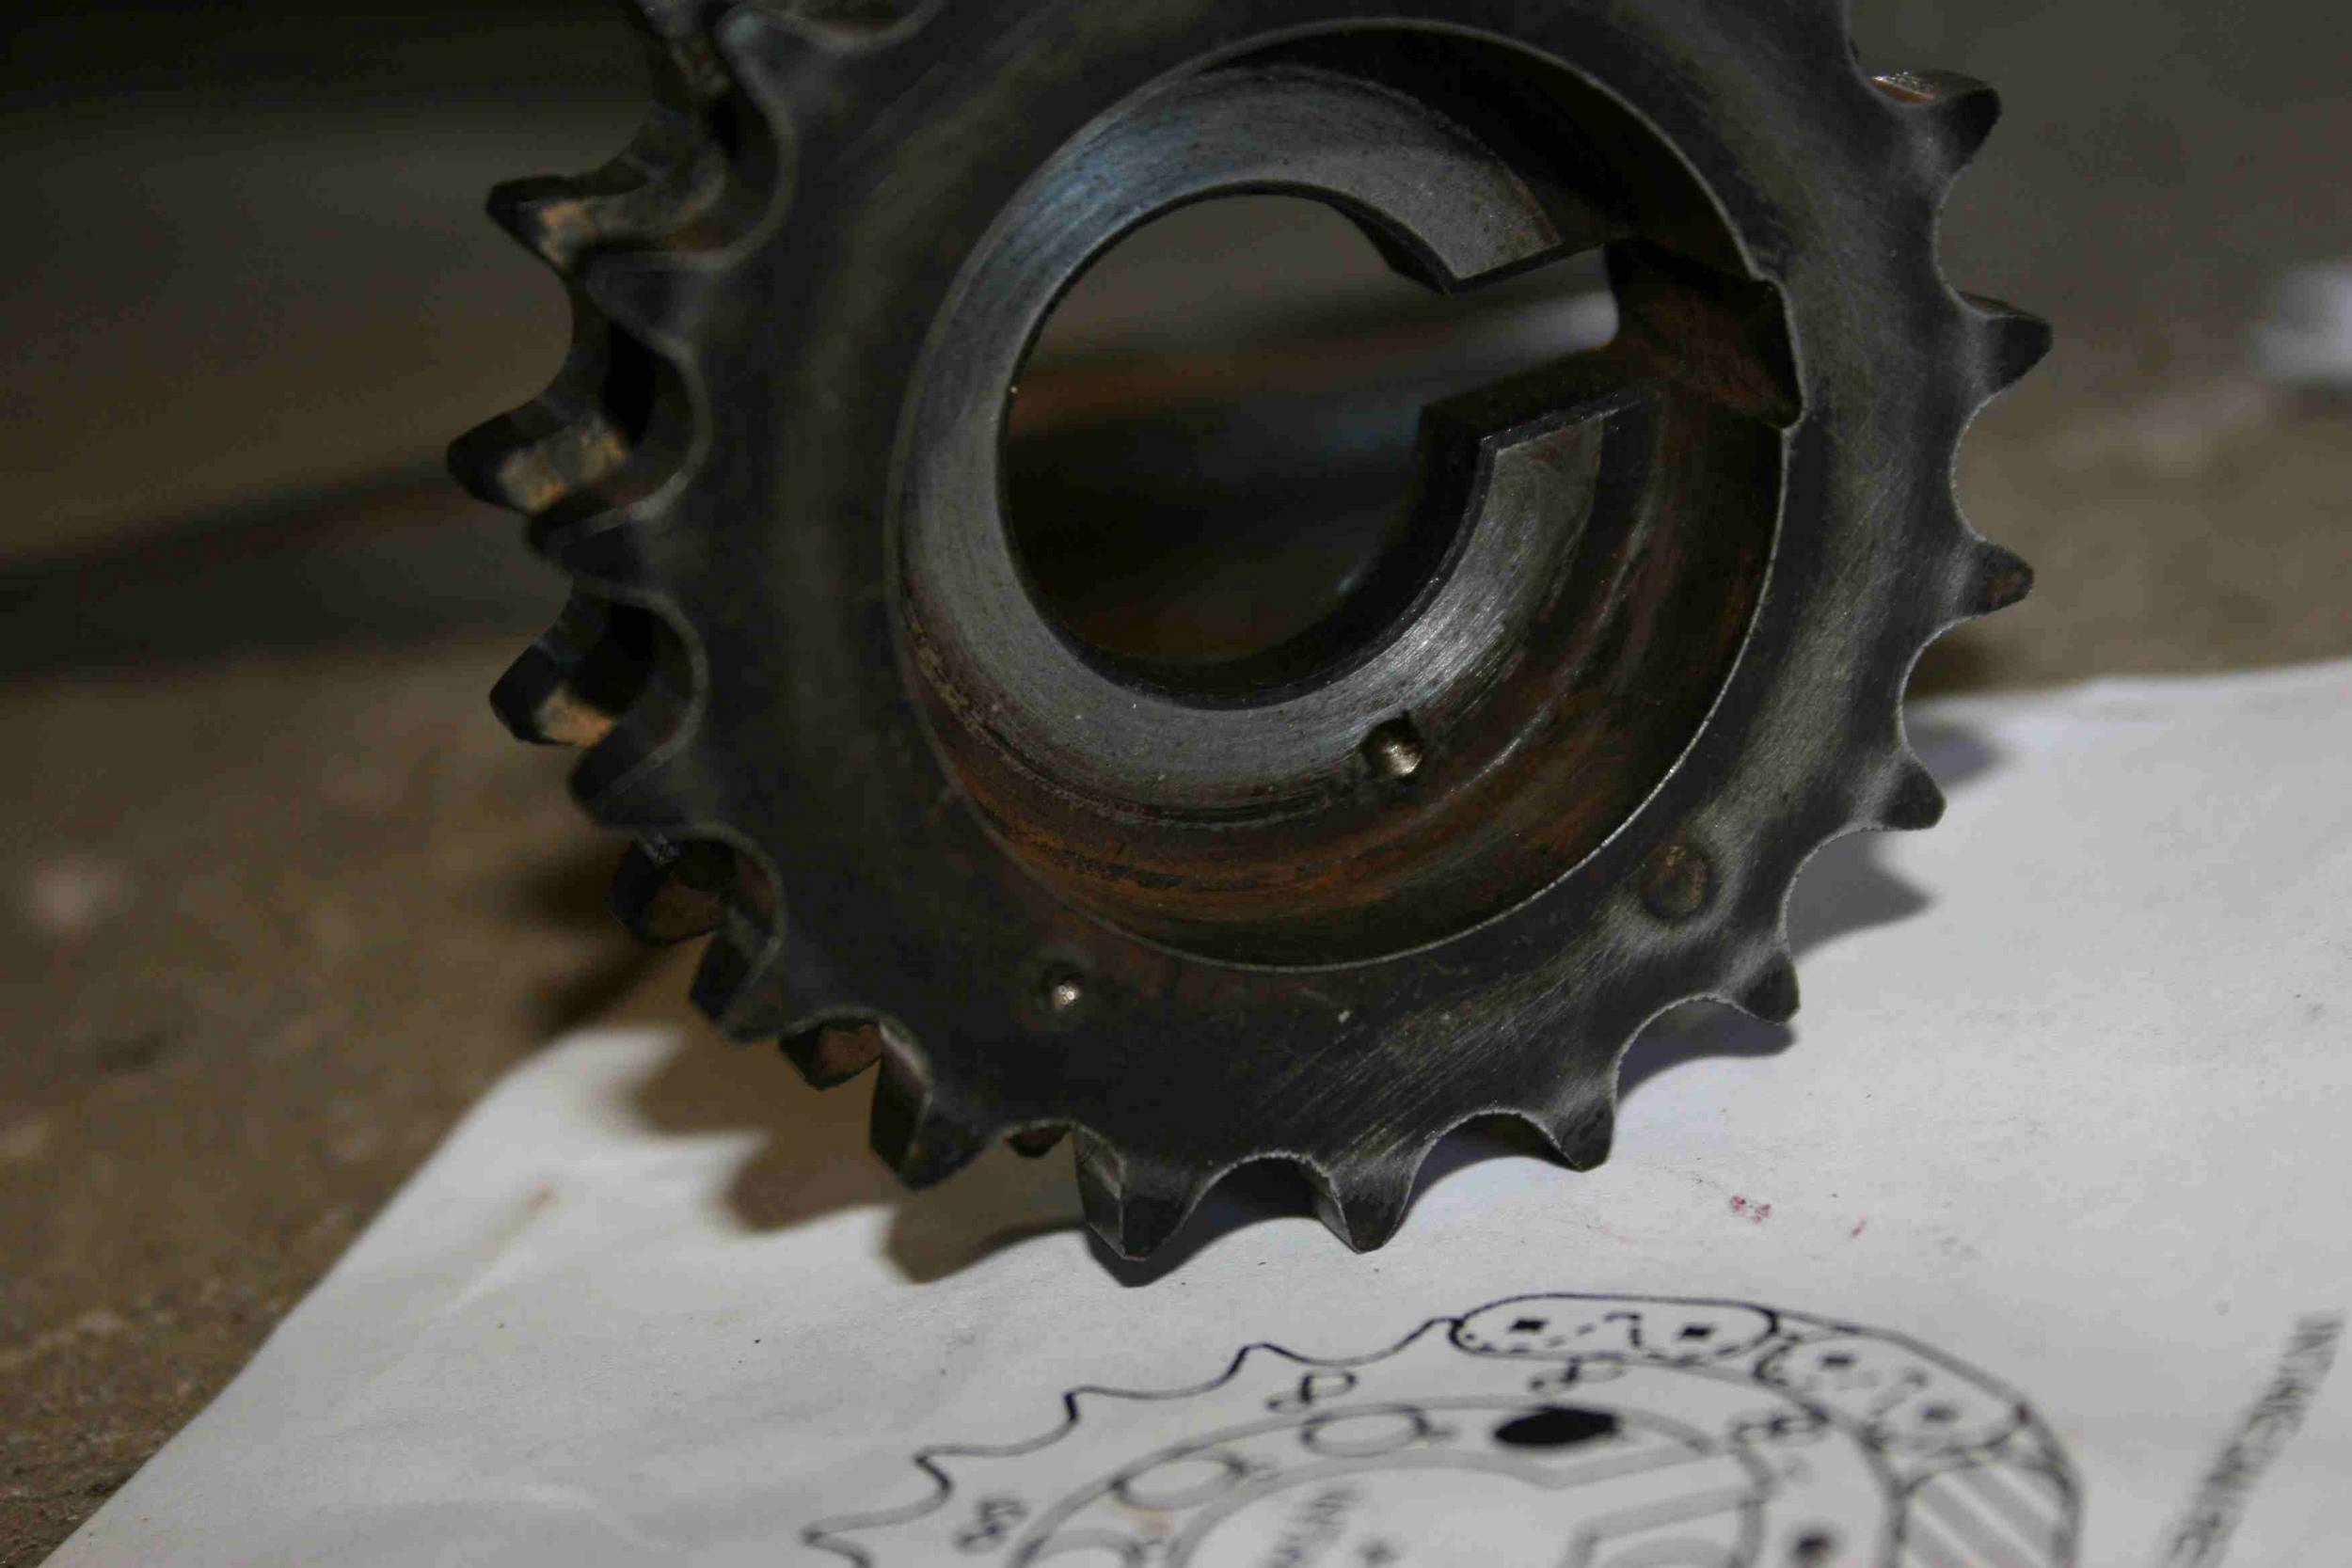
This photo shows me placing the template back on over the gear.if you look closely you can see my centerpunch dimple in the exact middle.On the outside of the gear i also hit the number three witht he center punch as the becomes the new alignment dimple (the dot you align the chain to)
This is a photo of the new dimple and the hole im about to drill
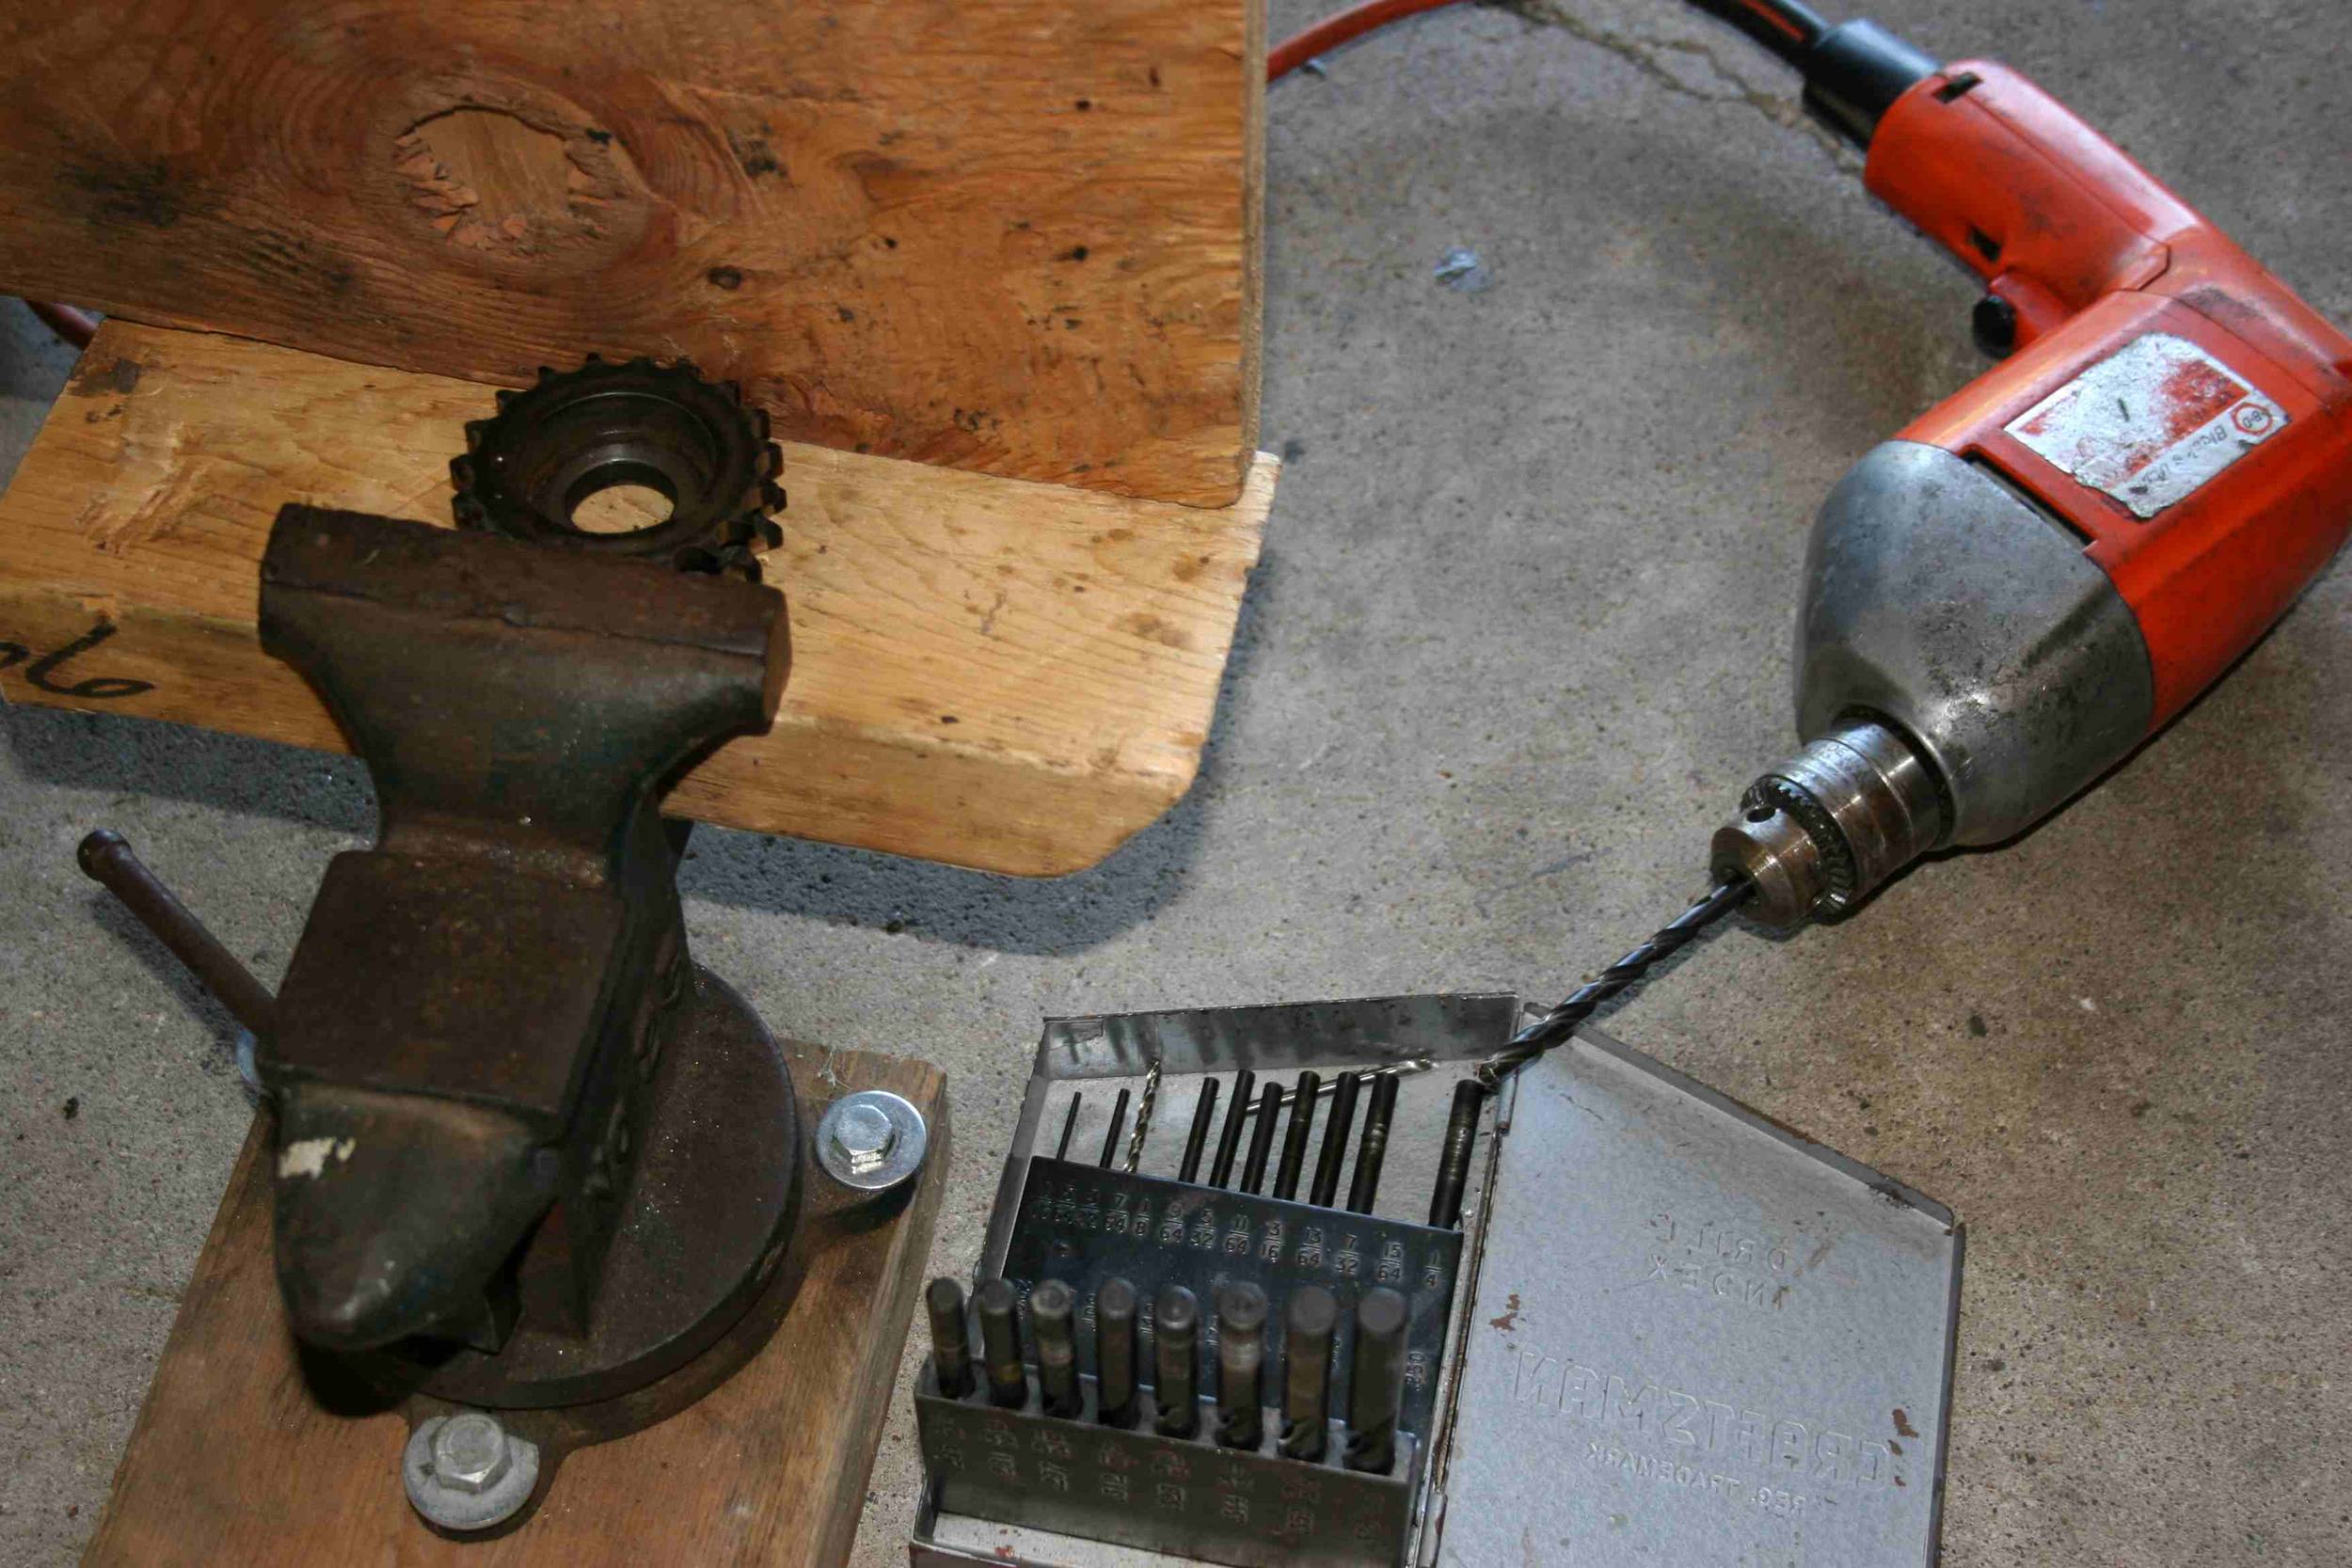
The size of the hole is about 1/4 but all you need to do to find the right size drill bit is try out different bits in the slot already cut in the gear.1/4 is actually a tad large, but it works nice for our purposes.
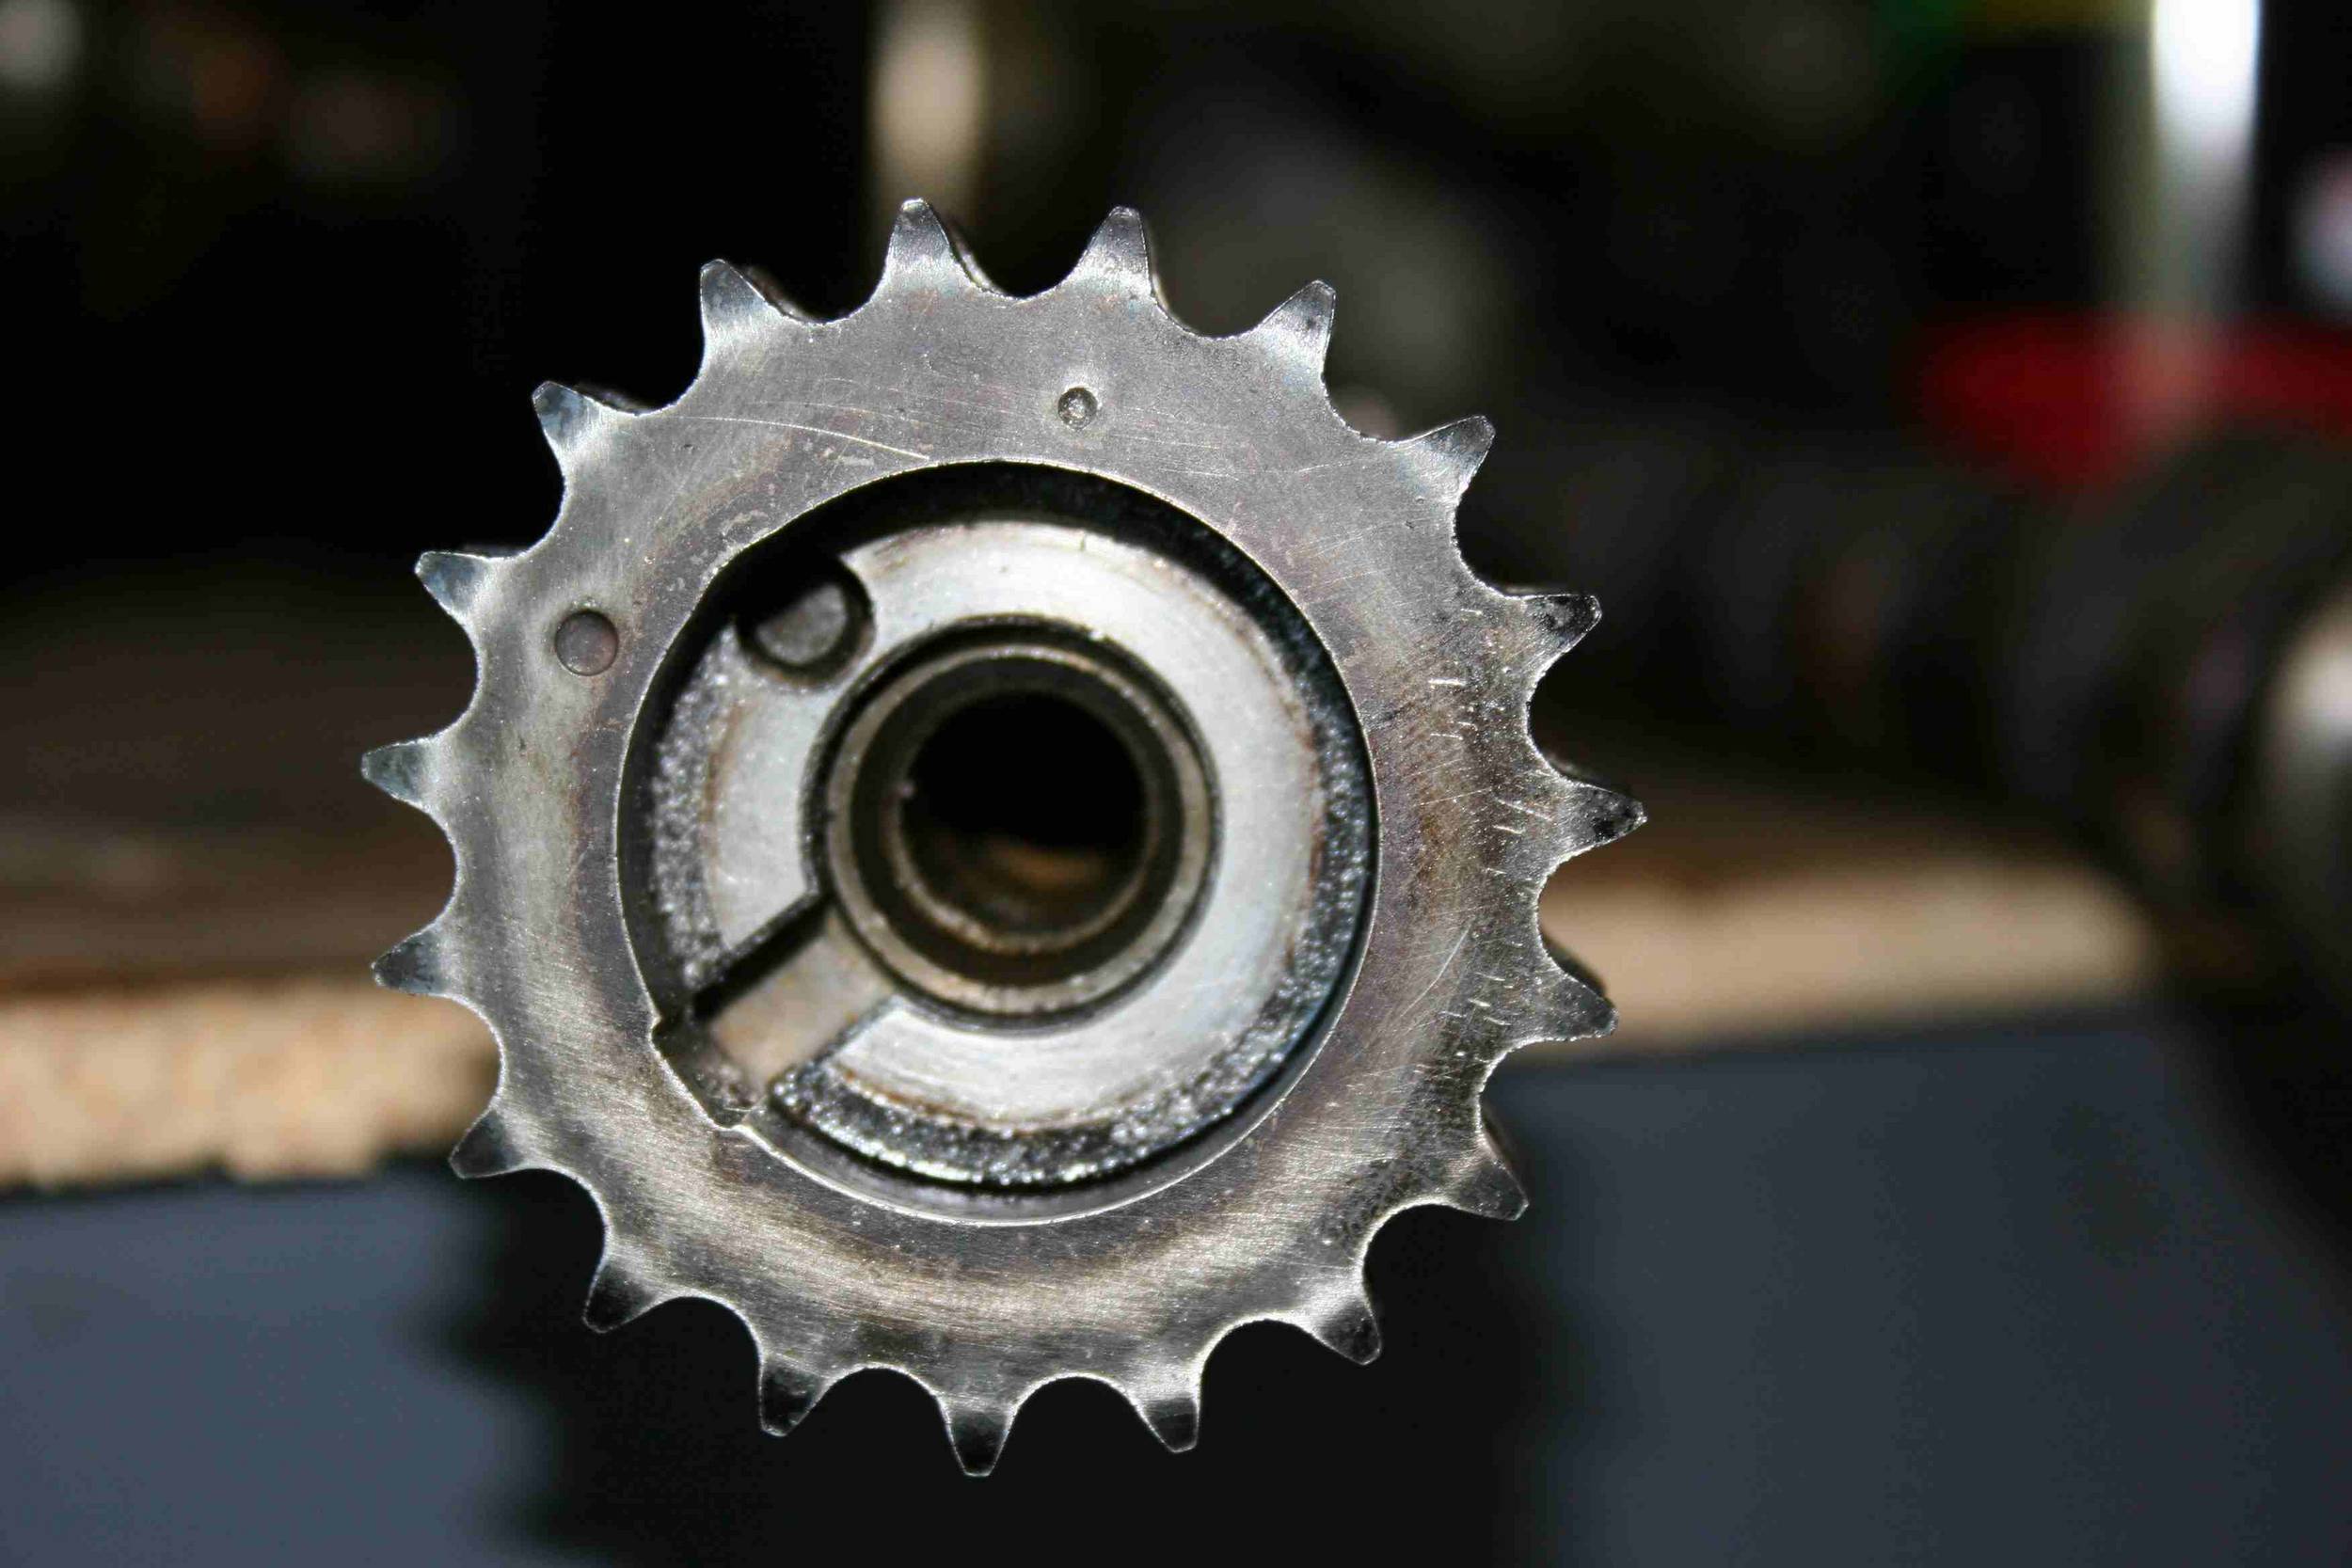
Does it fit? you bet it does.
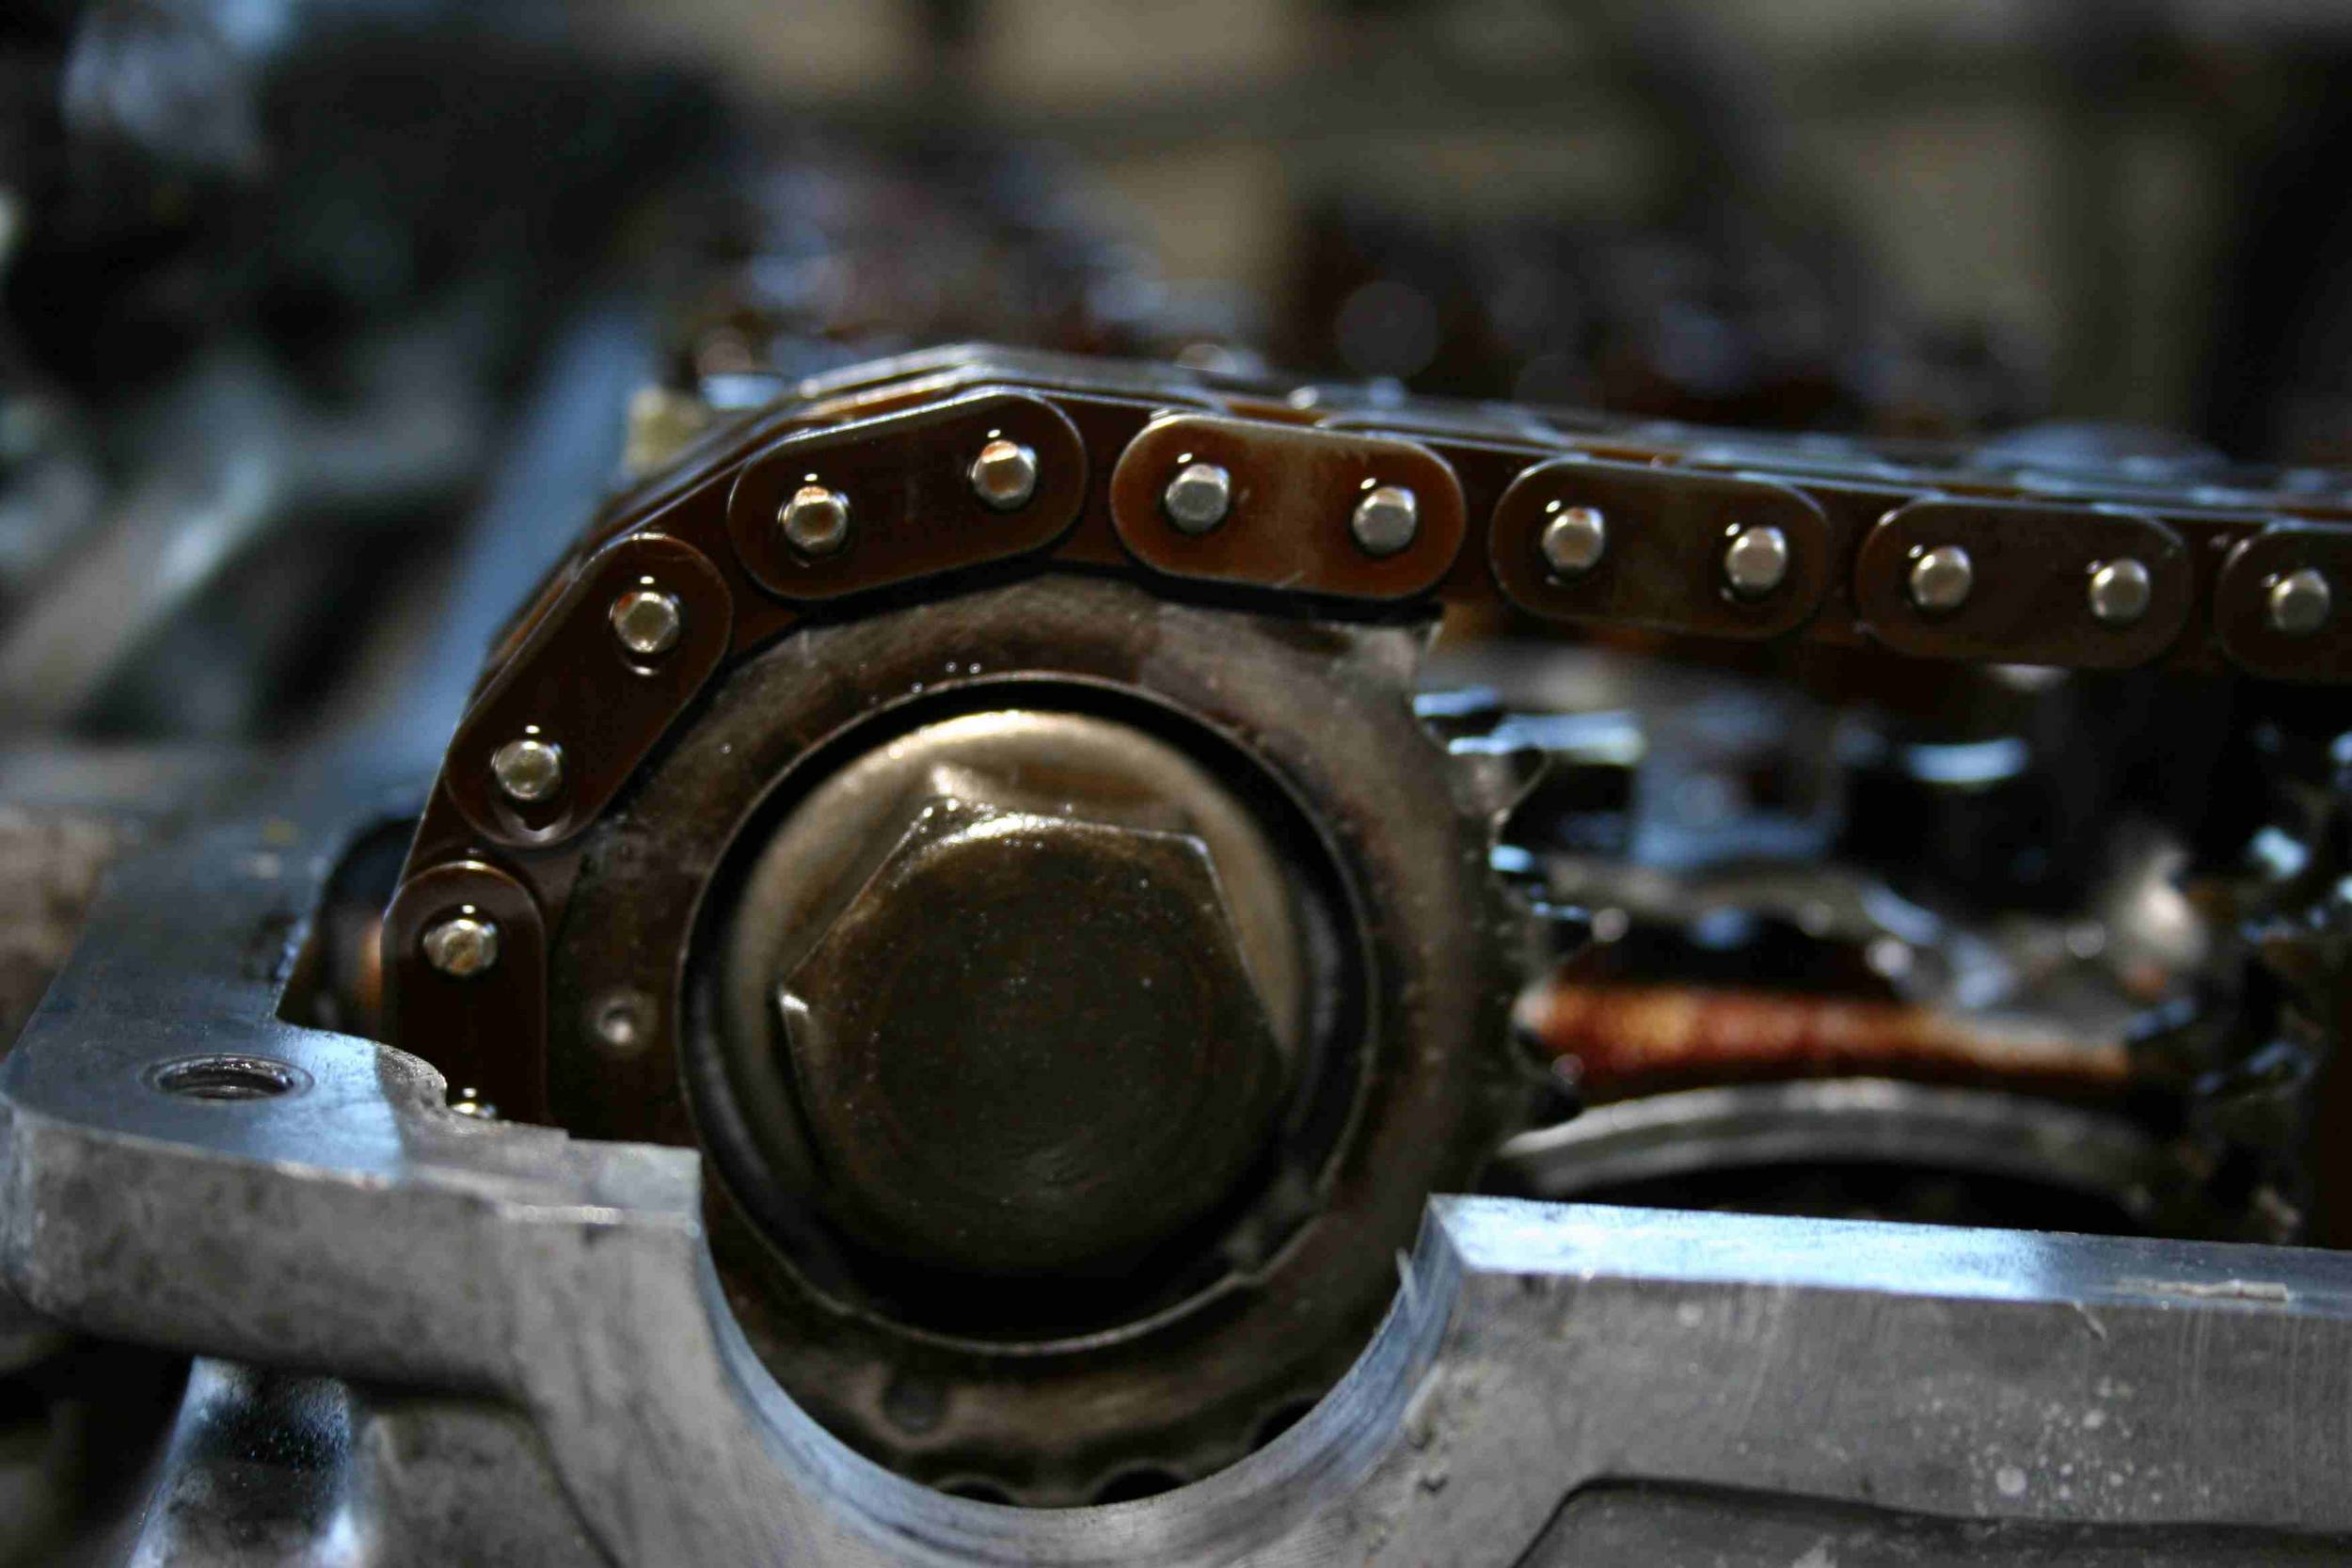
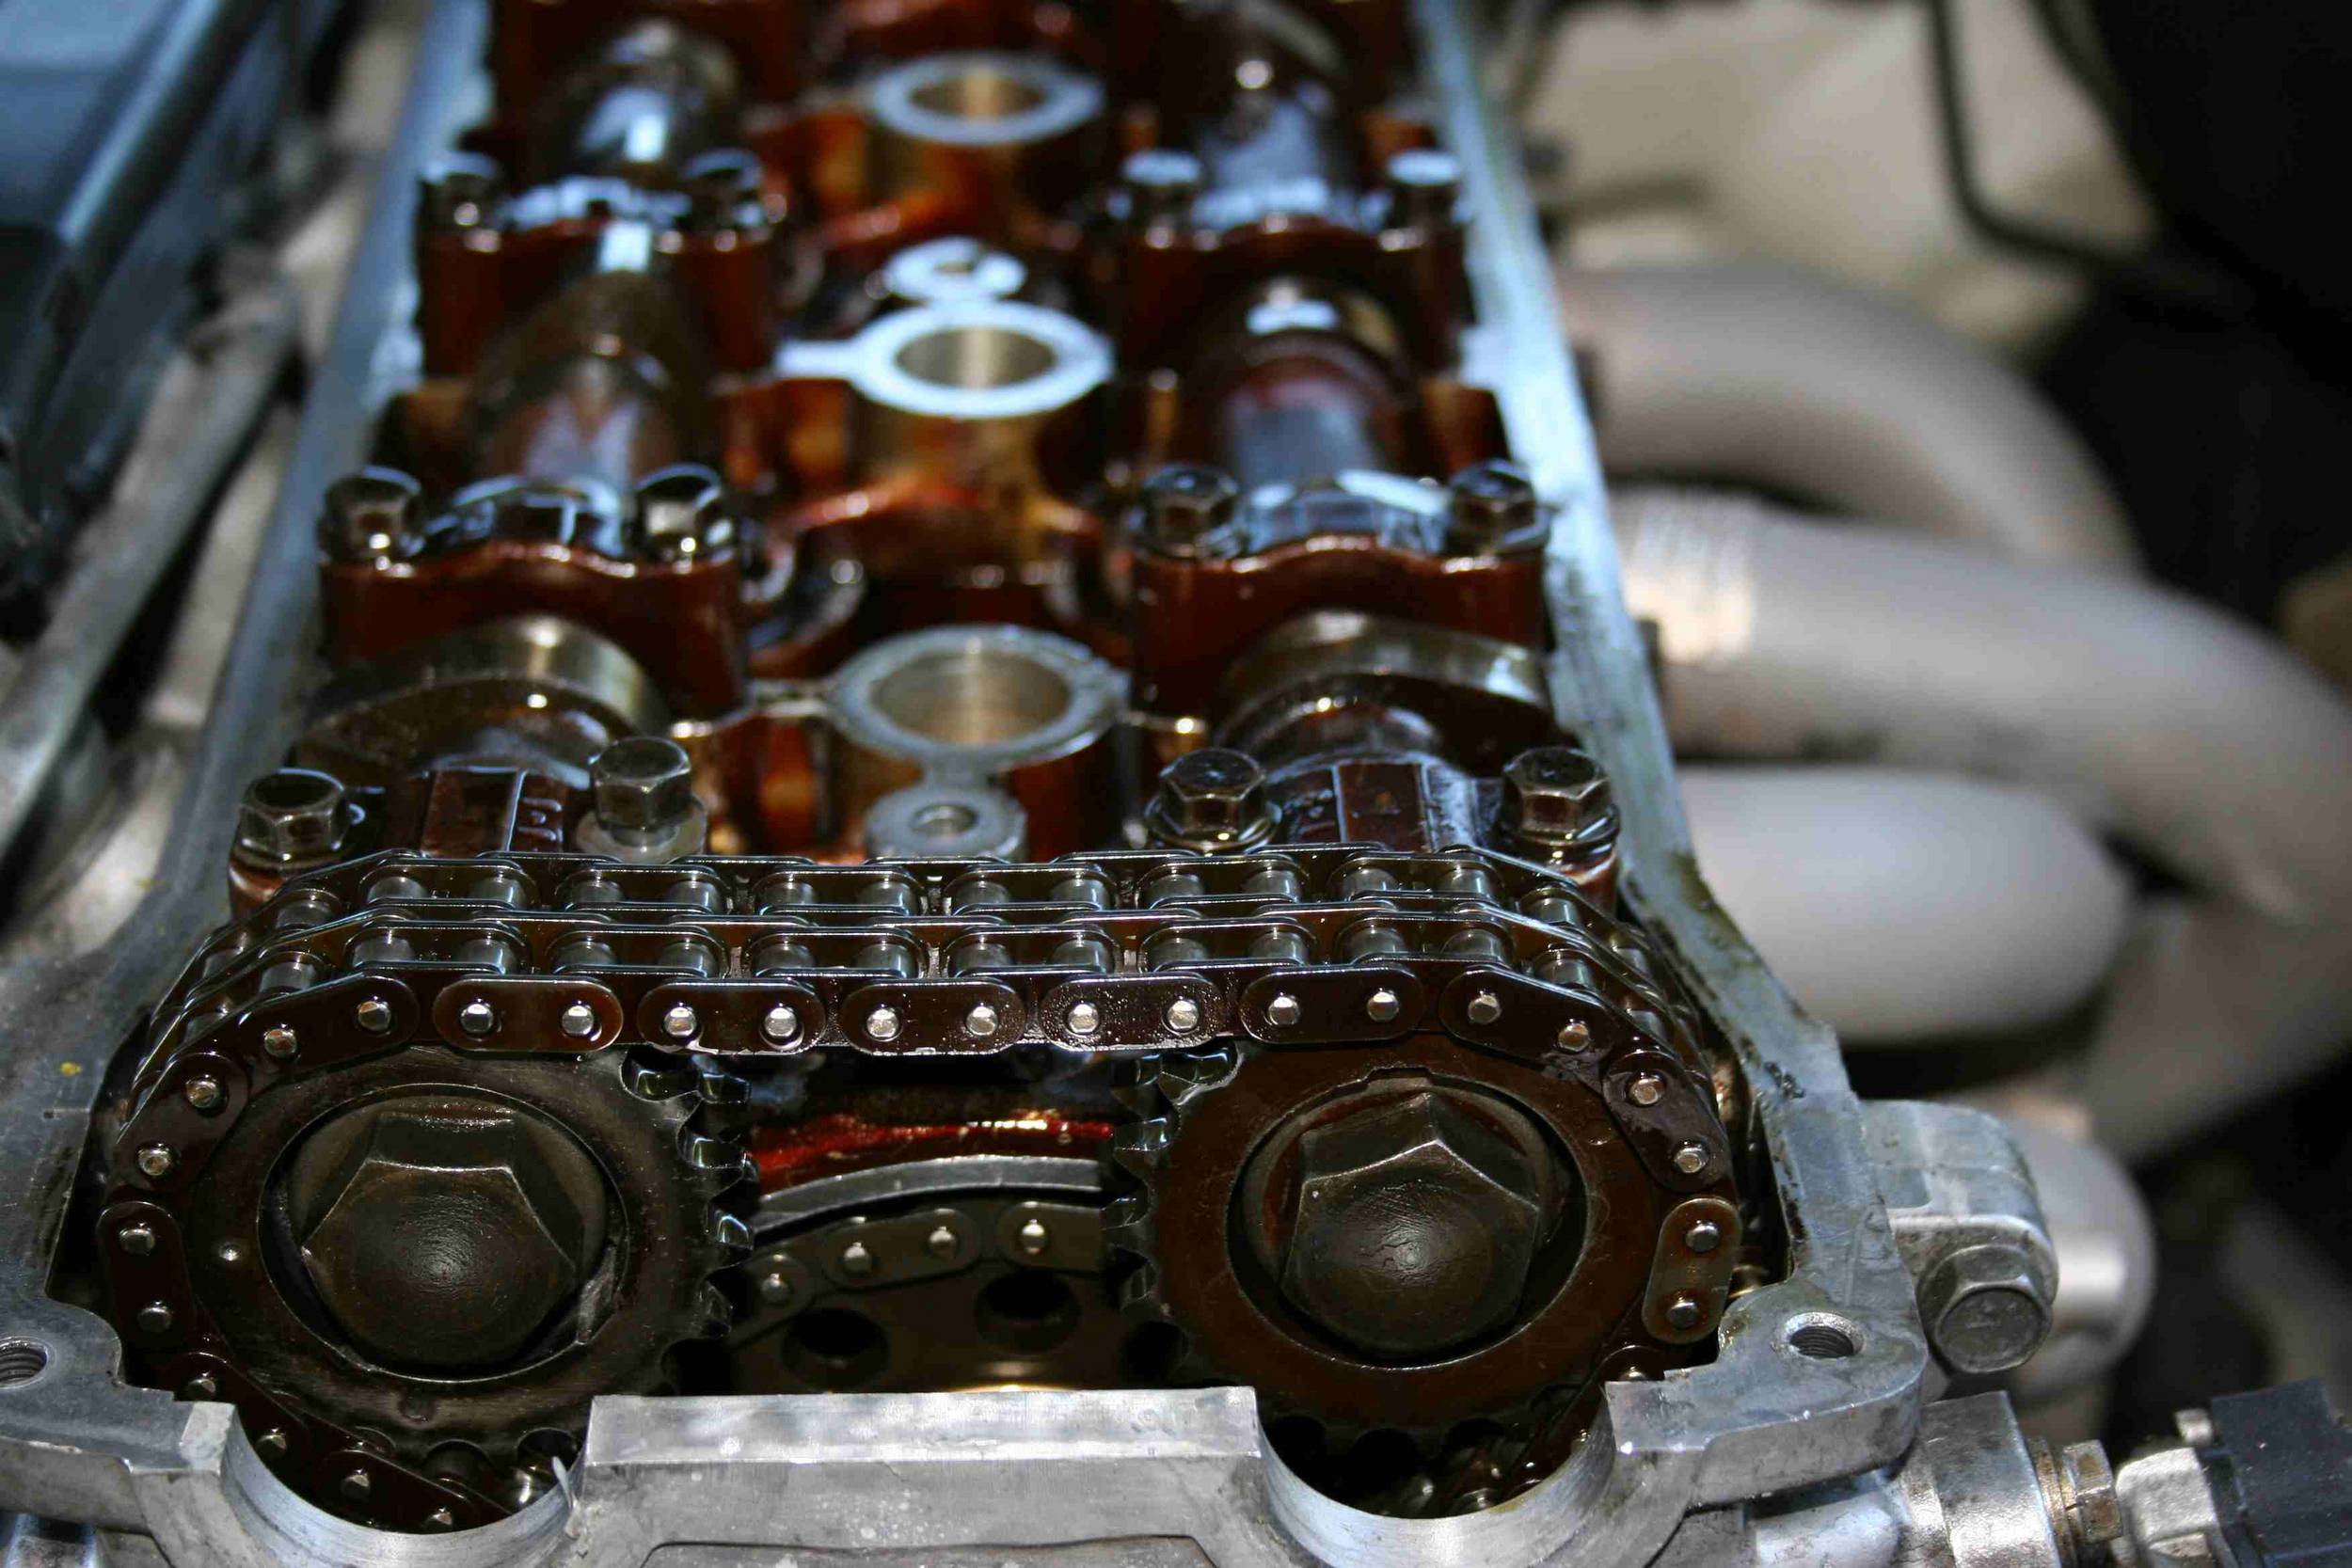
Now to install this gear you need to follow the JWT instructions, but it should be self explanitory at this point.here is a pic of a correctly installed 248+5 cam.
And this shows the lobes in the correct position.
There you have it, i just saved you 150 dollars.
As for first impressions, im blown away.When i went to 248/248 a year and half ago i thought it was okay, but when i switched to 248/232 i thought it was absolute crap.the mid range was WAY better with 248/232, but then i tried 240/232.240/232 has a little less top end, but is amazing for midrange.
However, with this revised 248/248 and my other top end power adders im more satisfied with this set up.So get out there and try 248 (plus 2.5)/232 and 248(+5)/248.
NICOclub is back again with Carlisle Events to host our 18th annual NICOFest Carlisle AutoX…
Kraft Auctions Offers Fans a Chance to Own a Piece of Datsun Racing History
We built Datsun Ranch in 2014, and it was the culmination of a lot of…
Since it's not just Datsuns that are vintage anymore ("classic Nissan" still sounds weird, right?),…
Let's talk about big brake kits for a bit. For the purposes of this article,…
What do these terms mean? Pulsed Secondary Air Injection (PAIR) Valve: The PAIR valve sends…