by justin shar (sharjt)
Overview:
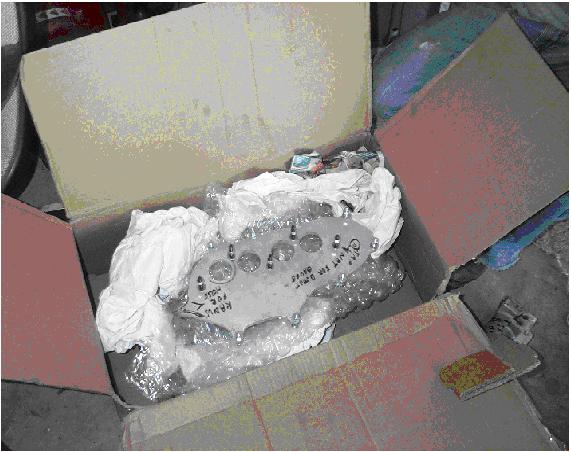
The characteristics of a supercharger can be superior to a turbo in some situations. For drivers who want to take advantage of the instantaneous boost and excellent low-end this system provides, sharjt and wattydchi provided this writeup.
Difficulty: ****
Time: 8-12 hours
Cost:
Tools:
Materials:
– supercharger install kit
– eaton supercharger
– vacuum hose
– provisions for fuel management
Procedure:
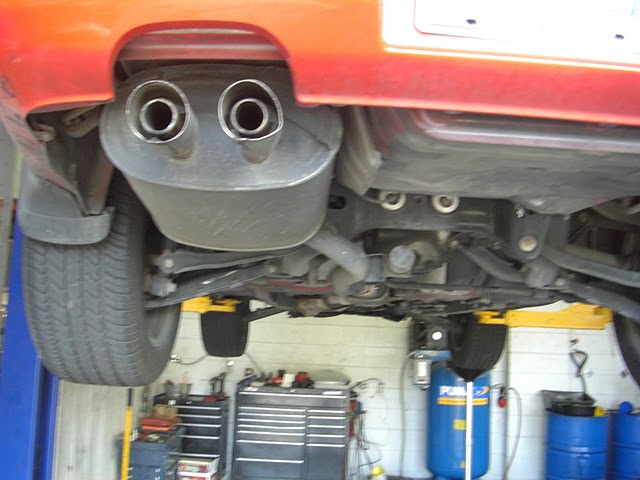
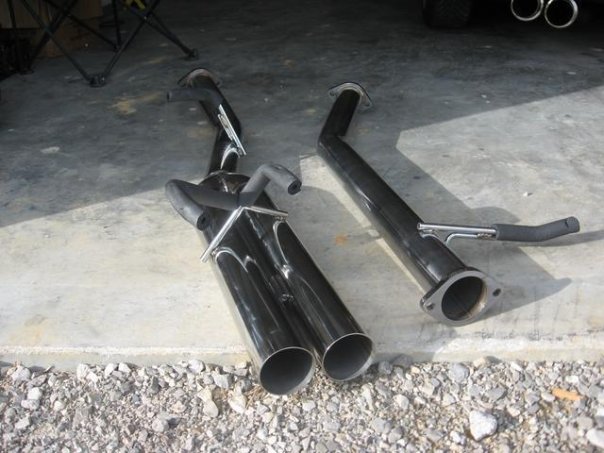
We started by first repining and swapping to a ’95 ecu with a previously installed Bikirom. Then to avoid the O2 sensor problem we installed a wideband O2 in the secondary position. Also previously installed was a 4-2-1 stainless steel header, 3in custom exhaust and Walbro fuel pump. We also had already removed all EGR system.
Next we went on to doing all the necessary grinding that came with the base kit as instructed by Mr. Knight (the actual one everyone else will order will probably have most of this done). Next we had to tap and drill the holes needed for the vacuum as instructed by Mr. Knight and inserted all vacuum nipples.
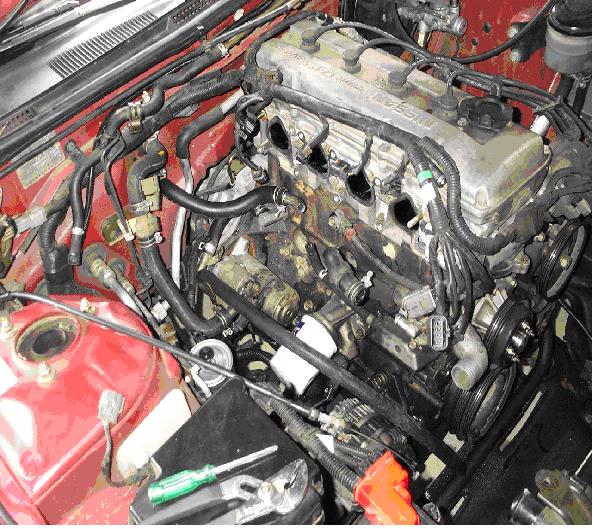
Now we move on to the deconstruction. We stared by removing the fan shroud, fan, power steering belt, and alternator belt.
Next we had to drain the radiator in order to remove upper and lower radiator hoses.
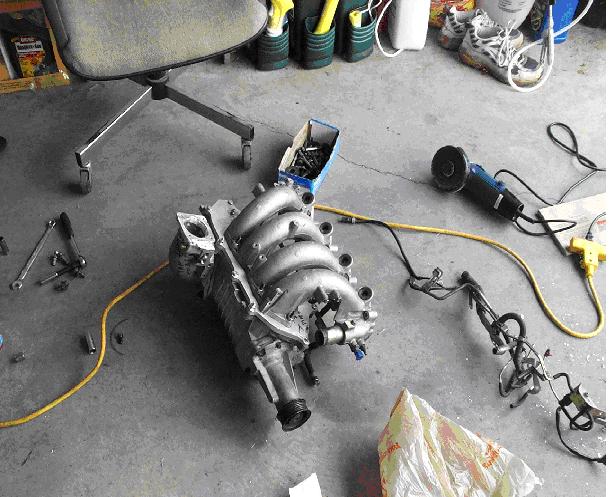
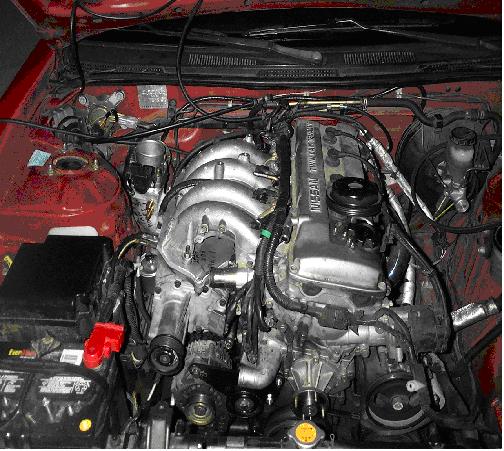
Now starts the real work. The fuel lines, the fuel rail, upper and lower intake, along with all water and vacuum lines that went along with the lower intake were removed. We reconnected the upper heater core line using the stock hard line to the block. We also removed the stock alternator bracket in order to install the new one with the idler pulley provided with the kit for later installation.
And the fun begins. The engine is prepped, now we move on to the assembly. We started by putting the adapter plate and upper manifold together (needed a little persuasion…i.e. rubber mallet). Next we bolted the supercharger to the adapter plate and attached the throttle body elbow to the supercharger (which we then had to remove in order to install).
After removing the throttle body elbow the supercharger dropped into place and we proceeded to bolt to the head.
We then reattached the throttle body elbow and throttle body. Also changed out stock injectors to sr20 370s then reinstalled the fuel rail. We ran the stock lower heater core line to an elbow we cut off of the stock hard water lines and connected this to the piece of heater line provided with the kit. We then ran it under the upper intake and connected the new line in the stock position.
We then tried to connect the alternator adapter bracket and idler pulley but quickly realized that the stock bolts are to short. Well it turns out that this was the hardest part of the install. We quickly found out that you just cannot find an 8mm x 1.25 bolt longer than stock (70mm); so we had to make our own bolts. We bought a piece of 5/16 steal rod and made two 8mm x 1.25 studs. Great… done… not quite, we had to enlarge the bolt hole on the bracket in order to connect to the alternator. Also we had to remove the spacer washer on the bottom alternator bolt in order to clear the belts. After that hell was done with, we moved on to reconnecting the brake booster line and hooking up the two intake vacuum lines (boost gauge and Fuel pressure regulator… that’s all folks).
Next we reassembled the fan shroud, fan, power steering belt, and alternator belt. We reran the fuel line and reconnected all necessary plugs after extending the TPS wires to reach their new home via under the upper intake.
We then started our second biggest problem. Where to put the IAC and FICD? Mr. Knight provides a plate that you can bolt them to, but you get to decide where to put them. After much consideration and ingenuity we decided to mount them to the strut tower with a piece of flat bar. We then used stock pieces of hose and cut more stock hard line in order to connect the IAC and FICD to the throttle body adapter and to the pre-throttle body intake tubing in pretty much the stock position.
Last, we cut 2” off the aftermarket intake tubing in order to make a straight shot to the new throttle body position. We used a 3” to 21/2” 90degree boot connected to a piece of straight pipe cut to fit and another boot to connect to the intake piping.
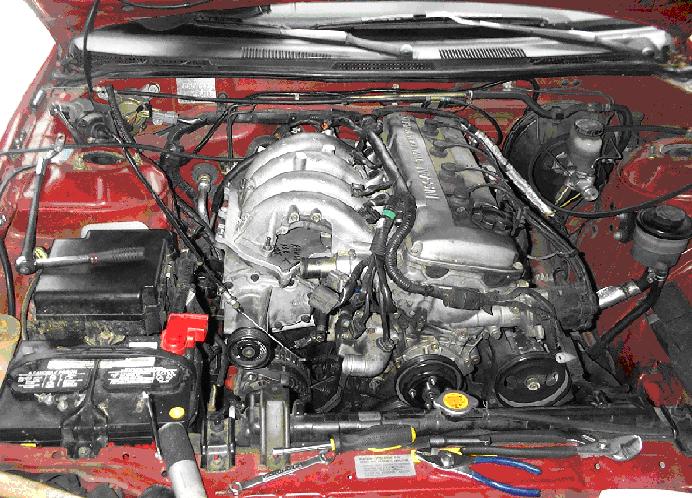
After refilling the radiator and a little tuning on bikiom we were ready to go.
