NICOclub’s 240sx Convertible Project Car: “The Droptop From Hell”…
After the exhaustion of building, fabricating, installing, tuning and testing had worn off, and the smoke had cleared, it was time to assess the situation.
Several weeks passed before I even had the courage to walk into the garage and look at my car. Self-doubt racks your mind after an unsuccessful modification – “Maybe I should have just left it stock.”
Dust collected. Weeks turned to months. The locals were relentless: “Let’s just open it up and see what went wrong.” When I finally brought myself to opening up the block, we found the problem, and it was, as suspected, fairly terminal: A main bearing (#3) had “delaminated”, under what appeared to be some pretty severe stress. It was simply shaved thin, and the #2 looked to have experienced the same trauma, but had also snapped in half (but remained in place).
Suspicions abounded – Something that was already wrong, but not presenting itself under normal use? Just the effect of adding boost to a tired old KA? Certainly not likely to be a detonation issue, or could it? Some I spoke with indicated that it could indeed be an effect of severe detonation, although we saw no evidence of that on either the plugs, pistons or combustion chamber.
At any rate, I went “back to the books” – rather, the forums – and took a long, healthy dose of my own advice: Read, read, read, READ. I devoured the KA and KA-T forums on NICO. I read the SR forums, since boost is boost. I read technical posts going back to 2004, and I re-read a lot of old articles on turbocharging and engine building that I had been saving in a binder for over a decade.
Just about that time, a mutual friend introduced me to a local guy who would change the direction of NICO’s Project Vert, and who would become a great and lifelong friend.
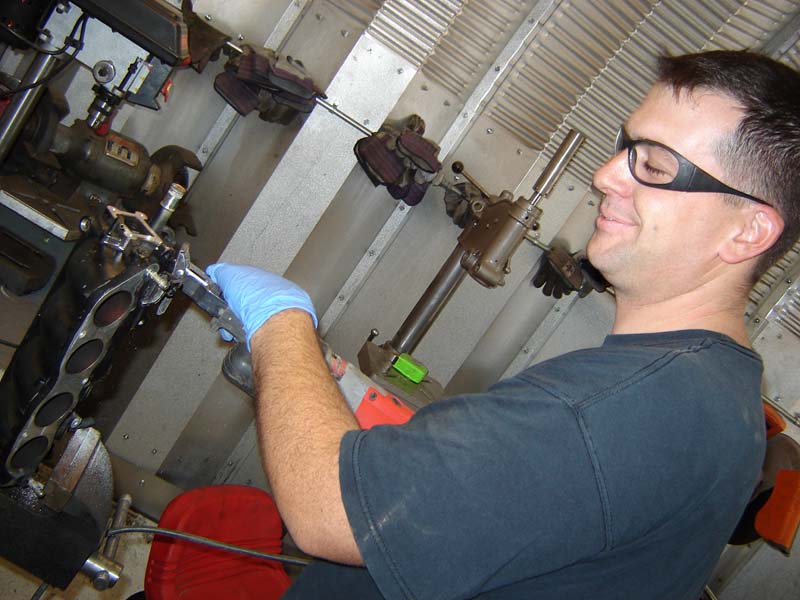
Jason (rotorimp on the NICO boards) is a MSGT in the USAF here in Phoenix, and knows a thing or two about building motors. In fact, he’s pretty damn adept at lots of fabrication-type work, from woodworking, to welding, to milling, to engine construction, to restoration, and everything in between. He’s restored several VW’s, Porsches, BMW’s, a Jag, a couple Datsuns, and some oddball stuff. NOTE: He’s not a real good painter, but not everyone can be good at everything. (Don’t tell him I said that.)
By this time, I’m thinking, “Maybe those guys are right – Maybe I should just pick up an SR and be done with it.”
Anyhow, Jason starts in on me to build – REALLY build – this engine. I roll out to his shop and see some of his “projects in progress”, and I’m hooked.
My mind is made up. Besides, why the heck would I want to give up half a liter of displacement?
Effort be damned, we’re gonna build a bad-ass KA24DE-T.
I start collecting parts for the build, knowing it’s going to be a long process. I plan out the budget, buying what’s needed right away, and holding off on stuff that can wait until later in the process. First order of business is to set aside a location to do the work, and Jason’s workshop fit the bill: A “dirty” area for teardown and fabrication, and a “clean” area for engine assembly and painting.
We completely disassembled the engine – every last bolt, nut, washer and screw was removed. Factory clamps were discarded, and any bad fasteners went in a bag – more on this later.
Parts were cleaned and set aside, in order of reassembly, for later use, and anything that looked suspect got circular-filed. This engine was to have NO weaknesses.
Based on local advice, I selected Duffee Machine Shop to do all the machine work on the engine. I advised them of the plan, and that I wanted this engine to withstand 500-hp, and be reliable as a new car. Duffee’s staff went to work, boring the block .040 over, decking the block and head (minimally), smoothing the oil passages, removing some material in the intake ports, 5-angle valve job, micropolishing the crank, and balancing the entire rotating assembly. I spent a little more, knowing that the foundation was critical.
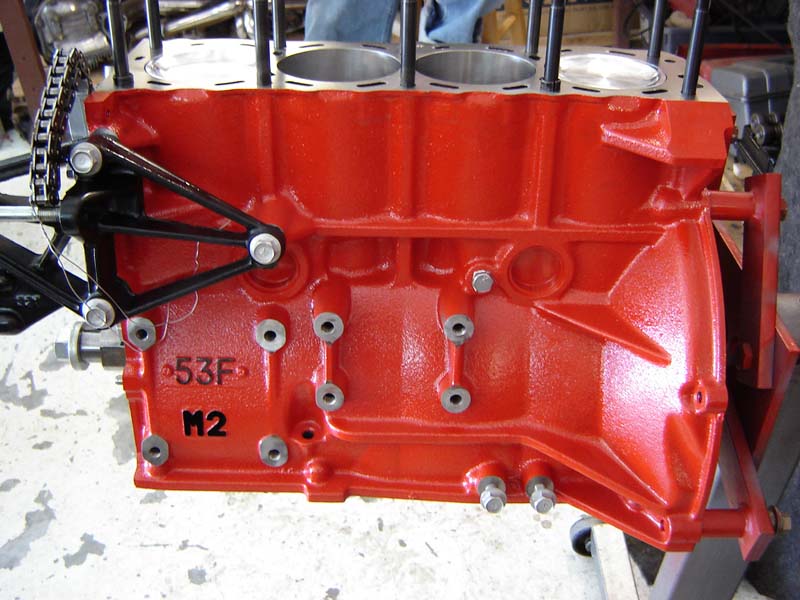
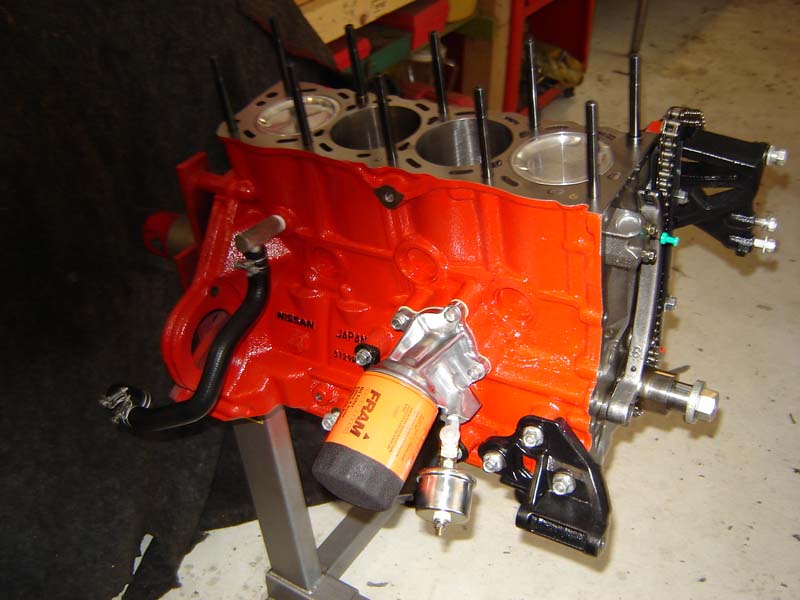
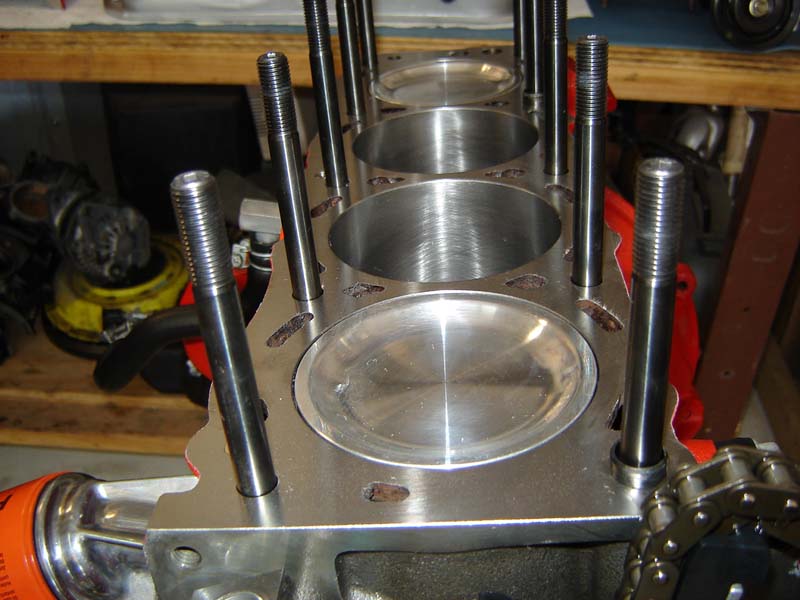
Upon receiving the block and head back from Duffee, we set about prepping it for assembly, and the excitement of seeing that block, naked and clean, gave me hope for what was to come.
Unfortunately, about this time, I was stricken with an ailment that would necessitate major emergency surgery, and would put me out of commission for nearly six weeks.
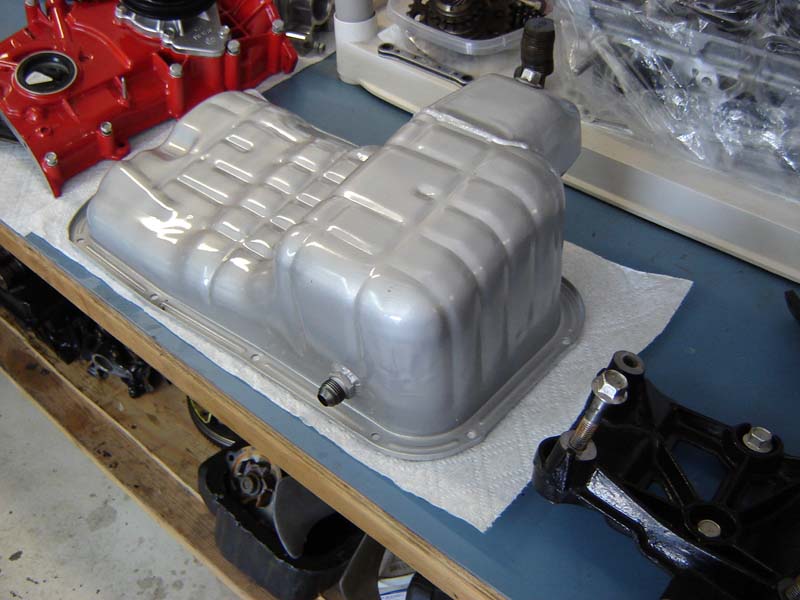
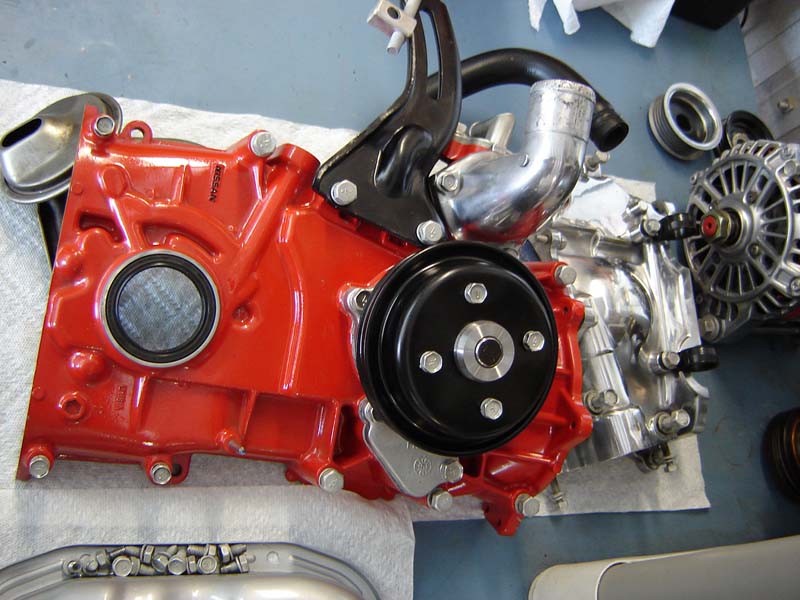
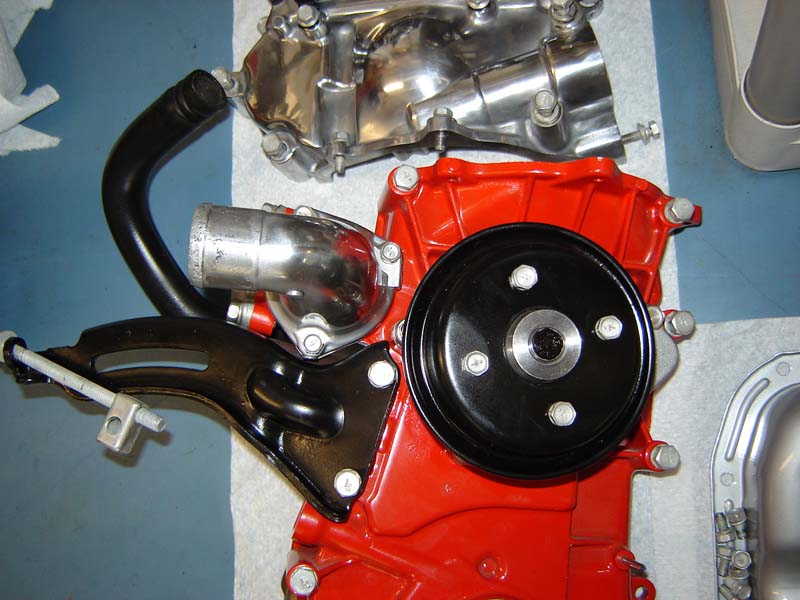
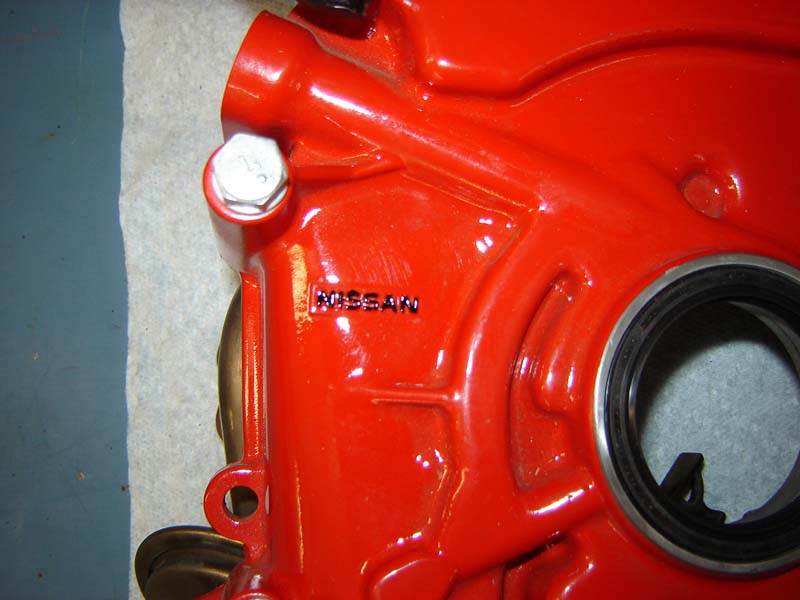
Not wanting the project to stall, I willed myself to make the trip out to the shop as soon as I was able, and there I sat each Saturday, all day long, prepping parts for assembly. We meticulously re-washed, masked and painted the entire block. All bolt holes were chased with a tap, and lubricant added to the machined surfaces immediately to prevent rust.
We had purchased a zinc-plating kit from Eastwood. So, unable to lift anything, doped up on pain meds, I sat in a lawn chair in the shop and cleaned / plated every fastener that was to go back on the car. The zinc plating kit leaves a hard, chalky coating on the hardware, which I then polished, a bolt at a time, to a high luster, and ran a tap on the threads of each one to ensure perfect assembly.
Remember those “bad” fasteners that found their way into a bag? All were replaced with appropriate graded fasteners. There would be NO detail left unnoticed. Through this process, even though it was exhausting, I found myself feeling better and better, and recovering faster than anyone had planned.
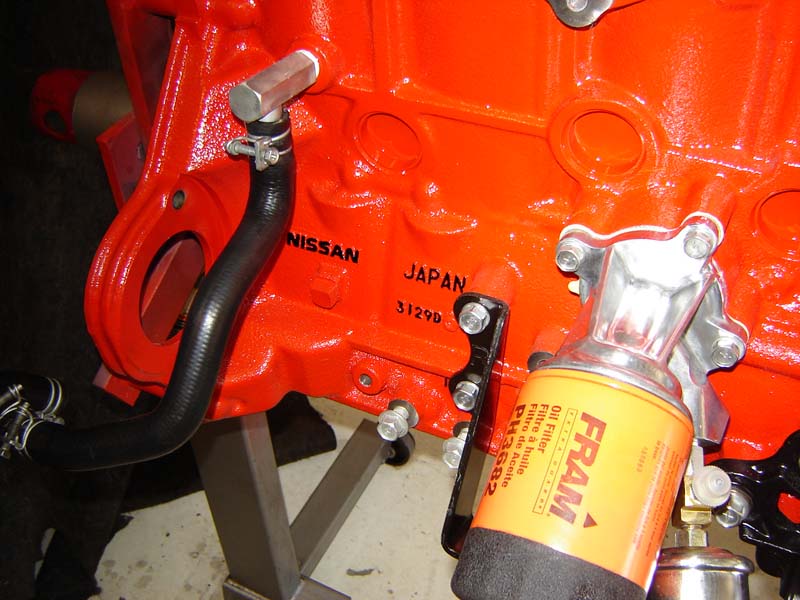
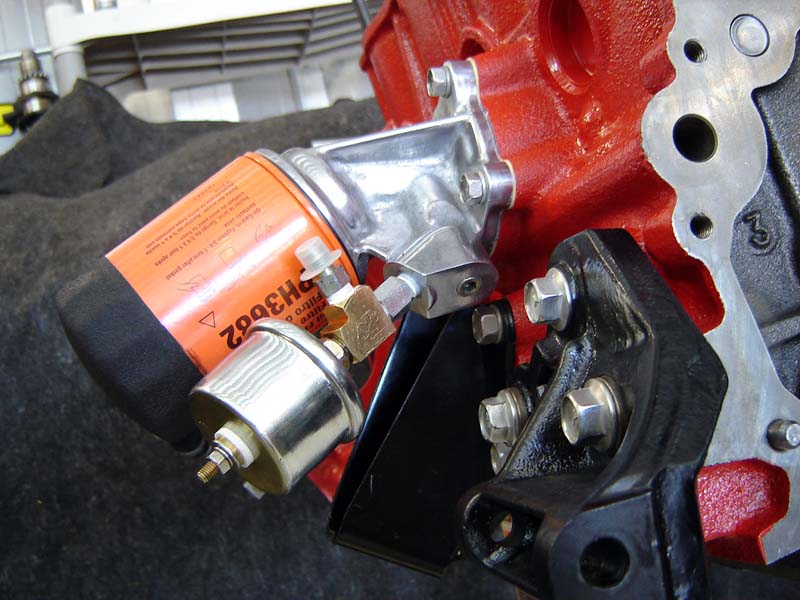
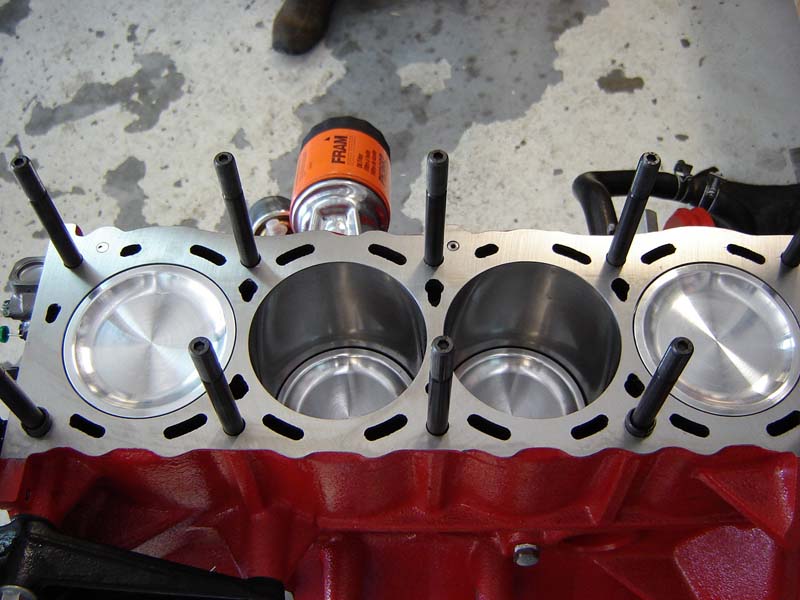
I had already placed an order for Carrillo forged rods, CP Racing forged 9.0:1 pistons, ARP studs, and Nissan OEM bearings, as well as a Toga high-volume oil pump (specially modified by Ivan at AMS for increased flow and pressure). Those items arrived just in time for the first phase of assembly. Jason went to work, measuring each component to ensure perfect balance. When one rod weighed in a tiny bit more than the other two, he brought it into spec. When the wrist pins mic’ed out with a tiny bit too much clearance, he sent them back for another set. Tolerances were measured fanatically, because as I was learning, details matter.
A specially-constructed crank scraper and windage tray were fabricated, in order to ensure that parasitic losses due to “roping” and windage of the oil would be eliminated, and that the oil would remain where it belonged: On the friction surfaces. Jason set about modifying these to ensure perfect fitment and a near-zero-tolerance interface with the new crank. Probably the only DOHC KA in existence with such goodies, but again, the details are critical. Anytime you can increase horsepower through reduction of drag, rotating mass, friction, windage, or heat, you increase reliability as well.
An oil cooler was sourced from an FD RX-7, and a thermostatic bypass was obtained from a fellow NICO member. One can never have too much protection, and this engine would have the best we could build.
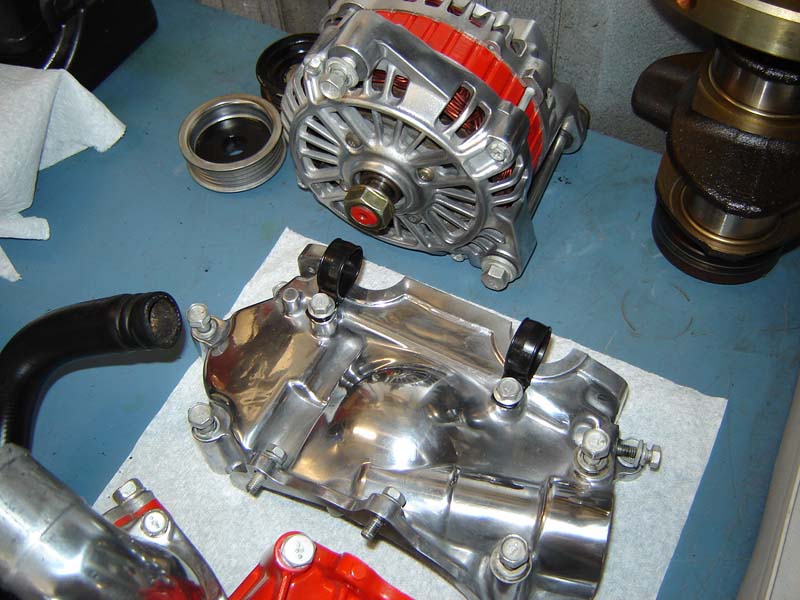
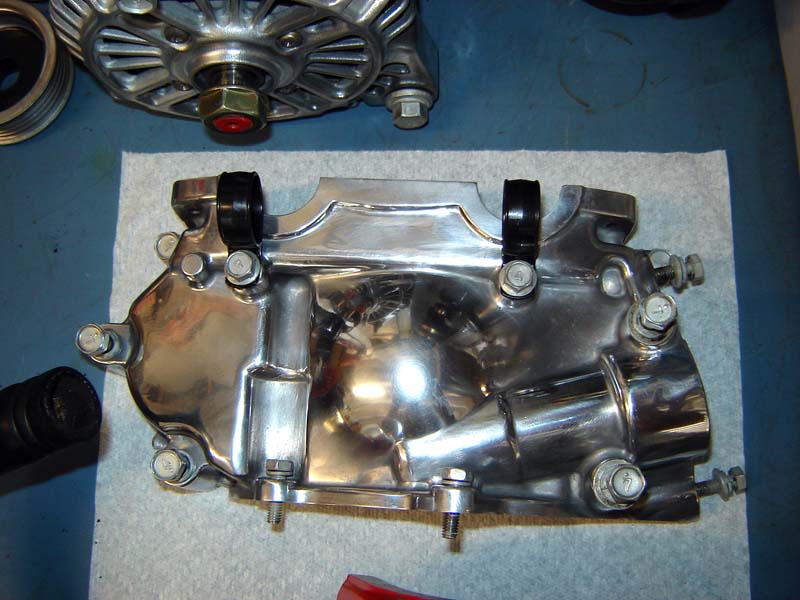
By now, I was fully recovered from the first bout in the hospital, so it was time to go back in for Round Two. Again, this was a major one, and I was to be out for 6 weeks. I couldn’t wait to get back out in the garage, and I spent the days cleaning, polishing and painting parts in anticipation of reassembly. I located a Quest alternator from a local auto parts store (you’re welcome for the KA alternator core!) and promptly disassembled / polished the housing.
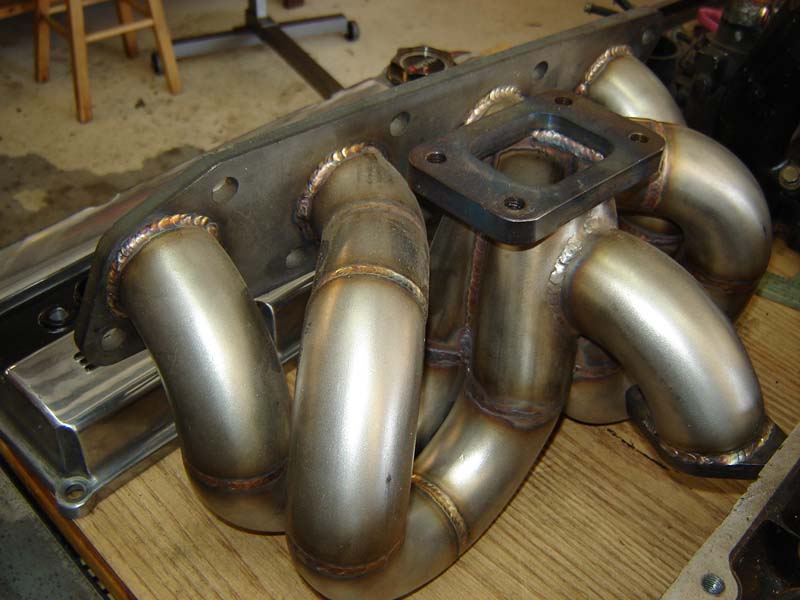
Ground Zero contacted me around this time and stepped up to the plate with their first iteration of the Ground Zero turbo manifold, which is an incredibly beautiful piece of work. That barely made it out of the box, before it was headed to HPC for high-temp coating, along with the custom-fabricated downpipe (by Jason).
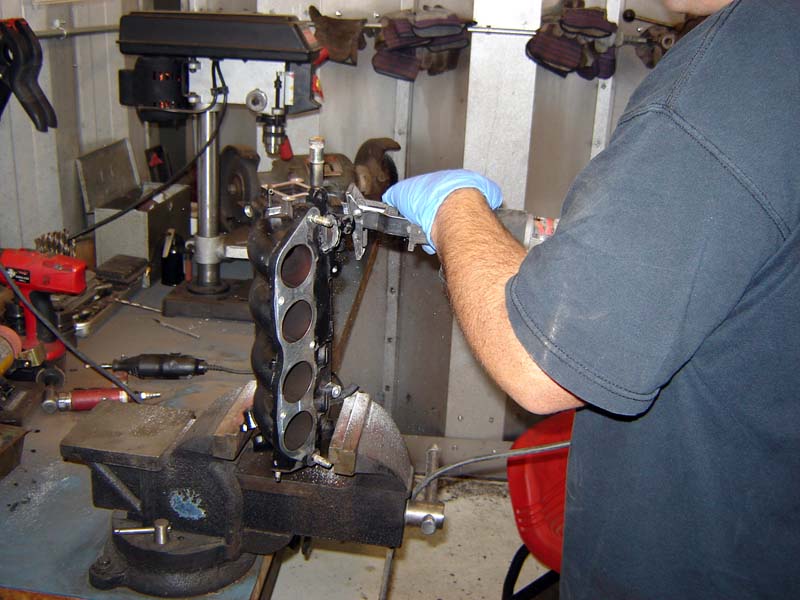
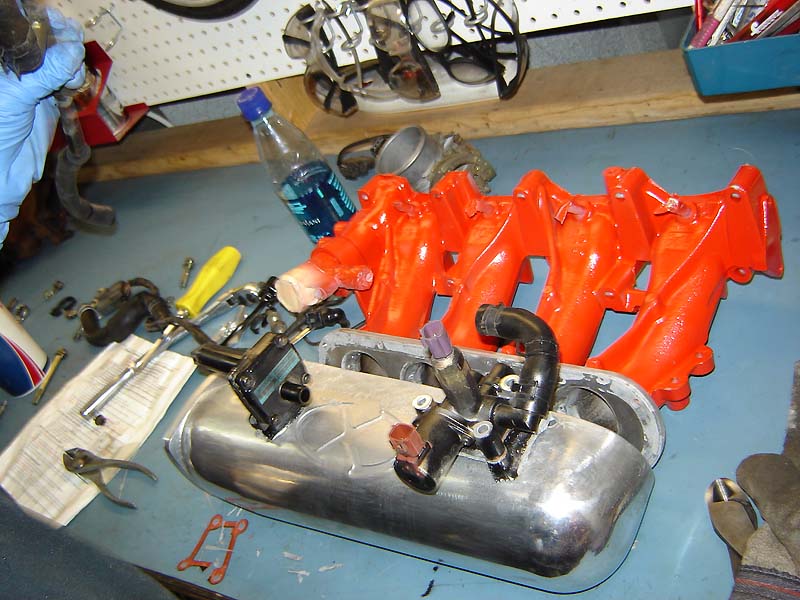
Soon thereafter, an another amazing goodie arrived in the mail: Xcessive Motorsports had heard about the build, and asked if I’d run their custom-made intake manifold. This thing was designed for high-boost applications, so it got port-matched and polished in preparation for assembly as well.
Now, of course, at the time, there was no kit available for an IACV, and we were very concerned about stalling (coming back down to idle). So, without hesitation, Jason lopped off the entire IACV assembly from the stock intake manifold, and welded it to the bottom of the Xcessive manifold.
A set of aluminum billet underdrive SR20 pulleys was sourced from ebay, and were promptly bead-blasted to remove anodizing and modified for use with a KA engine.
Of course, this necessitated custom belts, so some string was used to “mock up” belt length, and a few hours spent at AutoZone resulted in finding a motley collection of various belts – Kept the packaging for future reference, because these were an eclectic bunch of belts!
The most critical component of a proper turbocharged engine build is the fuel system, and several long talks with Ivan and Chris from AMS had convinced me that this was NOT the place to skimp. Thus far, I had saved some money by shopping around and in certain cases, buying used parts. We would NOT skimp on the fuel system.
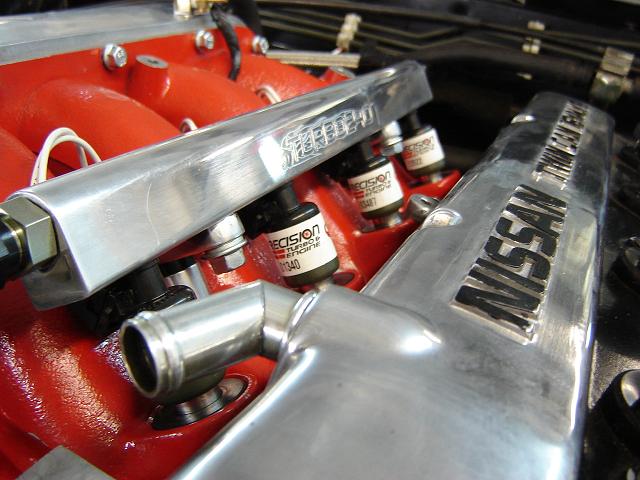
I left the design to Ivan – My only caveats were: Needs to reliably support 500 hp, and it needs to be bulletproof and foolproof. Ivan and AMS came through, designing what is, in my opinion, the most gorgeous and functionally impressive part of the build:
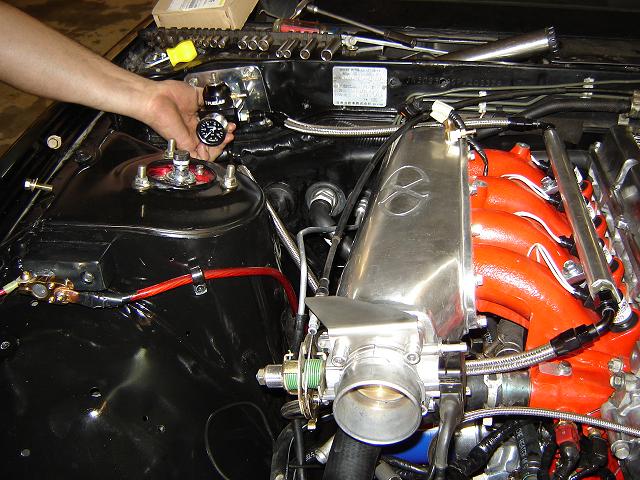
The custom-machined Turbo240 fuel rail, Siemens 75-lb injectors, stainless braided lines, black AN fittings, and an adjustable fuel pressure regulator with liquid-filled, black-faced gauge. I fabricated a polished stainless steel plate to mount it to, and it would take up residence in the space formerly occupied by the windshield wiper motor.
In order to keep the power steering reservoir away from the turbo and downpipe heat, I decided to relocate it to a “safer” area, and set to modifying the factory mounting plate. It now sits nestled snugly behind the left front wheelwell, out of the way of heat and allowing room for easy access to the wastegate, dump pipe and manifold.
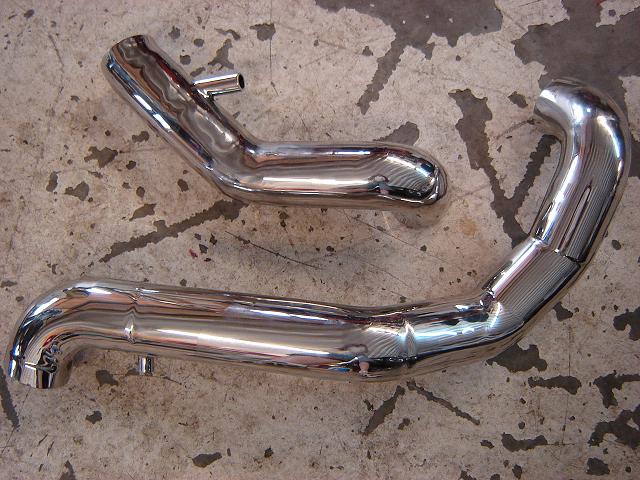
Some 3″ stainless bends and straight pipe from the local scrapyard became the coldpipe and intake pipe. The piping (both sides) from the old turbo kit were sacrificed to become the new hotpipe. Jason’s extraordinary fabrication skills shone again, as he made countless pie cuts and test-fitted the pipes for fitment. Again, with an eye towards detail, we determined that a smaller hotpipe (2″) to larger coldpipe (3″) design would take advantage of the Joule-Thomson process, wherein free expansion causes a decrease in temperature. Cooler air = more power, right? Small details add up.
We had decided that the hotpipe and cold pipe would be one-piece units, so as to minimize the potential for leaks, and that goal was realized with the smoothest, most factory-looking turbo plumbing you’ll ever see. The intake pipe leads straight to the MAF (behind the driver’s side headlight) and the filter mounts just below the engine bay, in a high-pressure, cool air area behind the left bumper vent. Jason welded in a strategically-angled recirculation port that would mate up to the blow-off valve port.
Hours of polishing, and BAM! Instantly functional blang.
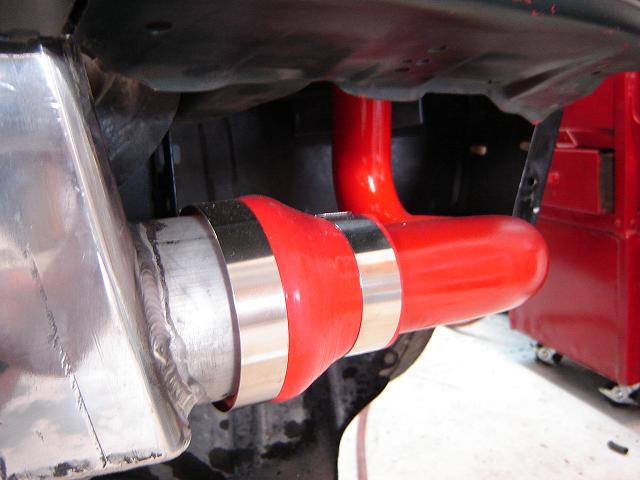
Silicone couplers (red, of course) were sourced from a NICO sponsor, and stainless t-bolt clamps were polished, then installed, for that extra measure of reliability and bling.
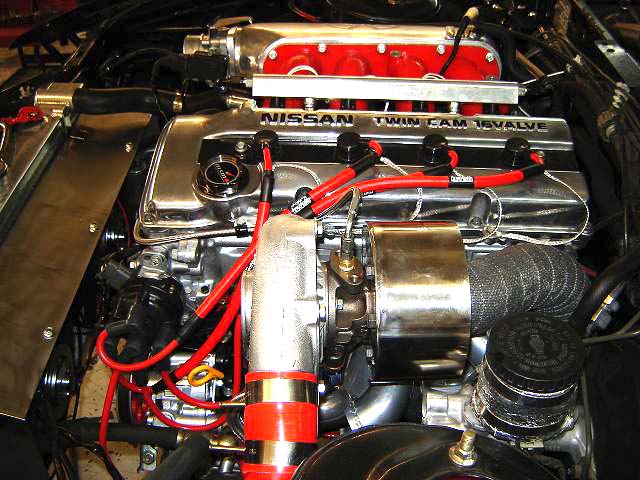
No matter what you do, the compressor housing of a turbo never looks good, and this project was about displaying full attention to detail in every way. I remembered the cool heat shields from the Buick Grand Nationals, and wanted one for Project Vert. I was dismayed by the ridiculous cost, so I designed my own. A chunk of 5″ stainless food tube from a local scrapyard was slit down one side, stretched, sliced, and fitted to make the shield. A cardboard template off the turbo housing was transferred onto stainless, and Jason went to work welding the seam – it turned out exactly as I had envisioned, and cost $3 to make.
Finally, the day came to drop in the freshly-built engine. While there was still a TON of design, fabrication, assembly, and construction to do, Project Vert was taking shape… Jason and I spent countless hours discussing possibilities for the next step, often disagreeing, but always working things through to a logical conclusion. We’d often talk by phone between Saturdays in the shop, and the discussions always started the same: “Dude, I was thinking – What if we….“.
This is how cars – and friendships – are forged.
At the very beginning, I said, “I want to build the BADDEST 240sx convertible in the world.” No shortcuts.
Limited only by the constraints of a pre-determined budget, everything was done towards that end.
Through it all, Project Vert was SPEAKING to us. She was letting us know that our efforts would not be in vain this time.
View other segments:
NICOclub is back again with Carlisle Events to host our 18th annual NICOFest Carlisle AutoX…
Kraft Auctions Offers Fans a Chance to Own a Piece of Datsun Racing History
We built Datsun Ranch in 2014, and it was the culmination of a lot of…
Since it's not just Datsuns that are vintage anymore ("classic Nissan" still sounds weird, right?),…
Let's talk about big brake kits for a bit. For the purposes of this article,…
What do these terms mean? Pulsed Secondary Air Injection (PAIR) Valve: The PAIR valve sends…