In the last installment, we left off with the engine installation of Project Vert nearly complete.
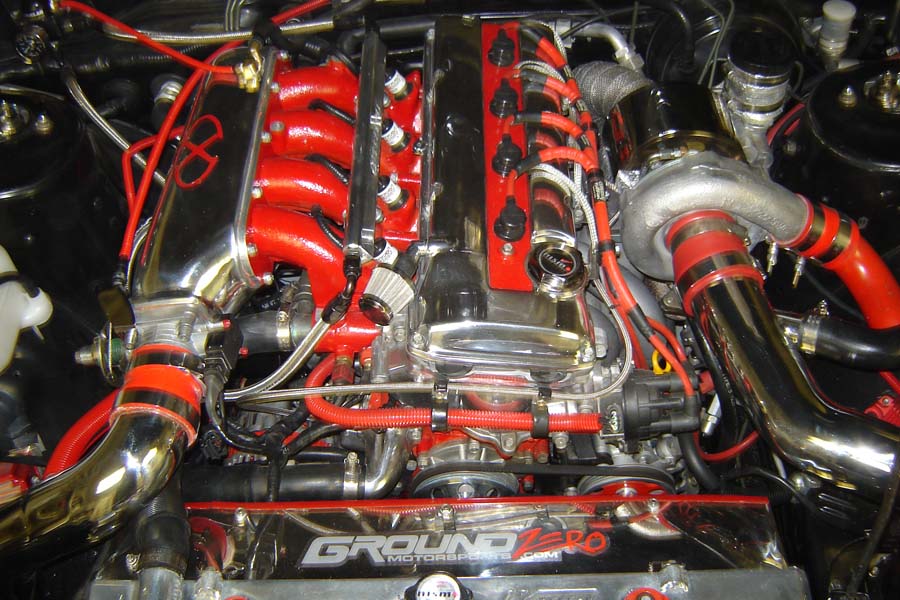
Another modification done was the relocation all of the underhood wiring, so as to be “invisible” upon inspection. The two large fuse boxes under the hood were disassembled and re-routed to beneath the engine bay (one underneath the spot formerly occupied by the battery, and the other in the same location on the opposite side). While tedious, confusing, stressful and time-consuming, it allowed for easier access to all the important parts, and cleaned up the look of the engine bay nicely.
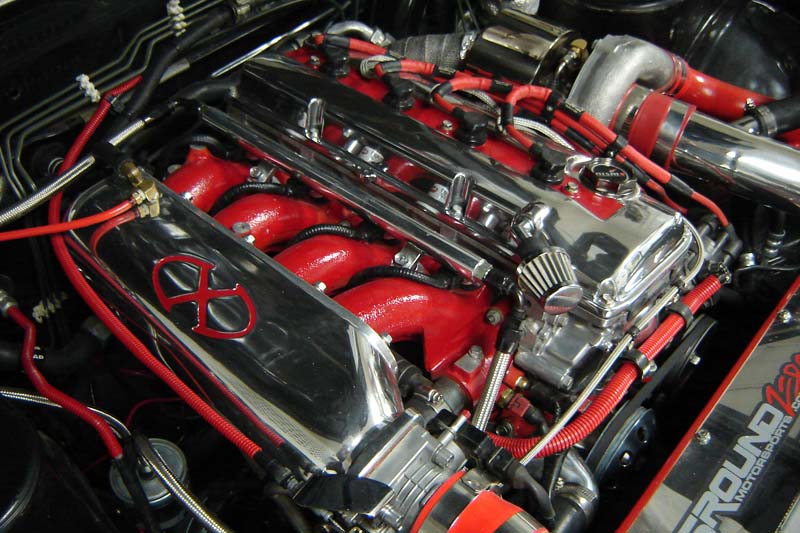
The engine harness was routed so as to be nearly invisible as well, with the injector harness running beneath the plenum and secured by rubber wire looms. The MAF and coil harness were re-routed to the opposite side of the engine bay, via the cowl (where the wiper assembly used to be), and down through the driver’s side fender. While under the cowl, I relocated the alarm and reinforced the backside of the firewall with two metal plates, in anticipation of the triangulated strut tower brace.
Also during this stage, I sourced an MSD ignition and coil and wired it up. Jason fabricated a cool custom stainless mounting plate for the MSD ignition, and the coil was mounted close to the distributor. Some Nology wires from Sport Compact Only finished off the ignition system.
During the build, I was studying up on engine management options. There were a dizzying array of options, but almost all of them had some drawback. Price, functionality, reliability… I simply wanted the ECU to behave like a stock ECU would, had the factory decided to build the KA with 75-lb injectors, a Z32 MAFS, and 15 psi of boost.
The BikiROM tuned ECU seemed to be a logical choice, and one was sourced immediately. This would be the heart of Project Vert, and would protect the time and money investment we’d assembled.
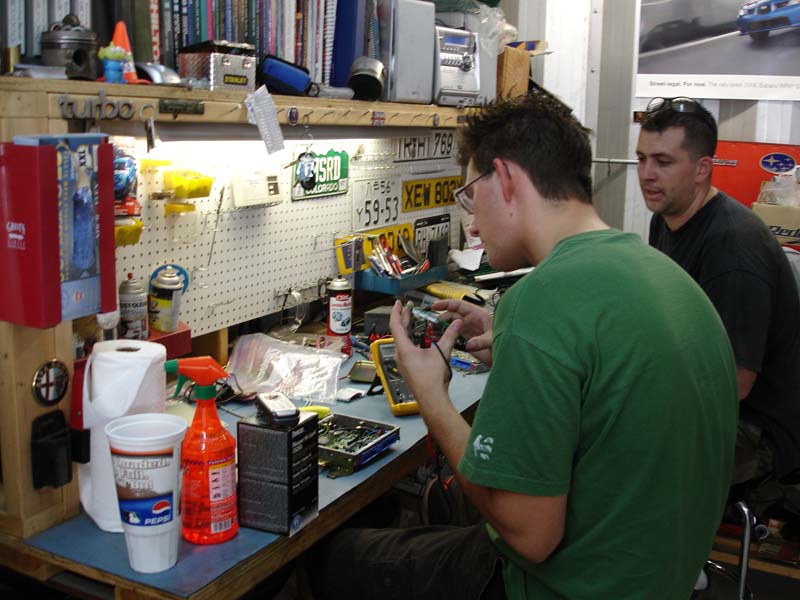
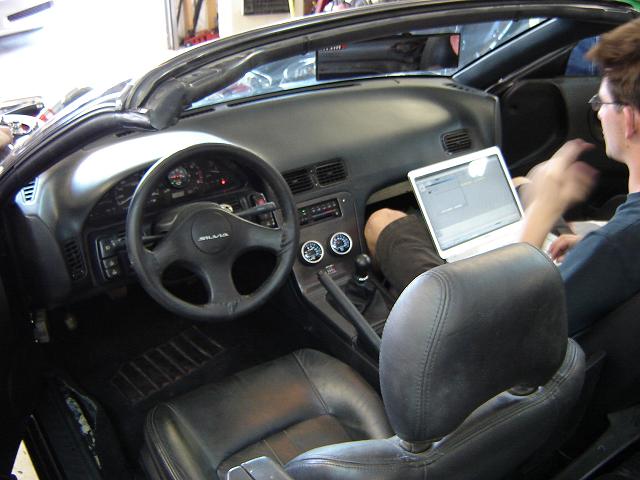
Fortunately, I have two very good friends, local drift heroes George and Champa, who were very familiar with the BikiROM system. A USB data cable was routed from the ECU into the glove box for easy tuning from the passenger seat.
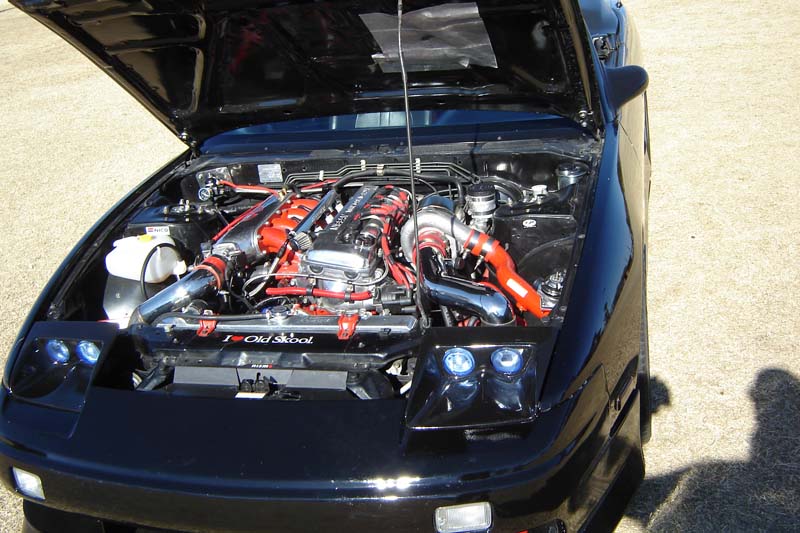
So, there we had it, a fully assembled, built KA-T, sitting in the engine bay, ready to rock and awaiting that first turn of the key. All connections were triple-checked, fluids checked, fire extinguisher at the ready… One turn, one running engine. Just like that. Holy crap. It couldn’t be that easy. I shut it off.
Cranked it over again – fired immediately. Wow.
One more time, to make sure everything was getting oiled, and she settled into a smooth, angry idle… Pure music.
We allowed it to run for about 3 minutes, then did the first oil change into a clean container with a fine paper paint strainer. No chunks, no metal, just the pearlescent glow of otherwise clean oil from a freshly-built motor.
Next oil change was done after letting her run for 30 minutes, while we monitored the gauges and timing. Fluids were holding steady, oil pressure good (a little high, but that’s how we designed it), temps perfect, and no weird smells (other than the initial “burn-off” of assembly oils and lubricants on the engine).
It was time to let her see the light of day in N/A form, so Project Vert was rolled out of the garage she had occupied for six months. Driving around, prior to all the final “tweaks”, it was apparent that all the hard work had paid off. With a wide-open wastegate, she was running naturally-aspirated, and it was pretty evident that this engine (even without boost) was solid. It felt a lot like an SR on stock boost, and revved a lot more freely than any stock KA.
Tuning, with George and Champa manning the laptop, was a lot easier than I anticipated, and a good “street tune” was aquired on the streets of rural Surprise, AZ. Rev limiter was set at 5K rpm for break-in purposes, and the maps were set for overly rich operation under load, for safety’s sake. Base timing was set at 15 degrees, in order to keep things under control in case of bad fuel or a boost leak causing a lean condition. Lastly, the 5-lb wastegate spring was installed, to keep from going nuts on the boost (just yet).
The electric fans looked “busy” and cluttered, so I designed a “shroud” to conceal them. The fans we were using don’t require shrouding, so this was primarily for aesthetics (and to keep tools and fingers out of the fans). Jason welded up the shroud in some scrap stainless, and it made a perfect spot to represent Ground Zero (who contributed the gorgeous turbo manifold seen earlier).
Having long since tossed the old, crunchy OEM overflow container, I pondered the idea of buying an aftermarket “blinged-out” one… But nothing’s cooler than brand new, OEM Nissan functionality, so Everything Nissan got my order for a new OEM radiator overflow container.
A used Greddy turbo timer was sourced for $30 and installed in the console lid. I made a stainless bracket which holds the timer securely under the lid, so it’s all but invisible (but allows for easy adjustments by simply opening the console lid).
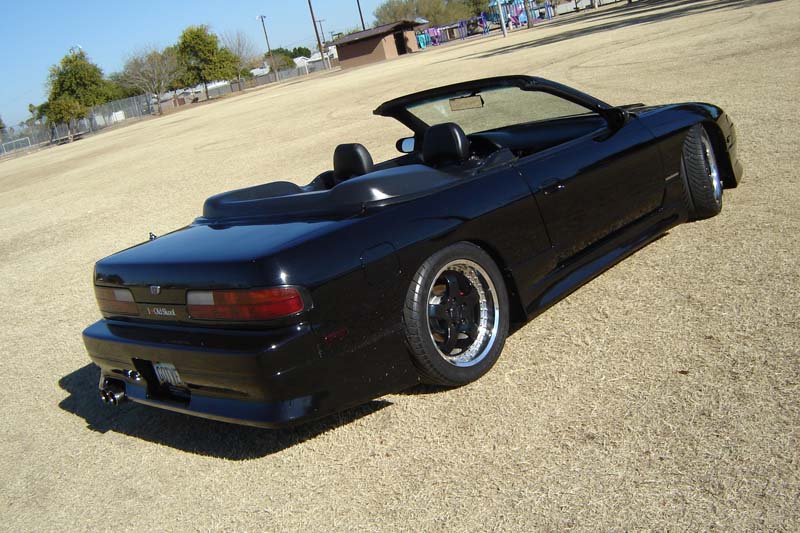
With the engine tuned, the wiring complete, and nothing to do but put some break-in miles on it, it was time to turn attention to the aesthetic aspects of the car. I had in mind an idea of how I wanted the car to look once complete, and the varied influences were slowly coming together.
I liked the “drift-style” appearance of the black GP Sports hatch (the one in all their ads), but I also wanted a clean, uncluttered “old-school” look. I also wanted to incorporate some musclecar design cues with staggered tire sizing and a raked stance, and I had a lot of hot rod touches (Foose-style) I wanted to include as well.
I knew this would NOT be a car that everyone would like, or find attractive.
It’d be too “staggered” for the drift crowd, too low-slung for the track fans, too functional for the VIP lovers, and too “Americanized” to please the JDM fanboys.
The first hurdle to overcome was finding a hood that would fit over the top-mount turbo, and, as I came to find, the throttle body. The Xcessive intake plenum placed the throttle body about an inch above the hood bracing, so that the hood came nowhere near closed.
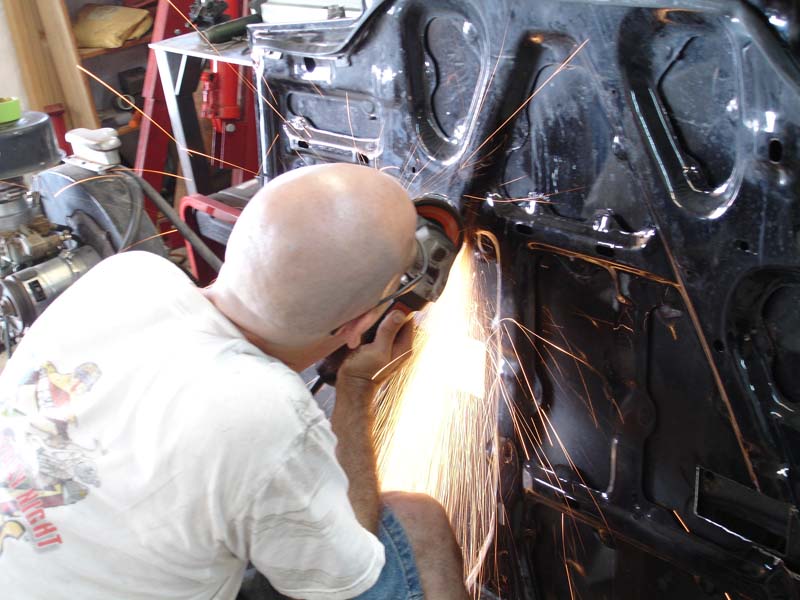
I’d taken the saw and grinder to this car before, no reason to stop now.
I cut on the hood bracing for the better part of a day – test-fitting, cutting, grinding. A 280ZX Turbo NACA-style hood scoop was frenched into the hood just in front of the turbo, primarily for clearance (but also because it looked kick-ass).
Regardless, no matter how much cutting I did, this stock hood wasn’t gonna fit. I abandoned the hood and resolved to finish the rest of the body, while I tried to figure out what to do next.
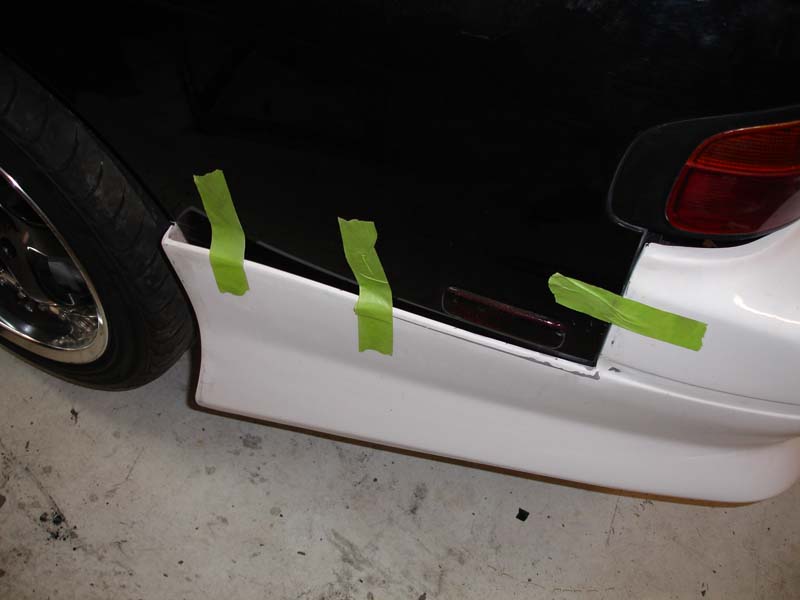
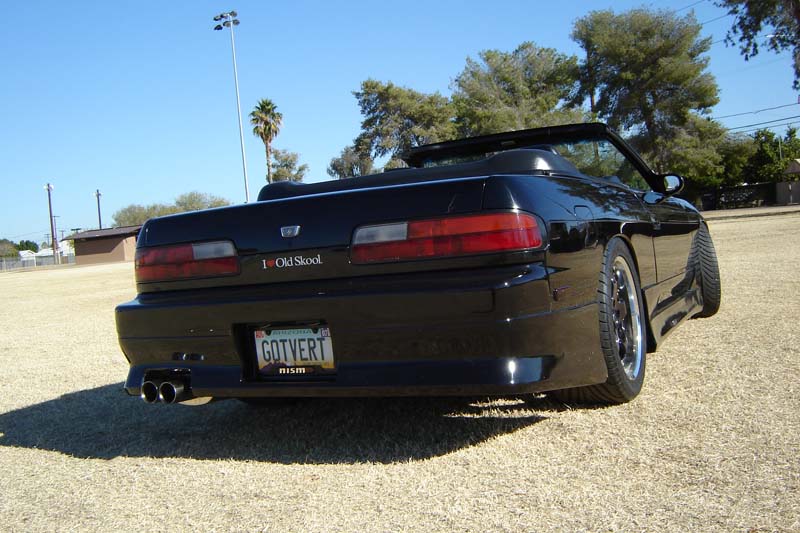
An Origin Labs Stylish body kit (180sx front and sides, Silvia rear) was bought from Intense. A couple days of test-fitting, modifying, sanding, re-fitting, and drilling (thanks to Dan 240sx2nr95 for the help), and it was ready to paint and hang.
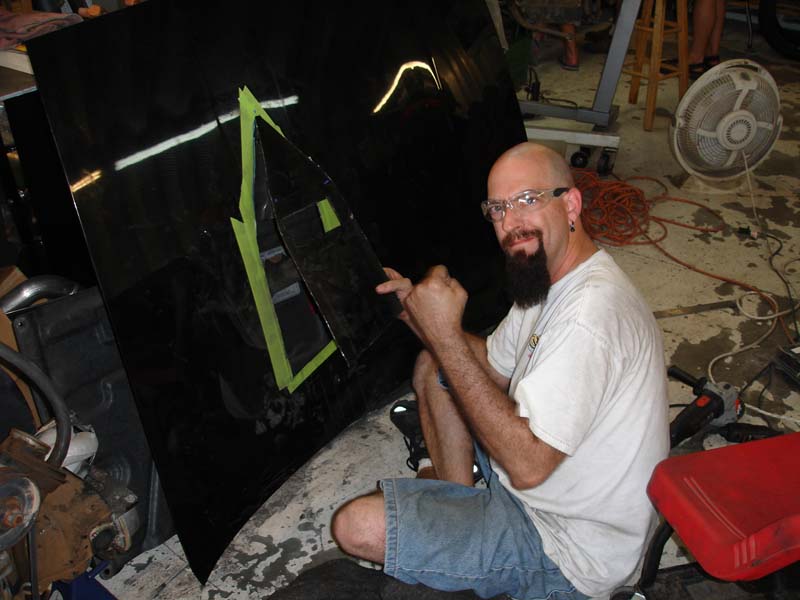
Mixing and shooting the paint wasn’t as hard as I’d anticipated, and buying the GOOD paint and prep materials made all the difference. We laid the Nissan Super Black paint on good and thick, because I knew any scratch or nick would show as white on the FRP body kit. In fact, I rattlecanned the entire inside of each piece with some cheap flat black, just in case.
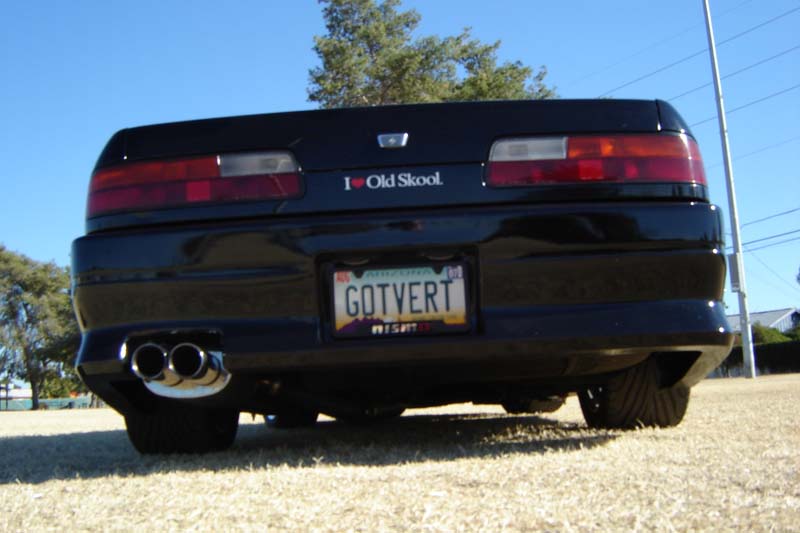
With the new rear bumper mounted, the exhaust tips were now nearly a foot too far behind the bodywork, so more chopping and welding was in order. Jason’s fabrication skills shone through again, as we struggled to align the muffler and tips *just* right in all three dimensions.
During the bodykit prep, I was thinking hard about the hood and how I wanted it to look. I really, really wanted to design my own hood – A fiberglass model, with a cowl-induction scoop rising up about 3″ on the rear edge. Very musclecar style, but functional as well – I’d put gauges in the cowl, and it’d also serve to draw hot air out of the engine bay.
Unfortunately, no one makes such a hood, and until I make my own, I’d have to settle for someone else’s (inferior) idea of what looks good. I’d had a Seibon OEM carbon-fiber hood before, and it was really nice. But an OEM hood wouldn’t fit, and the Seibon “scoop” hood had two vents, which I disliked.
Searching our sponsor sites, I ran across a VIS carbon-fiber hood with a single, elegant vent – not too “ricey”, but aggressive enough to catch attention. I had heard that VIS hoods were poorly constructed, but I needed a hood. I had Intense order one in, and when it arrived, I bought it on sight – it had beautiful weave, great construction, and was finished very professionally – I’d never knock a VIS product again, this hood is beautiful.
This damn engine still sat an inch too high. This means war.
I ordered a set of Nismo CA18 mounts, after hearing that they’re somewhat shorter. Wrong. In fact, they’re identical to KA mounts.
Hockey pucks? Too ghetto. Solid aluminum mounts? Too rough.
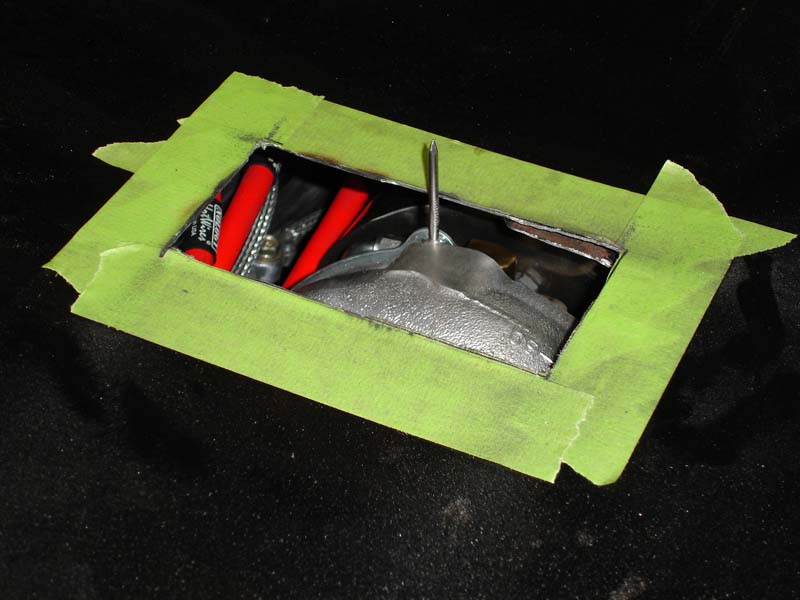
Necessity being the mother of invention, and at the encouragement of Jason, I made my own. Here’s the article: DIY motor mounts
With the motor settled deep in its cradle, handling was MUCH improved. You’d never think that dropping 500 lbs. an inch and a half lower in the frame would make much difference, but according to a reliable source, it’s akin to widening the track several inches.
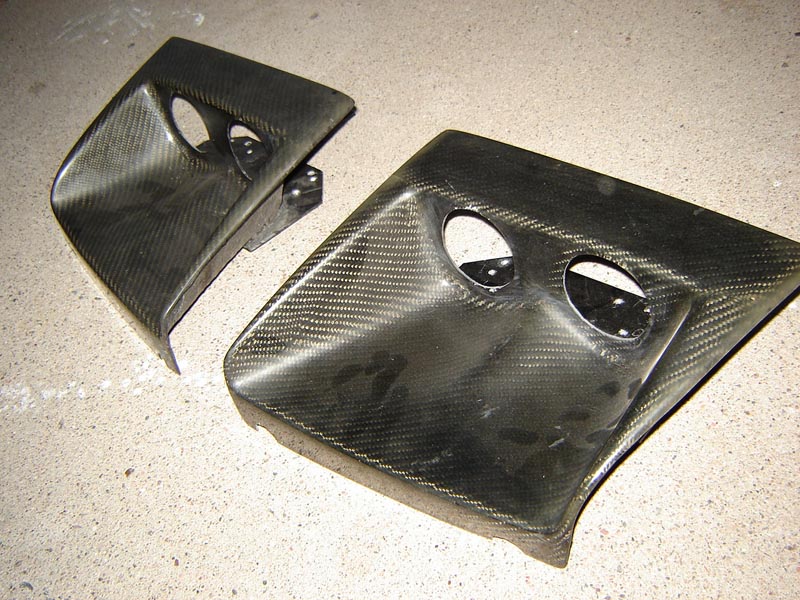
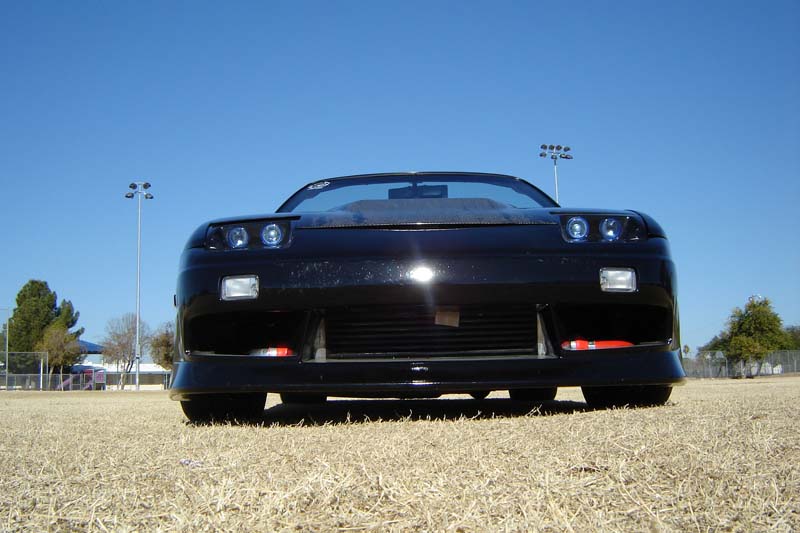
The headlights were a modification I struggled with for quite some time. I wanted something “different”, something unique, but something that flowed well with the car. This was the ONE area of modifications I think I might have done with the “car show crowd” in mind…. I love the look of a sleepy-eyed S13, and had planned to permanently mod my pop-ups to “stay sleepy”.
A year earlier, a NICO member had listed a set of C-Wings carbon fiber quad-projector headlight buckets for sale, and I snatched them up… There were only a few sets made (according to C-Wings only 5 or 6 sets were produced). This set was the original, as his car was used to design them. The finish was rough, and the fitment not perfect, but they were unique and cool.
Since the CF weave didn’t match the hood, I opted to paint them Super Black to match the bodywork. I sourced some DOT-approved projector lamps from a wholesaler and fabricated bracketry out of some spare aluminum. They seem to attract a lot of attention, and they’ve grown on me – I kinda like them now.
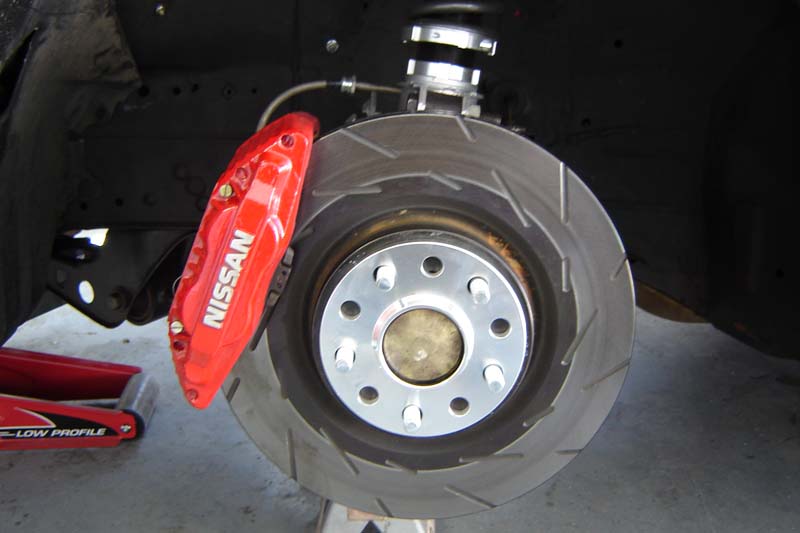
While the bodywork paint was curing, I decided to refinish the calipers to match the new color scheme for the car. However, when I take something apart, I always want to put it back together BETTER than it was before, so I ordered up the SPL Big Brake Kit for the front. This uses the MONSTER 12.8″ Brembo rotors from the 350Z Track Edition, and placed the calipers so close to the wheels, I could scarcely fit a business card between them. A little shaving of the caliper body solved that, and they were ready for paint.
Endura-Tech had approached me at the SEMA show in Las Vegas about assisting them with marketing a new line of coilovers for the S13, and they offered me a steep discount to run them on Project Vert.
While installing the coilovers, I had gotten a call from a local 240sx owner who was clearing out some of his old parts, and he had a set of authentic Do-Luck ladder braces from Japan for sale. Needless to say, I snatched these up, and installed them immediately. They do a great job of bracing the frame rails right under the flywheel and behind the fuel tank, and make the car feel even more solid and planted.
On a side note – There are those who believe the 240sx convertible is insufficiently stiff for racing or high-horsepower applications, they couldn’t be more wrong.
Folks who have driven a Fox-body convertible or a GM F-body will believe that ALL convertibles exhibit cowl shake and frame flexion. It’s simply not the case with this car. Several aftermarket parts you see available for drift and track use are nearly identical to the ASC-installed structural bracing seen on the convertible.
Fender braces tie the firewall and door hinge pillars to the strut towers. Floor bar (behind seats) tightens up the midsection. Bracing underneath the front footwells ties the frame together in front. A fully-boxed bulkhead ties the rear strut towers together on all three sides. Bracing behind the fuel cell ties the rearmost sections of the frame together.
Prior to adding any bracing, and to prove a point to some of the locals, we placed a jack under the left-front corner of the frame, and lifted it 6″. Both doors still opened without binding, and depending on where we placed the jack, either the whole front or the whole side came up with it.
Similar results were attained on an S13 Coupe, but the 2 hatches we did this to didn’t fare so well – Neither one was able to open the driver’s door.
The debate will continue forever, but the bottom line is, the convertible chassis is well-braced and stout, in some cases more so than an unbraced hatch or coupe.
Anyway, while we were in Vegas for SEMA, I ran across a gauge pod in the DEFI booth that I *had* to have. It places 2 gauges above the steering wheel (looks like mouse ears), in perfect view. I placed my order right there at the show, and it was waiting for me when I got home.
Since I had already removed all the audio stuff (who needs tunes when you have boost?), I decided the center console should be simply smooth. Some plastic-weld, some Bondo, and a LOT of sanding, resulted in a smooth, straight center panel with nothing on it but some glossy Super Black paint to match the exterior.
An HLSD from an S15 Silvia replaced the 4.36 VLSD, as it was simply too steep for a boosted car. There’s simply nothing better for street use, and it puts ALL the power to the ground without any extraneous drama or noise.
The most recent addition to Project Vert was completed last weekend, and that was the installation of an old-school Greddy Profec-B boost controller. Without any need for multiple settings, or a lot of adjustability, I was happy with the simplicity and functionality of the Greddy unit. Installation was a snap, and what an enormous difference it makes. Rather than bleeding off boost as the wastegate nears it’s spring pressure threshold, it now holds boost until 15 psi is reached, then immediately pops open to prevent overboosting.
At present, Project Vert has nearly 2000 miles on the clock since she was completed. I’m still awaiting a full-blown tune on a dyno, but scheduling and work have conspired against me.
She’s racked up a few kills already – She smacked around a C5 on the freeway from a 40mph roll (twice), a Subaru STi from a standing start up to 60, a BMW Z4 (whose driver came back for seconds and thirds), a supercharged EG hatch, a brand new is350, a really rude chump in a Boxster (cheap Porsches aren’t impressive, buddy), and she even held her ground against a 750 Ninja from 60 to 100 (terrifying – don’t think I’ll be doing THAT again).
Thus far, the only thing that’s pulled on her has been a 2007 Z06, and I expected that – But it won’t happen again.
I can only imagine how she’ll do once the rev limiter is bumped up, the timing is advanced, and the map is adjusted.
So, after two years of work, what does the future hold for Project Vert?
Future mods will likely include water / methanol injection on a Hobbs switch for use above 10-12 psi.
Body and paint work will likely occur somewhere in the next year or so, as her stock paint is starting to show its age – Plans include shaving the gas filler and antenna, and possibly some molded-in old-school flares.
Interior re-upholstery is probably due for this summer, and during that time, I’ll be removing the top assembly, glass, hydraulic top mechanism, and all other unnecessary accouterments in an effort to bring the weight down another 200 lbs. At present, she weighs the same as a stock coupe…
This is a good opportunity to say “Thanks” to everyone who has been involved in this build.
My wife, for allowing me to disappear every Saturday into the garage…
My sons Hunter and Darian for helping out where they can…
The “Master Fabricator” Jason McCoy, who’s become one of my best friends through this build…
My local buddies Adam, Champa, George, Effin’ Dan, Jeremy, and anyone else who laid a hand on this car – You guys rock…
The NICO crew – Members who answered questions, gave advice, and encouraged me to finish this car.
Stay tuned for updates – For now, there’s a ’72 240Z restoration and a couple old Datsun Roadsters calling my name… They’ll get similar articles, so check back for more.
View other segments:
NICOclub is back again with Carlisle Events to host our 18th annual NICOFest Carlisle AutoX…
Kraft Auctions Offers Fans a Chance to Own a Piece of Datsun Racing History
We built Datsun Ranch in 2014, and it was the culmination of a lot of…
Since it's not just Datsuns that are vintage anymore ("classic Nissan" still sounds weird, right?),…
Let's talk about big brake kits for a bit. For the purposes of this article,…
What do these terms mean? Pulsed Secondary Air Injection (PAIR) Valve: The PAIR valve sends…