Time: 1 hour per hub
Difficulty: 3/5
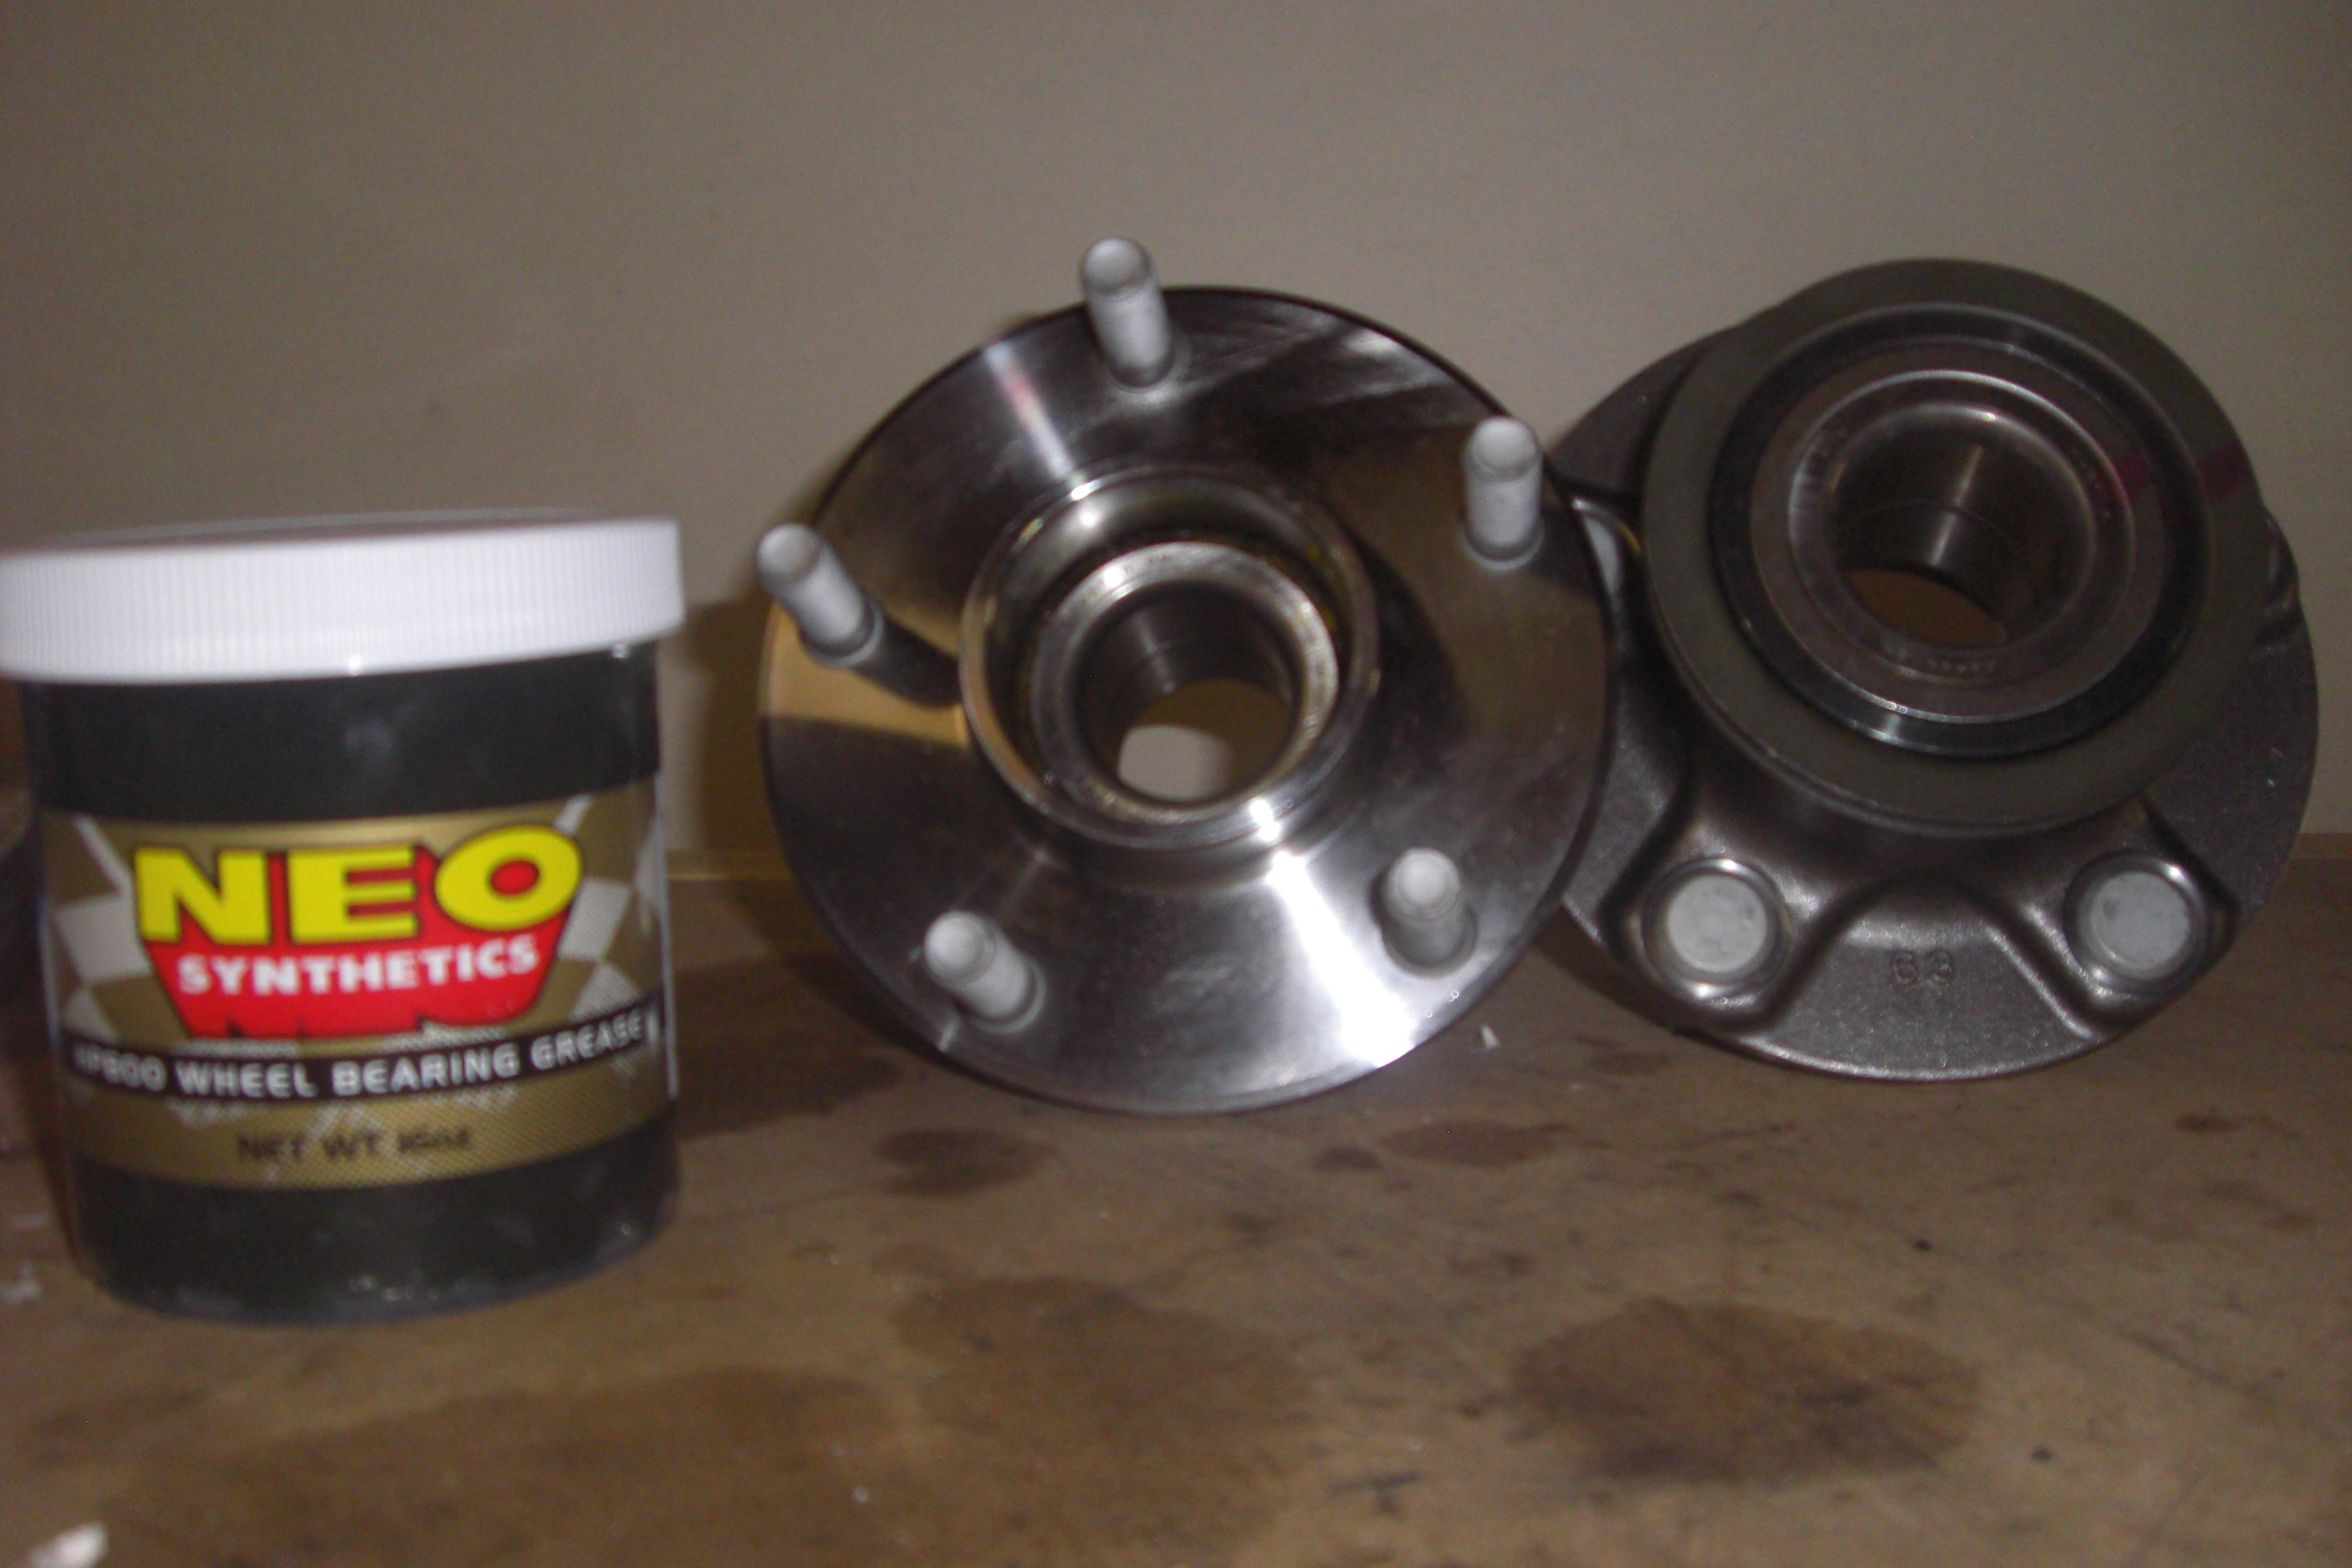
Repacking wheel bearings is not a difficult task. It can be very tedious and time consuming, but the key is to stay organized and have an efficient layout of your work station to expedite the cleaning and greasing of the individual components. There are multiple reasons to repack bearings. It’s a service life issue in some cases, such as utility vehicles. In the sport compact world, most manufacturers offer there bearings up prepressed into carriers or hubs. Nissan wants you to purchase an entire hub assembly for the front bearings, and a separate carrier for the rears. These are partially sealed, but can be disassembled to repack with higher quality grease.
You can use any kind of grease for this job, just use a high quality wheel bearing grease. For this article, Neo Synthetic HP800 grease was used. It’s a high quality grease with a high viscosity that is resistant to channeling and is sustainable at high operating temperatures. The factory grease is decent, but it’s not the best quality. In some of the used hubs I took apart, the grease had become runny and a good portion of it had left the bearing compared to the brand new ones. If you are using used, junker hubs, it’s a very good idea to repack them.
I will routinely refer to the outboard side of the hub/bearing as the top and inboard side as the bottom.
-The first step is to gather your bearing assemblies in a clean work station.
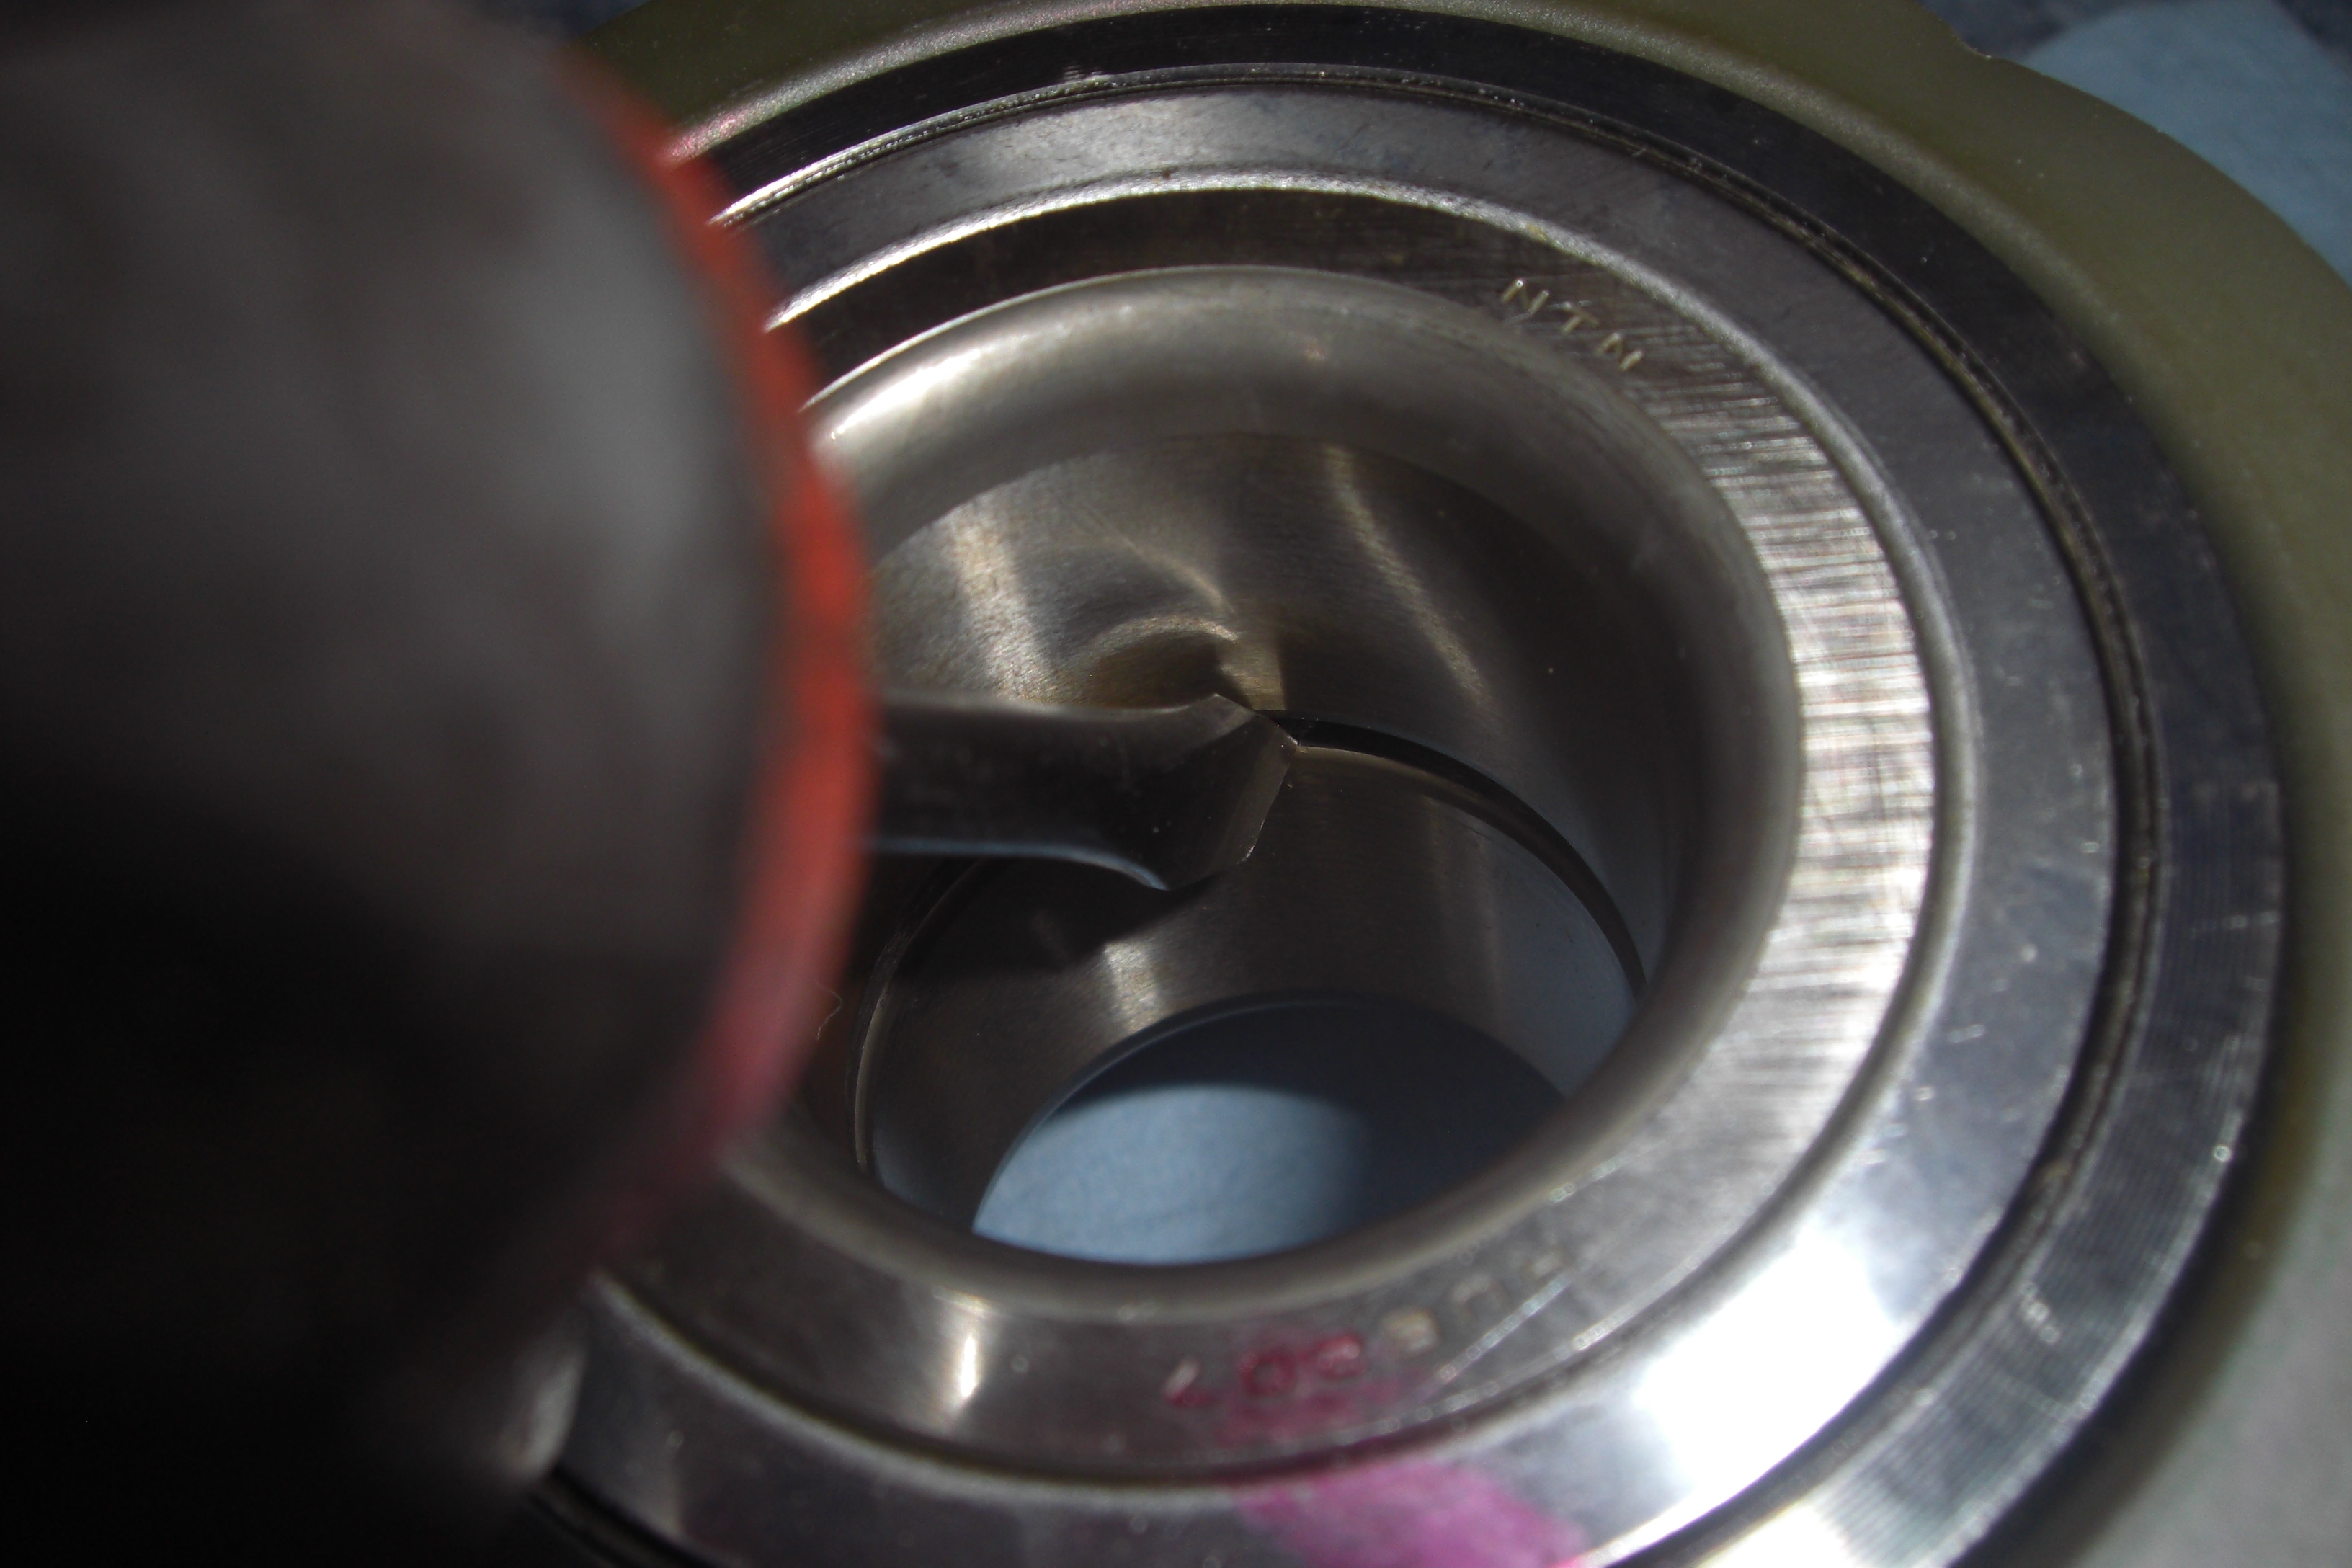
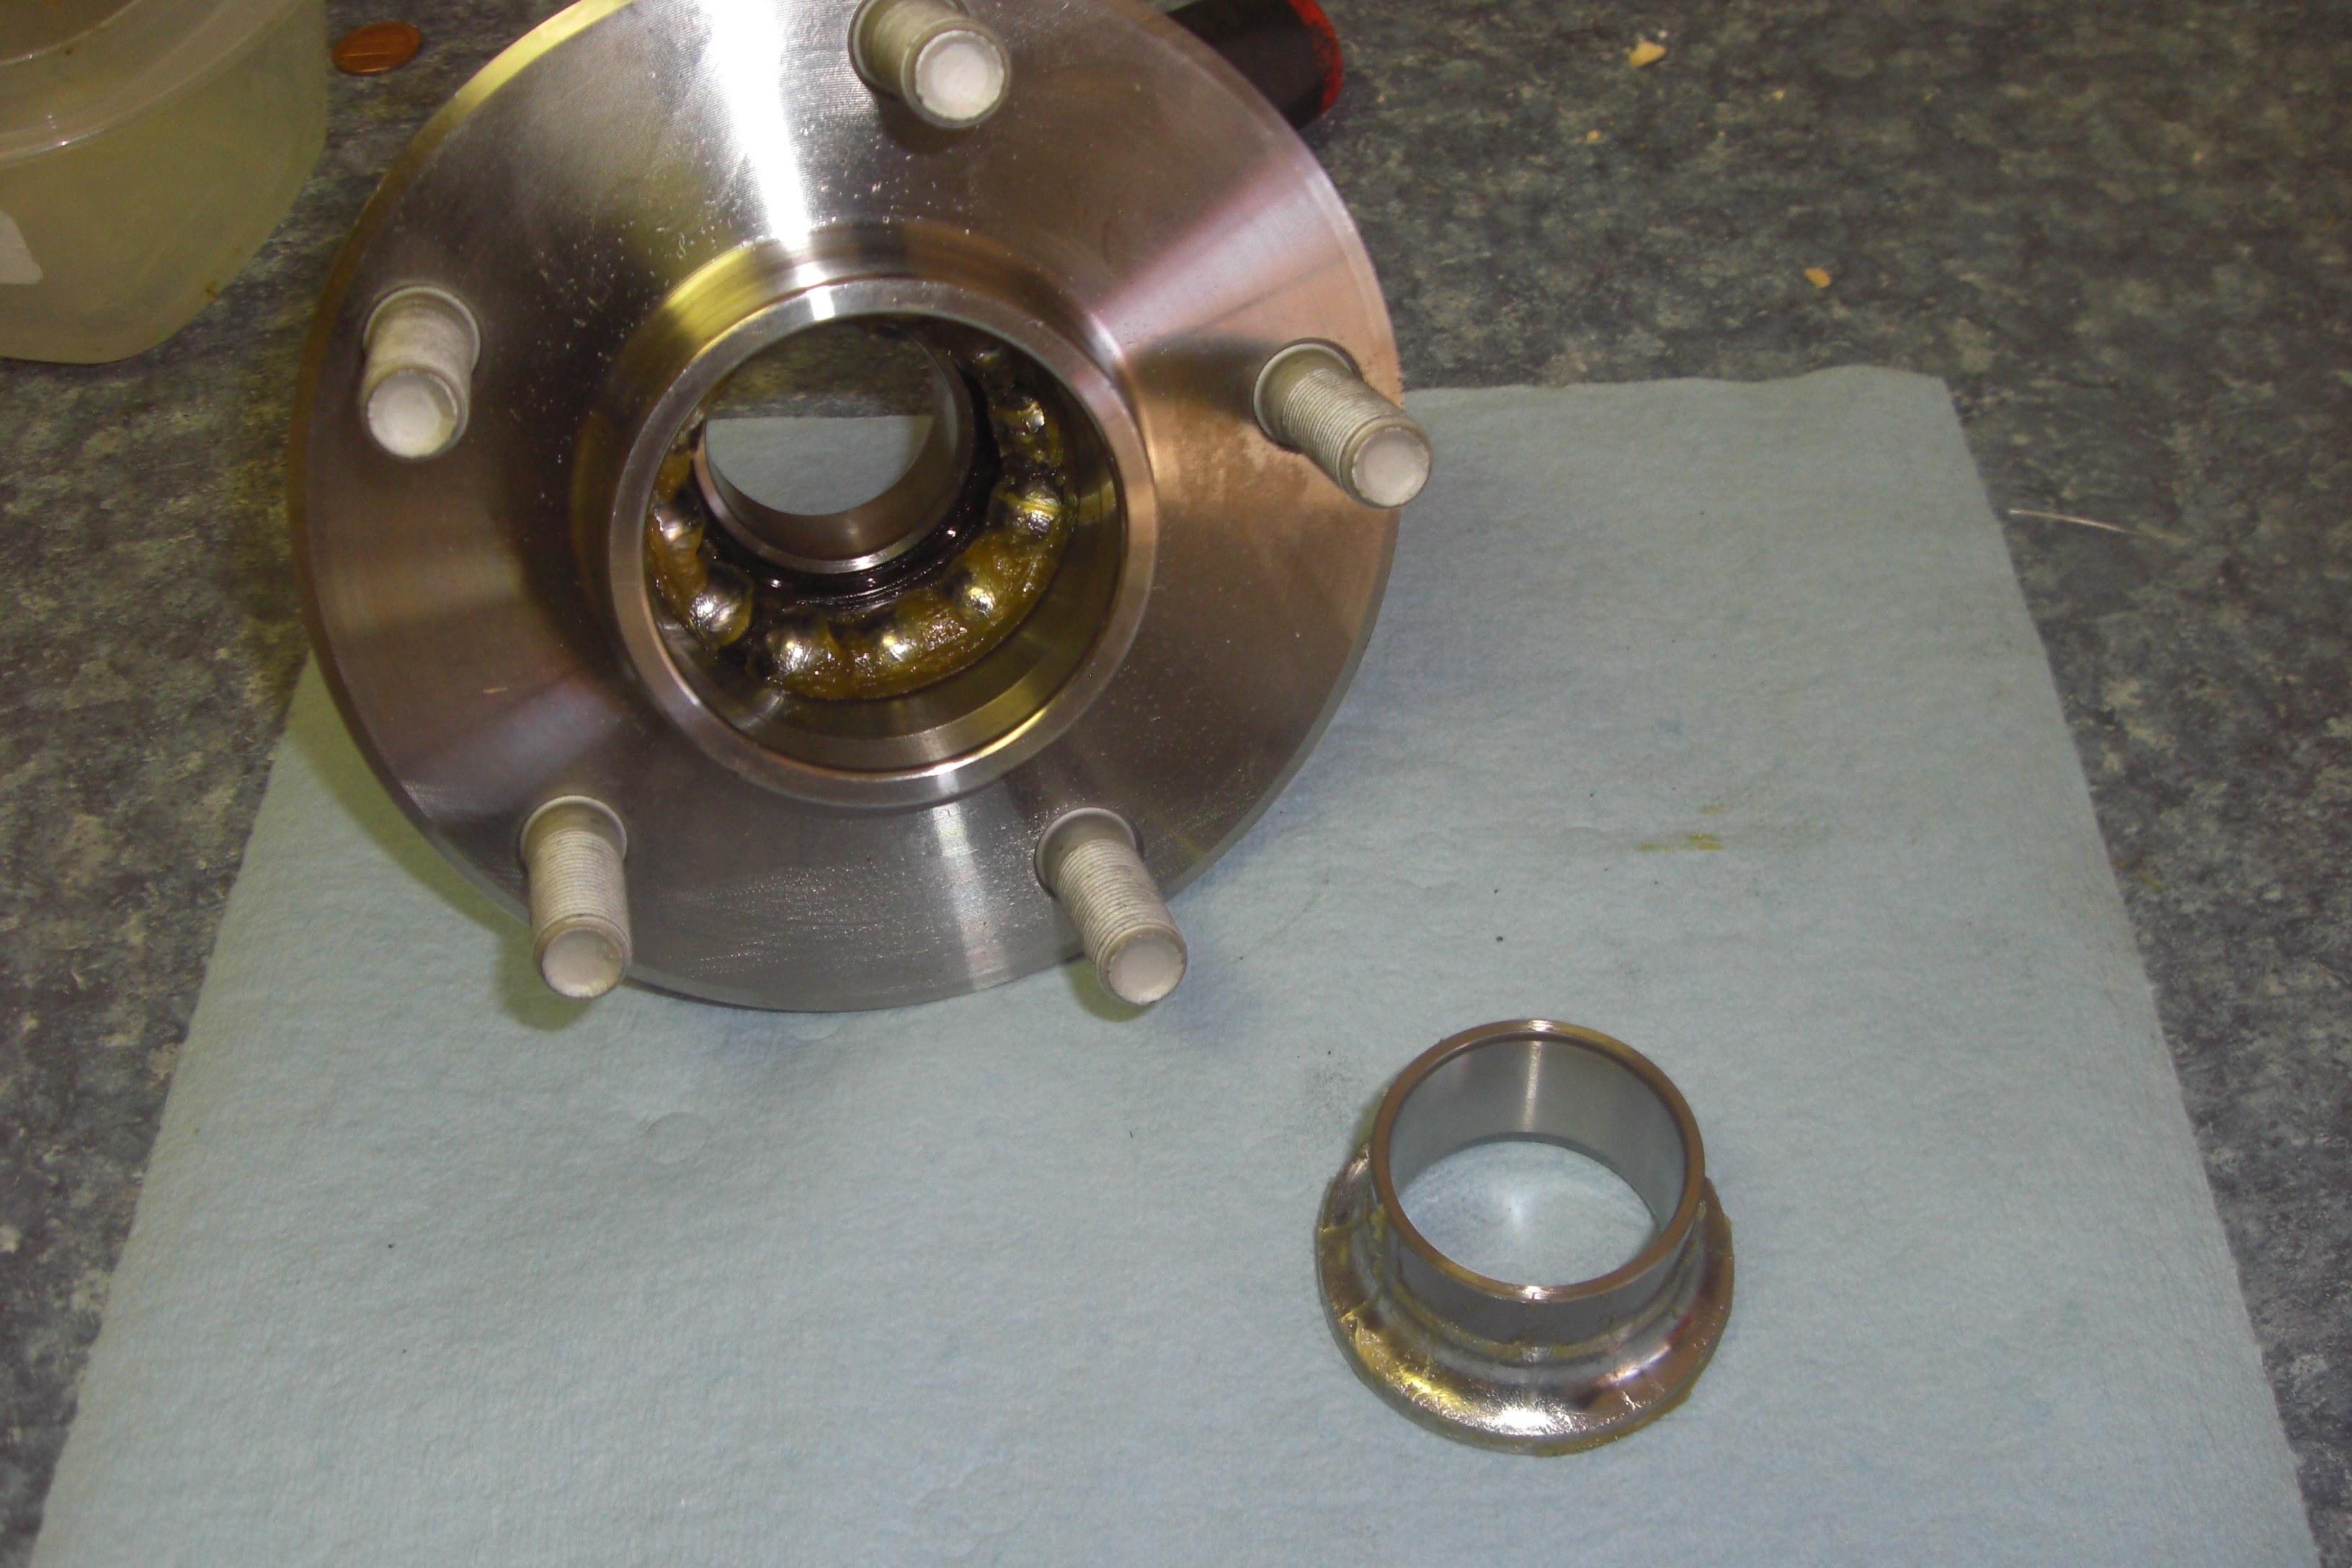
-Next, set the bearing up so you can knock out the inner races. Carefully tap the race out. Brand new bearings can be tight to tap out, but with enough gentle force, they’ll release. A tip for S14/S15 hubs, the bottom race has a pressed on metal shield. It’s best to set the hub up straddling something. I found a scented candle has a wide enough circular opening to support the hub without the race’s shield getting in the way. I also used my bench vise opened wide enough, but it was hard to catch the race without an extra set of hands.
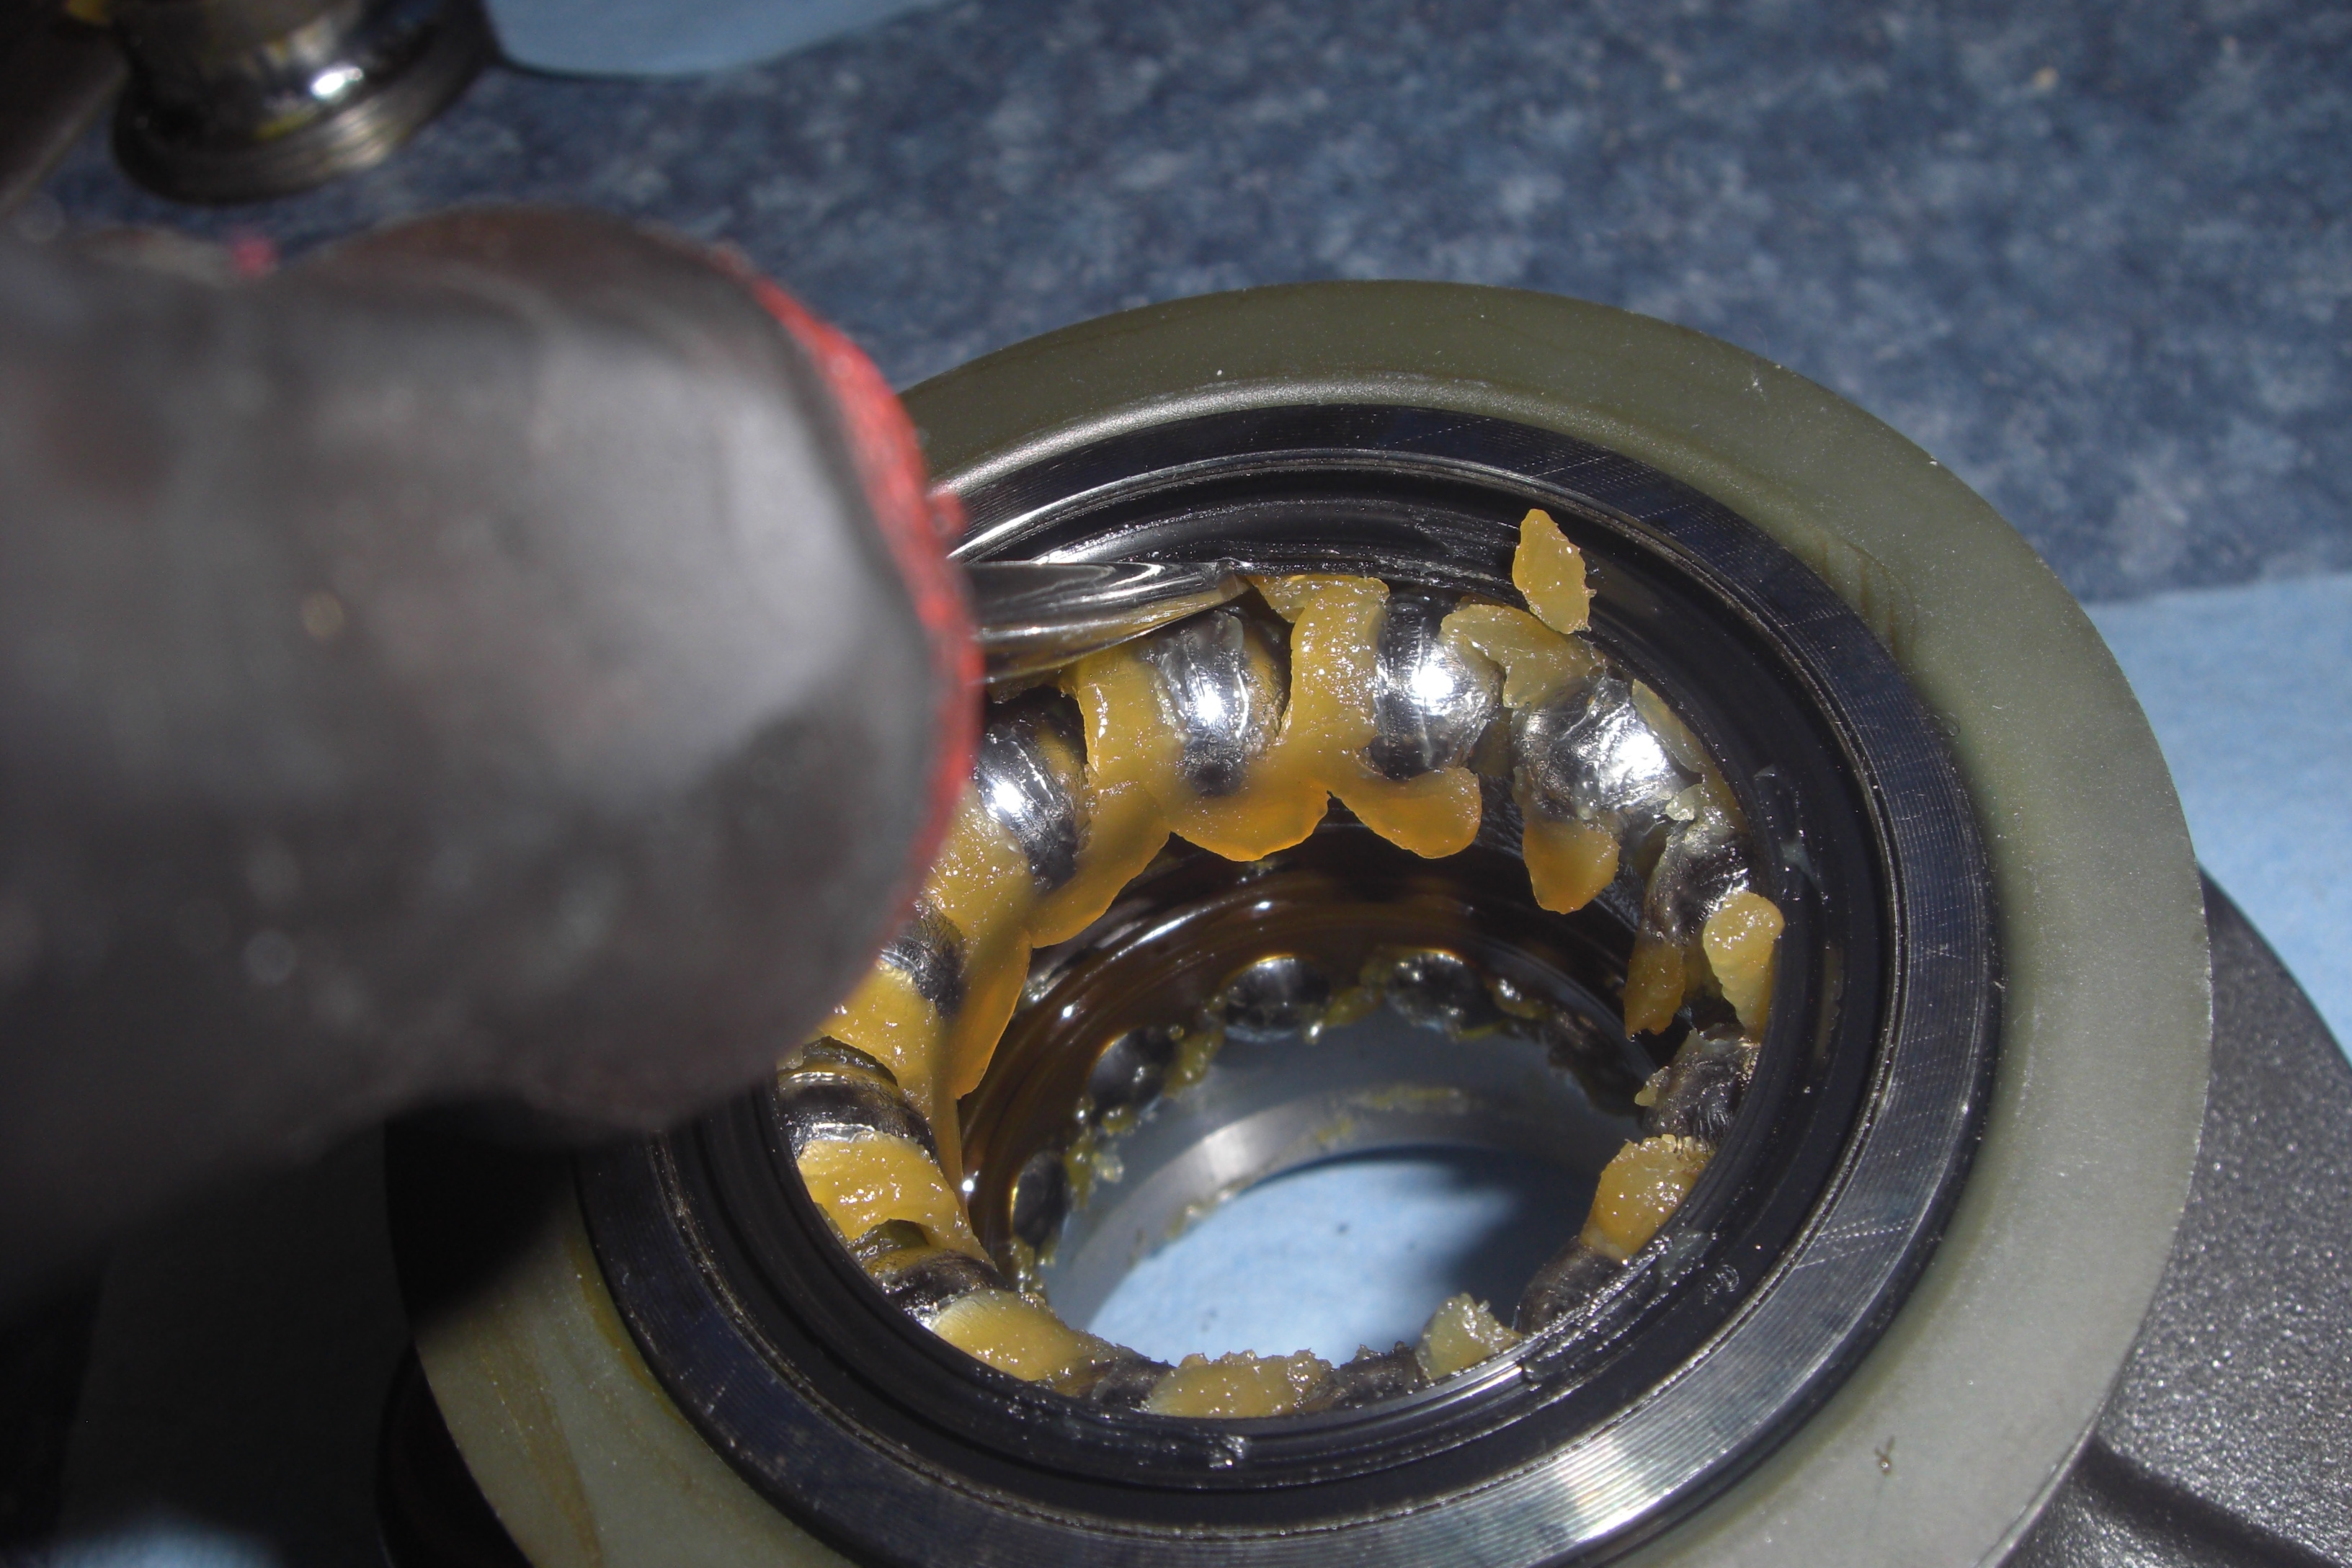
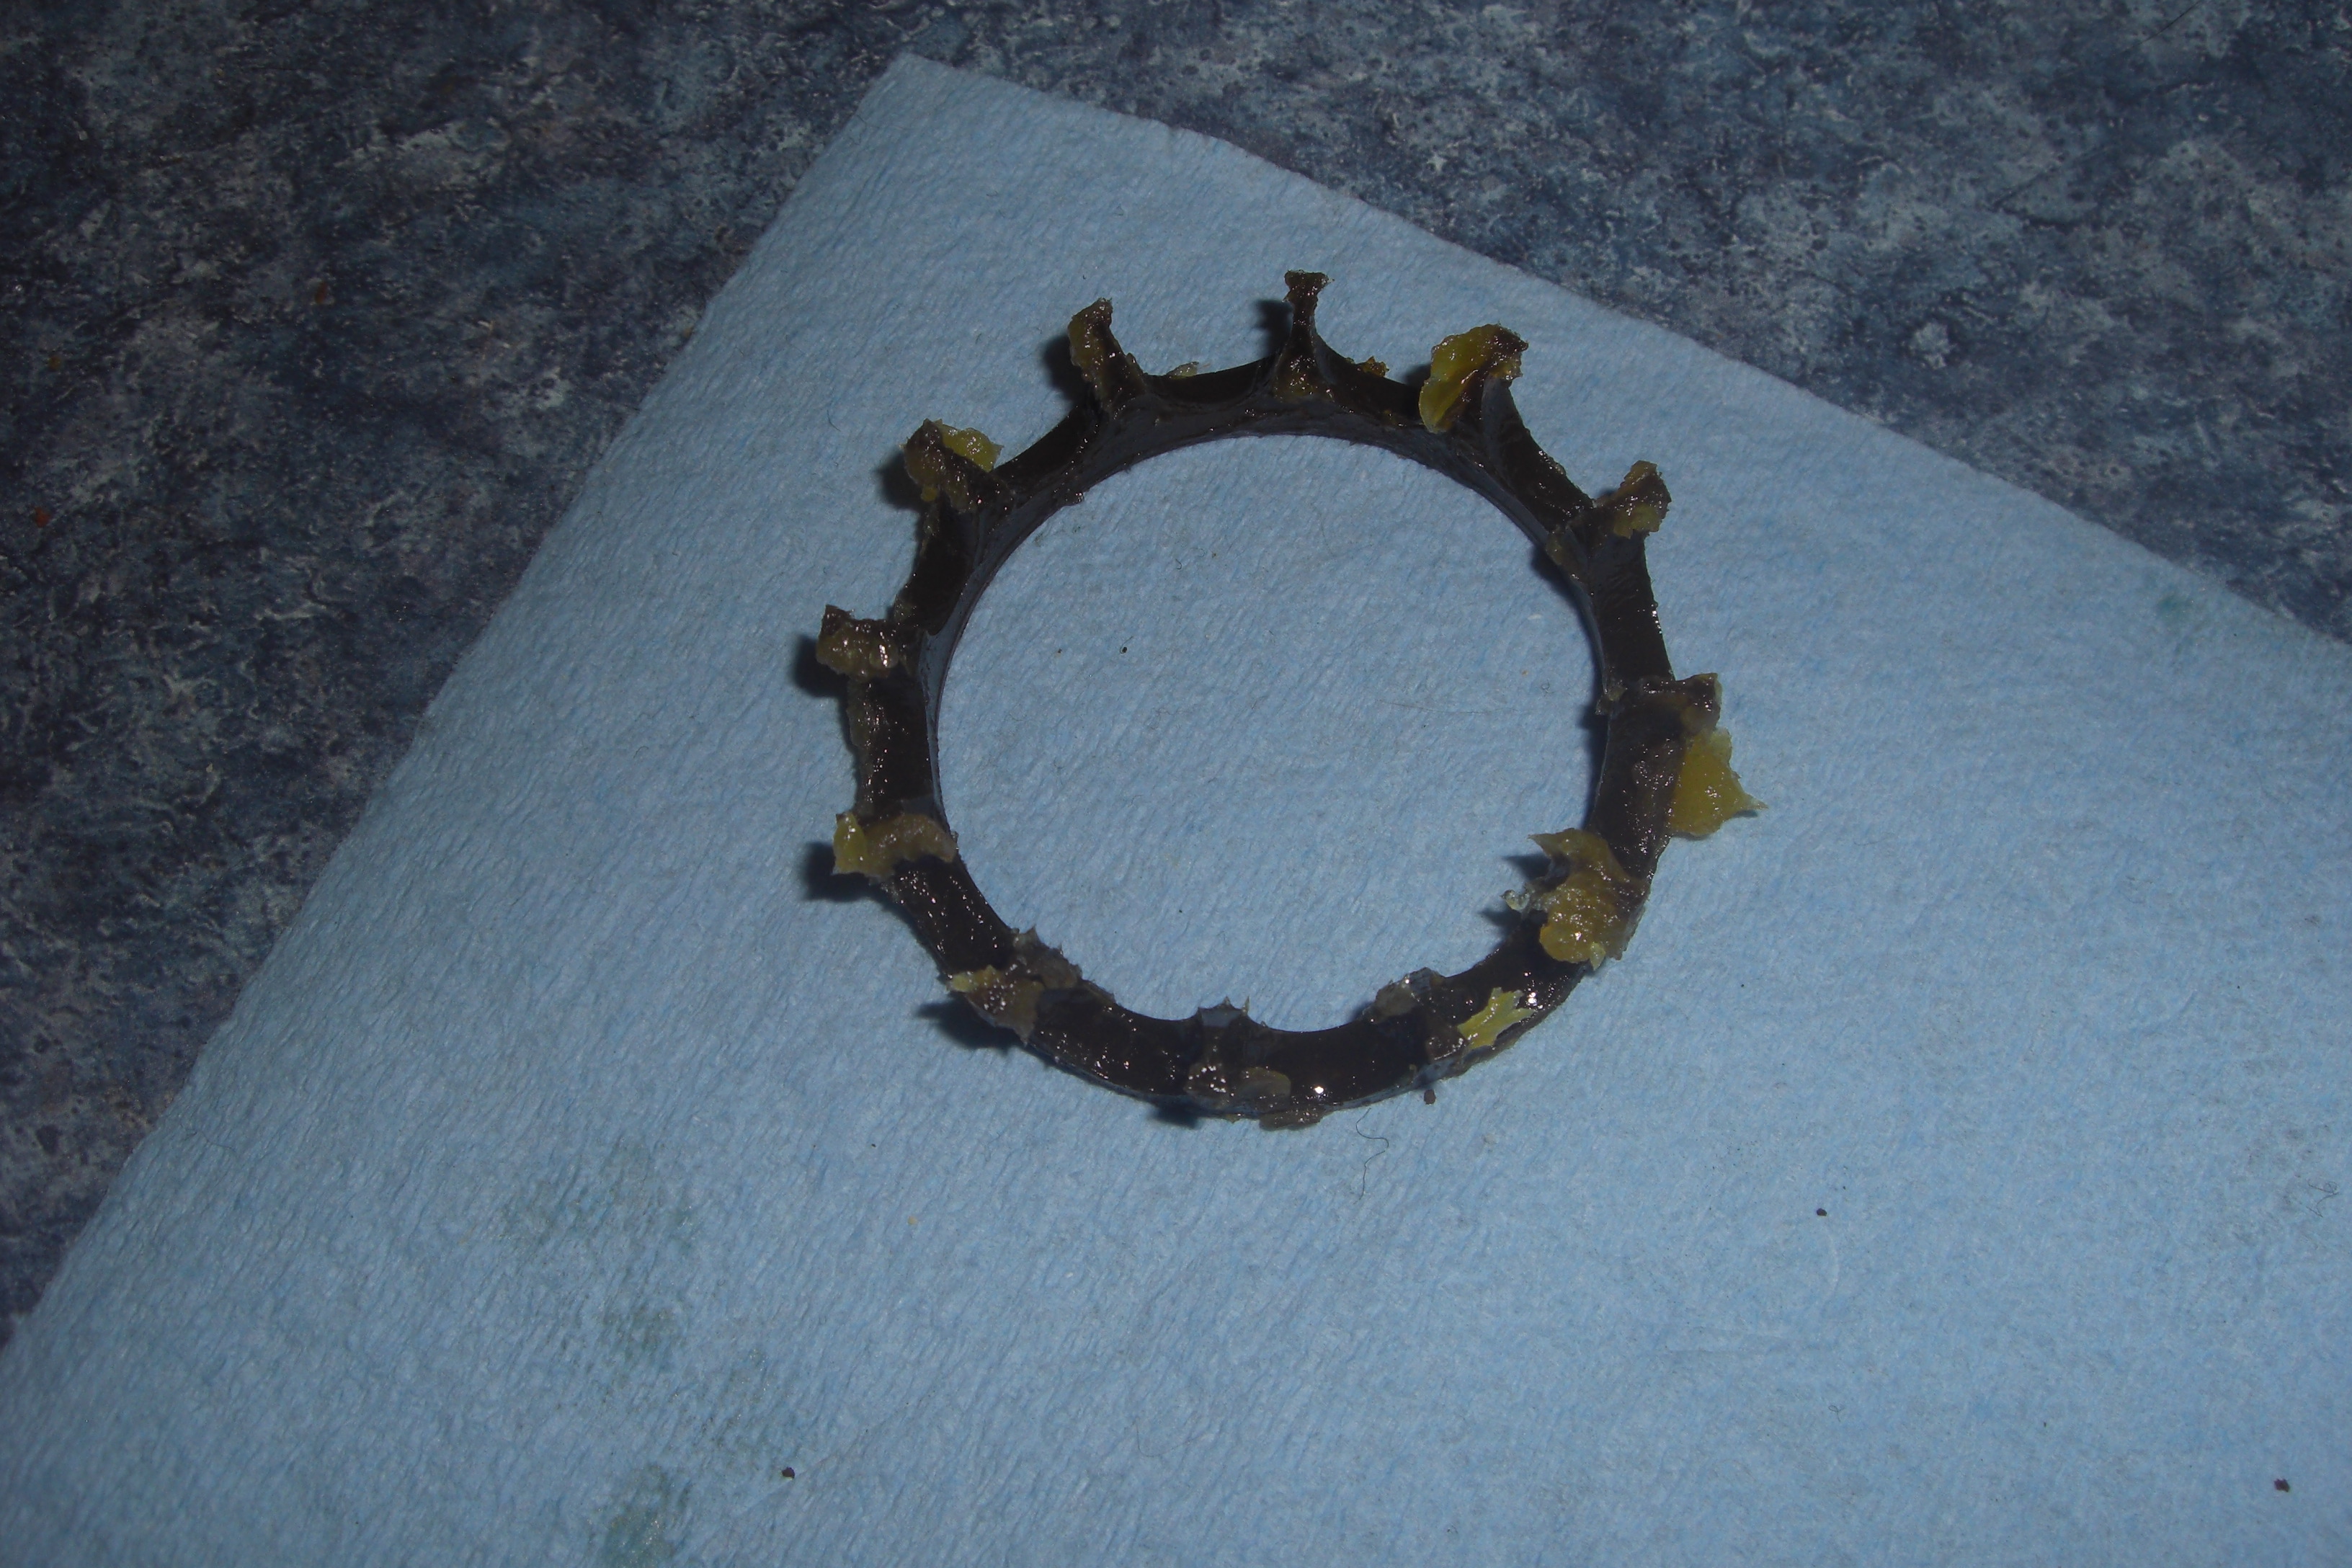
-Take your screwdriver and gently pry out the balls of the bearing assemblies. There are two styles of ball bearing cages for the top cage of the S14/S15. The older style is a hair larger, and once you remove all the ball bearings, it will require a bit of gentle force to remove. On the newer style cages, once the first ball bearing comes out, the cage falls out of place and the rest of the ball bearings come out easily. The cage will lift out easily. The easiest way to remove the cage is to rotate it 90 degrees and gently pull it out of the top.
-Repeat removing the ball bearings for the bottom cage. It’s a bigger cage, and will require a bit more force to pull it through the top.
-Be careful with these cages. The plastic isn’t strong, but it has some pliability to it. However, if you break it, you’ll be replacing the entire bearing again.
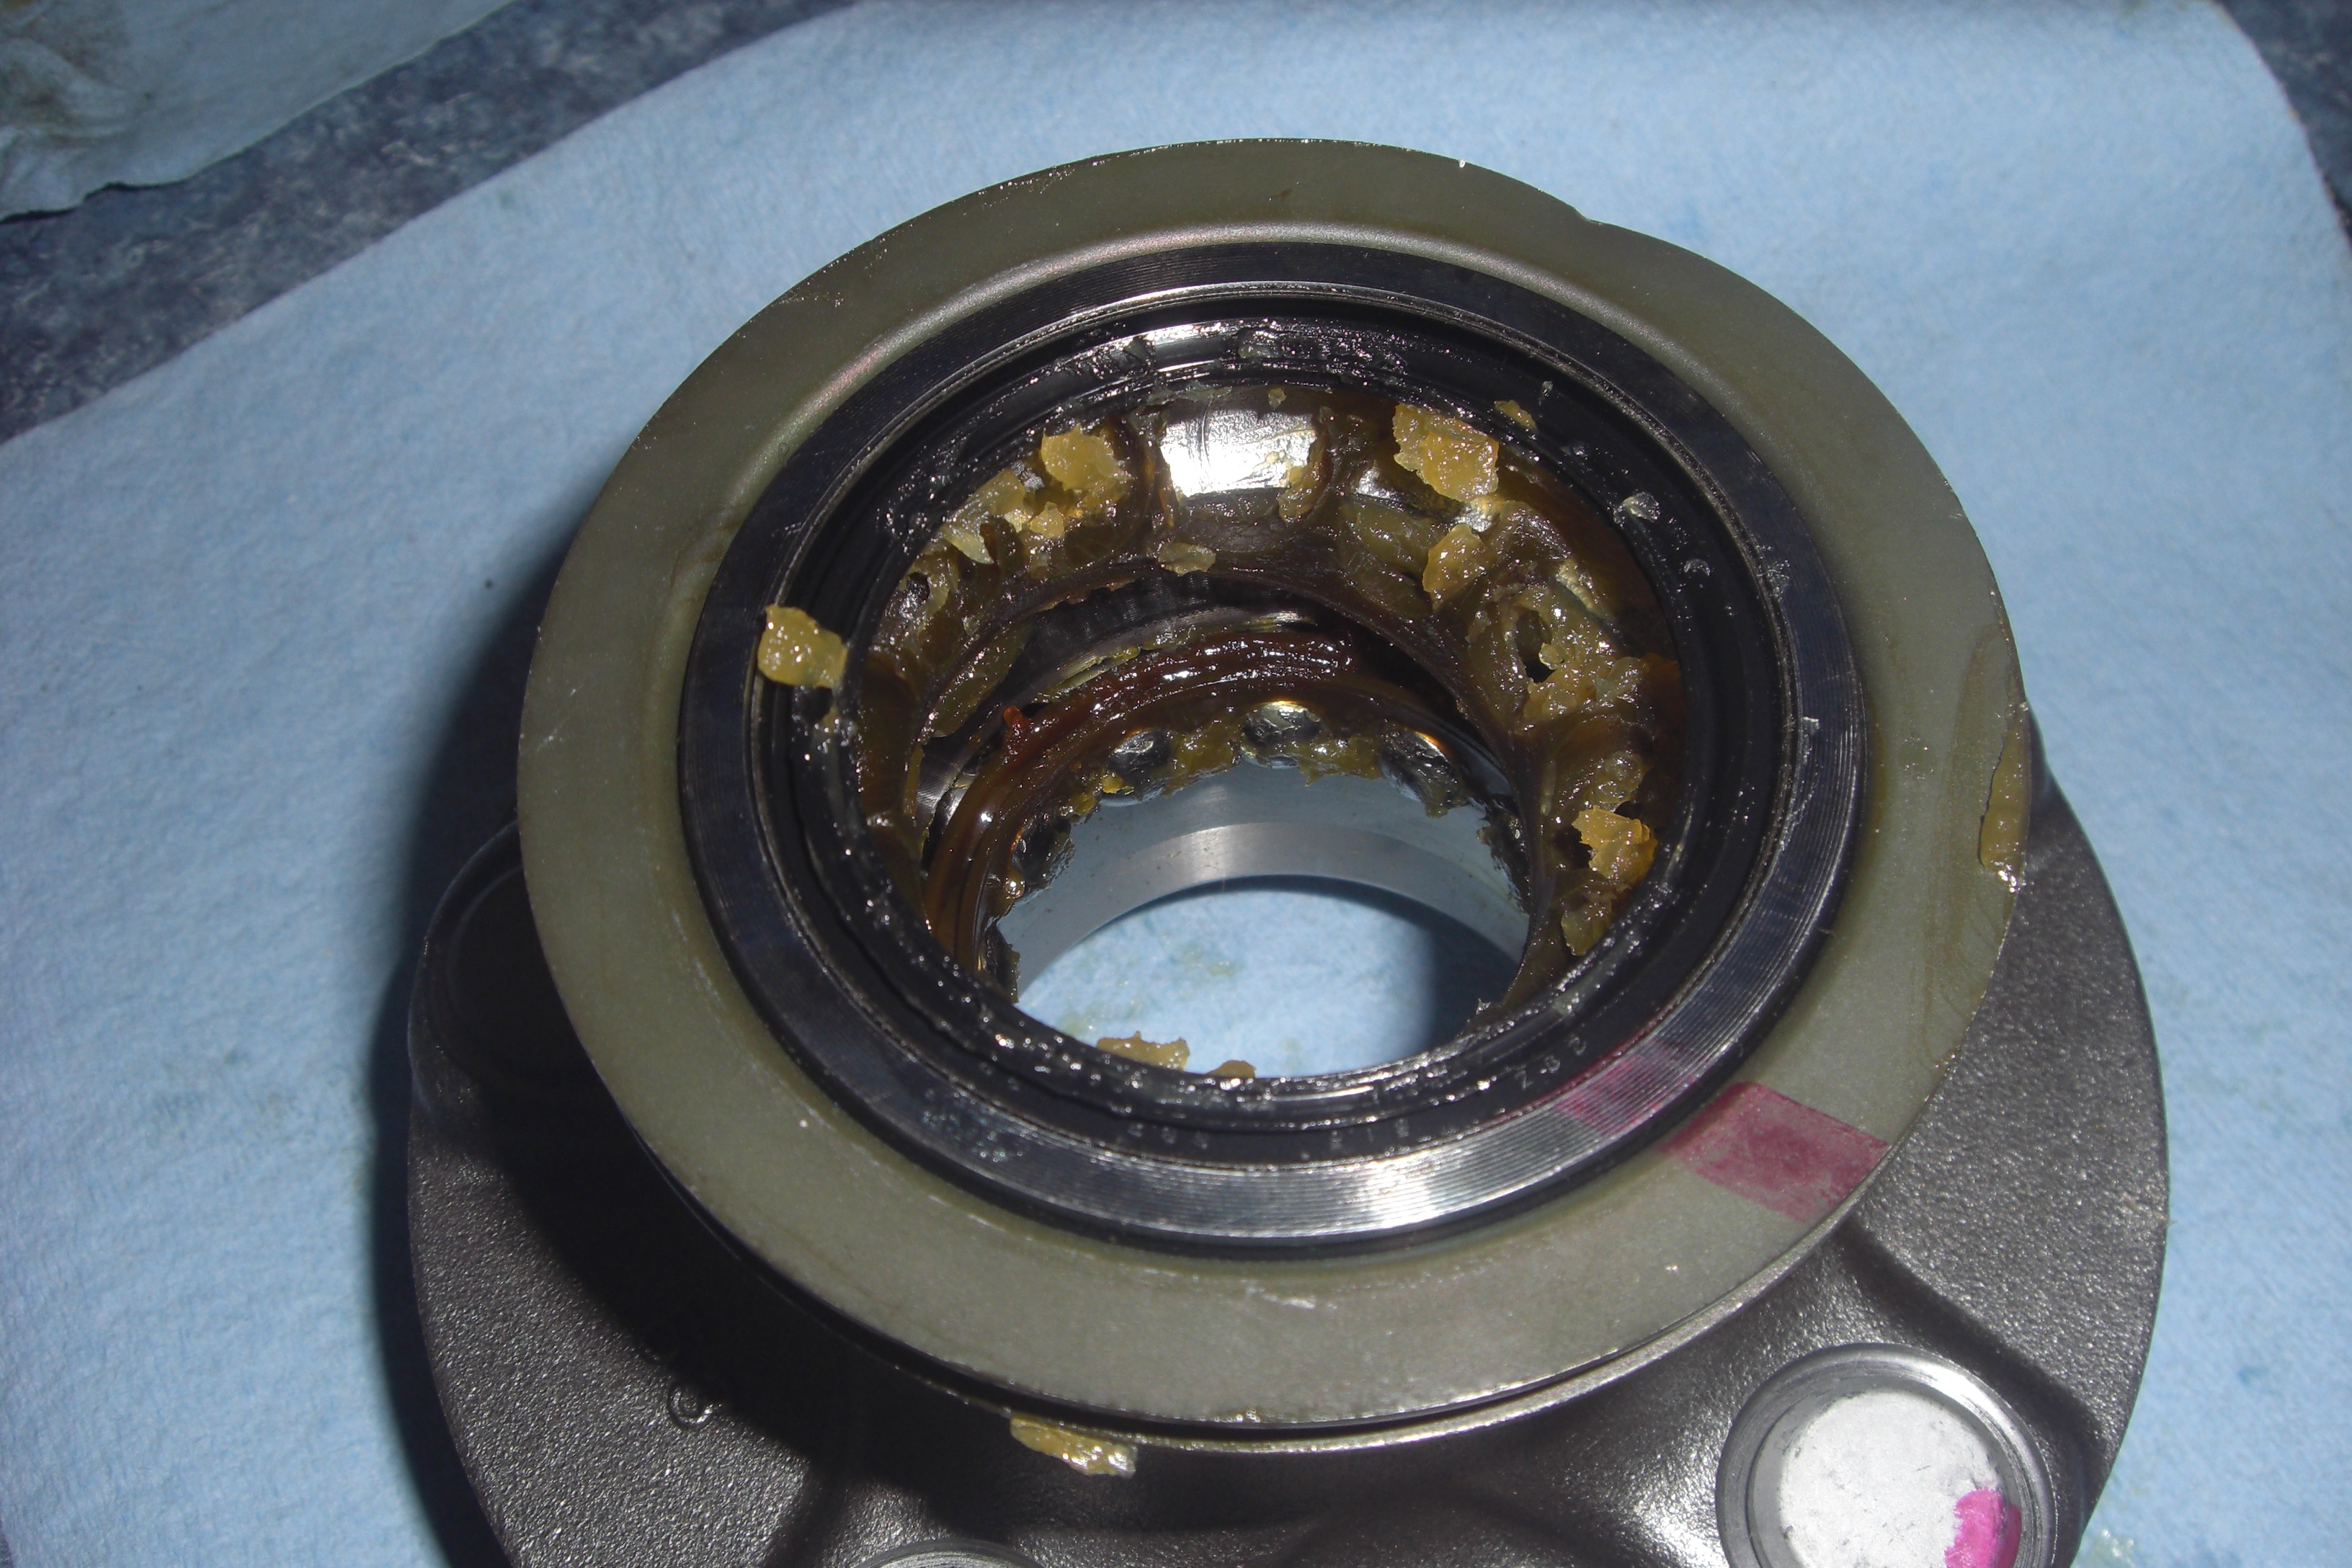
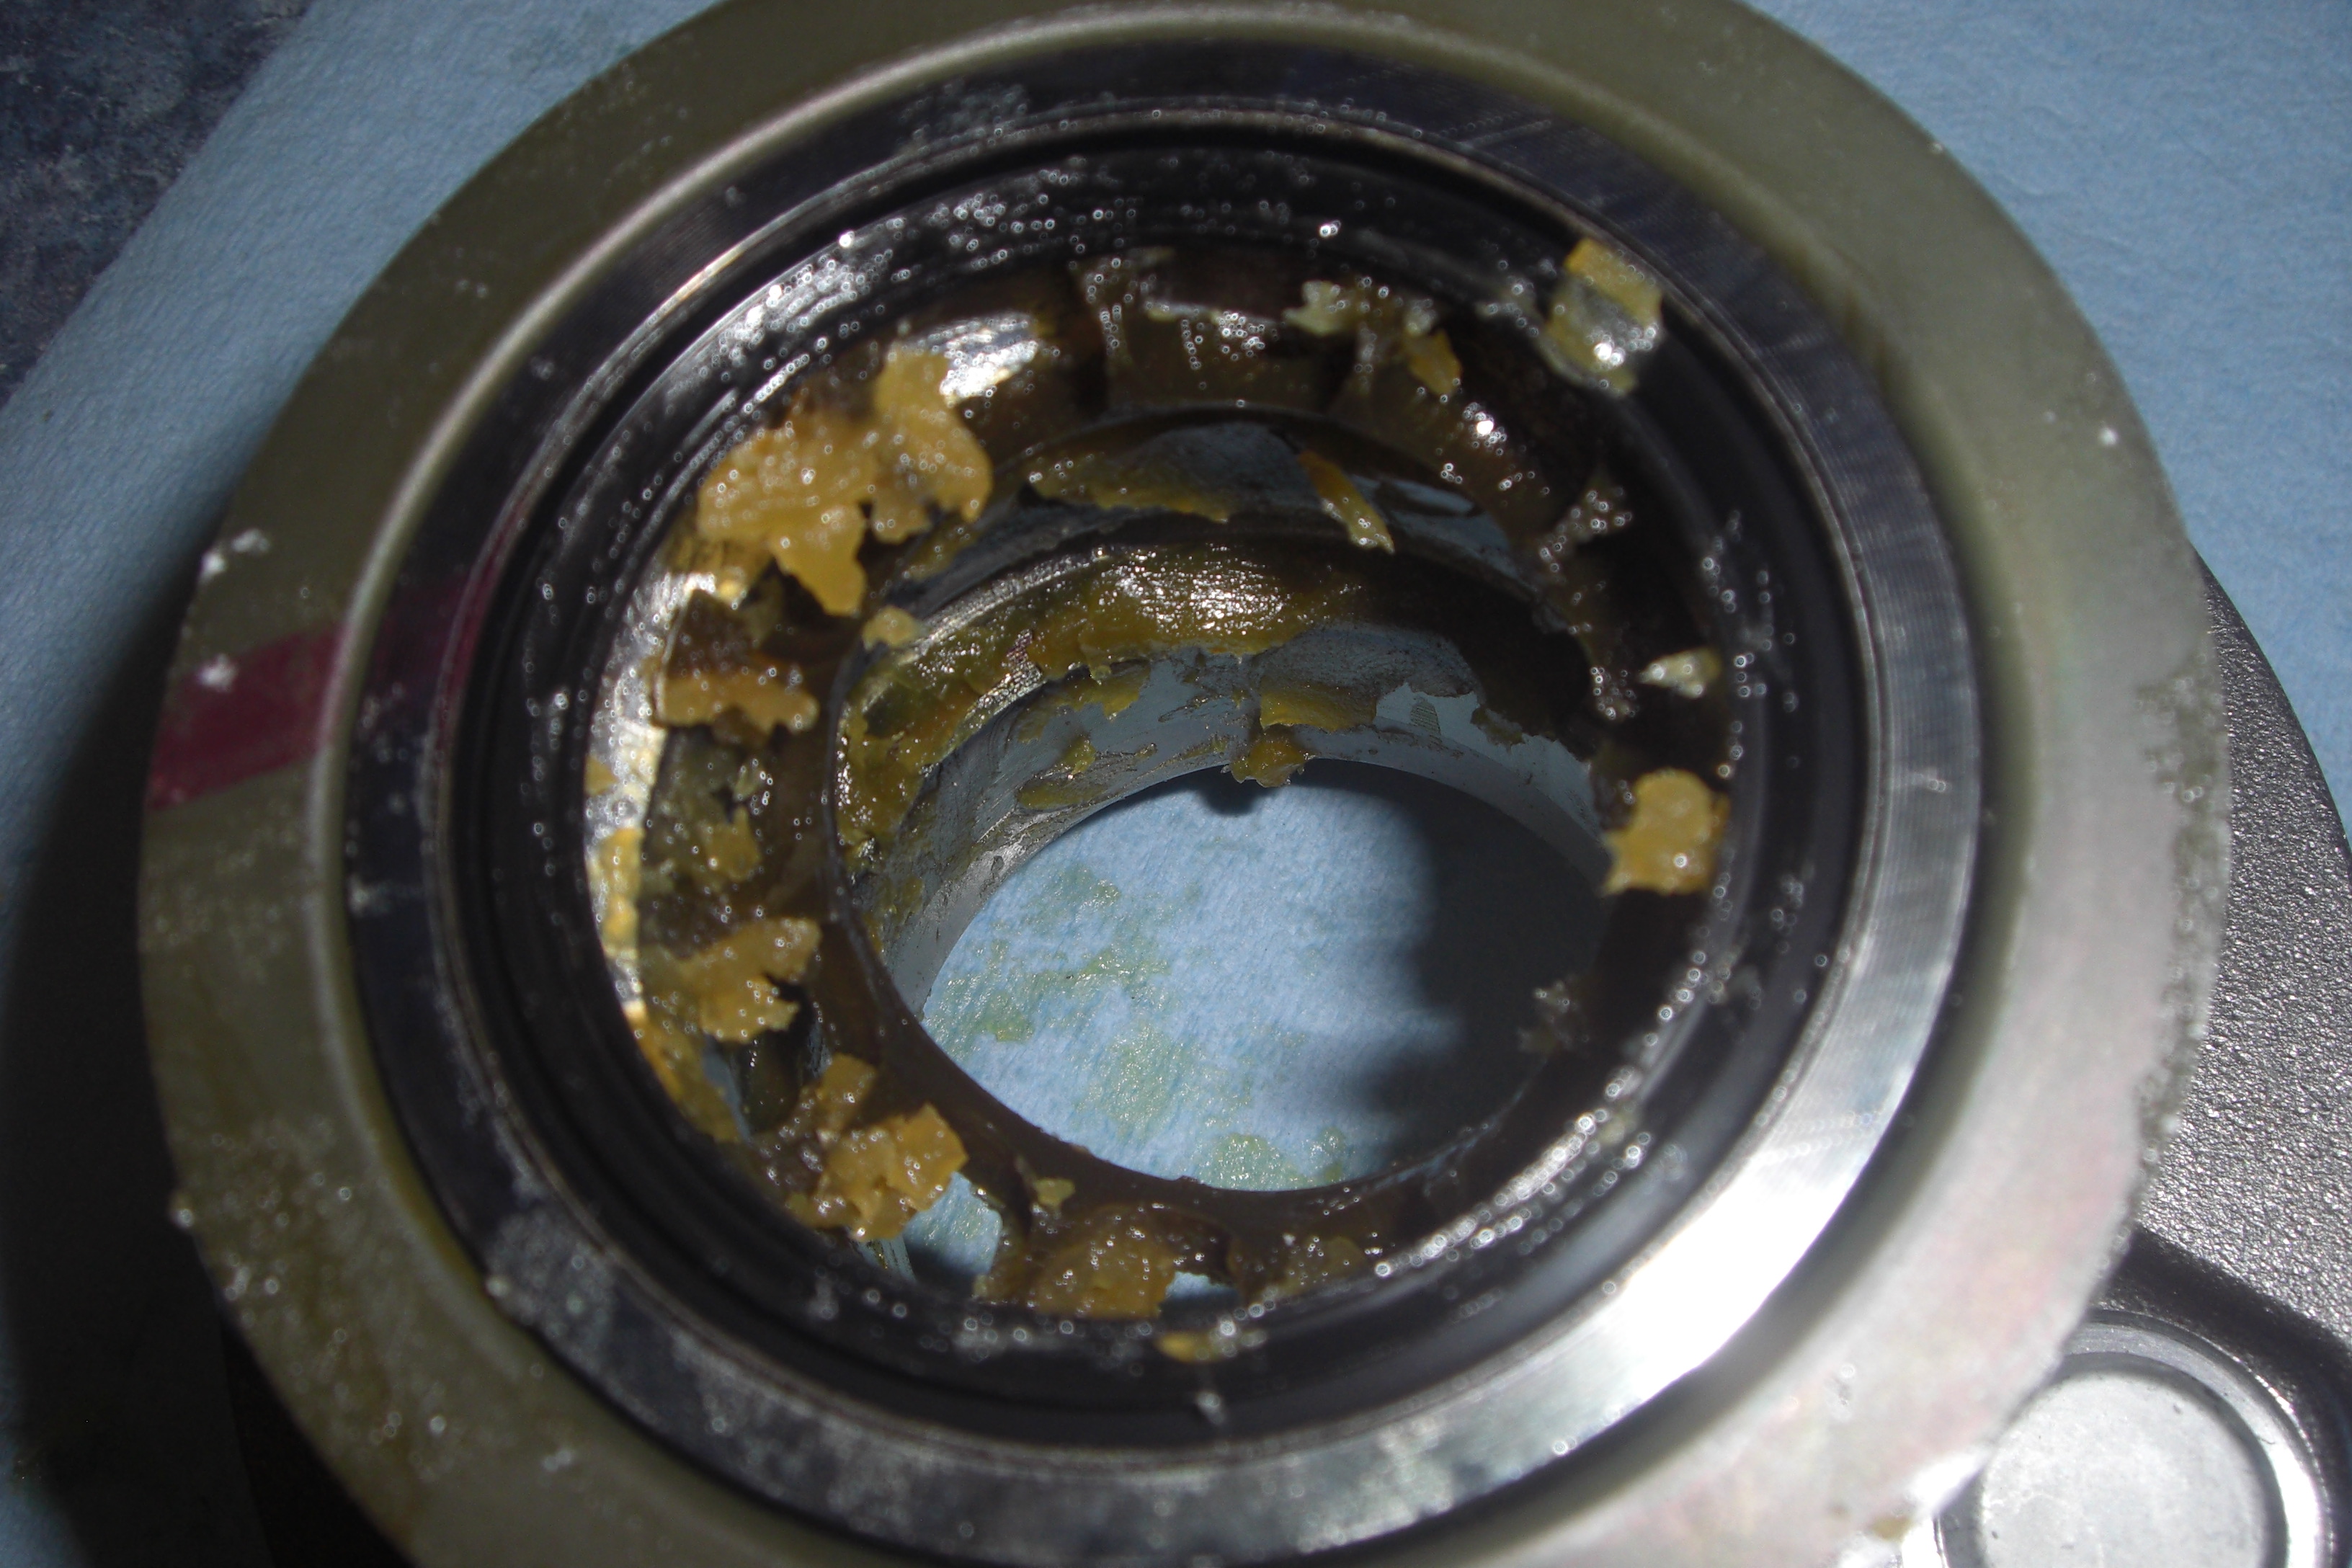
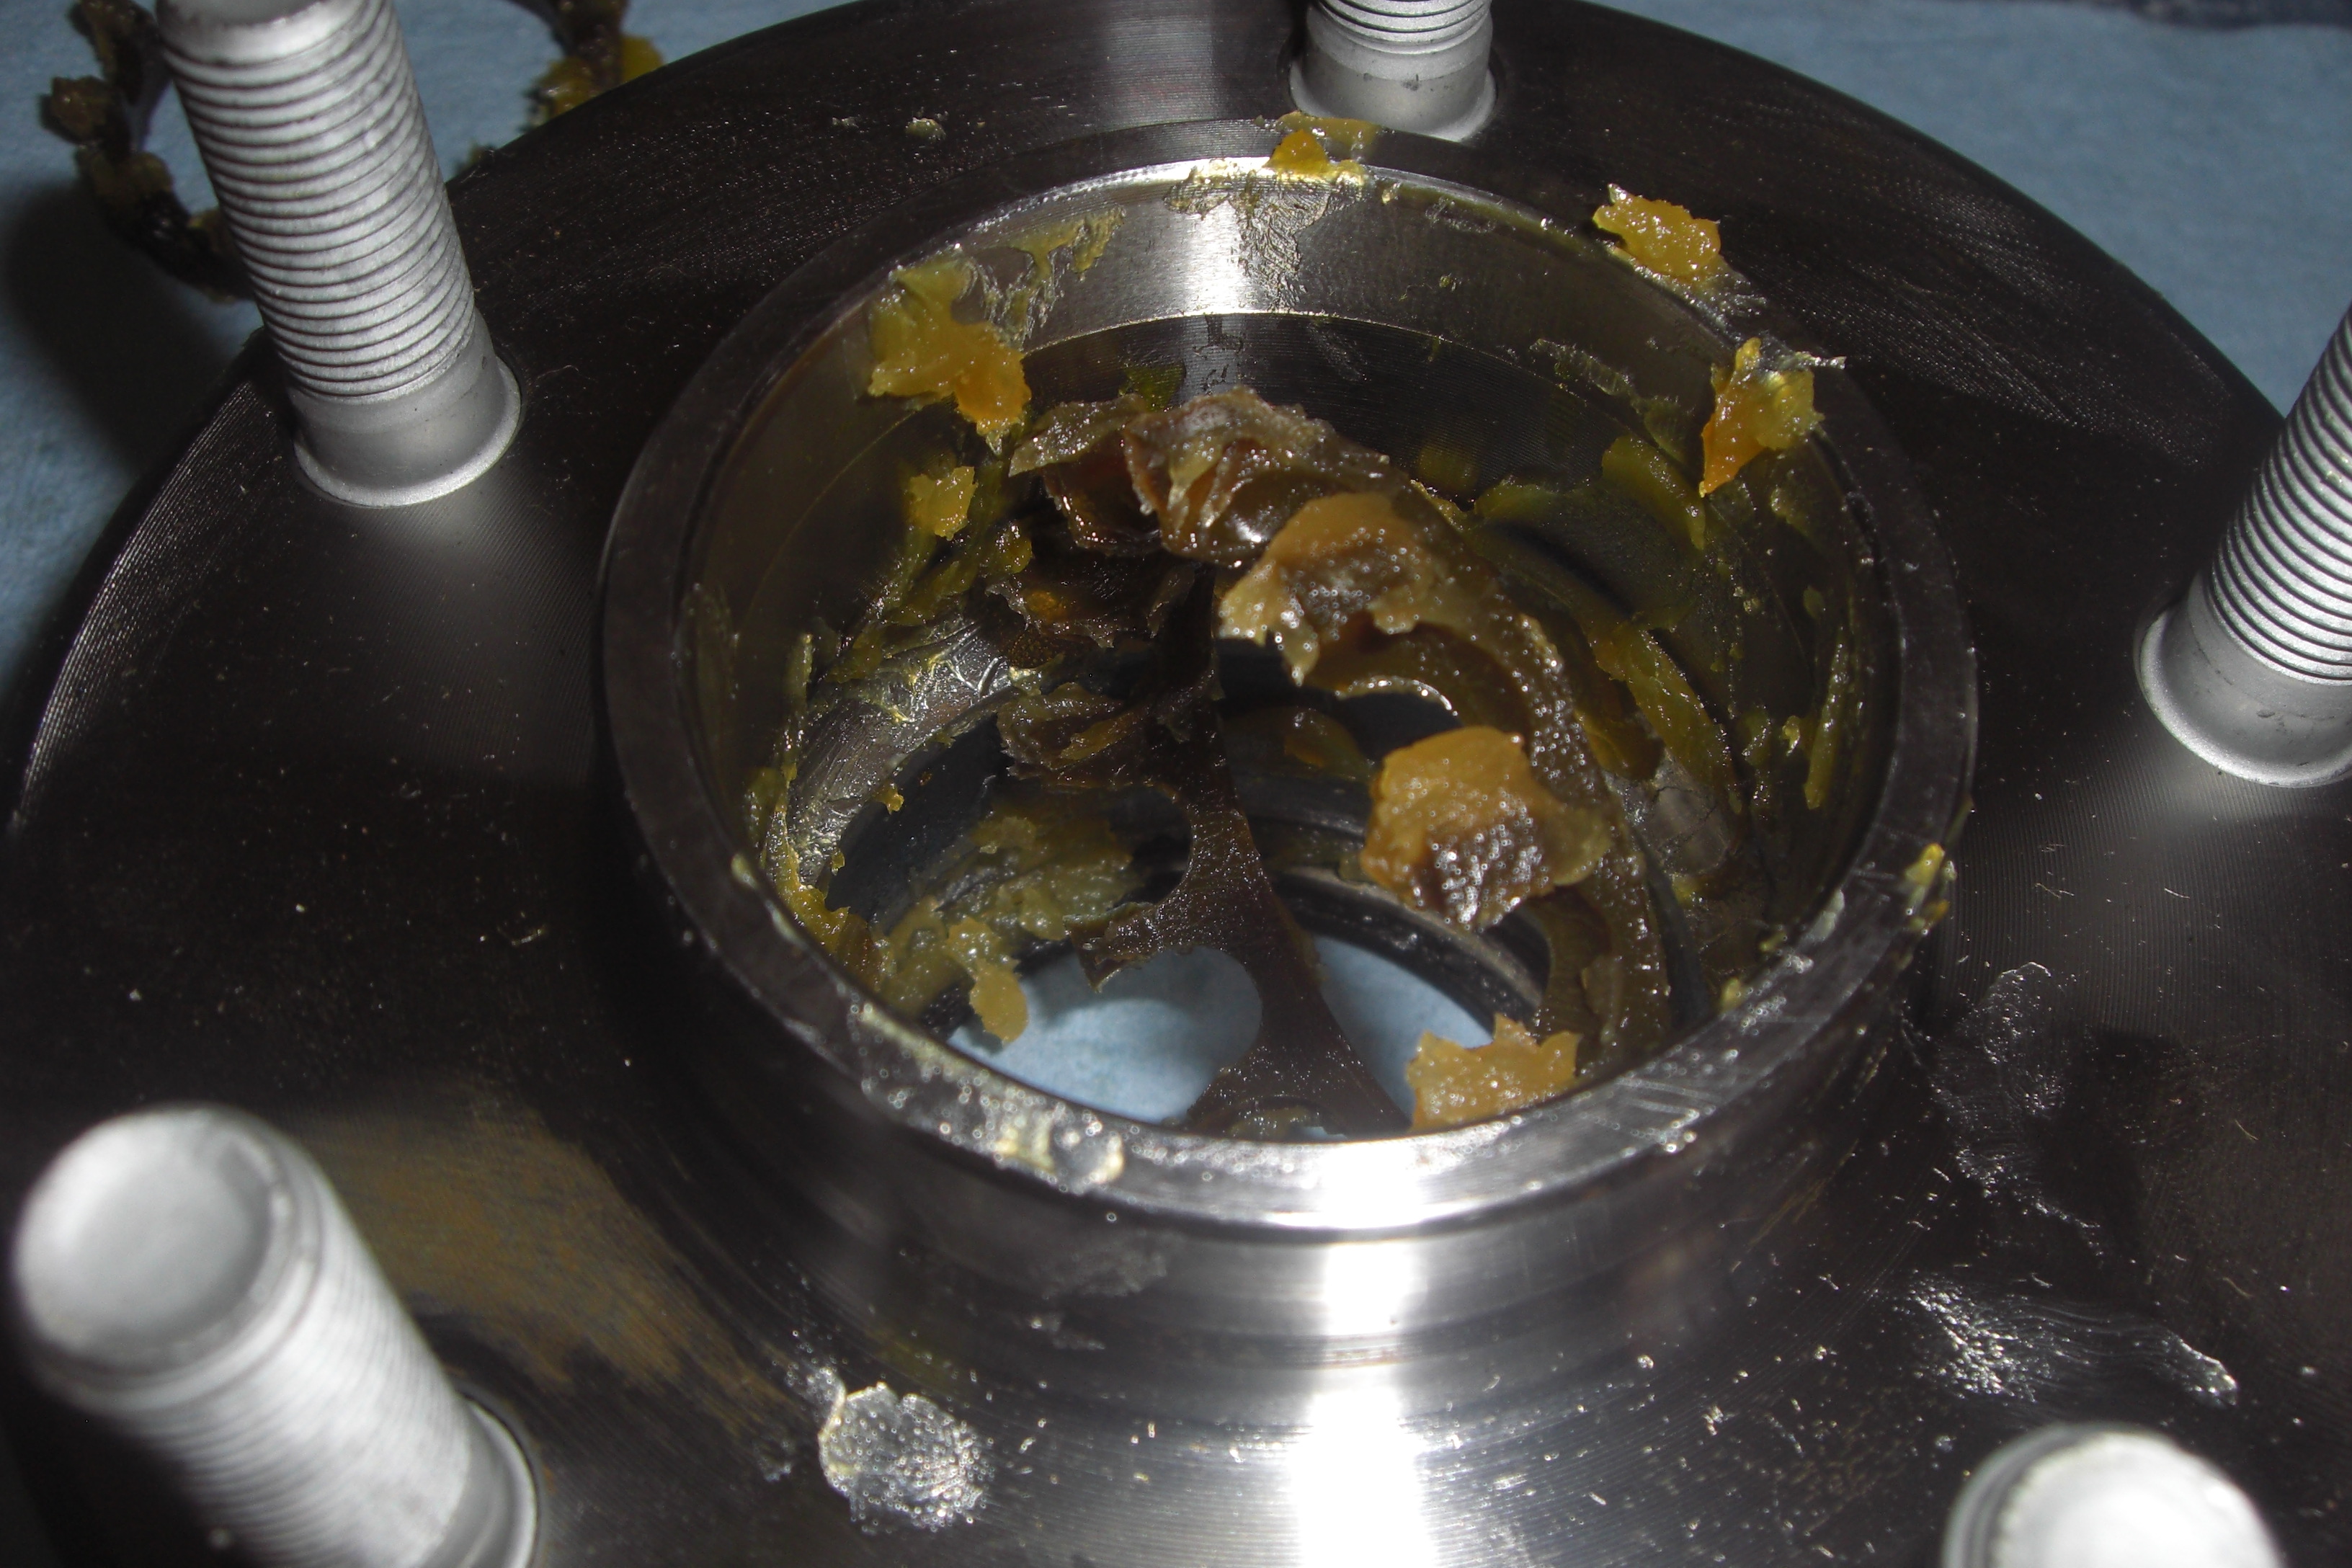
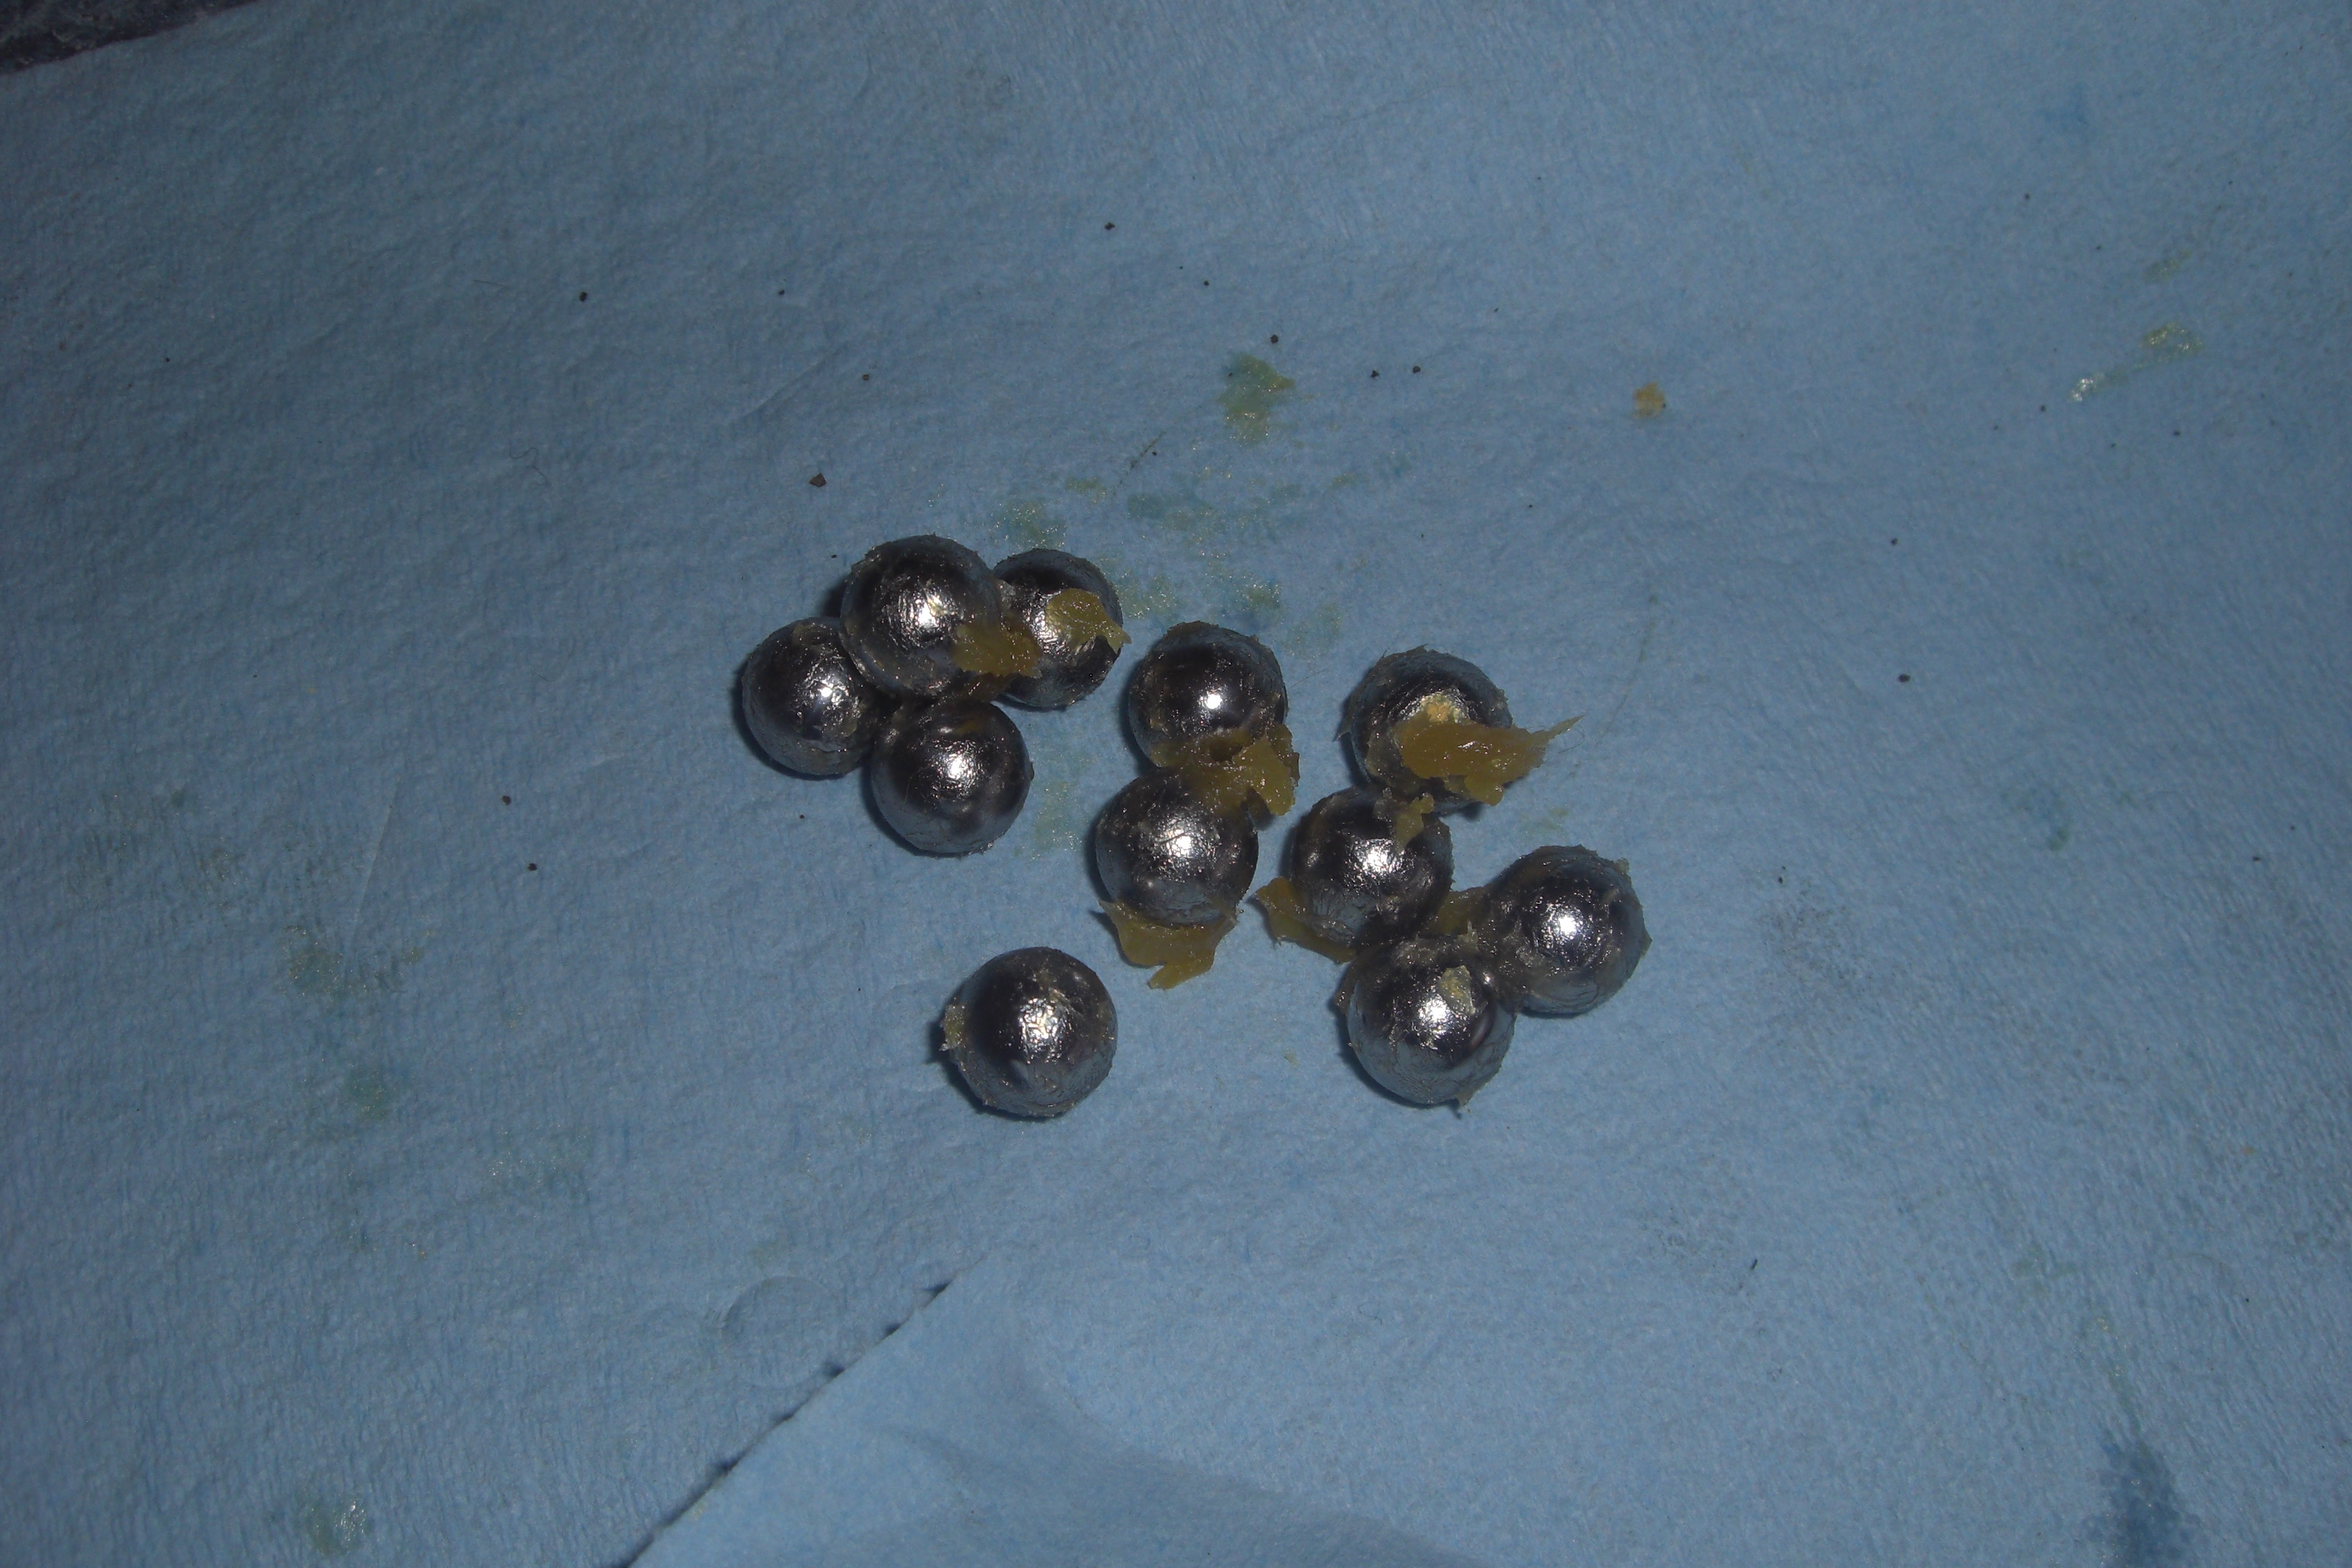
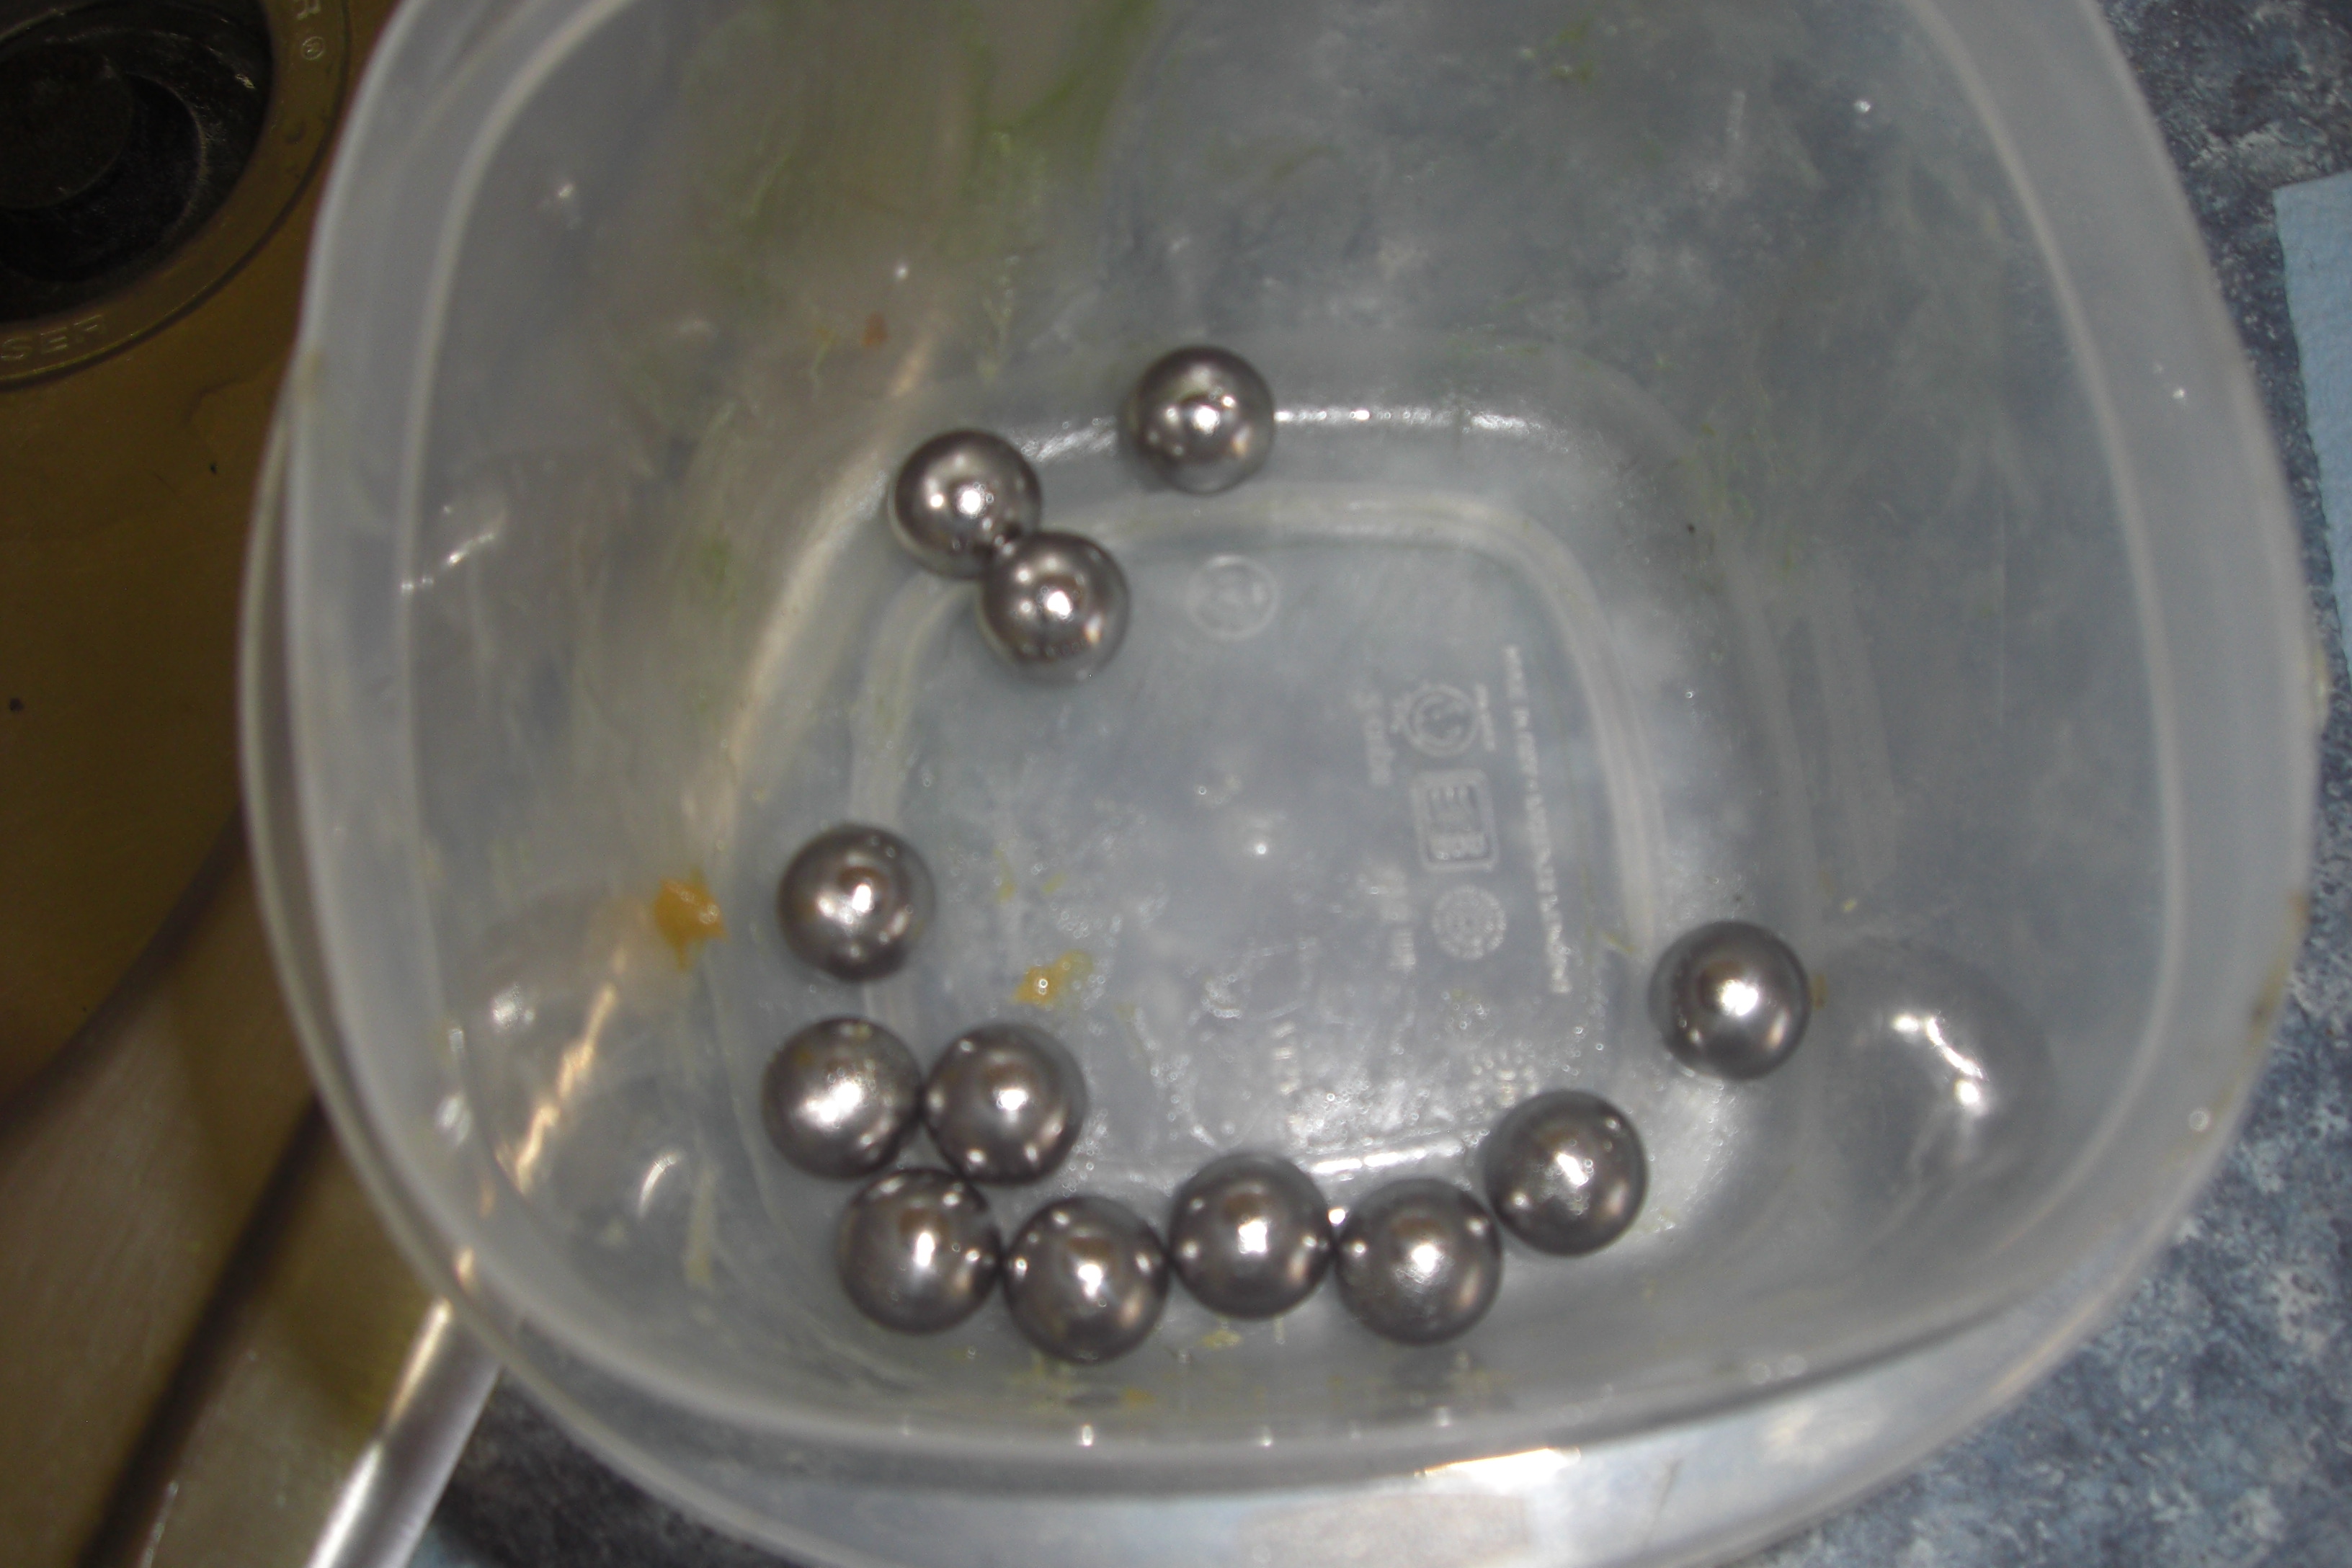
-Take the dirty, greasy ball bearings, plastic cages, and inner/out races and clean them. There are a few methods for cleaning everything. Some prefer a grease cutter like kerosene. I used dawn dish detergent and rinsed everything thoroughly. The key is to make sure all of the cleaning agent is removed.
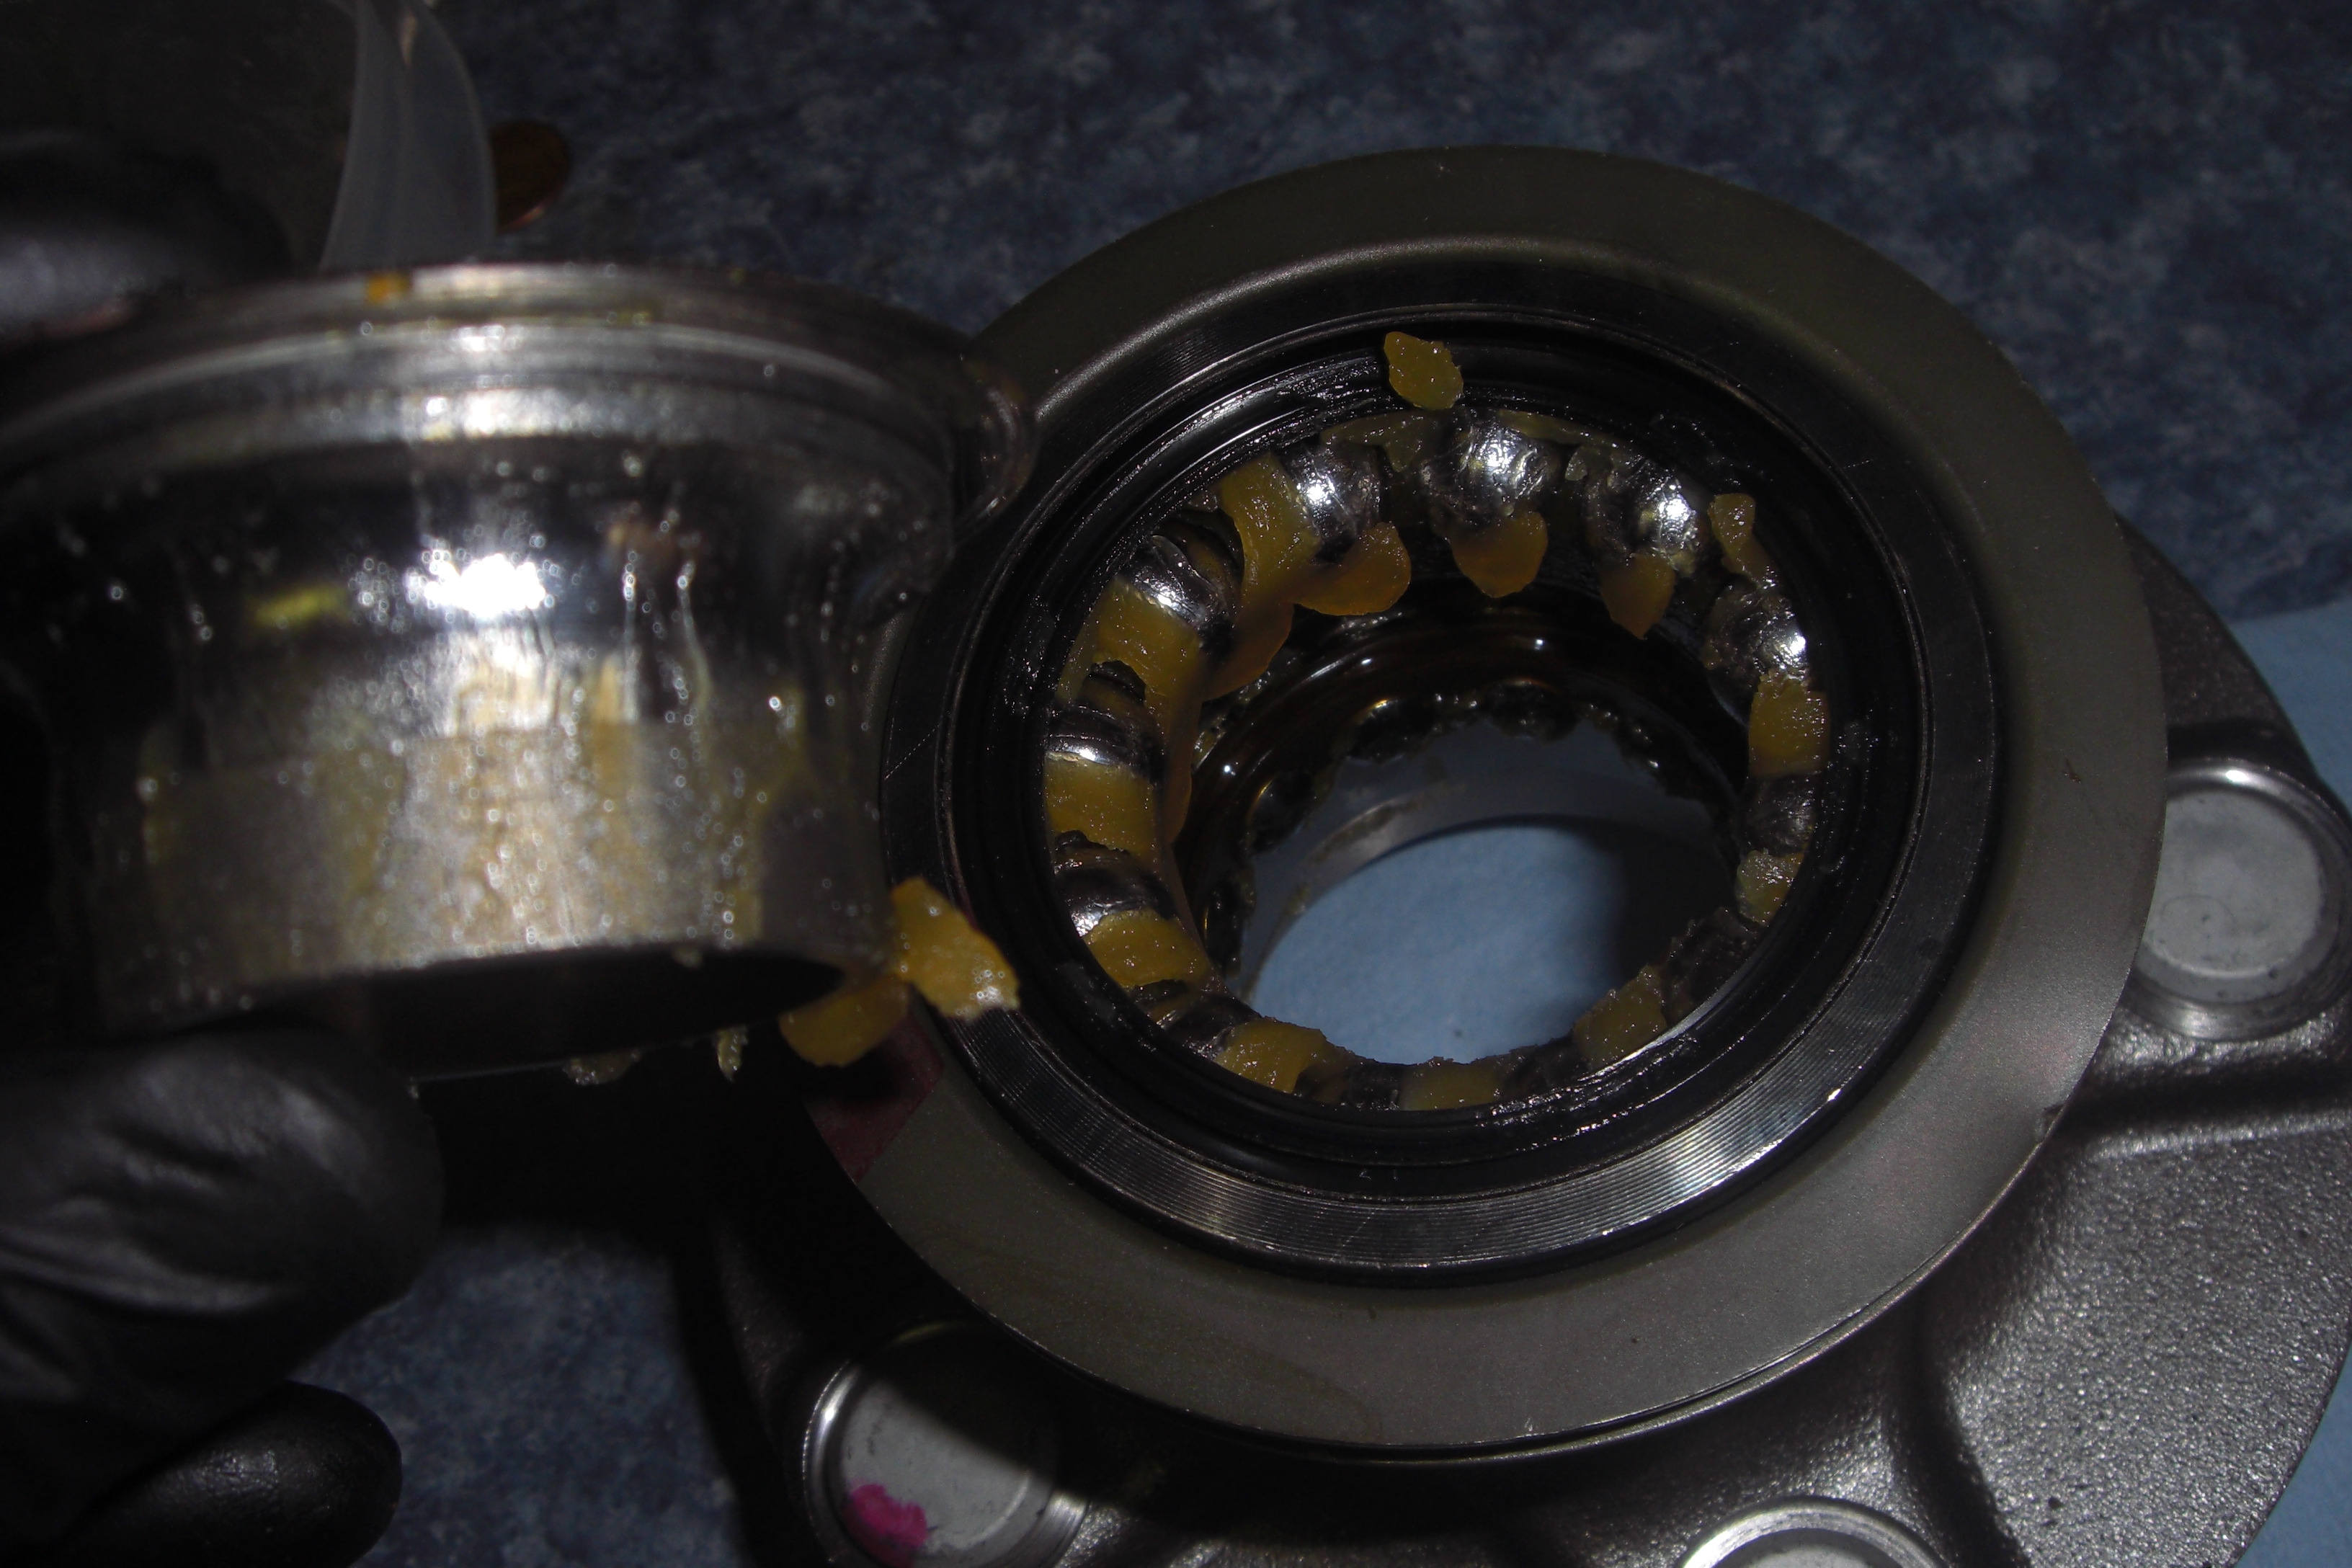
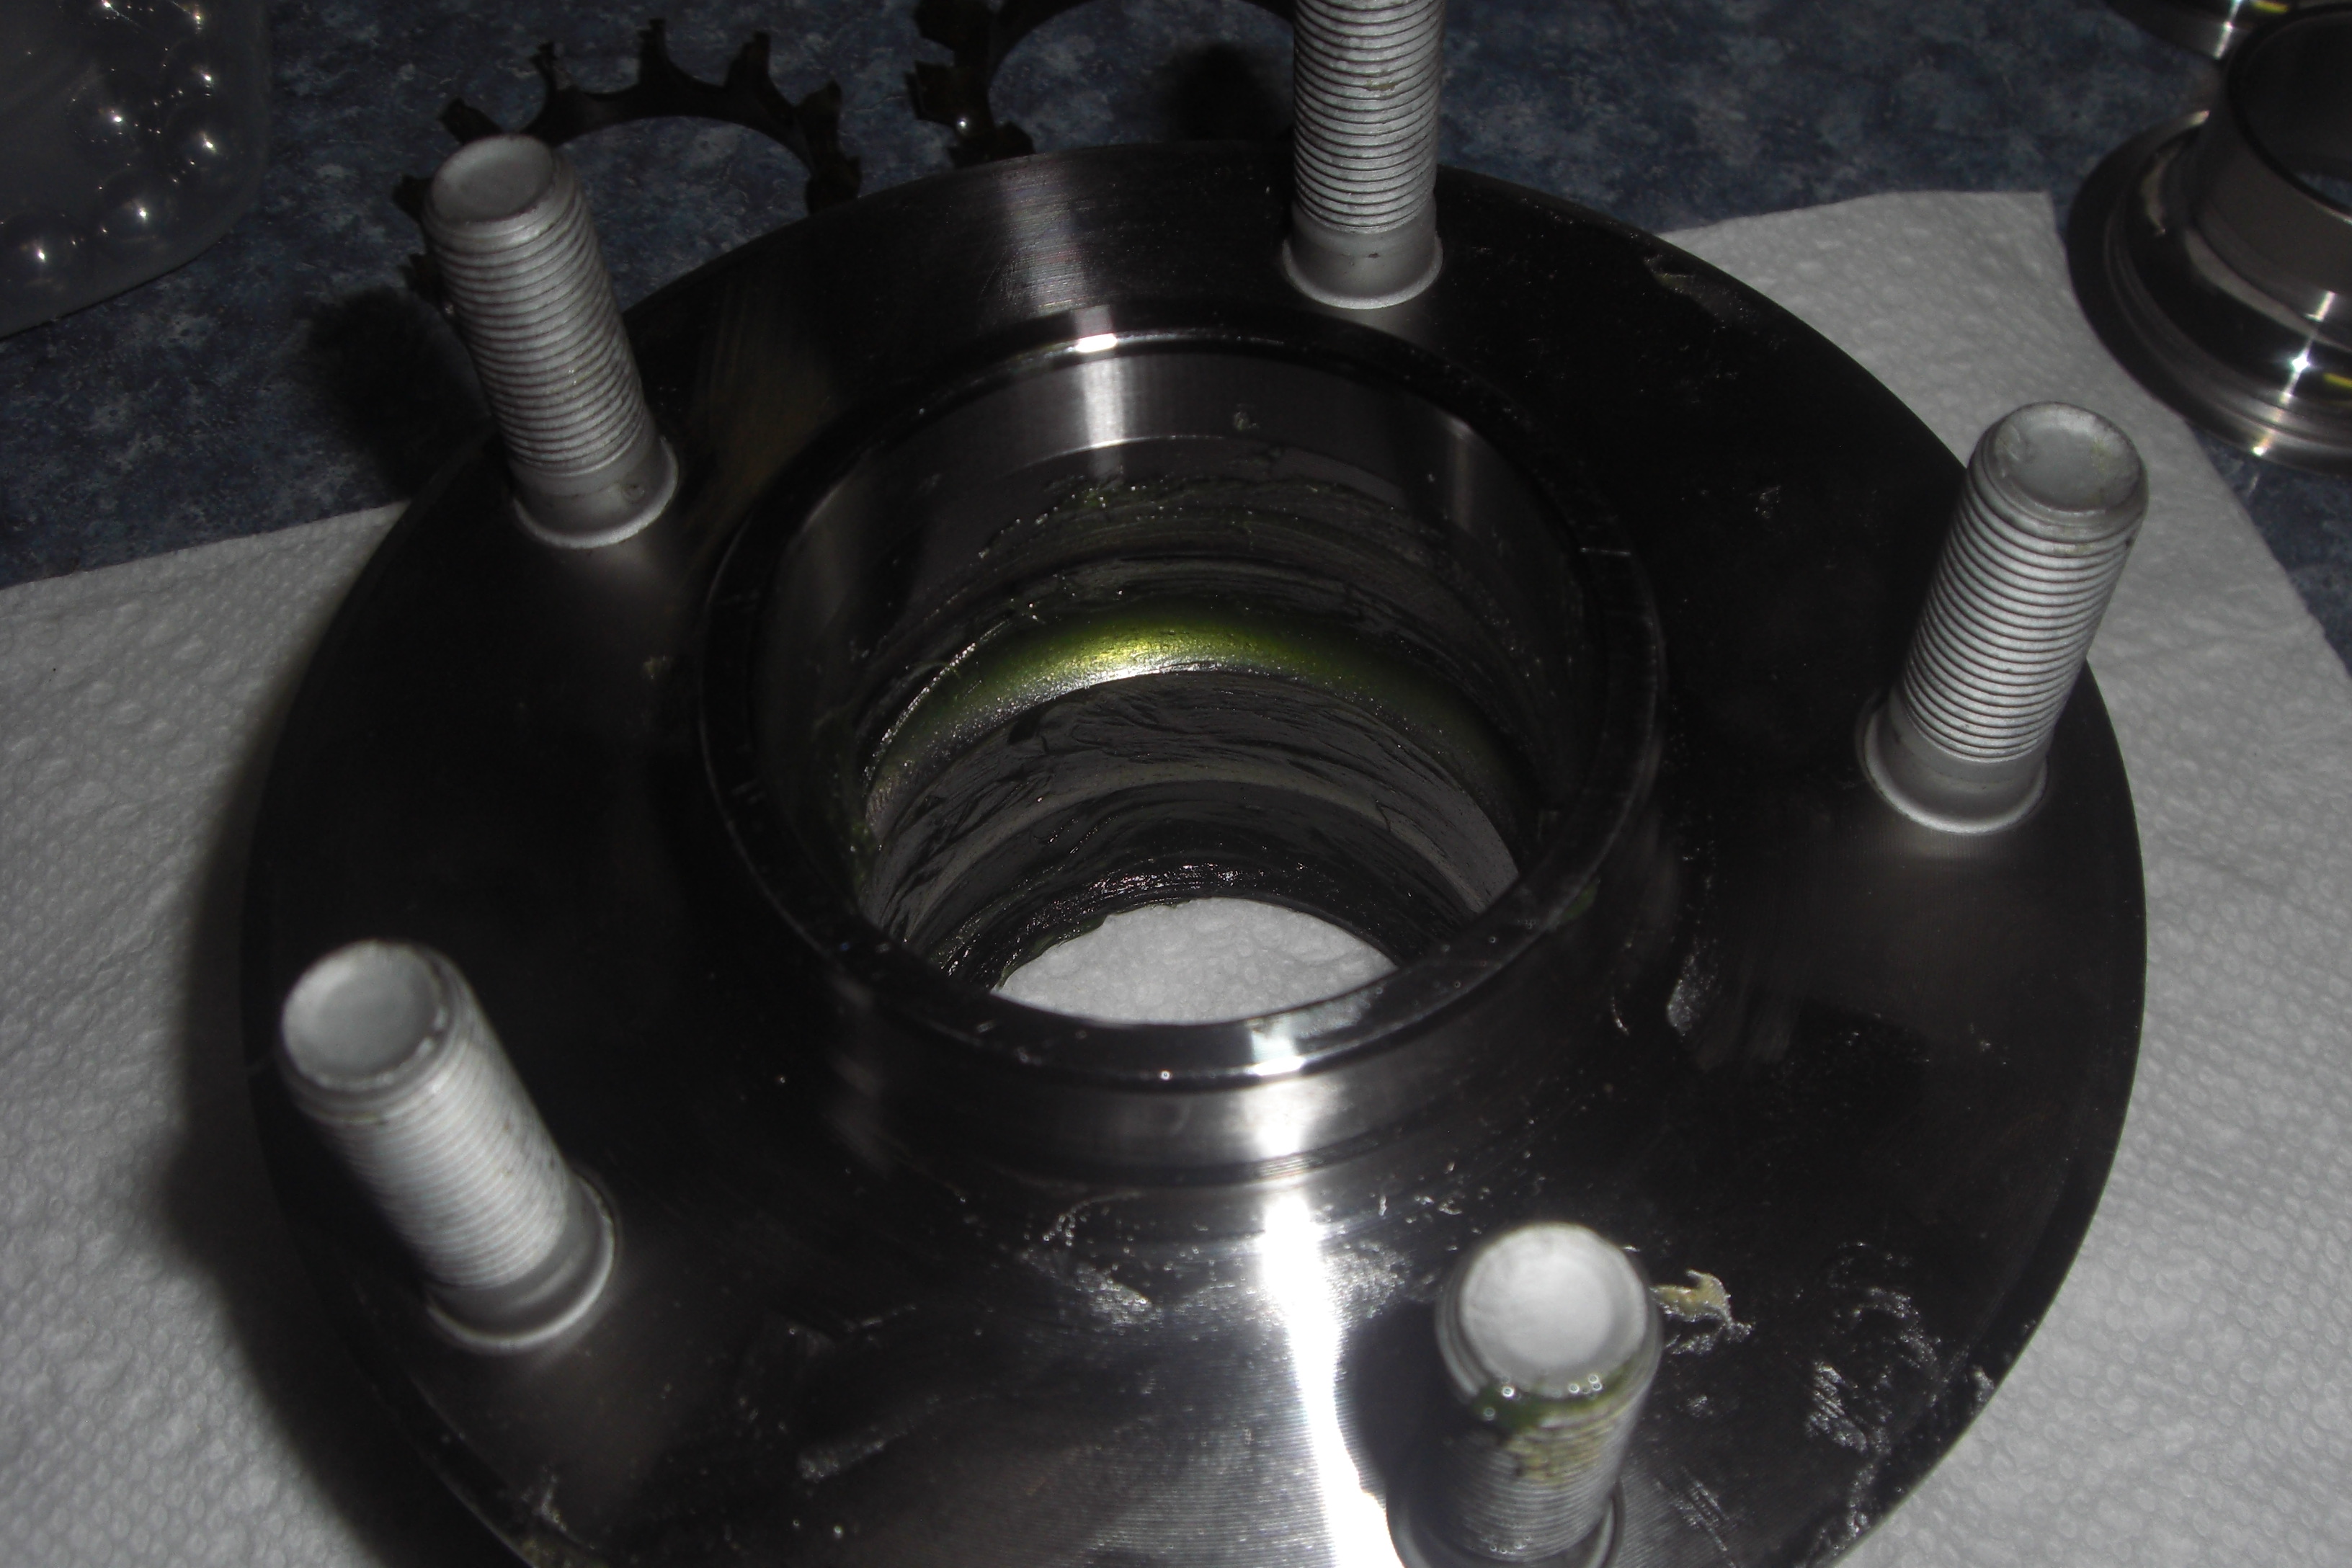
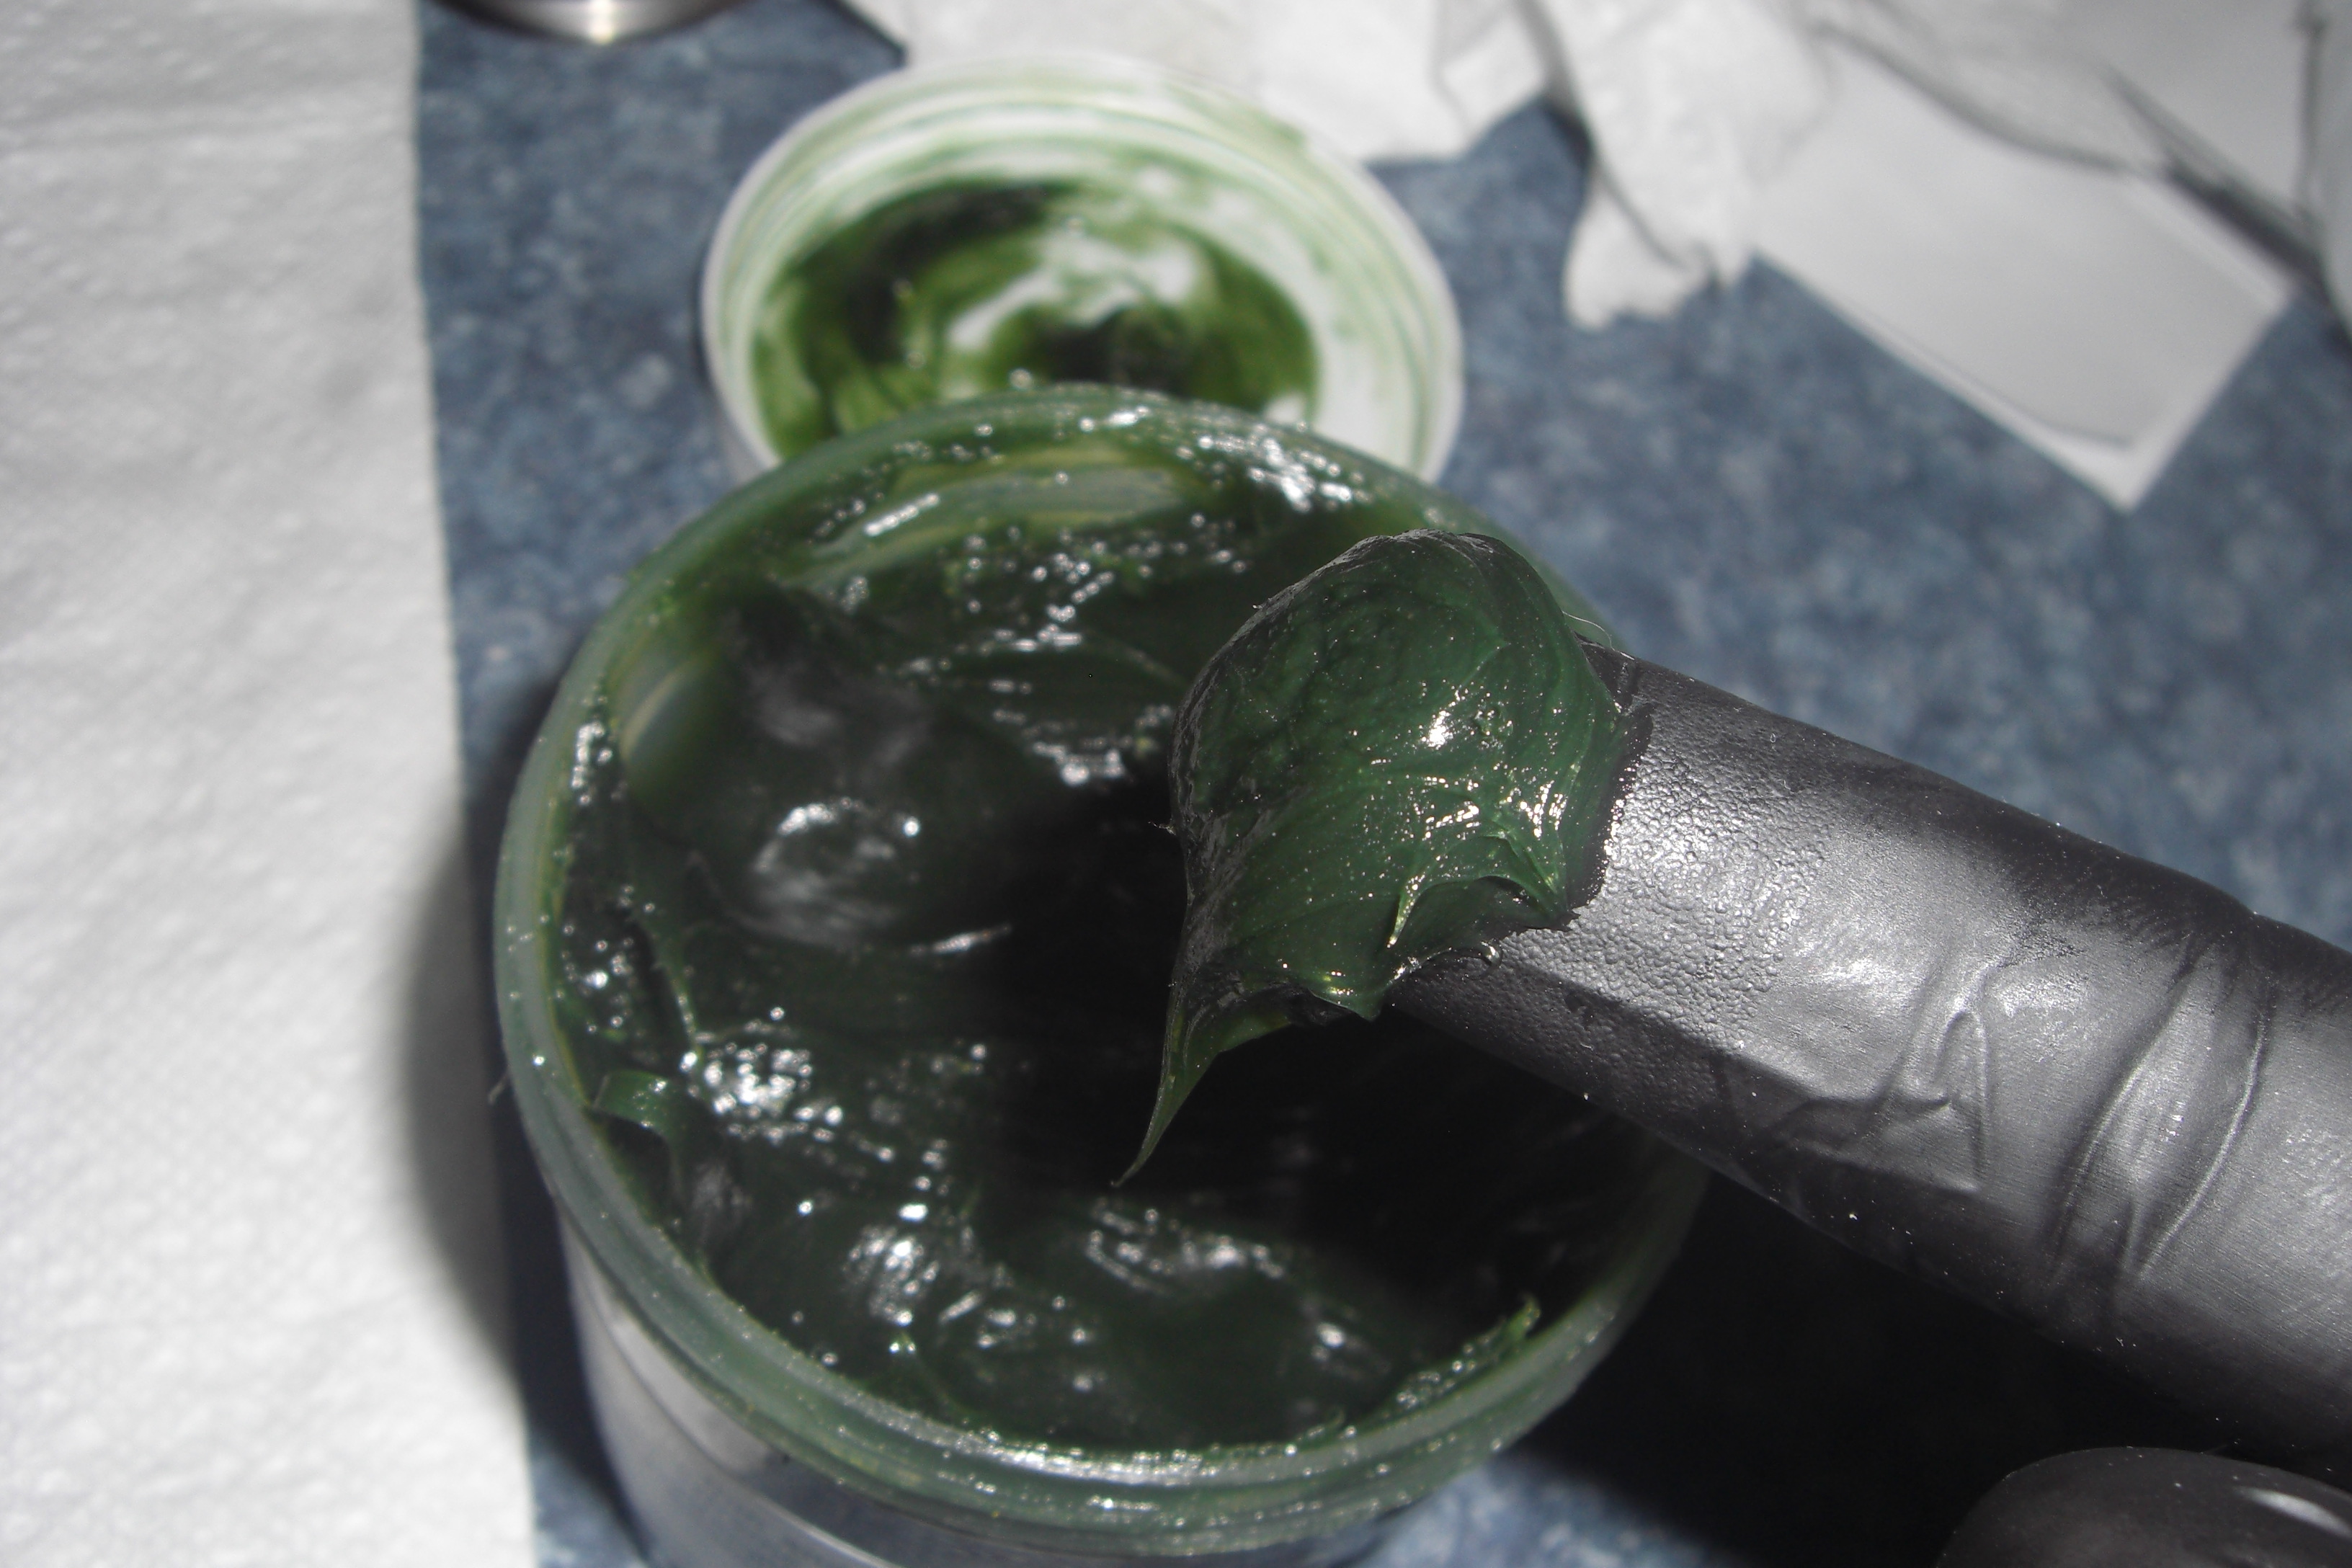
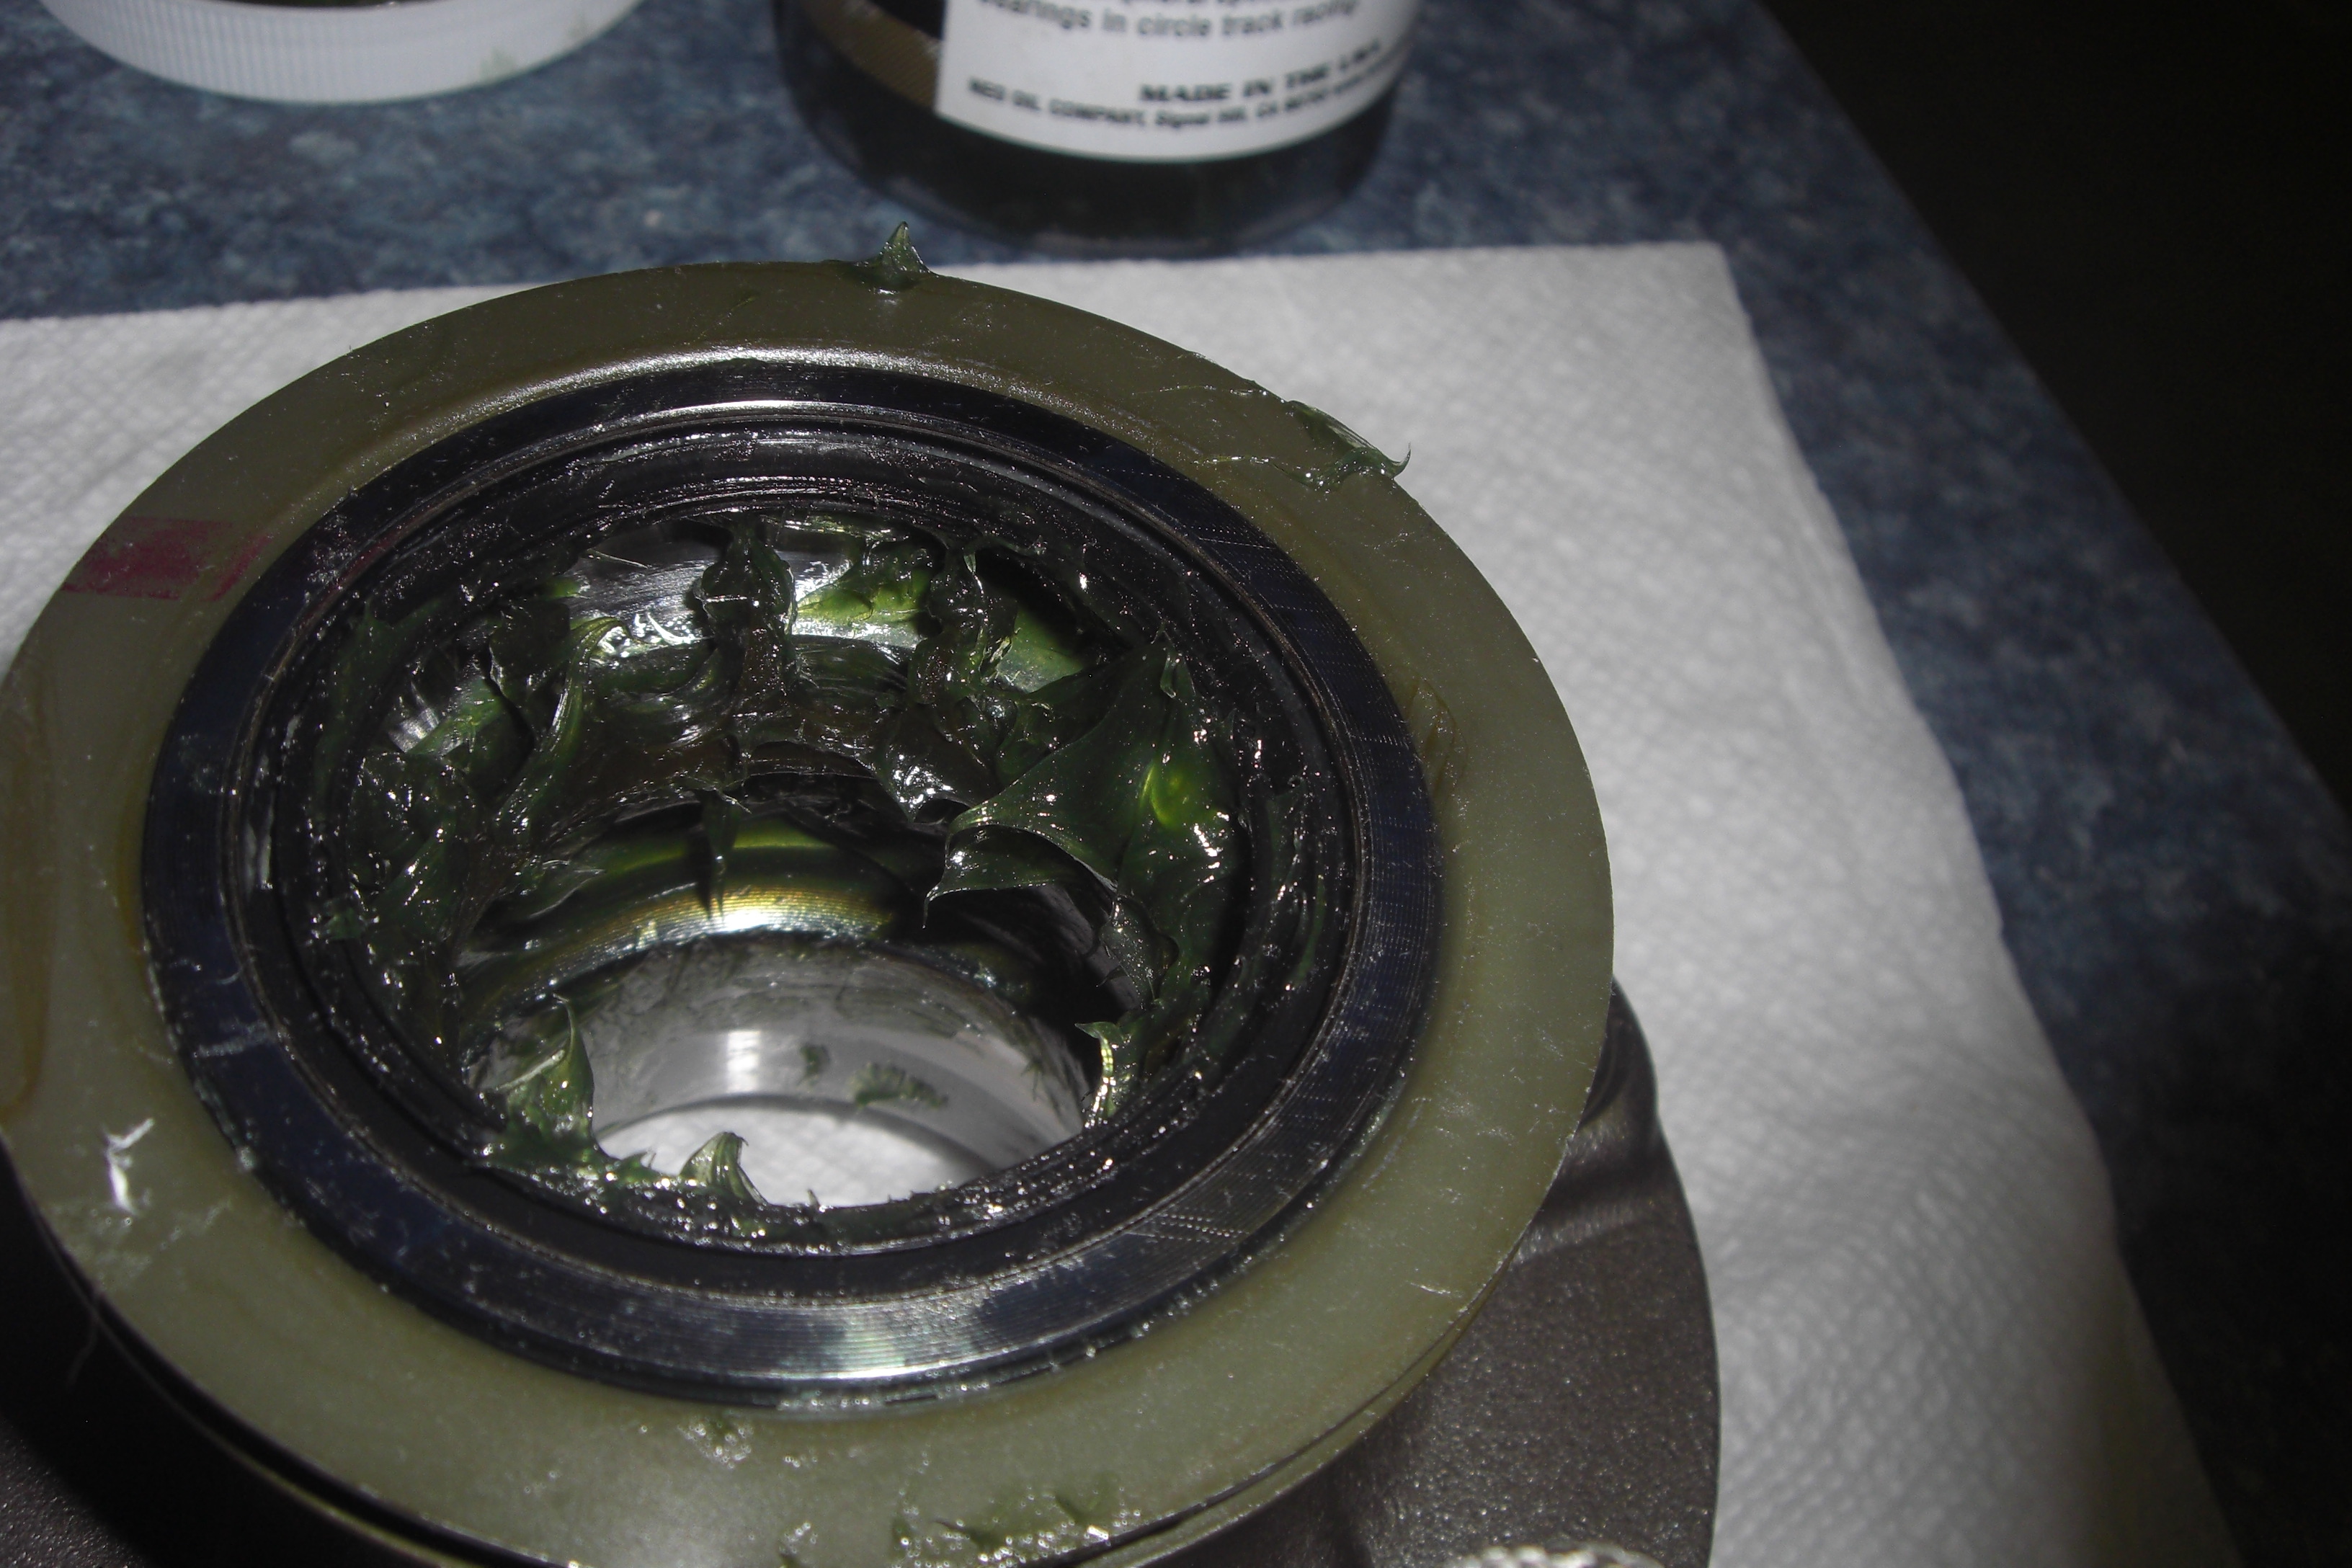
-Once everything is clean, load the outer race with grease. A good thick coat helps to hold everything in place for the reassembly.
-Pack grease into the lower cage and insert it into place inside the bearing.
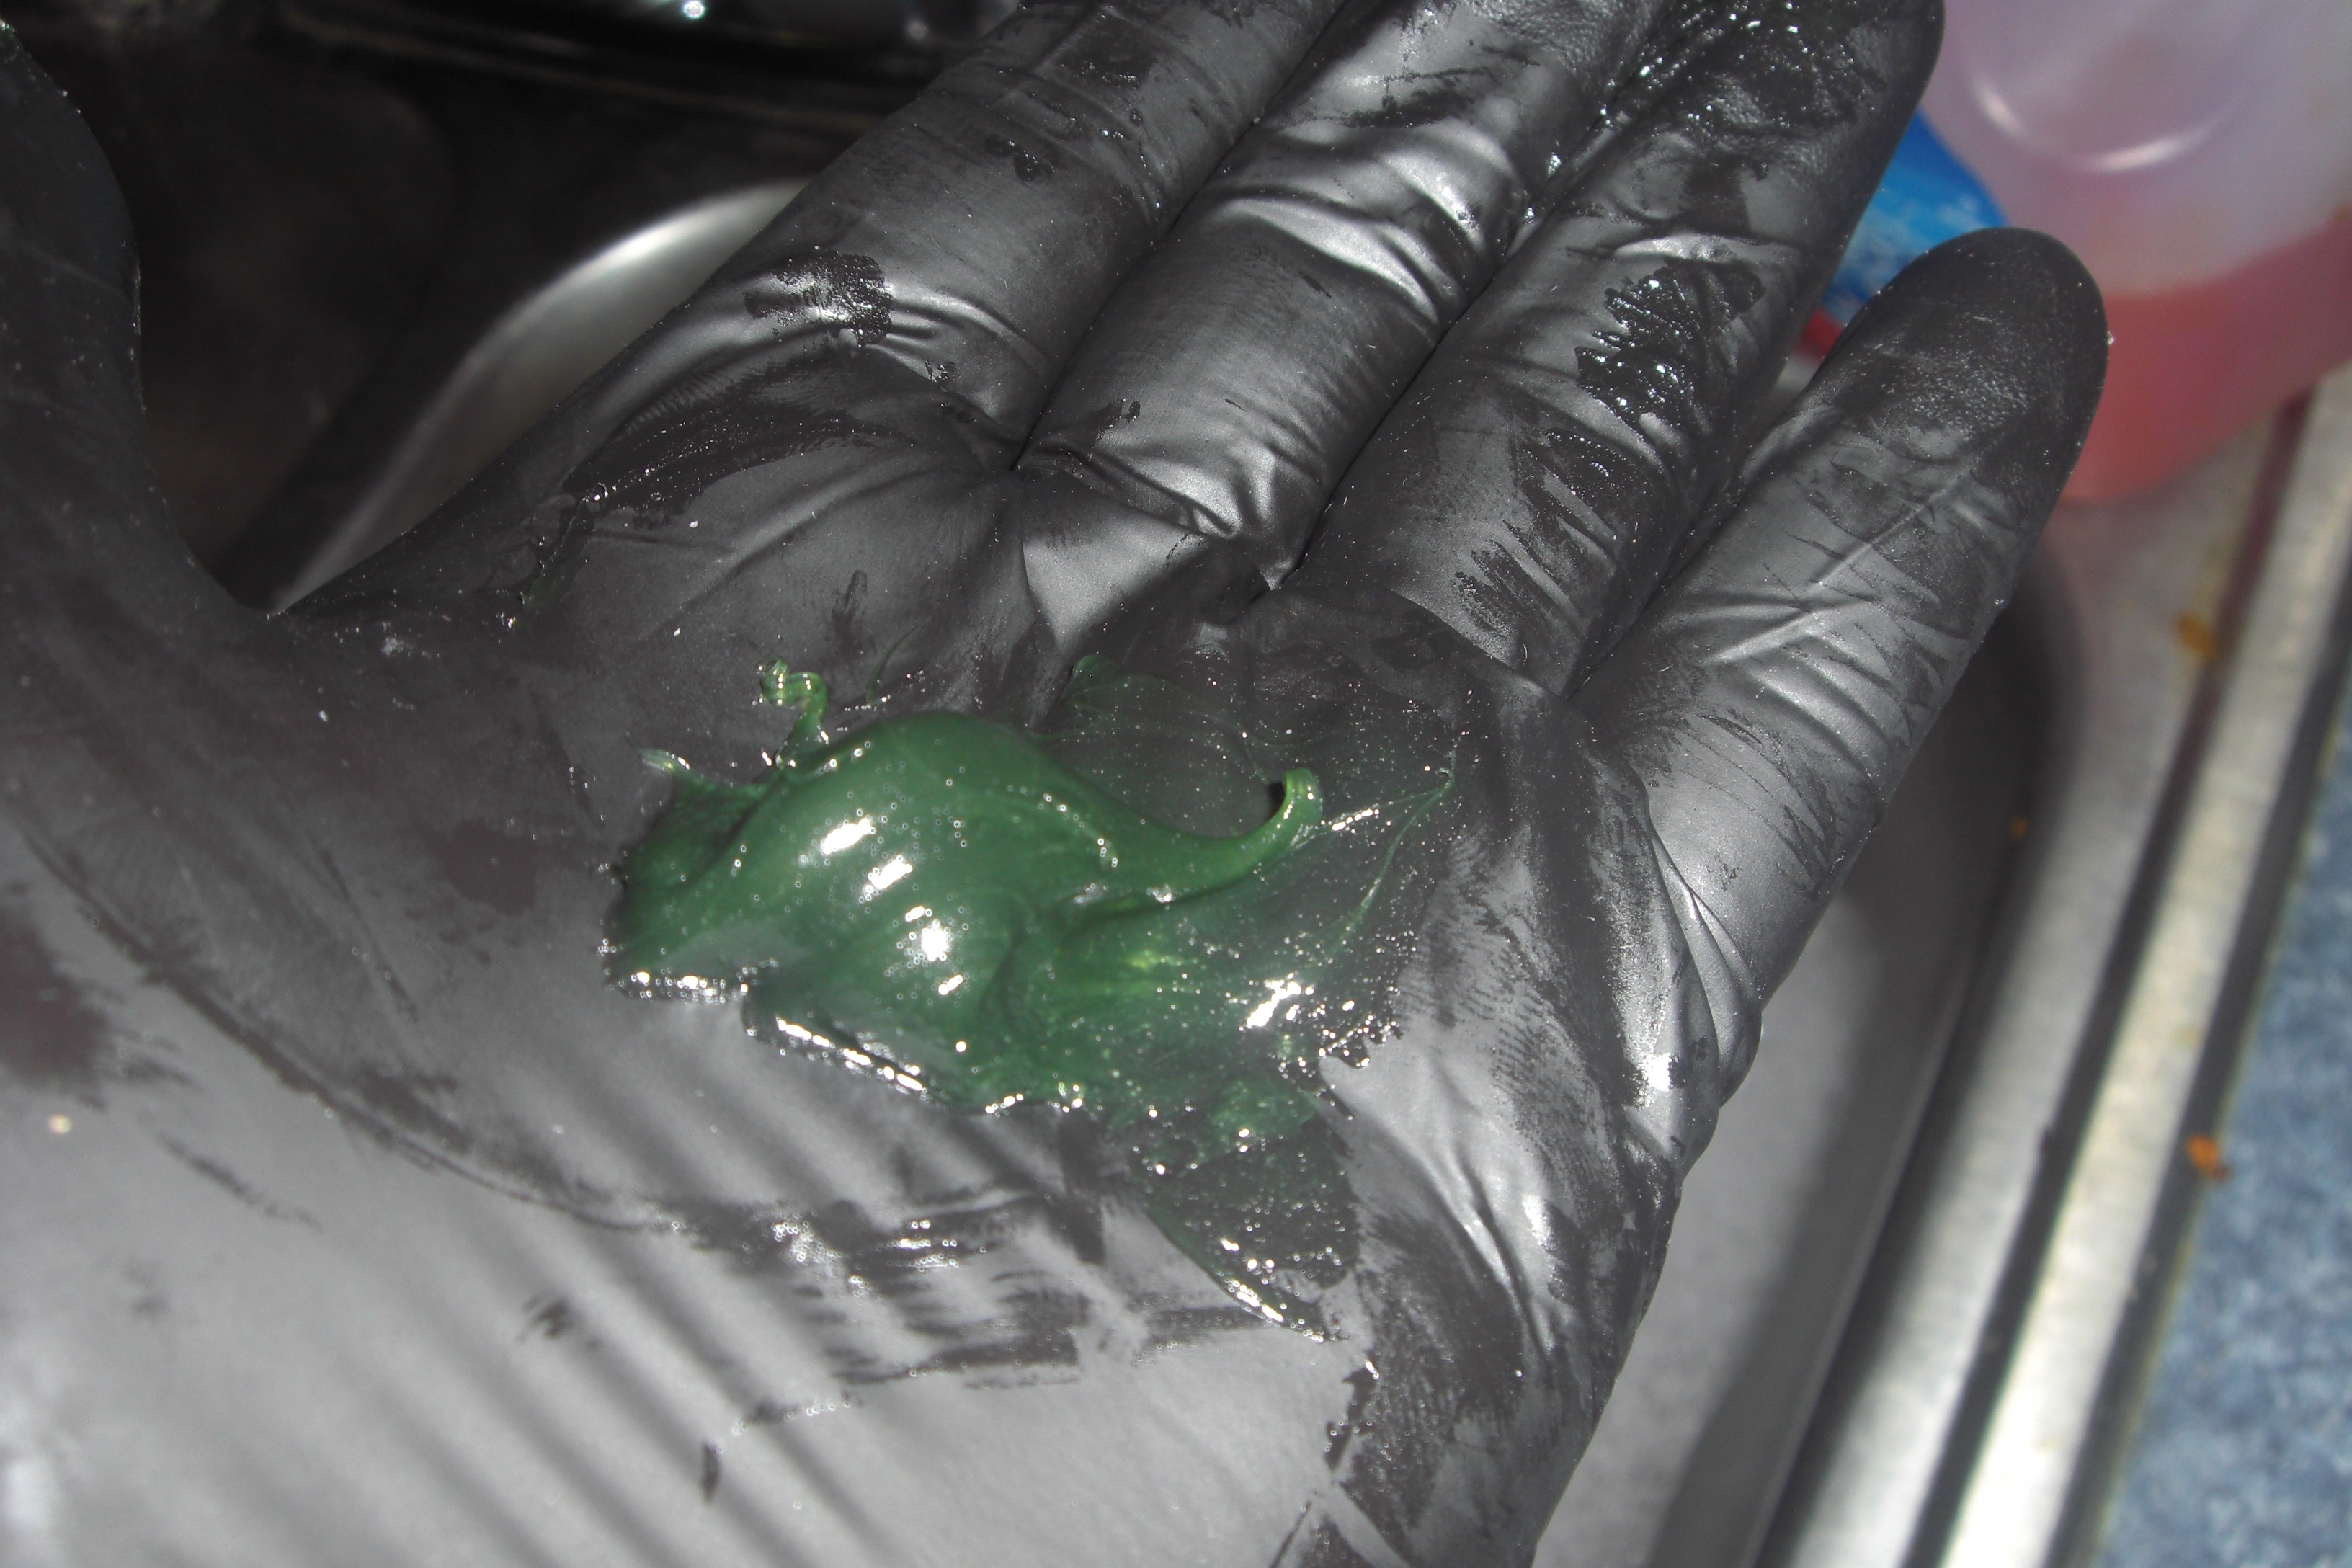
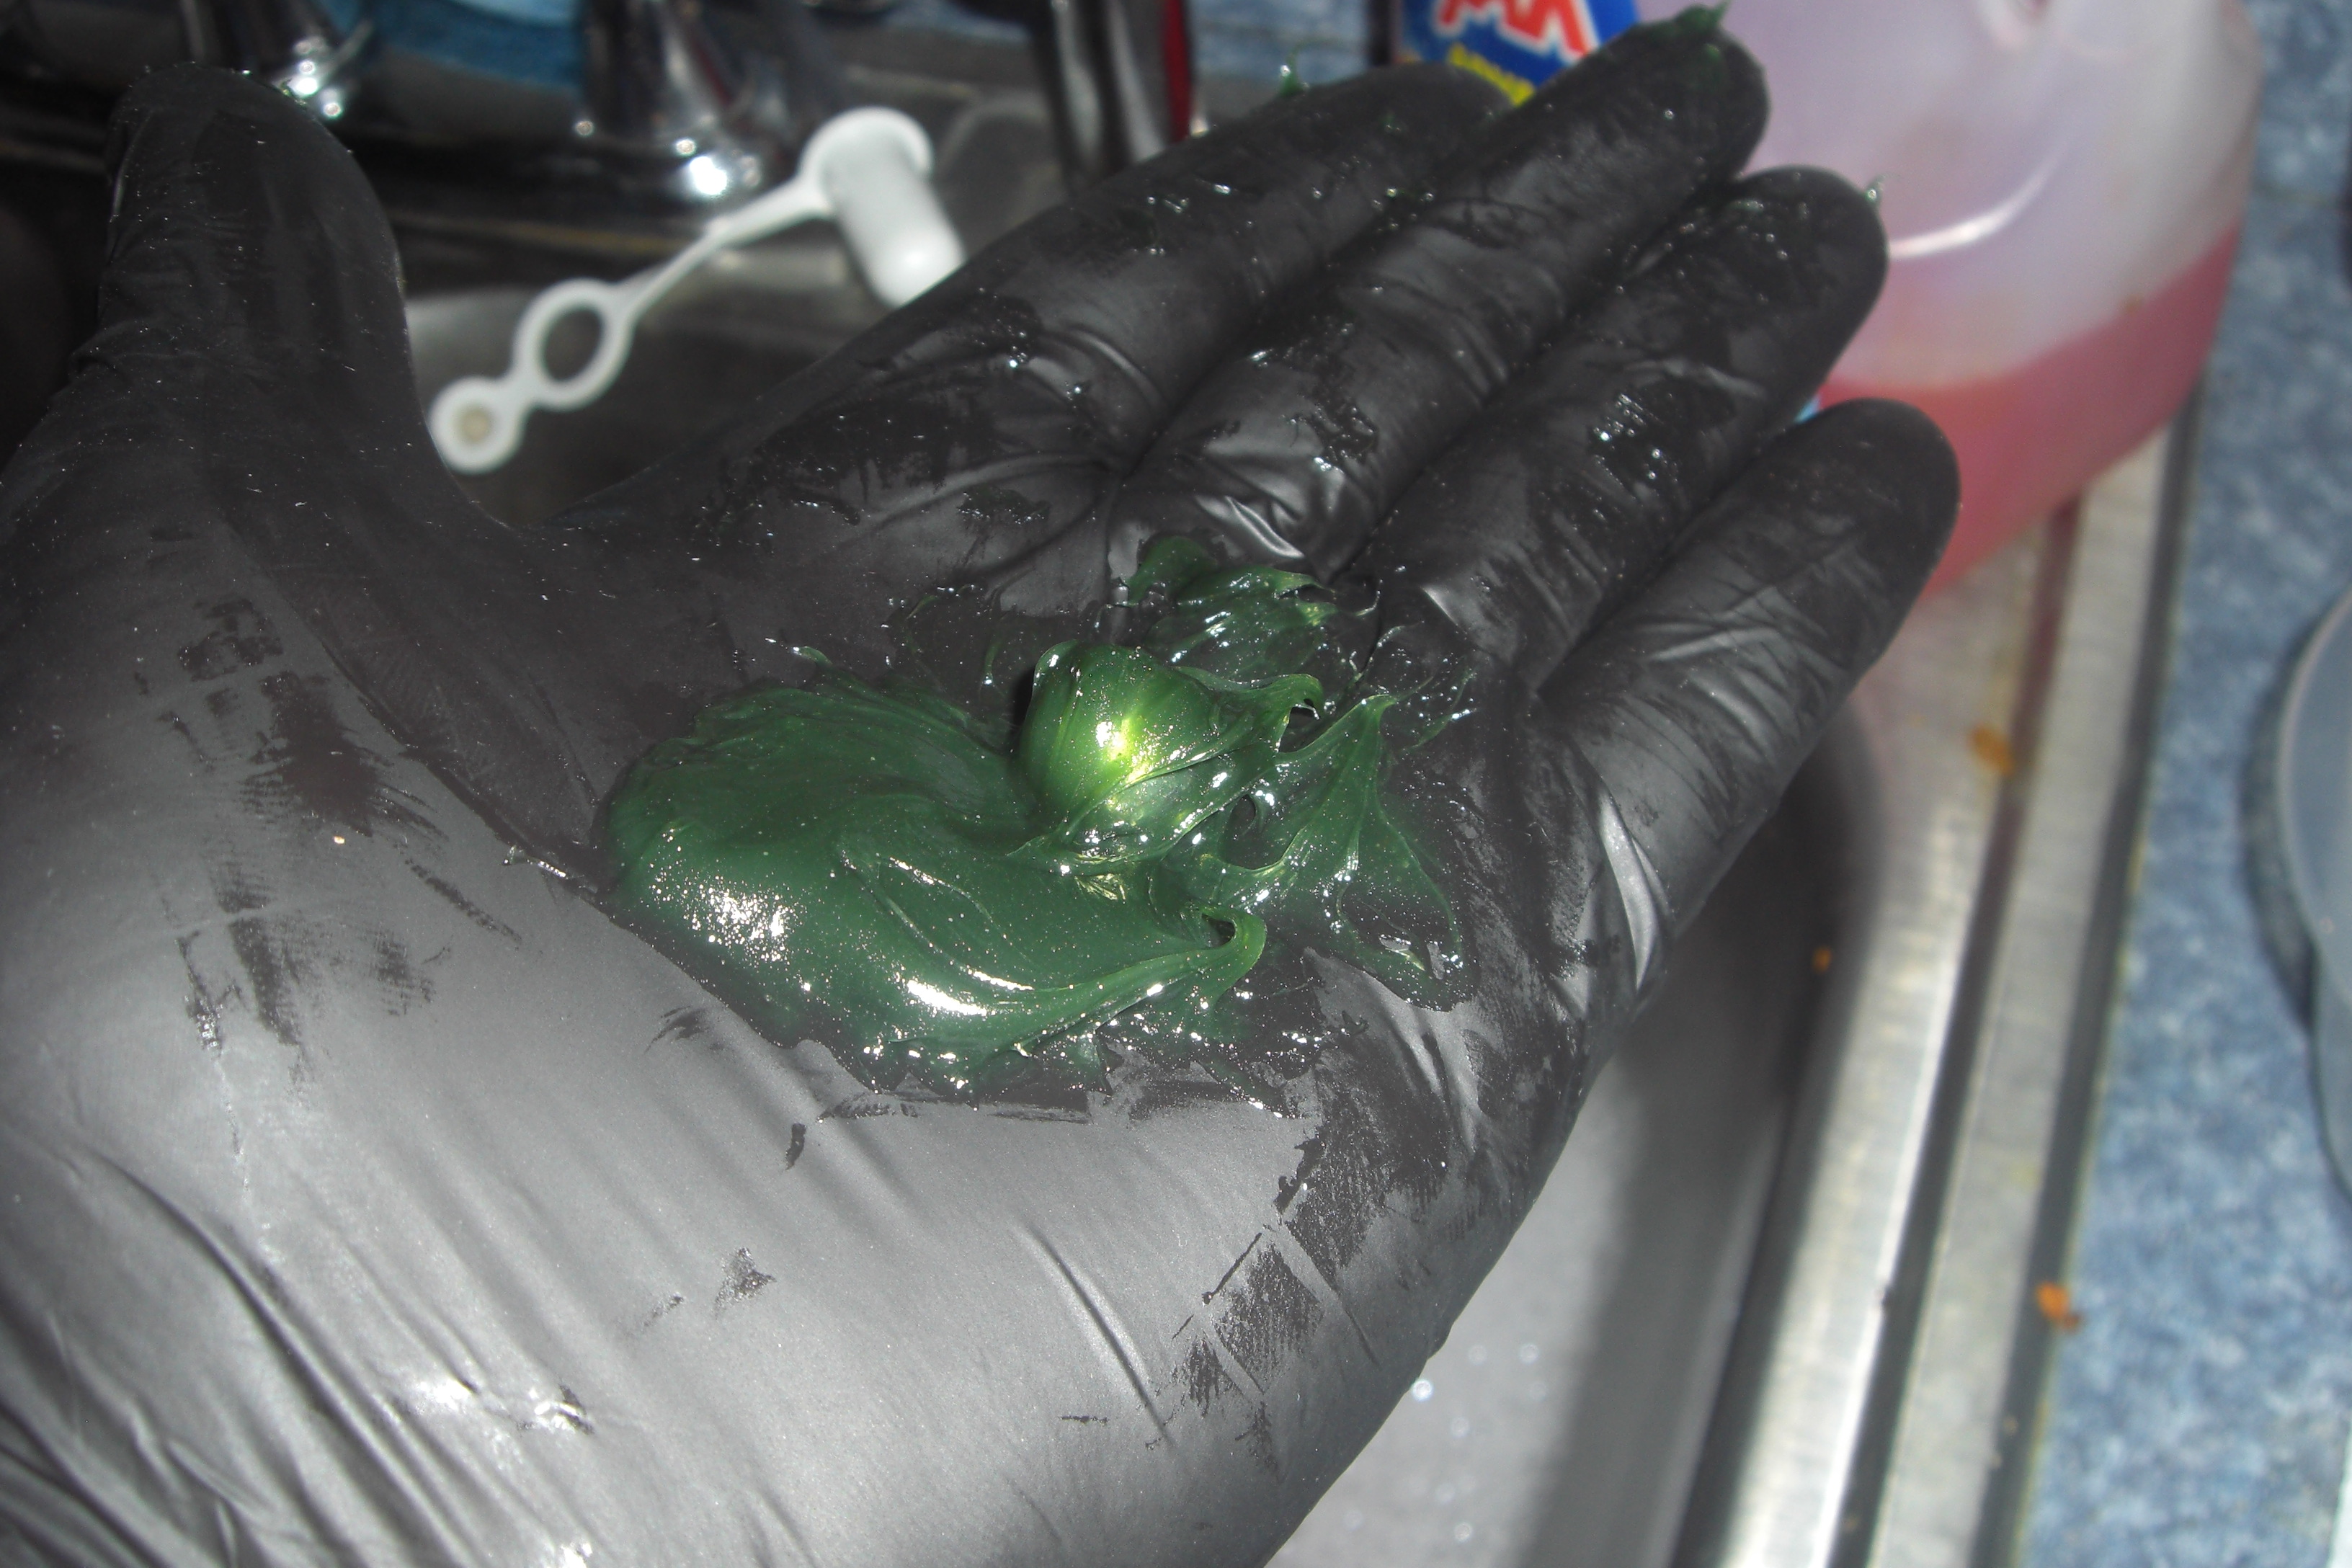
-Take some grease and put a big glop of it in the palm of your hand.
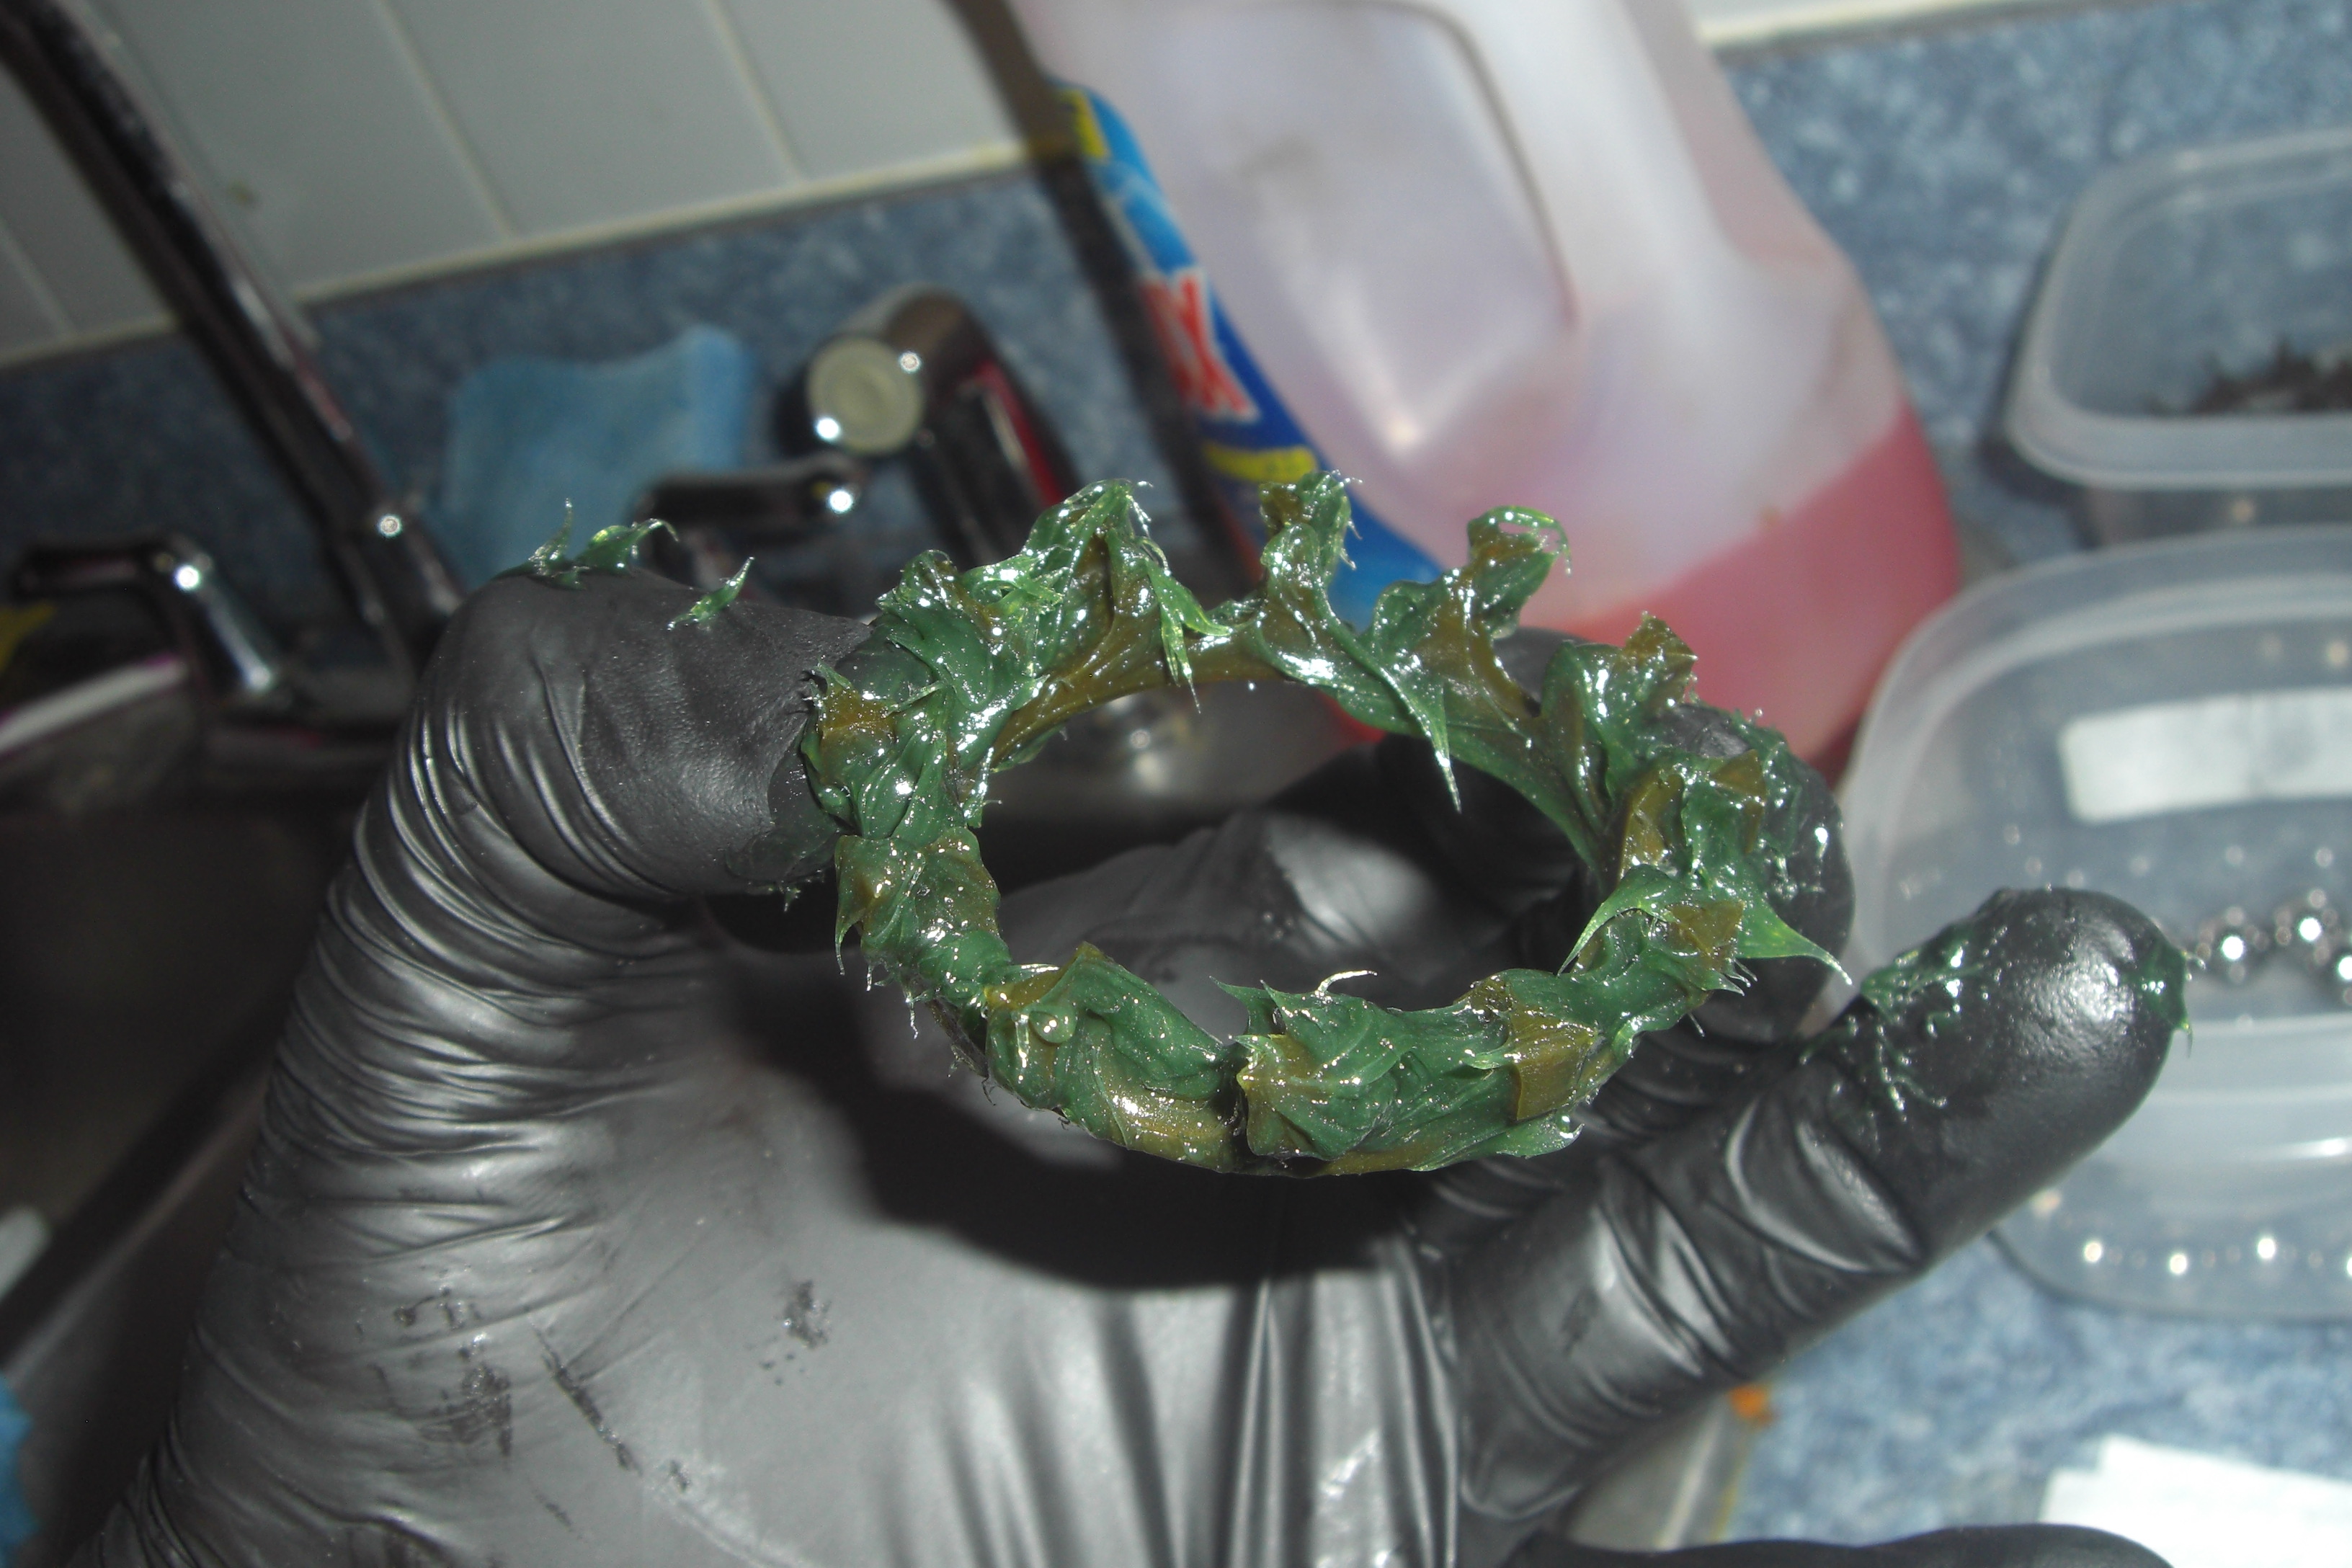
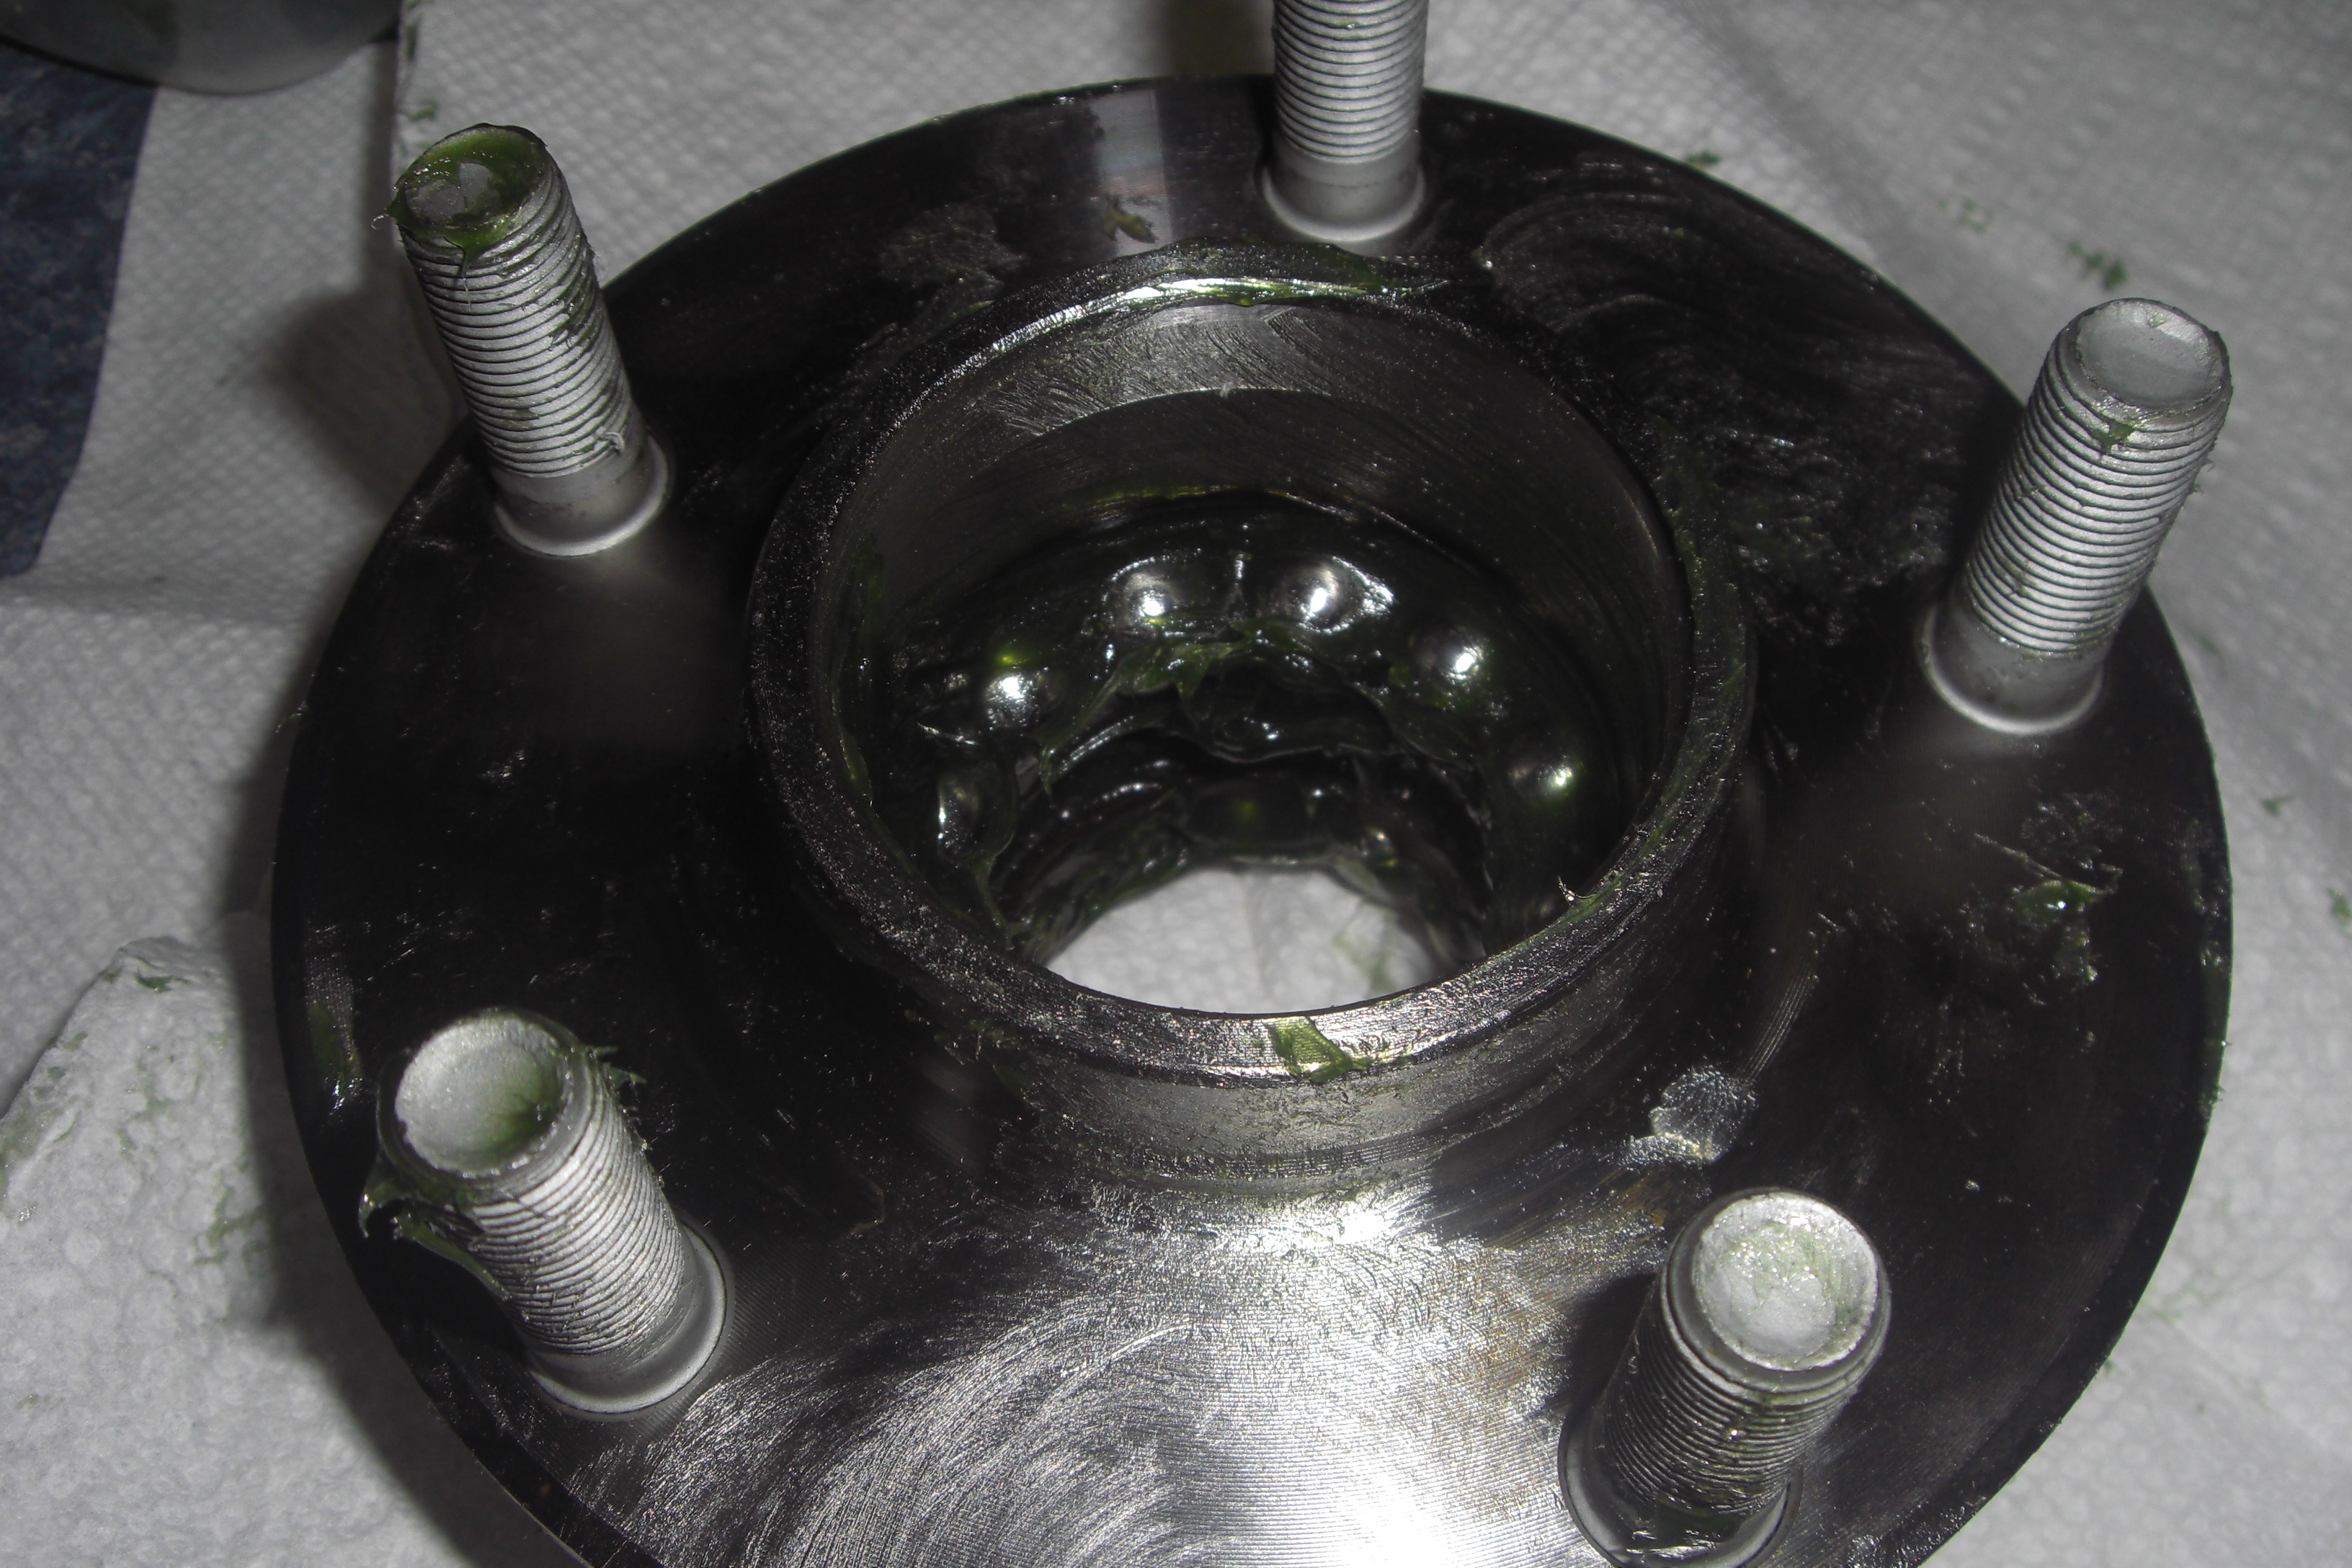
-Roll a ball bearing in the grease till it has a thick coat attached evenly on it. Pop it into place. The first few ball bearings won’t feel like they’re doing much to hold the cage in place. The last few will give a satisfying pop. Be sure to give every ball bearing an extra press to ensure they are popped in place. Repeat for the top cage. On the newer style, the cage won’t stay in place until the last ball bearing is in place.
-Once all the bearings are in place, it’s a simple batter of tapping the inner races back into place and wipe off the excess grease.
The job is done. If everything’s done correctly, the races will be a bit tight to move. Bolt them onto to the car and break them in and enjoy your car.
-Hijacker
NICOclub is back again with Carlisle Events to host our 18th annual NICOFest Carlisle AutoX…
Kraft Auctions Offers Fans a Chance to Own a Piece of Datsun Racing History
We built Datsun Ranch in 2014, and it was the culmination of a lot of…
Since it's not just Datsuns that are vintage anymore ("classic Nissan" still sounds weird, right?),…
Let's talk about big brake kits for a bit. For the purposes of this article,…
What do these terms mean? Pulsed Secondary Air Injection (PAIR) Valve: The PAIR valve sends…