Walbro Fuel Pump install (s14)
By:steve s14
You will probably want to do this install with a tank that is half full, if you do it with a full tank, you’ll have to reach down into the fuel to get the pump out and again to reinstall it. if you do it with an empty tank, the new pump might not prime and the car won’t start until you add more fuel.
Now that thats out of the way, on with the install!!!
Parts needed will be fuel tank o-ring, heat shrink tubing, pump kit for and s13 and an install kit for a 97-01 prelude(unless Walbro put together a pump kit for an s14, but last time i checked they don’t have one yet).
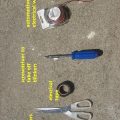
Tools needed or recommended are, a flash light, a pair of pliers, 10mm socket and ratchet, #2 phillips screw driver (the tip that looks like an x), a soldering iron, solder, heat gun.
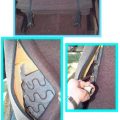
First, fold down the rear seat, remove the trunk mat and pop off the 2 buttons that hold the carpet down with you hand by reaching behind the carpet and pulling.

Then pull back the carpet and push it through the trunk tunnel and over the rear seat back to expose the panel to the fuel tank.

Remove the (4) 10mm screws and pull the panel back

Unplug the 2 connectors and 3 hoses

There is a tool to remove the plastic ring but i’m poor and can’t afford the tool so i ate some wheaties and used all of my massive hand strength to unscrew the ring like a stuck pickle jar lid.
All kidding aside, if you aren’t able to unscrew the ring, try using a large flat blade screwdriver and a hammer and place the screwdriver on one of the ribs on the plastic ring and tap it with a hammer to turn the ring in the counterclockwise direction.
Once you get the ring off, put it aside and pull the top off and throw away the fuel tank o-ring.You will see 2 connectors underneath the top cover, unplug the bigger one with 3 wires coming out of it.

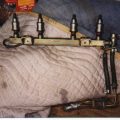
Then reach down and pull the pump up off the bracket in the tank and remove the assembly, it just slides upwards.The picture is kind of blurry but you can barely see the bracket.

Unscrew the wires off of the pump and remove the old pump from the bracket.
Put the Prelude fuel pump sock on the fuel pump, install the tiny circular clip that holds the sock onto the pump. put the short piece of rubber hose on the other end, and install the rubber thing from the s13 kit on the bottom of the pump underneath the sock.Put the clamps on the hose and install the pump onto the fuel pump bracket.

With the prelude sock, it’s facing the same way the old pump sock faced.

If you use the s13 sock on an s14, you may run into fuel starvation problems on a low tank since the sock is facing the wrong way and at the wrong angle.


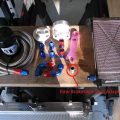
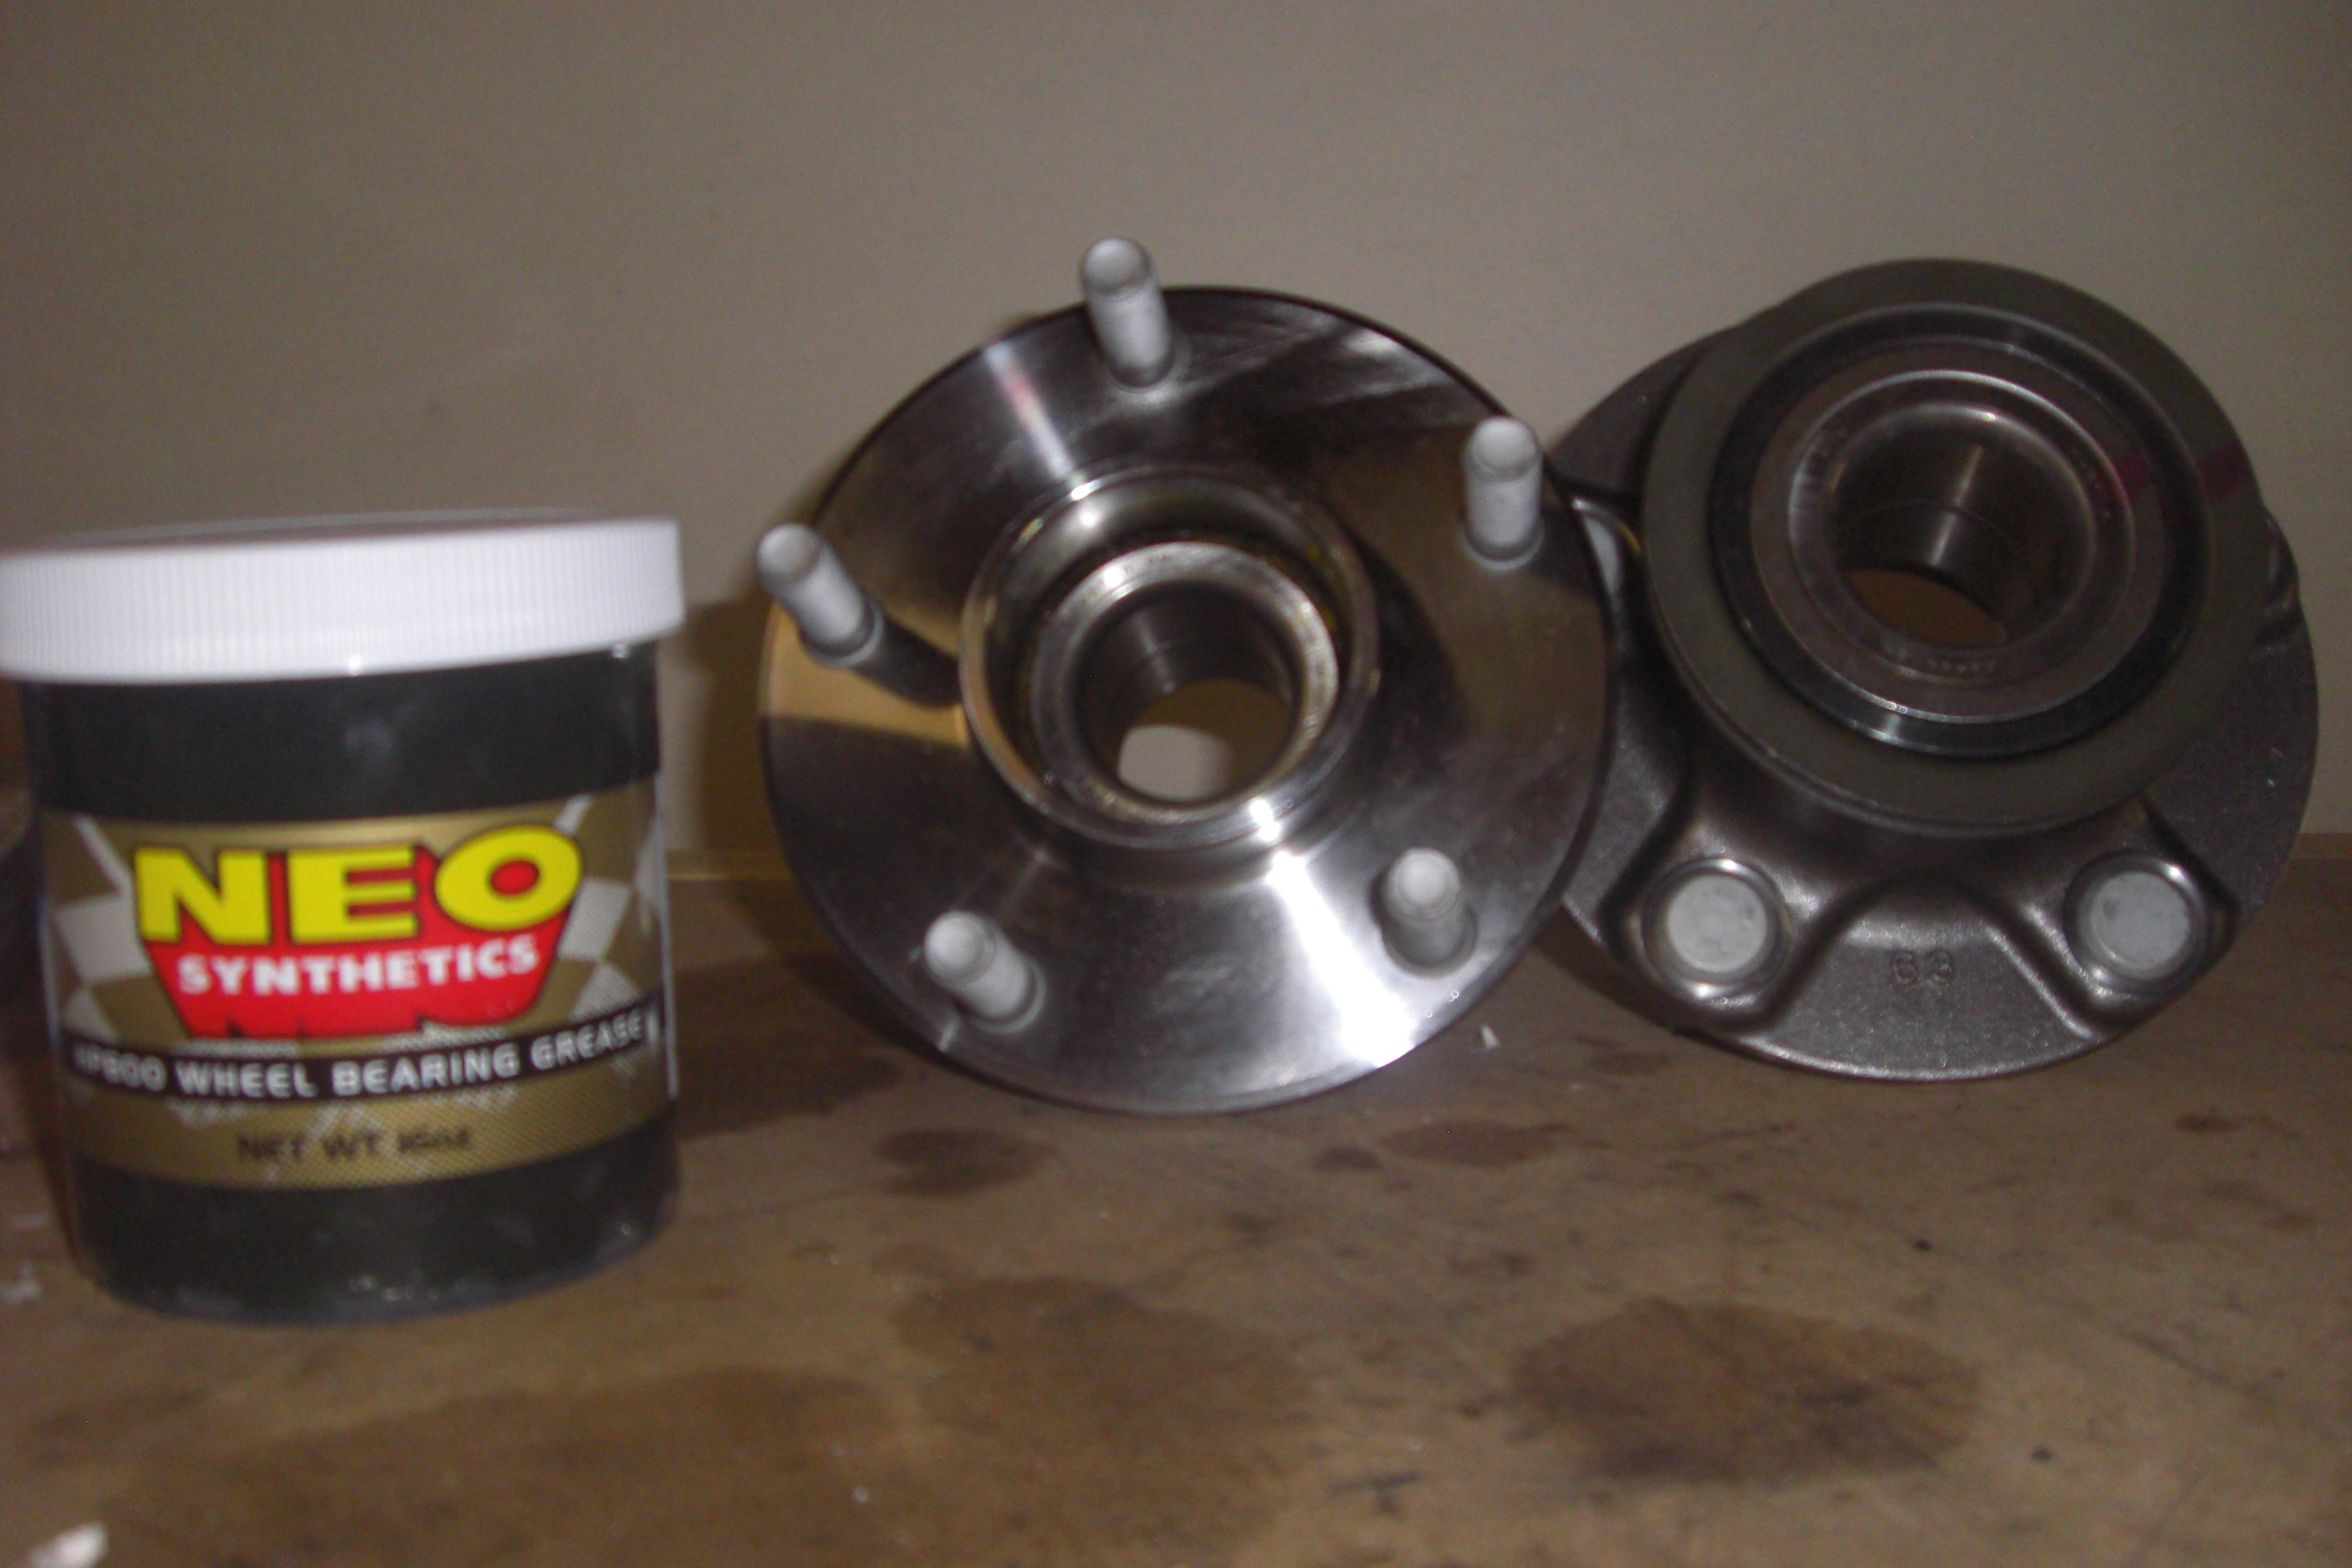
Here is a picture of the install kits needed
part numbers are 400-766 s13 install kit
400-865 prelude install kit

Take the plug with the wires that went to the original pump and lay the connector end from the s13 kit next to it so that it matches it’s original lenght. then cut the ends off of the original wires and strip the ends off of the wires on both the connector kit and the original wires.

You can use the butt connectors that came with the kit or you can solder it like i did.I don’t trust butt connectors in a place that I can’t reach easy in case there is a bad connection so that’s why i soldered them.
Put the heat shrink tubing on and then solder the wires together.Use a heat gun NOT a lighter (you’re working near gas) to shrink the tubing over the solder joints.The red wire goes to the red wire, the red wire with the white stripe goes with the black wire.

Then put the assembly together and it should look like this when you are finished.

Put the new fuel tank o-ring (part number 17342-79900) onto the opening and reinstall the assembly.Don’t forget to plug the 3 wire connector back on to the bottom of the top before installing it into the tank.


Screw the plastic ring back on and install the 3 hoses and 2 connectors. put the panel back on and install the 4, 10mm screws. pull the carpet back over and pop in the clips. put the trunk mat back in place and fold the rear seat back.
Turn the key in the ignition until all the light come on but don’t start the engine. leave it on for a few seconds and then turn it off again. repeat this about 2-3 times. this primes the fuel system.
That’s it!! your car is one step closer to making big power with your new 255 walbro fuel pump.