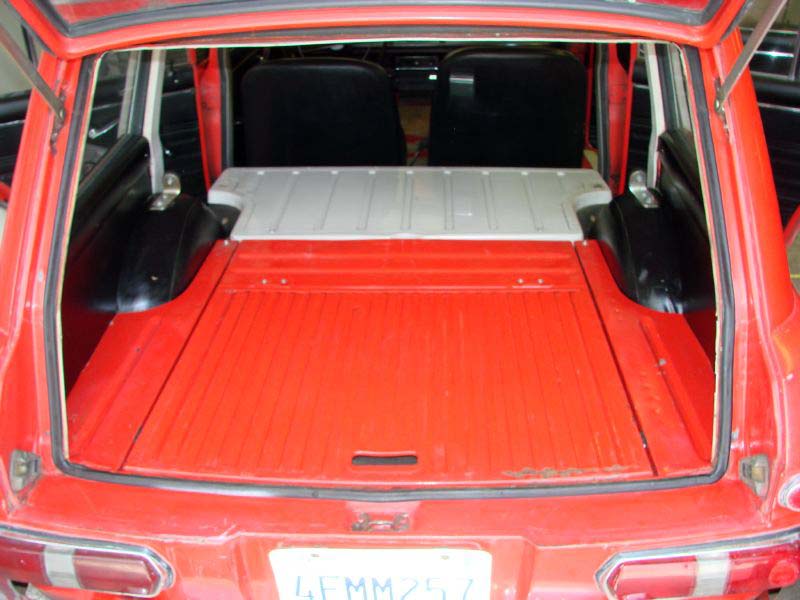
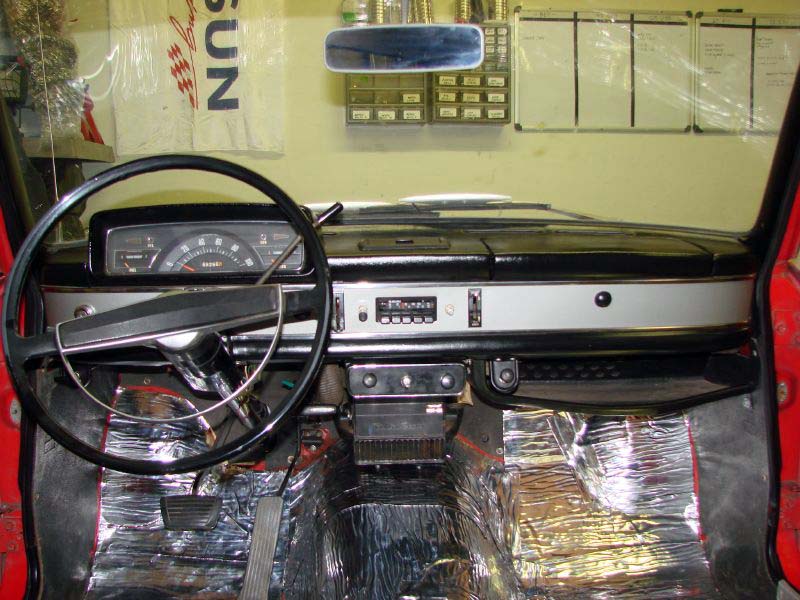
Some “BEFORE” pictures:
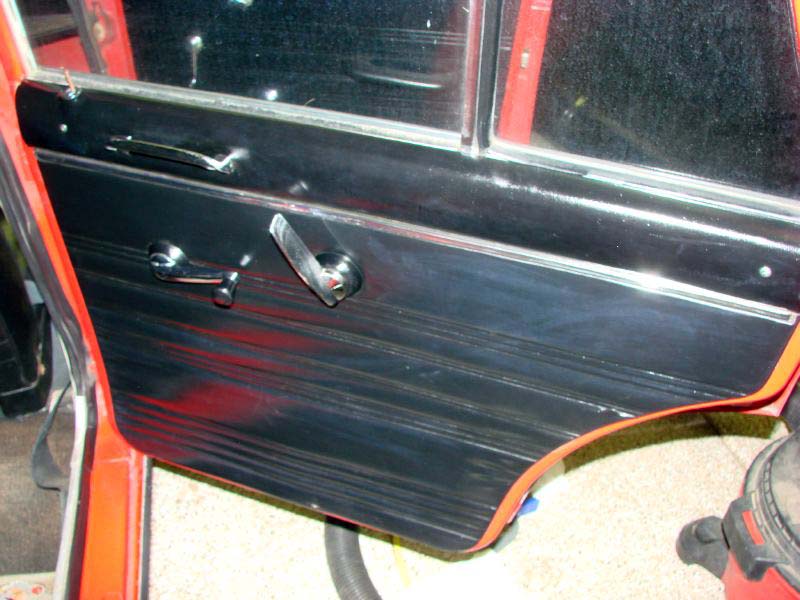
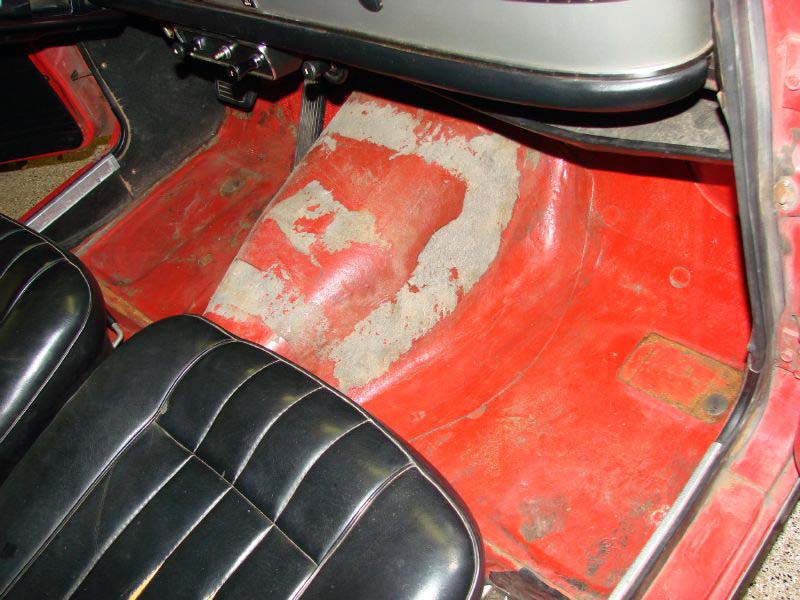
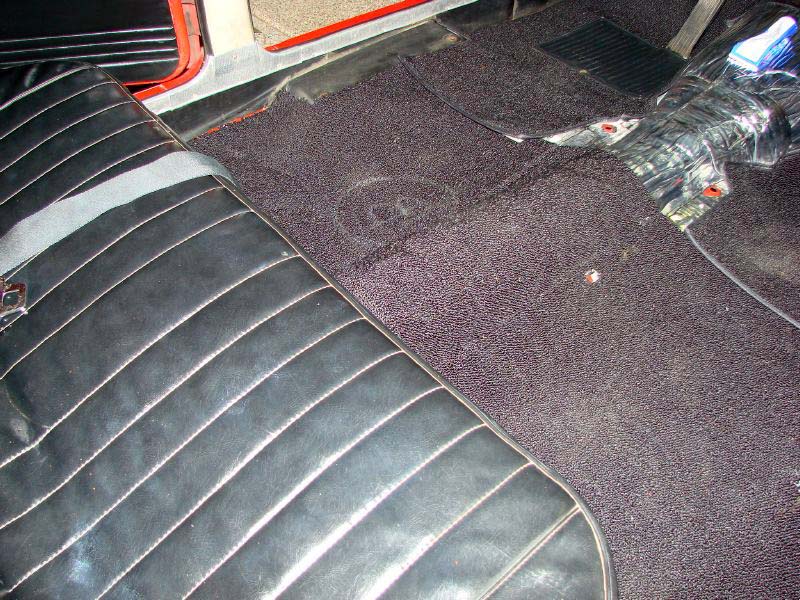
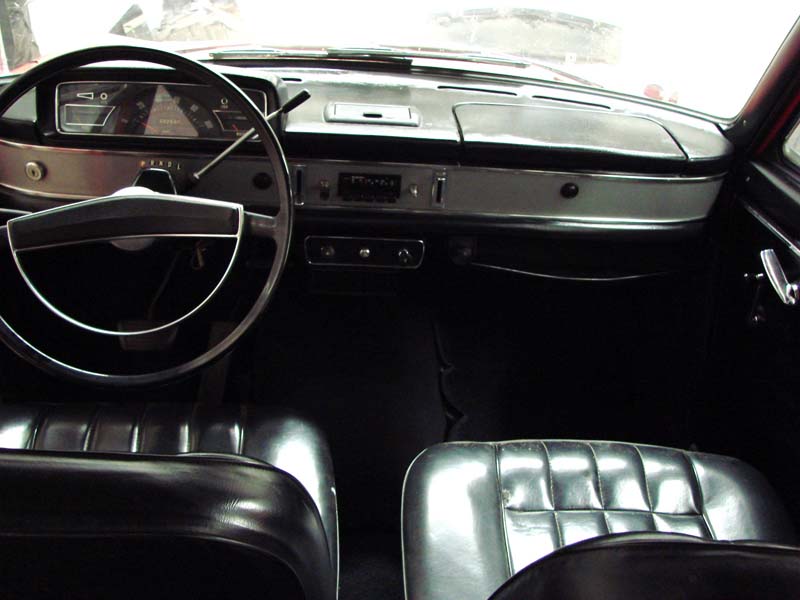
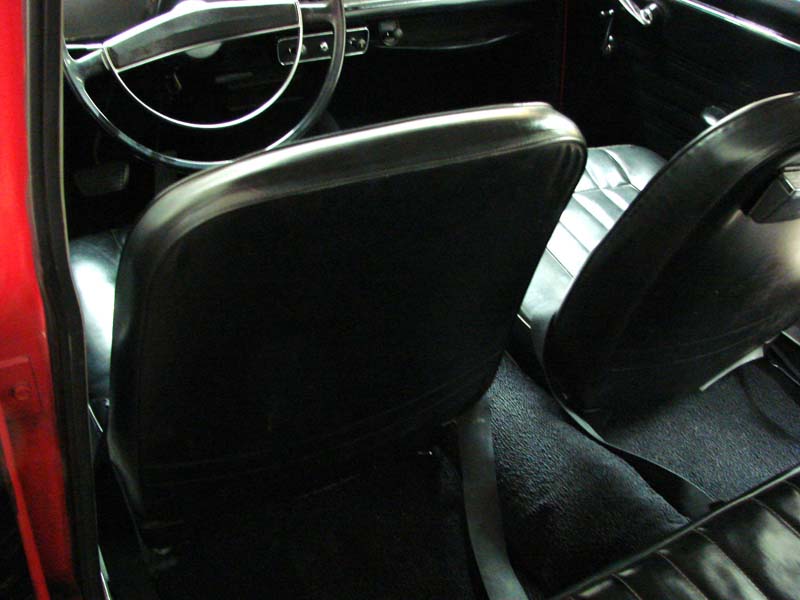
The interior turned out remarkable. The headliner and door panels and plastic trim were very well-preserved, just dingy from years of improper cleaning. The greasy buildup in the door jambs preserved the paint on the hinges, and the door weatherstrip was still intact. A good scrubbing and several applications of 303 Protectant and they looked 20 years newer. The carpets were already going to have to be replaced, so those came out, along with the seats, so I could scrub and clean the floor pan.
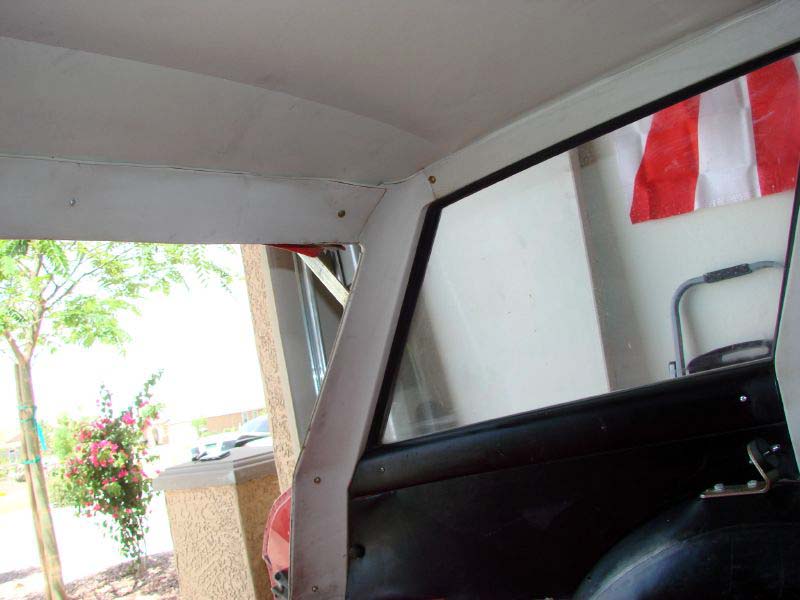
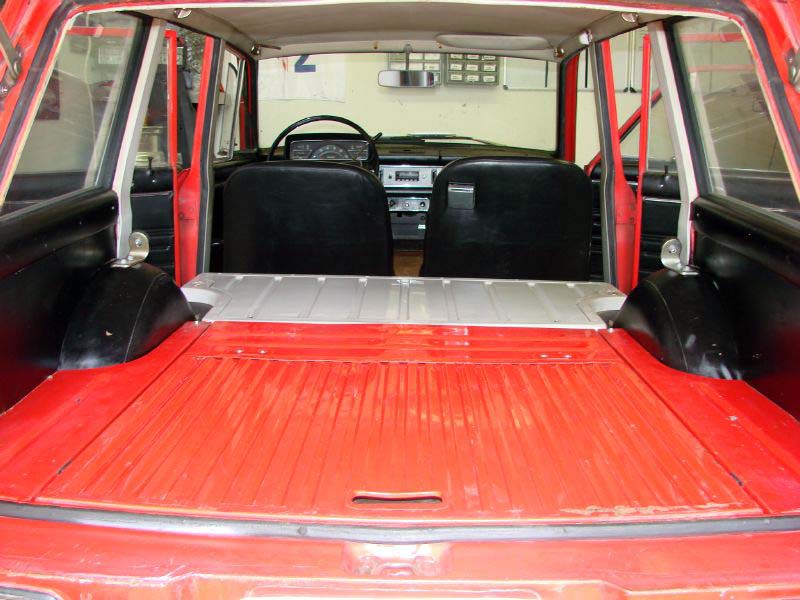
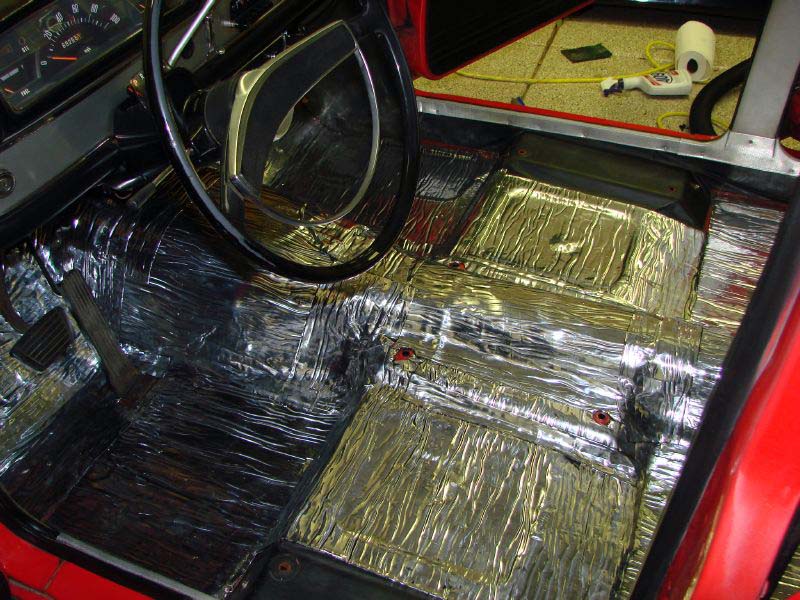
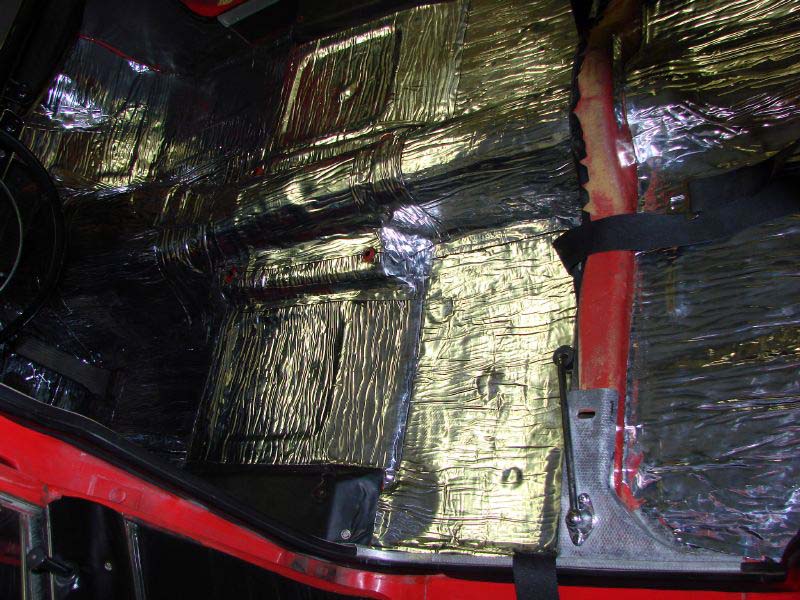
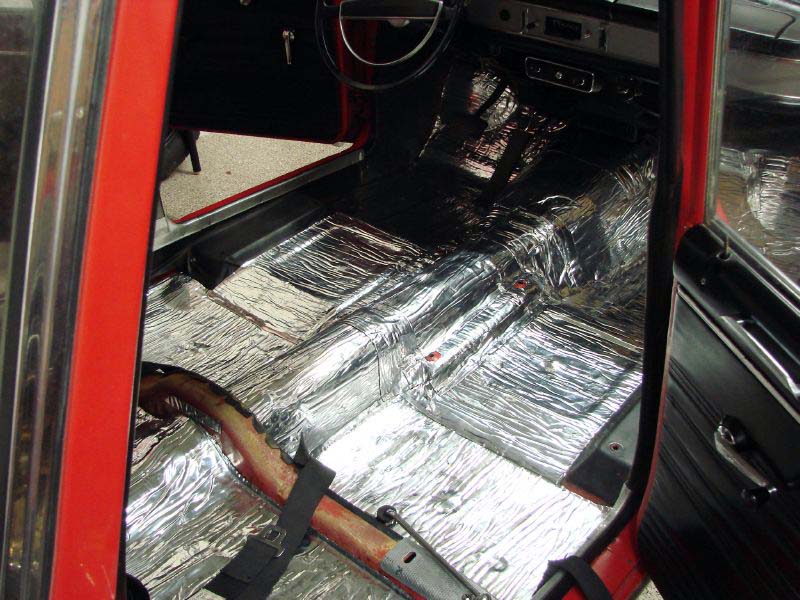
Some photos of the progress:
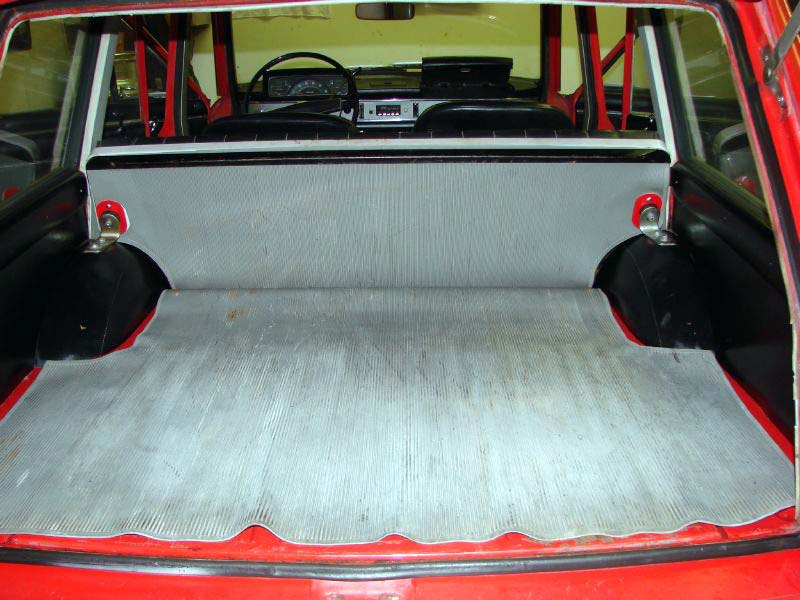
The original cargo area mat was amazingly salvageable. I spent the better part of a day working on it, with Simple Green, 409, and various scrub brushes, just to get it clean and presentable. Then, I saturated it with 303 Protectant for the next 5 or 6 days to try and restore some of its softness. It turned out great.
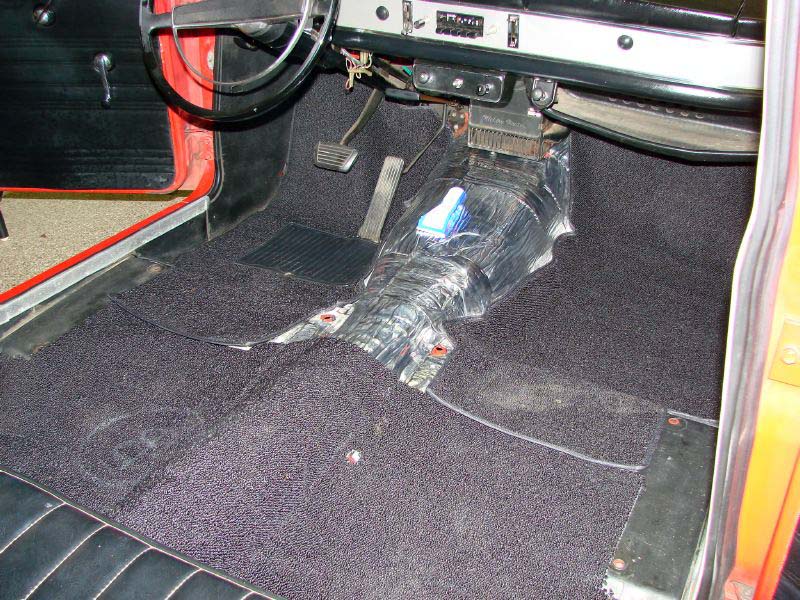
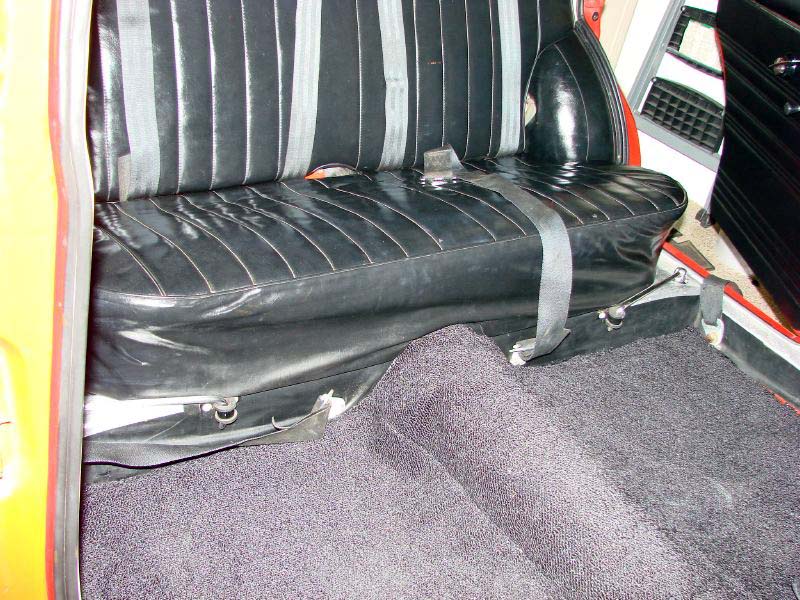
The seams in the front seats had split, but those were going to have to wait. For now, we’d live with the split vinyl. Seat tracks got disassembled, scrubbed, re-lubricated and re-installed, but not before laying down a layer of GT Mat (similar to Dynamat, but better in my opinion, and cheaper). This makes all the difference in a restoration, keeping road noise and heat to a minimum.
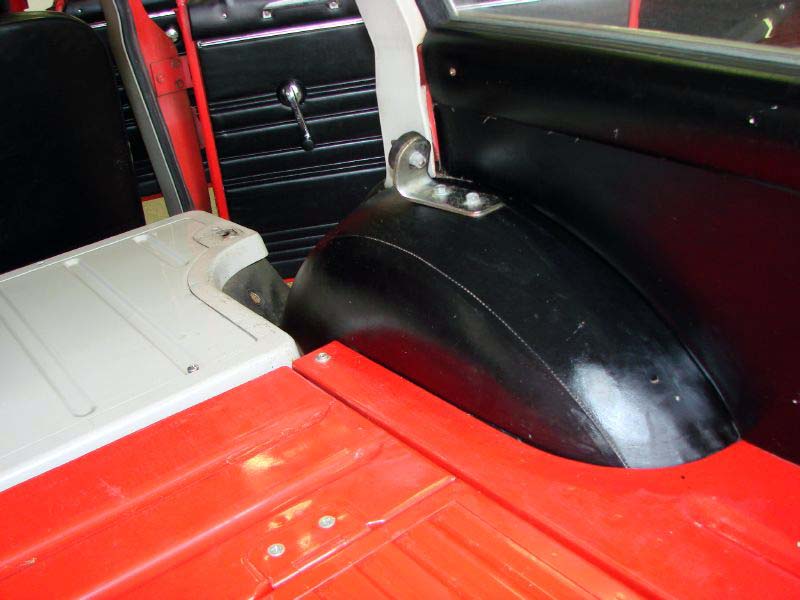
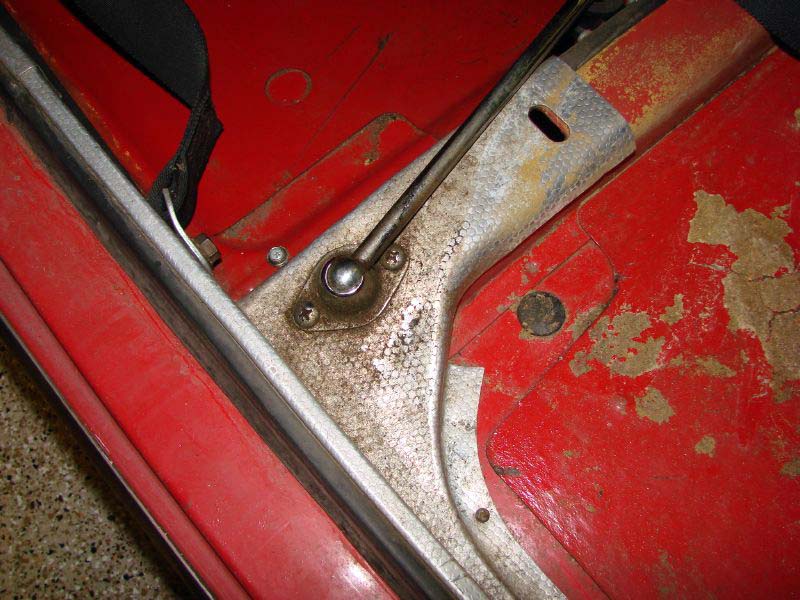
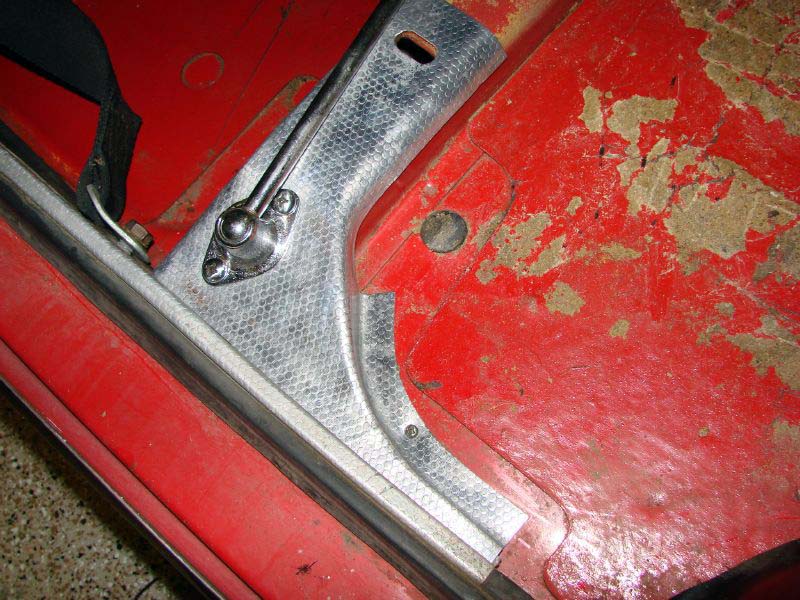
Details make a big difference, and here’s just one example: This is the bracket that holds the rear seatback from rattling when it’s folded down. I took it apart, knocked out all the dings and dents with a rubber mallet and a block of wood, screwed it down to a piece of wood, and polished it with a green scrubbing pad followed by a buffing wheel. The mechanism was disassembled, polished, re-lubricated and reassembled. Makes a nice difference, doesn’t it?
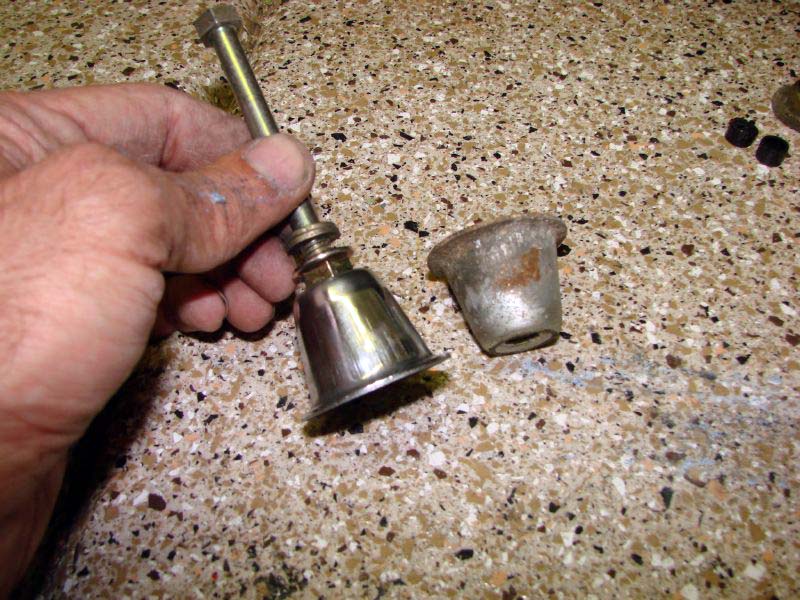
Another little detail – The bell-shaped “stands” that sit under the seat frame rails are cool as hell. I made a jig for my drill out of a spare 12mm bolt and a couple nuts. This way, I could sand down the casting, smooth it, and polish the metal – Check it out!
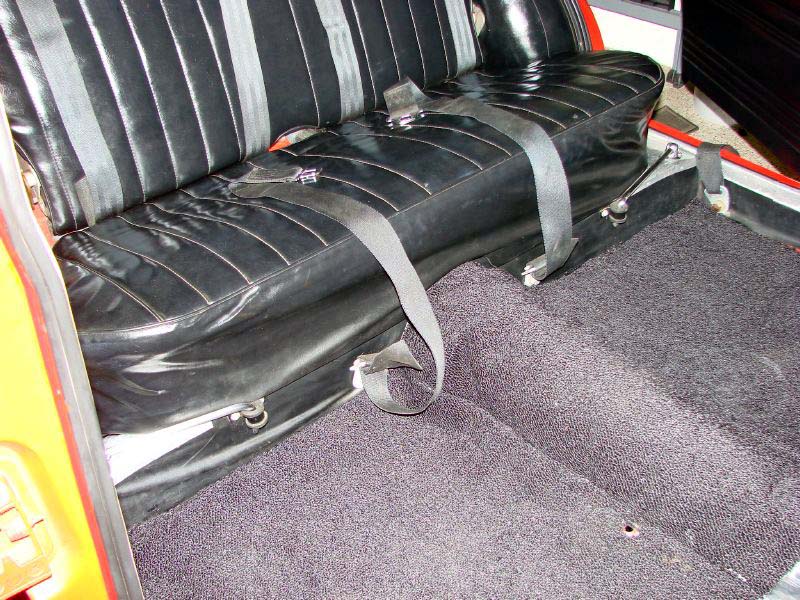
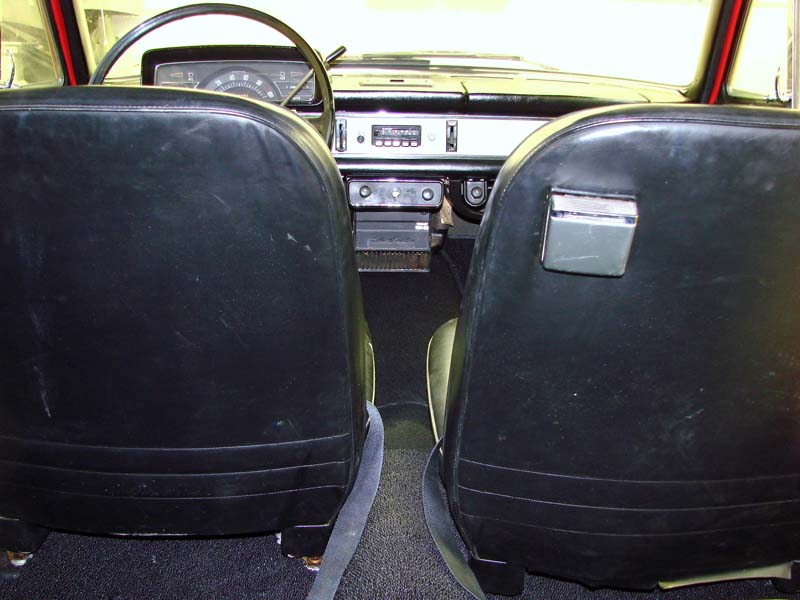
New carpet finished off the interior work:
Read more: Arizona’s coolest Datsun wagon hits the streets – but not for long.
NICOclub is back again with Carlisle Events to host our 18th annual NICOFest Carlisle AutoX…
Kraft Auctions Offers Fans a Chance to Own a Piece of Datsun Racing History
We built Datsun Ranch in 2014, and it was the culmination of a lot of…
Since it's not just Datsuns that are vintage anymore ("classic Nissan" still sounds weird, right?),…
Let's talk about big brake kits for a bit. For the purposes of this article,…
What do these terms mean? Pulsed Secondary Air Injection (PAIR) Valve: The PAIR valve sends…