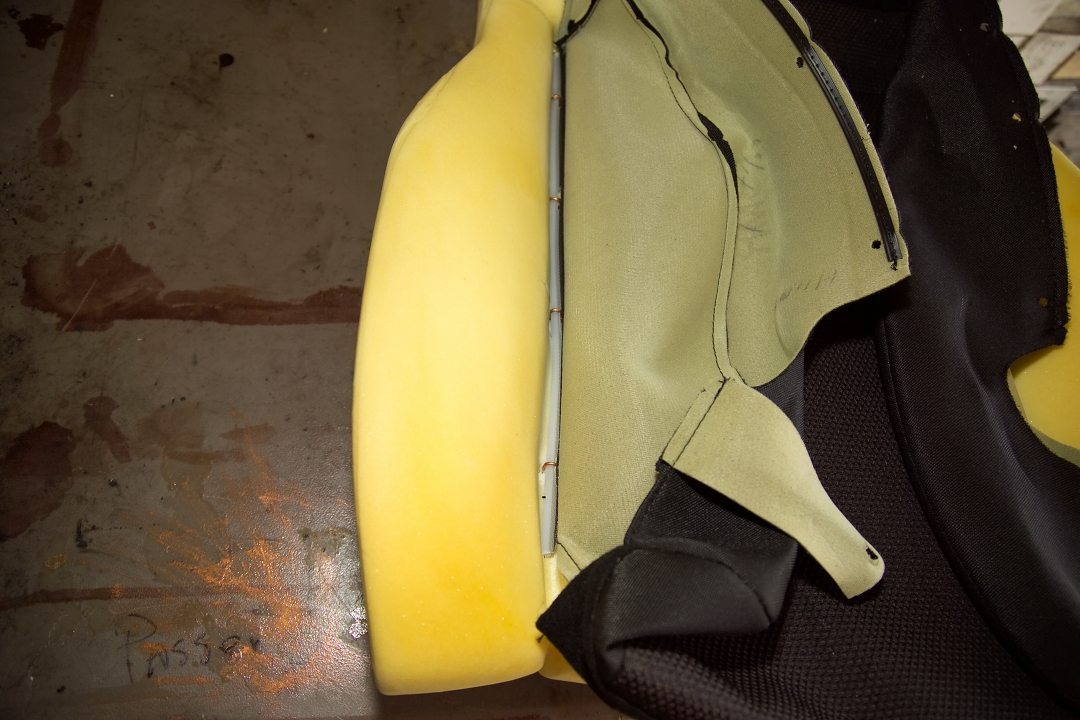
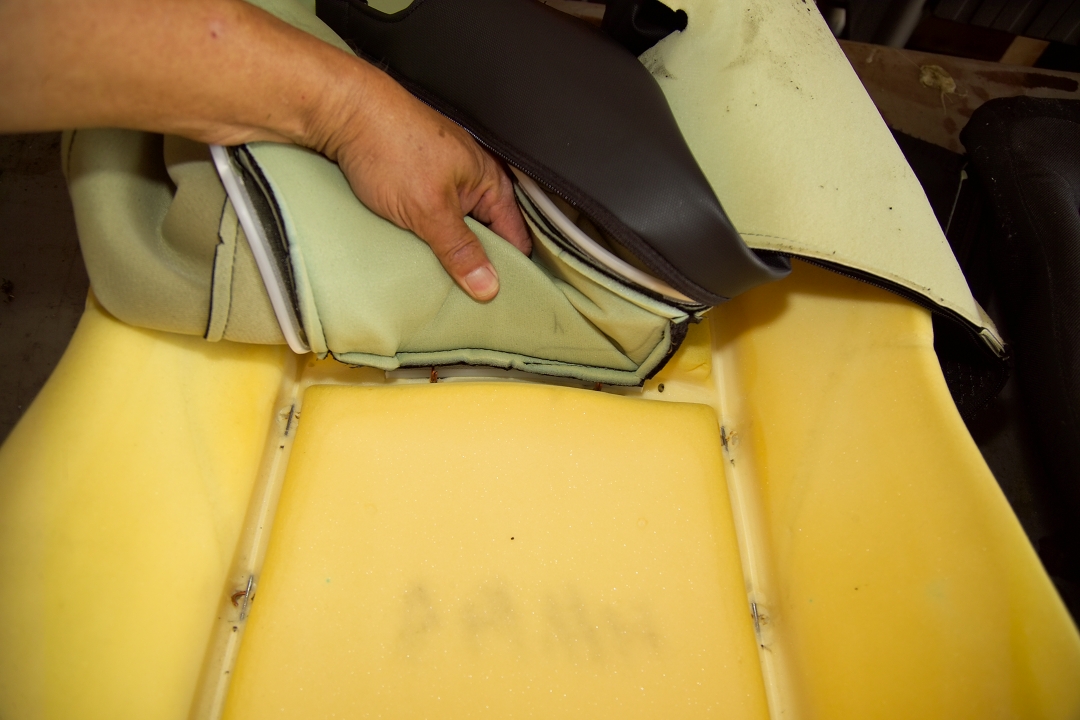
Cover/cushion separation: Place the bottom cushion on the work bench, face down. Using diagonal cutters snip the hog rings and remove the pieces (NOTE: Put on your safety glasses, the hog ring chunks WILL go flying!) Flip the cushion over and fold back the sides of the cover. Observe that the seat cushions have side bolsters and the contour of the seat is maintained by wire stays embedded in the foam rubber. The cover is held in place to the stays with hog rings. Locate the hog rings and snip them to separate the cover.
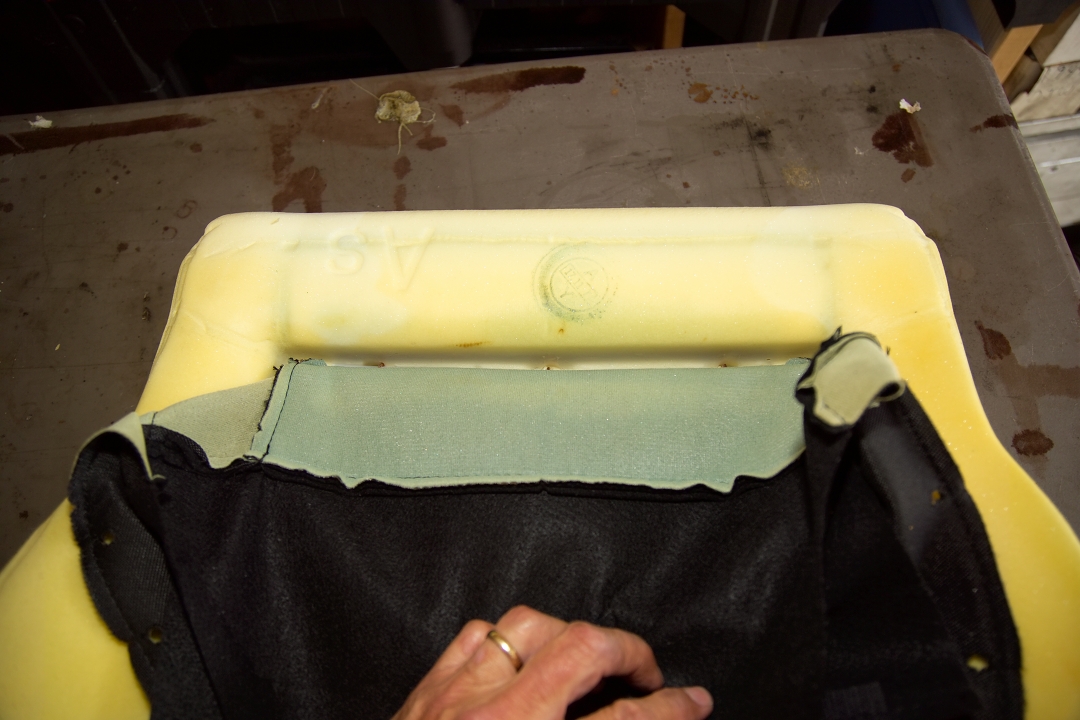
Place the back cushion on the work bench and fold back the cover to expose the remaining hog rings. Snip the rings and separate the back cover. Note: There are also two small hog rings on the back side of the cushion near the bottom.
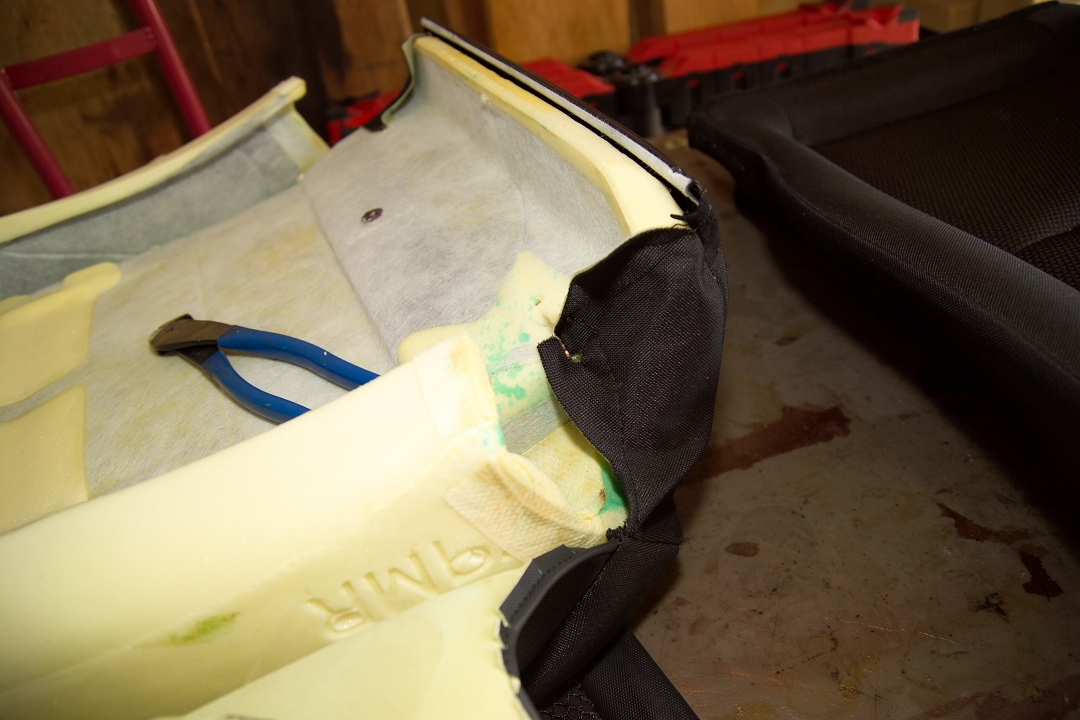
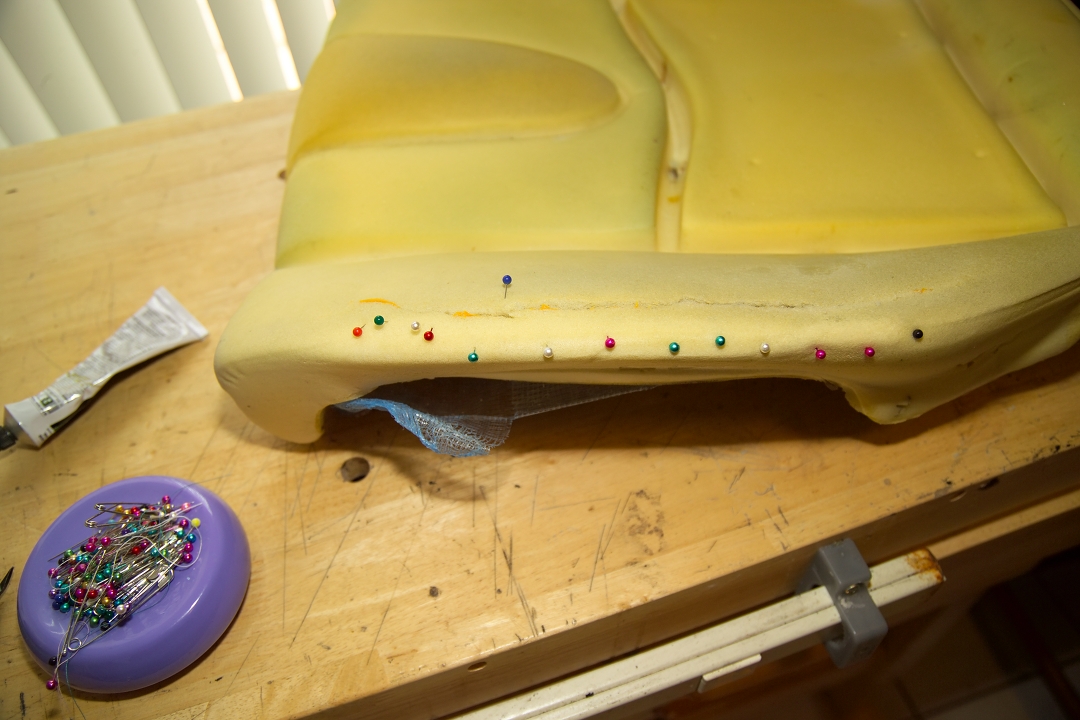
At this time it is a good idea to inspect the cushions for tears. My driver’s seat bottom cushion was torn on the door side bolster where you slide your butt getting in or out of the car. Repair was accomplished with the 3M adhesive using pins to hold things in place while the adhesive dried. After the inner layer of adhesive was dry, I applied a second coat on top to help spread out seating stresses and prevent future damage.
Attaching the new covers to the cushions: There are two methods of attaching the new covers to the wire stays in the cushions.
The traditional method is to use hog rings. This method can be cumbersome in the deep folds of our seats. The second method uses nylon cable ties, or “zipties”. I used 4” cable ties because they are thinner than the easier to use 8” ties. Make sure you use good-quality ties, not old ones that have been sitting in a toolbox for years. You don’t want these to snap, because then your seat covers will look sloppy.
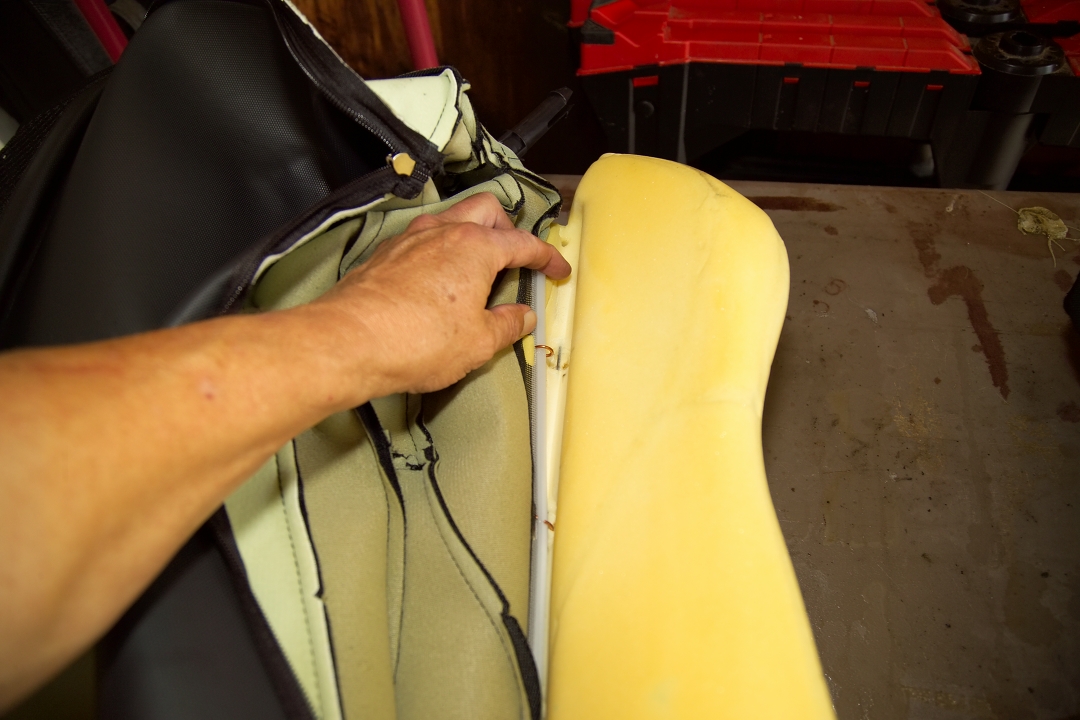
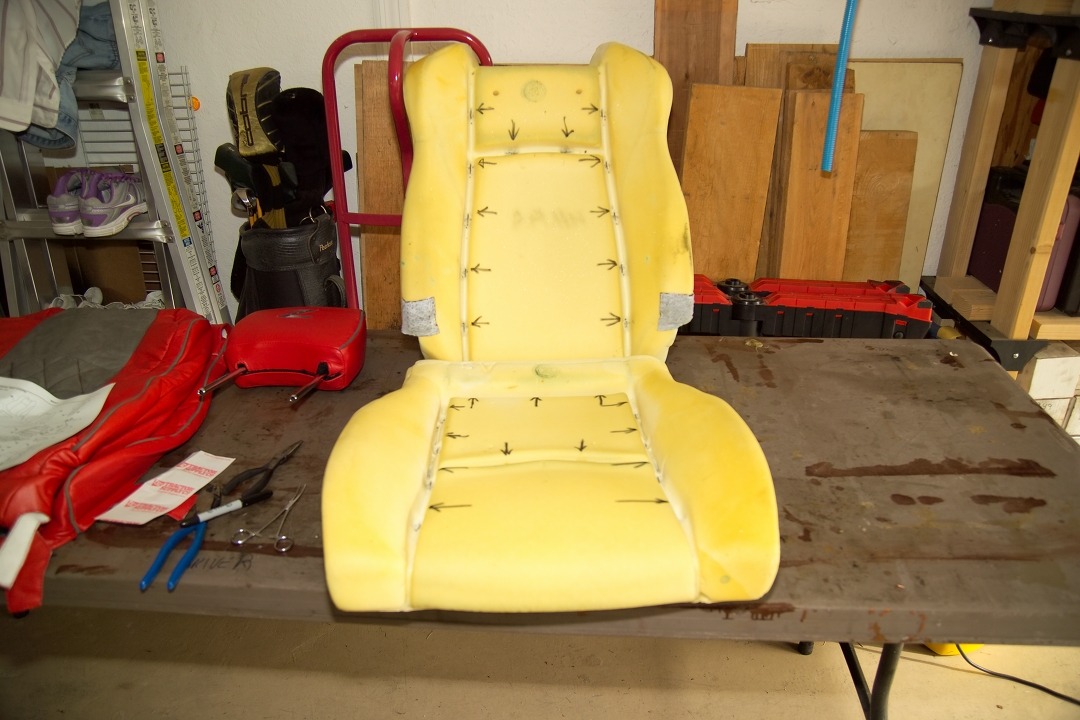
In either case, it is useful to mark the cushions where the attachments are to be made. Lay the covers in position to transfer the marks on its corresponding plastic stays. Use a small utility knife to cut an access point for the new hog ring or cable tie.
Here’s a good spot to take a break. We’re in the home stretch, but the next part is more difficult… So, stretch, grab a bite, refill your beverage and we’ll get back to it!
NICOclub is back again with Carlisle Events to host our 18th annual NICOFest Carlisle AutoX…
Kraft Auctions Offers Fans a Chance to Own a Piece of Datsun Racing History
We built Datsun Ranch in 2014, and it was the culmination of a lot of…
Since it's not just Datsuns that are vintage anymore ("classic Nissan" still sounds weird, right?),…
Let's talk about big brake kits for a bit. For the purposes of this article,…
What do these terms mean? Pulsed Secondary Air Injection (PAIR) Valve: The PAIR valve sends…