“Operation Dropbox” – Installing lowering springs on NICO’s Nissan Cube
Had a couple hours between projects yesterday, so I fired up the A/C in the garage (it was 115 degrees out!) and broke out the tools.
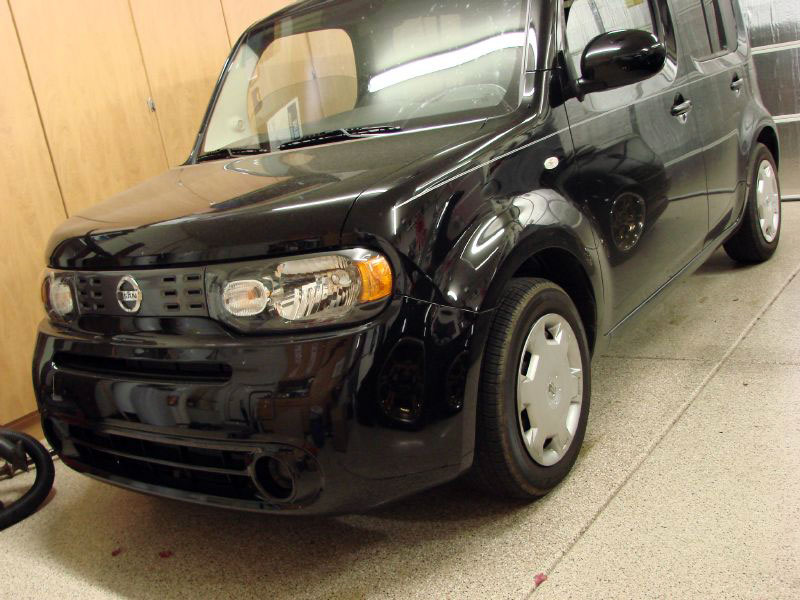
Our ’09 Cube has 650 miles on the odometer, so what better time to start taking it apart and modifying it? Since it shares the same suspension as the Versa, lowering springs are readily available. I selected the Megan Racing brand, mostly for cost considerations… and recognizing that it’s pretty hard to mess up a coil spring (especially when they’re probably all made by some other company and just powdercoated a different color, depending on whose brand is going on the box).
Anyway, this is a real straightforward project, and a good starting point for a novice… Versa owners, these instructions will apply to both cars, so follow along.
Make sure you have a pair of spring compressors on hand (rent from AutoZone), as well as a 13, 14, 19, 21 and 23mm socket.
I used a cordless impact wrench for speed and simplicity – it’s my favorite tool in the whole garage… and well worth the money you’ll spend on one. Otherwise, a good air wrench and some impact sockets will save you some time.
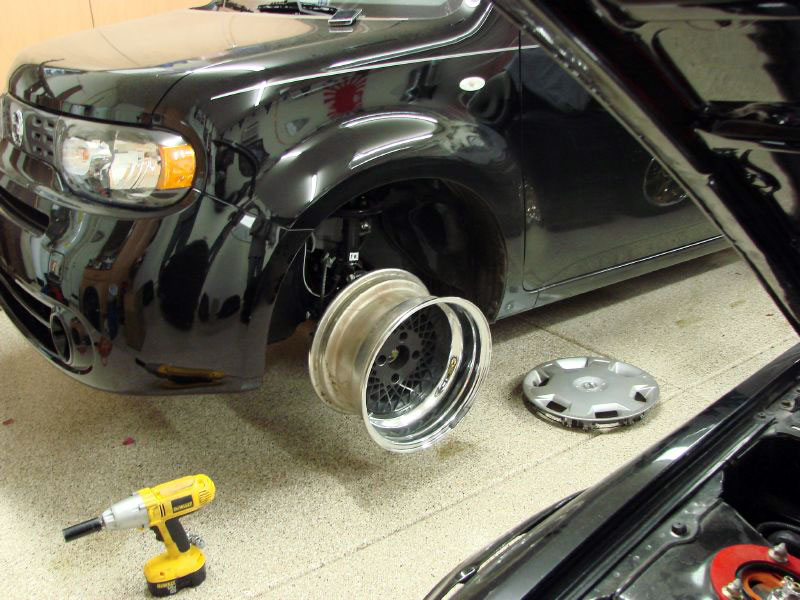
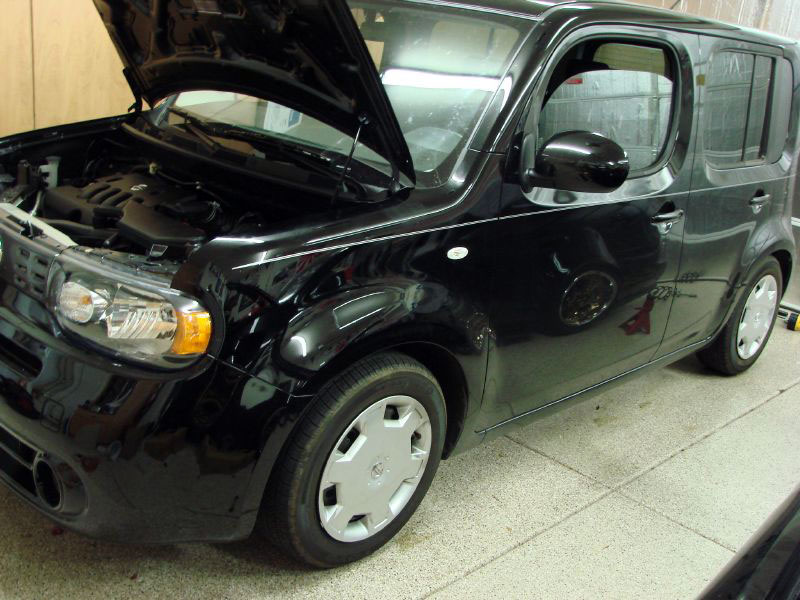
Get the front of the car in the air and supported on jack stands. No need to get it way up there, just get the front tires off the ground. Remove the front wheels and open the hood…
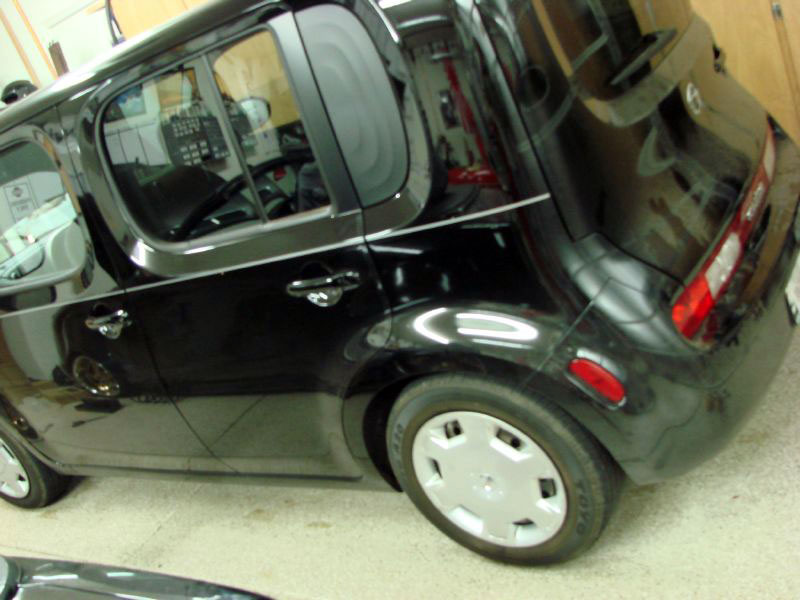
Just for fun, mount up a 15×9, -26 offset black mesh wheel… Wow. Think we’re gonna need some 3″ flares to run those!
(Just kidding – Those are for a different project car…) Back to work.
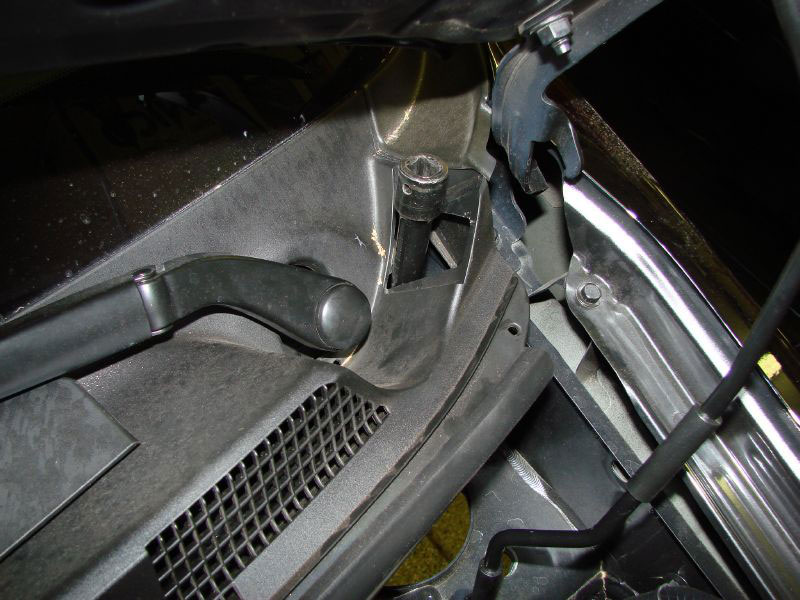
You’ll notice that only two of the strut tower bolts (under hood) are visible. Yep, that’s right – one is behind the firewall. Fortunately, Nissan built in a nifty little removable plastic cover to allow access to the third one. Pop it out with a screwdriver and use an extension on your 13mm socket.
VERY IMPORTANT: Magnetize the socket or extension with a good powerful magnet. If you drop the strut tower bolt removing it through the tiny “hatch”, you’ll never, ever find it. Yep. I did it. Oops. Fortunately, I have about forty blue million Nissan bolts, and found a replacement easily enough.
Get all three strut tower bolts out and move to the wheelwell area.
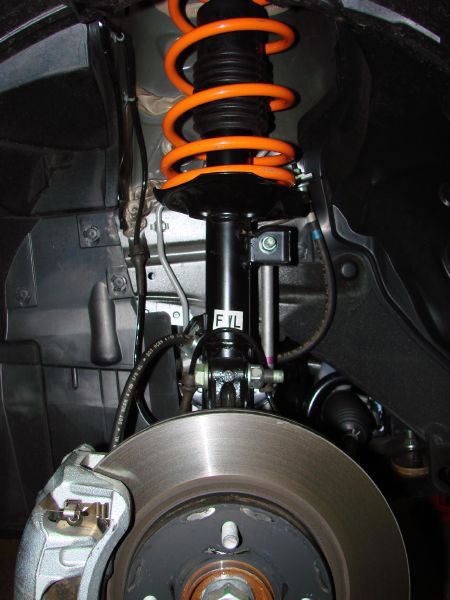
The strut is held in place by two large bolts / nuts at the bottom and those three strut tower bolts up top (under the hood), which you just removed. Before you get after the large bolts, remove the brake line retaining clip, and slide the brake sensor wire harness out of its brackets. Remove the bolt holding the sway bar arm to the strut body, then remove the two big bolts. Pull the entire strut / spring assembly out and set it aside.
Use the spring compressors and remove the top nut on the strut. Some will say “don’t use air tools” on this. Well, don’t. I did, but you shouldn’t. Remove the hat, remove the coil spring, undo the compressors, place them on the new spring, and install it on the strut (reverse of removal). Reinstall the entire assembly… You’ll want a helper to thread the upper strut tower bolts in while you position the assembly correctly.
Once both sides are done, make sure you have all your tools, everything is tight, and get the car down off the jackstands – it’s time to do the rear springs.
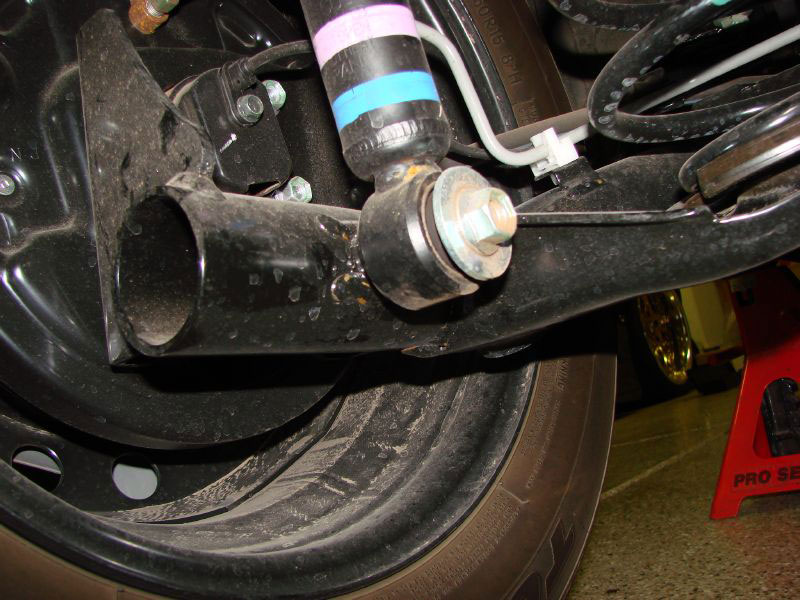
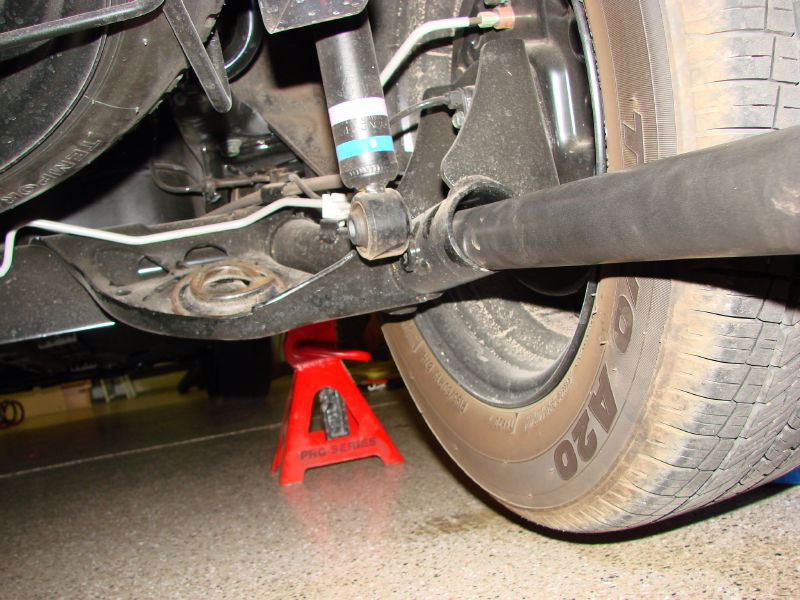
The rears are super – easy! Get the tail of the car up on jackstands, but this time, make sure the rear tires are about 8″ off the ground. No need to remove the wheels. Place the jack under the rear control arm, directly under the spring, and jack it up just a little (enough to support the spring). Remove the silver bolt that goes through the lower shock mount.
Now, the fun part: Place your jack handle in the round suspension arm (where the lower shock mount attaches to). Have an assistant press down on it. This will free the coil spring.
Remove it, and swap the rubber isolators onto your new spring and reinstall it. Once it’s installed, have your assistant lift up on the jack handle to compress the spring a bit. Reinstall the lower shock mount bolt. Repeat on the other side, torque your bolts, and you’re finished!
Now, don’t forget to go get an alignment afterwards, or you’ll be chewing up tires. Don’t be a cheapskate. It’s important.
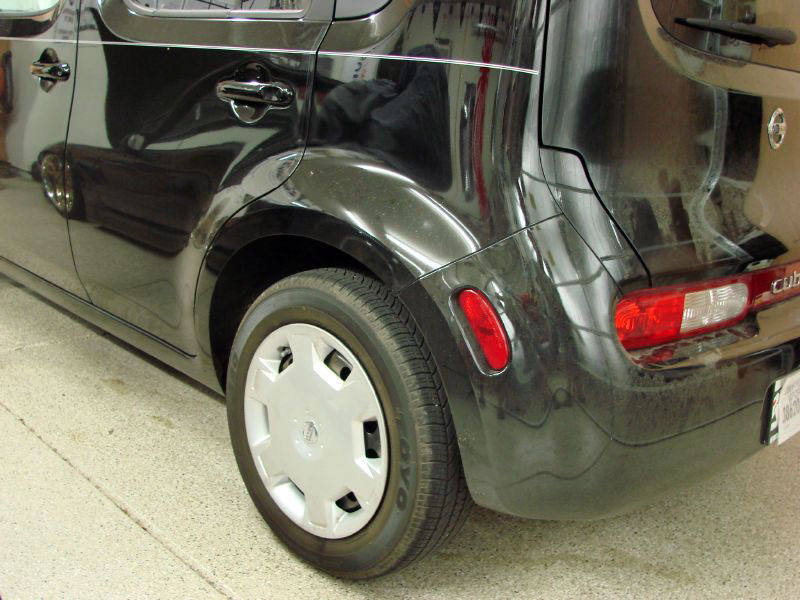
Some comparison pics: Before and after
NICOclub is back again with Carlisle Events to host our 18th annual NICOFest Carlisle AutoX…
Kraft Auctions Offers Fans a Chance to Own a Piece of Datsun Racing History
We built Datsun Ranch in 2014, and it was the culmination of a lot of…
Since it's not just Datsuns that are vintage anymore ("classic Nissan" still sounds weird, right?),…
Let's talk about big brake kits for a bit. For the purposes of this article,…
What do these terms mean? Pulsed Secondary Air Injection (PAIR) Valve: The PAIR valve sends…