by: Mark Holtzman
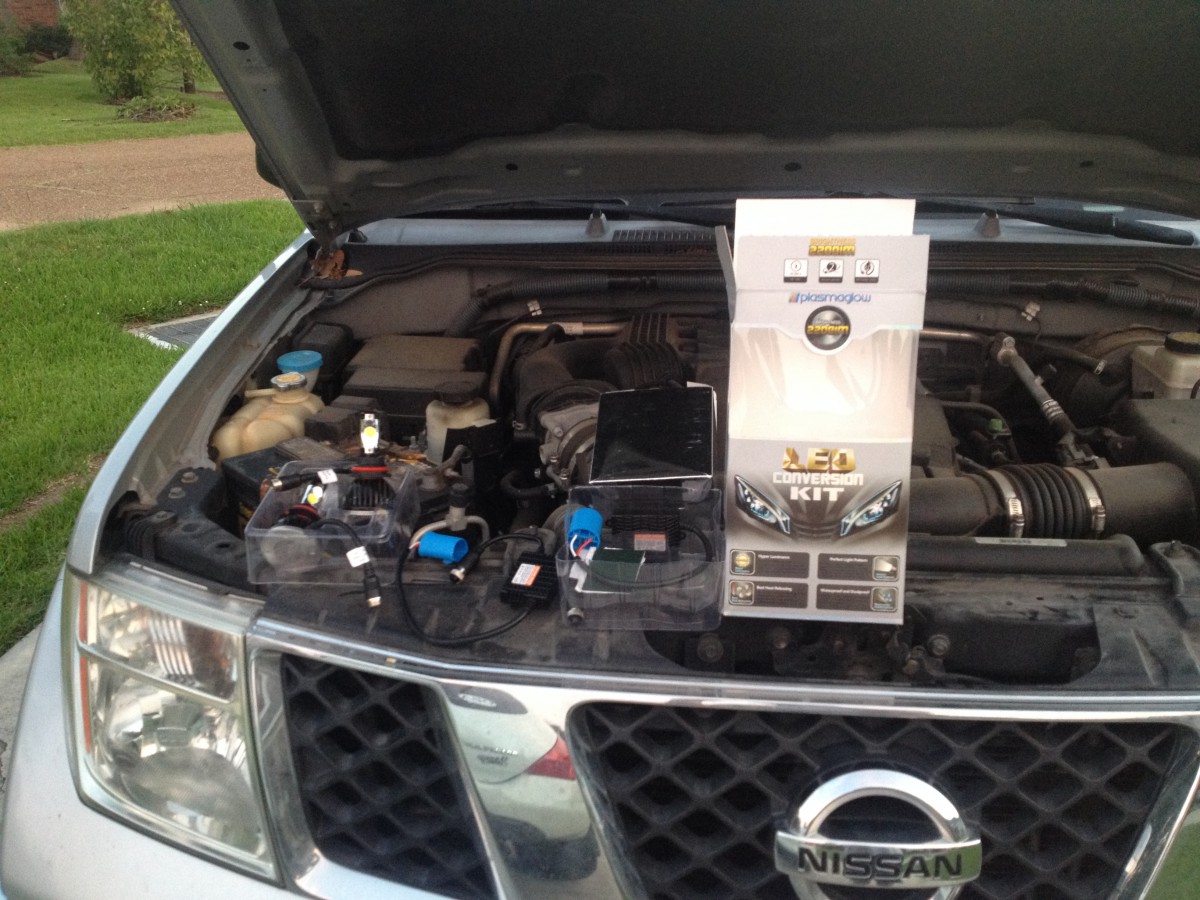
A recent addition to the lineup of modifications available for the Nissan Frontier is the PlasmaGlow Igniters LED Headlight Bulb Conversion. You can never have too much visibility driving at night, but supplemental LED lighting can get expensive. Besides, they require brackets, wiring, and did we mention expensive?
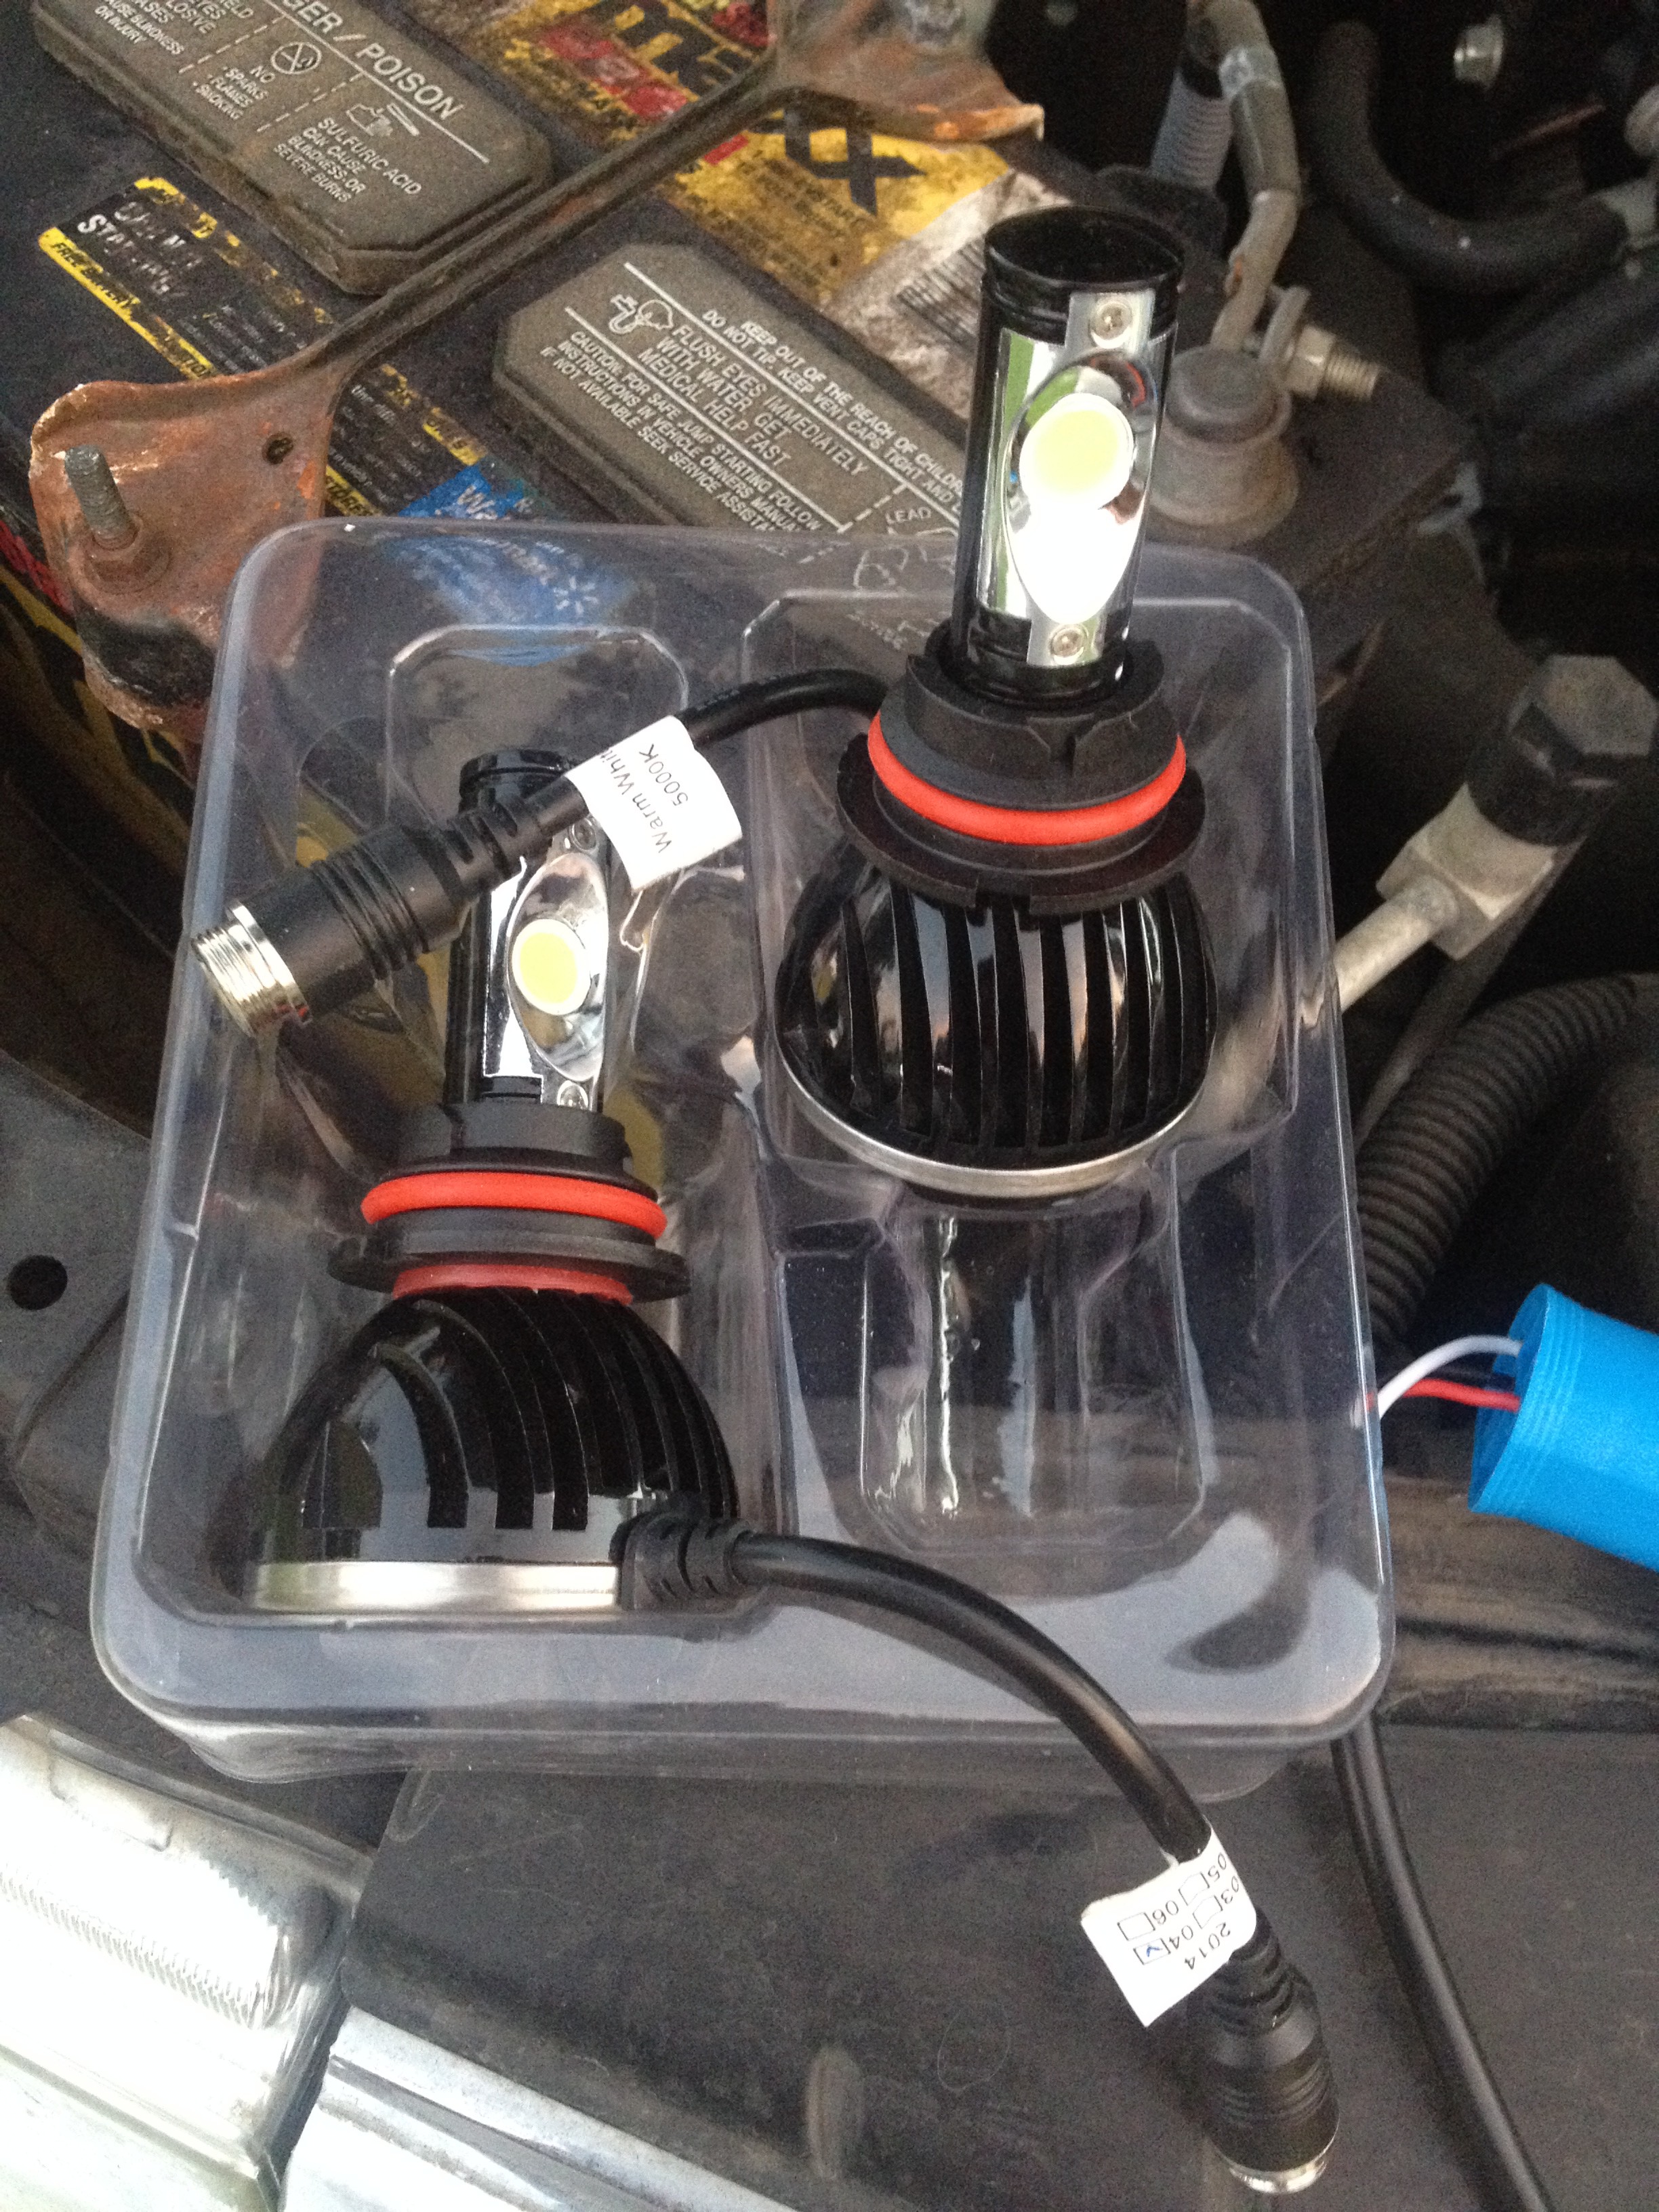
The PlasmaGlow conversion puts out over 2400 lumens of 5000K lighting, using CREE LEDs, that are made in America… and they’re super-easy to install!
I ordered this kit from AutoAnything, one of our long-time forum sponsors here on NICOclub, and delivery took just a couple days.
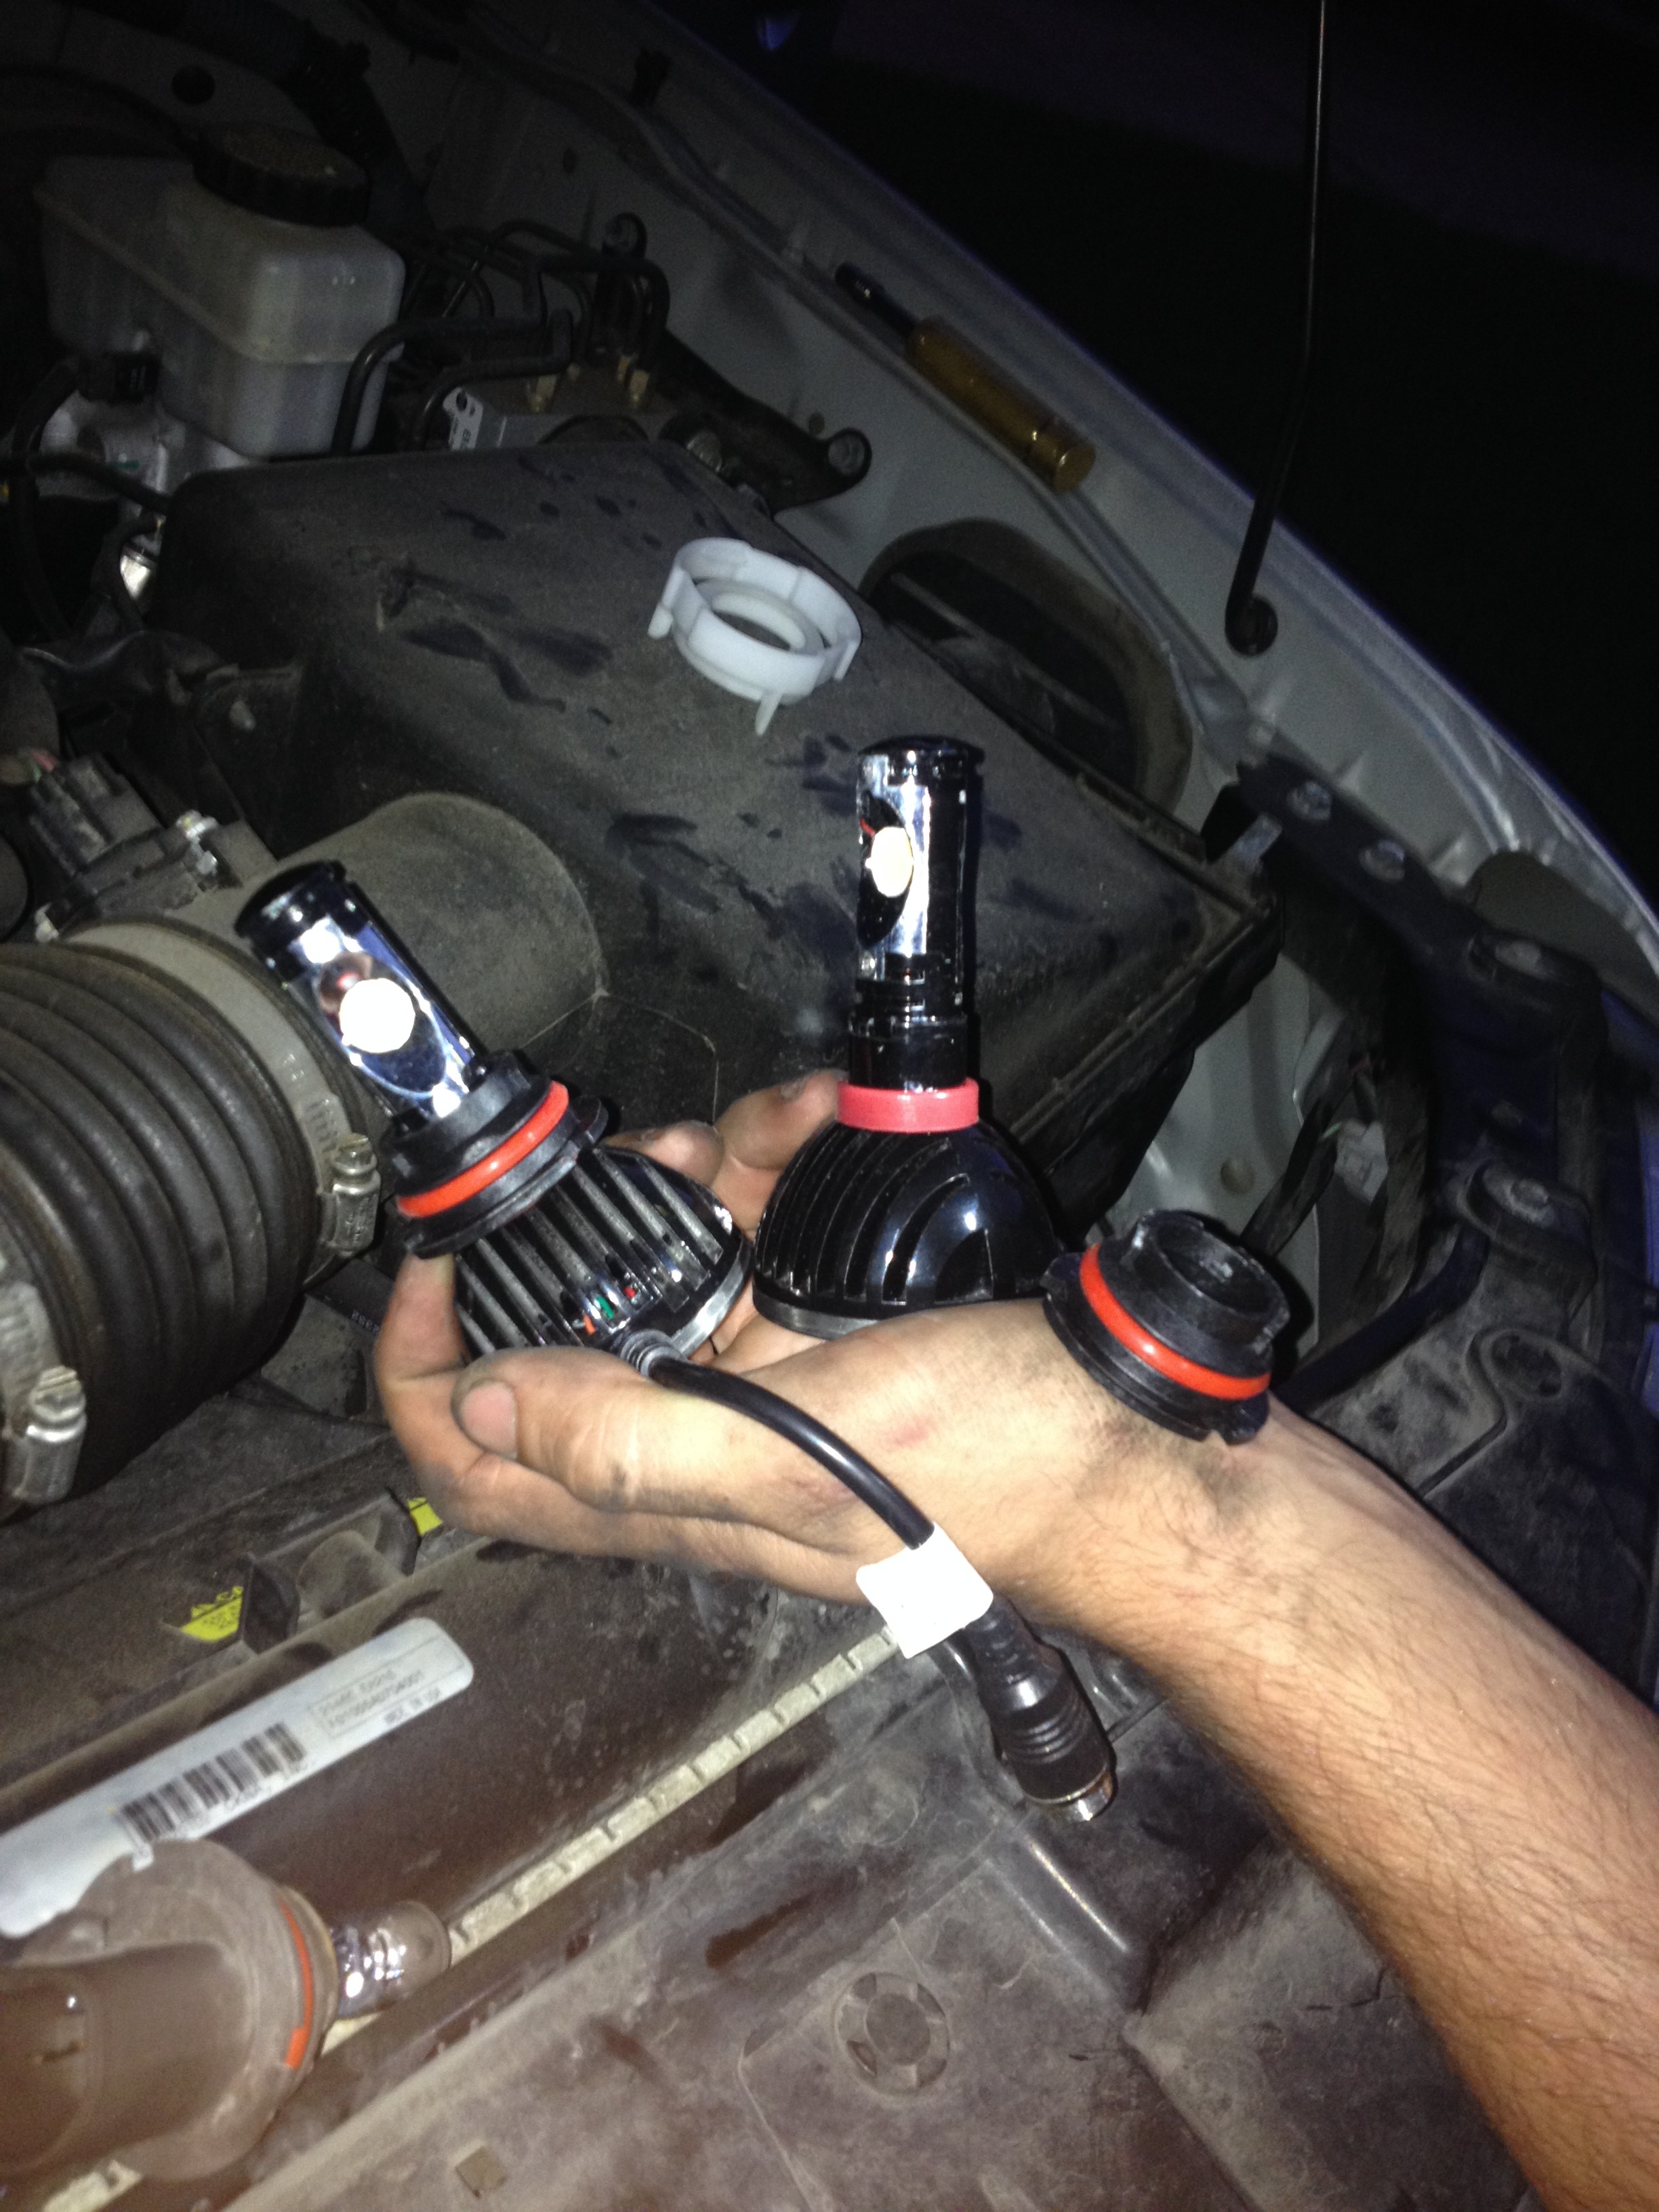
My first impression of the product was great. Everything is nicely packed and secured. The LED units look great. They even have a fan and cooling fins built-in to extend the life of them. In fact, at a 30,000 hour lifespan, these should easily outlast the truck!
Here is everything laid out before the installation (click for larger images):
Here’s the best part – The install process is a piece of cake! It’s as simple as replacing your headlight bulbs. The main thing I want to focus on is how the light beam itself looks. In my honest opinon, this is a high-quality lighting upgrade, so as you will see I have several pictures of the light quality compared side-by-side with the OEM bulb with different types of lens exposures.
Installation:
It’s always a good idea when doing any type of electrical work to disconnect the battery.
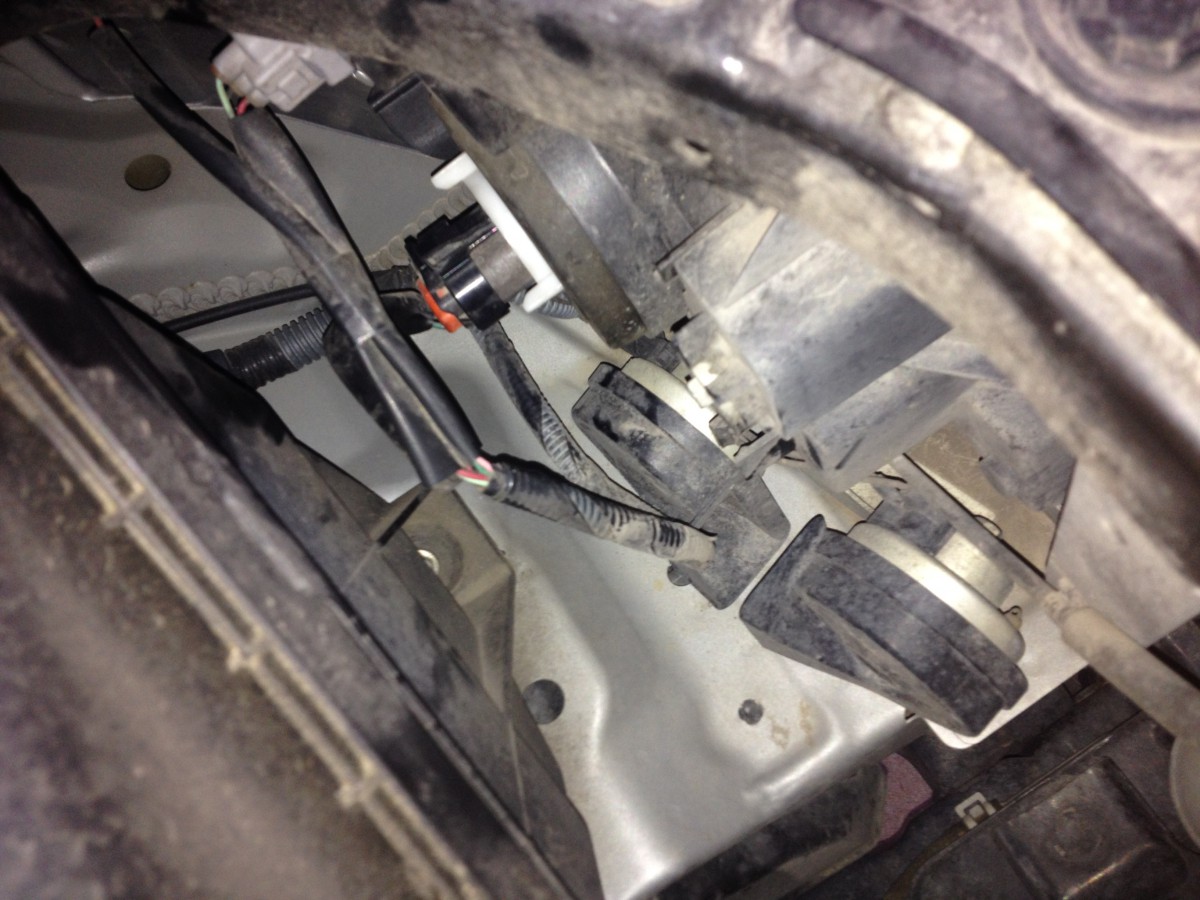
Remove factory bulb assembly just as you would if you were changing it.
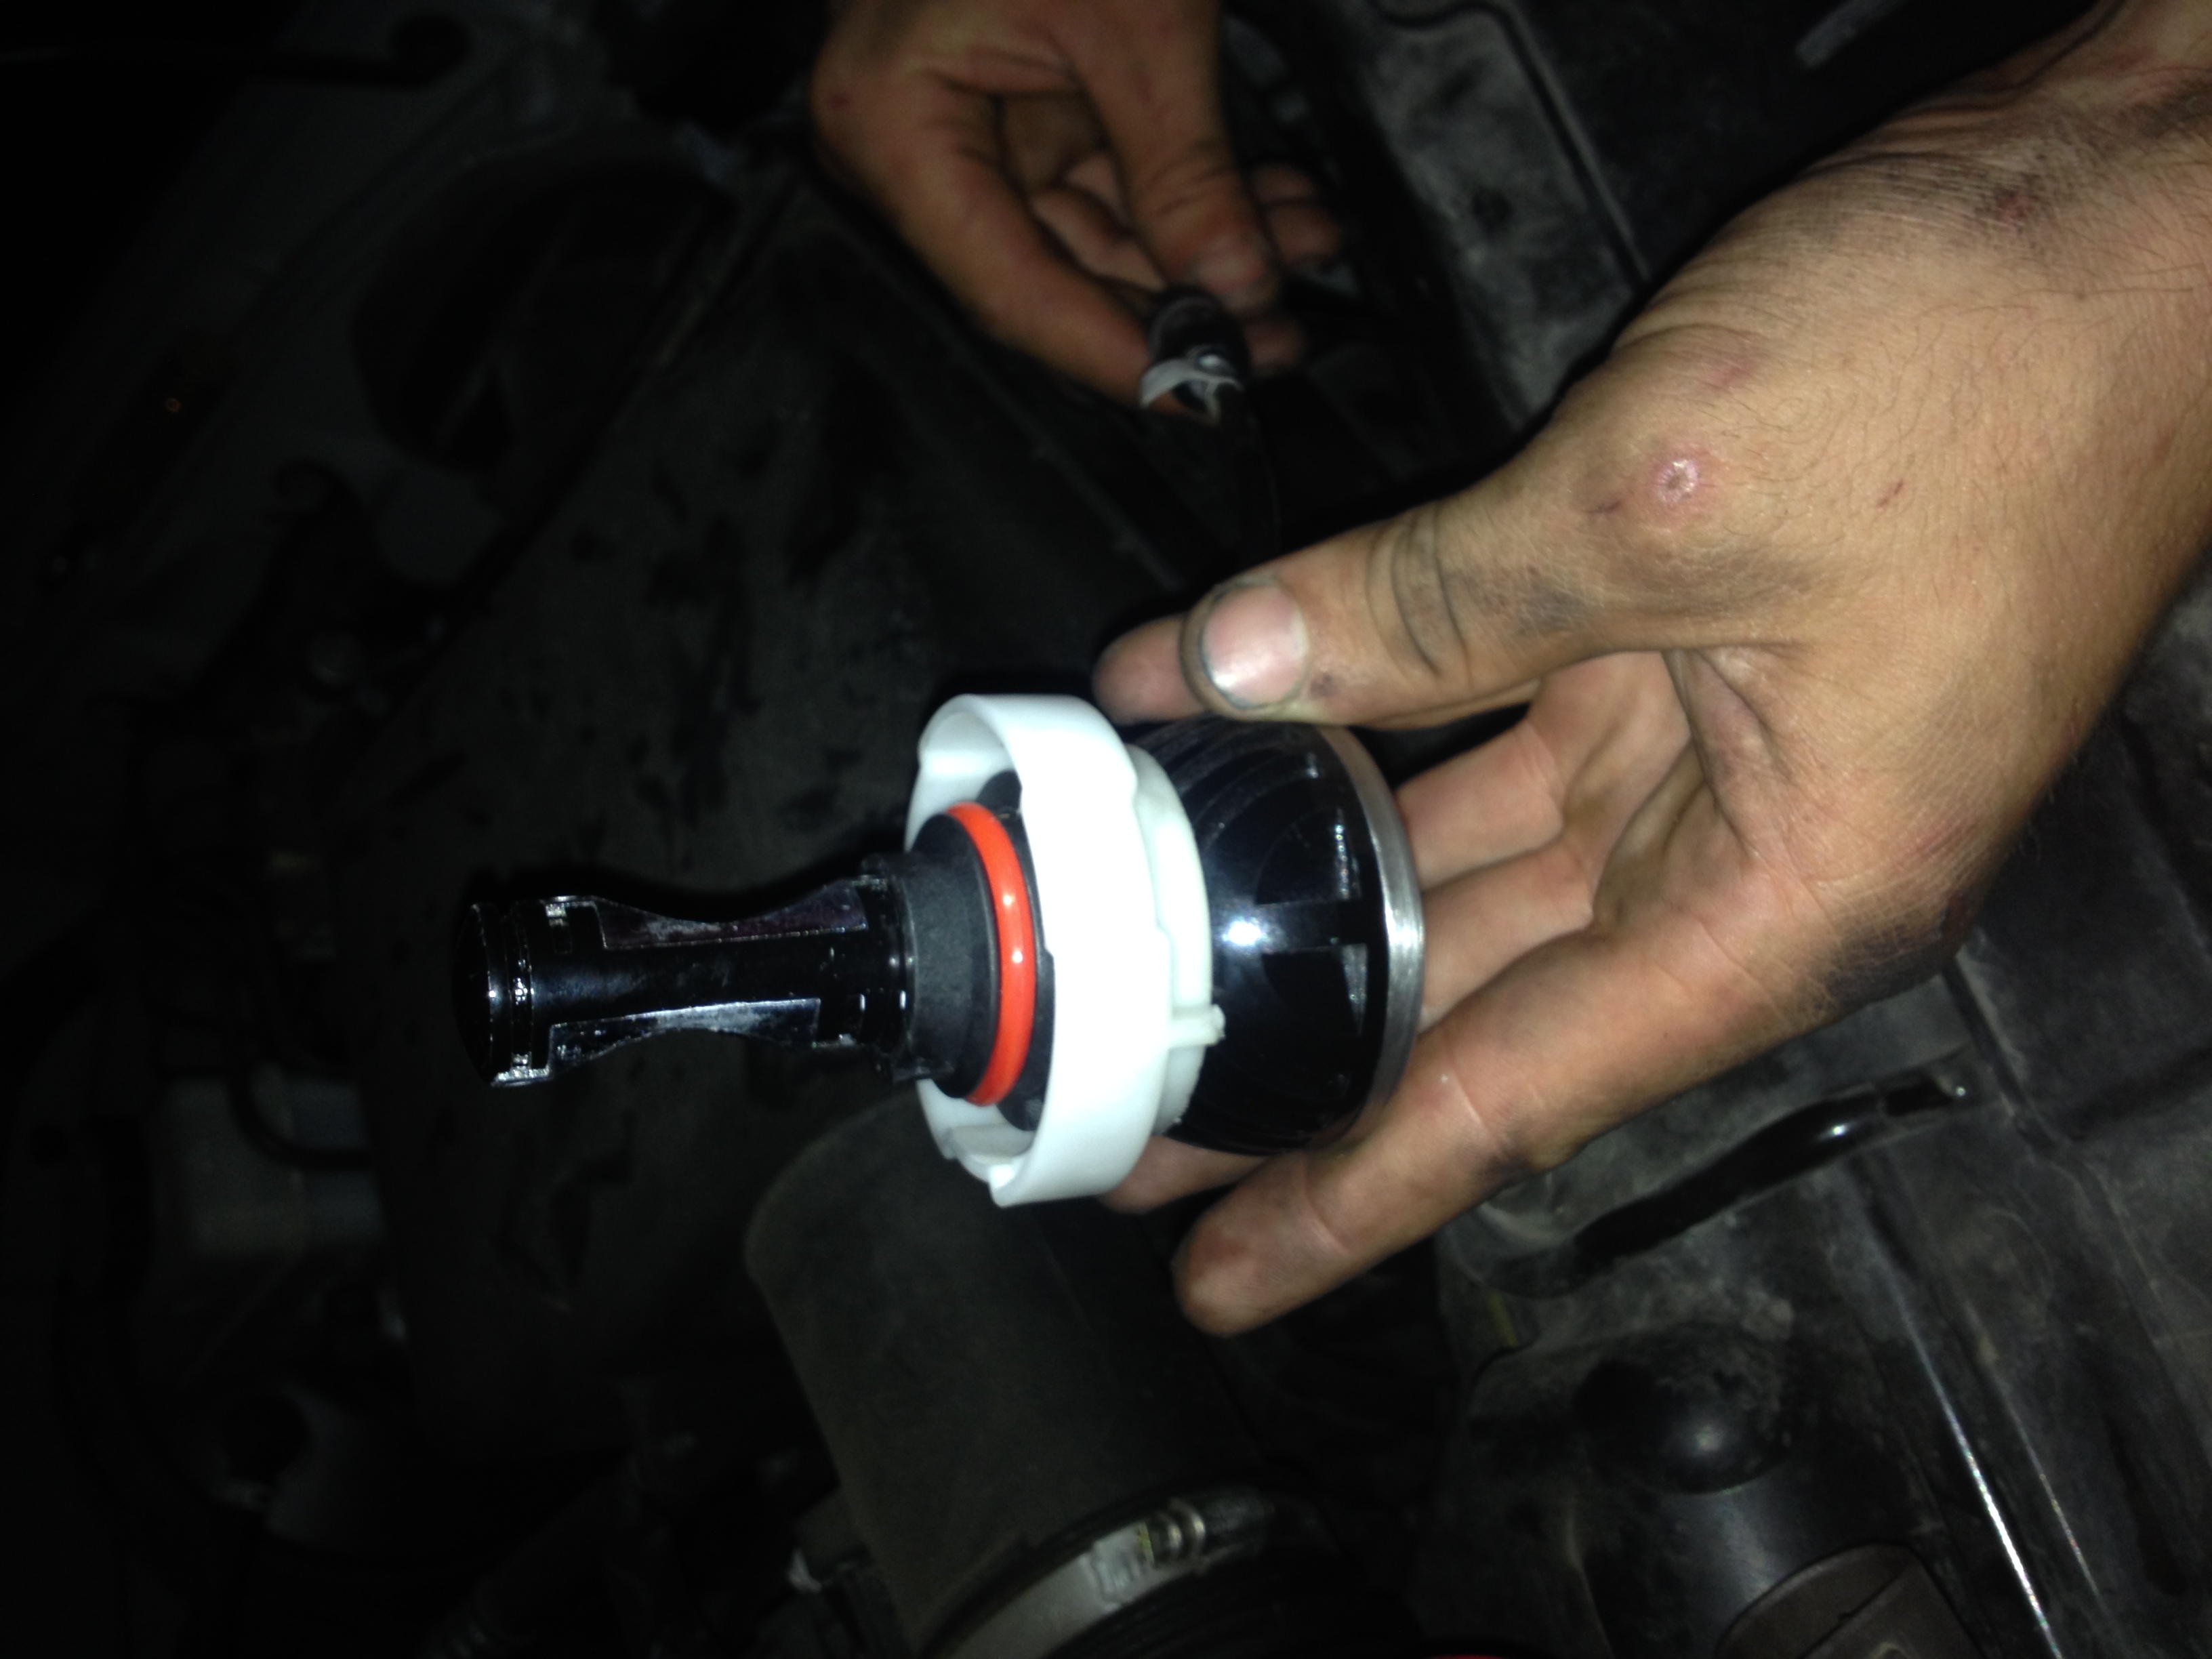
Remove the lower collar of the LED light assembly. It will it easily snap off. (The piece you are removing is on my wrist).
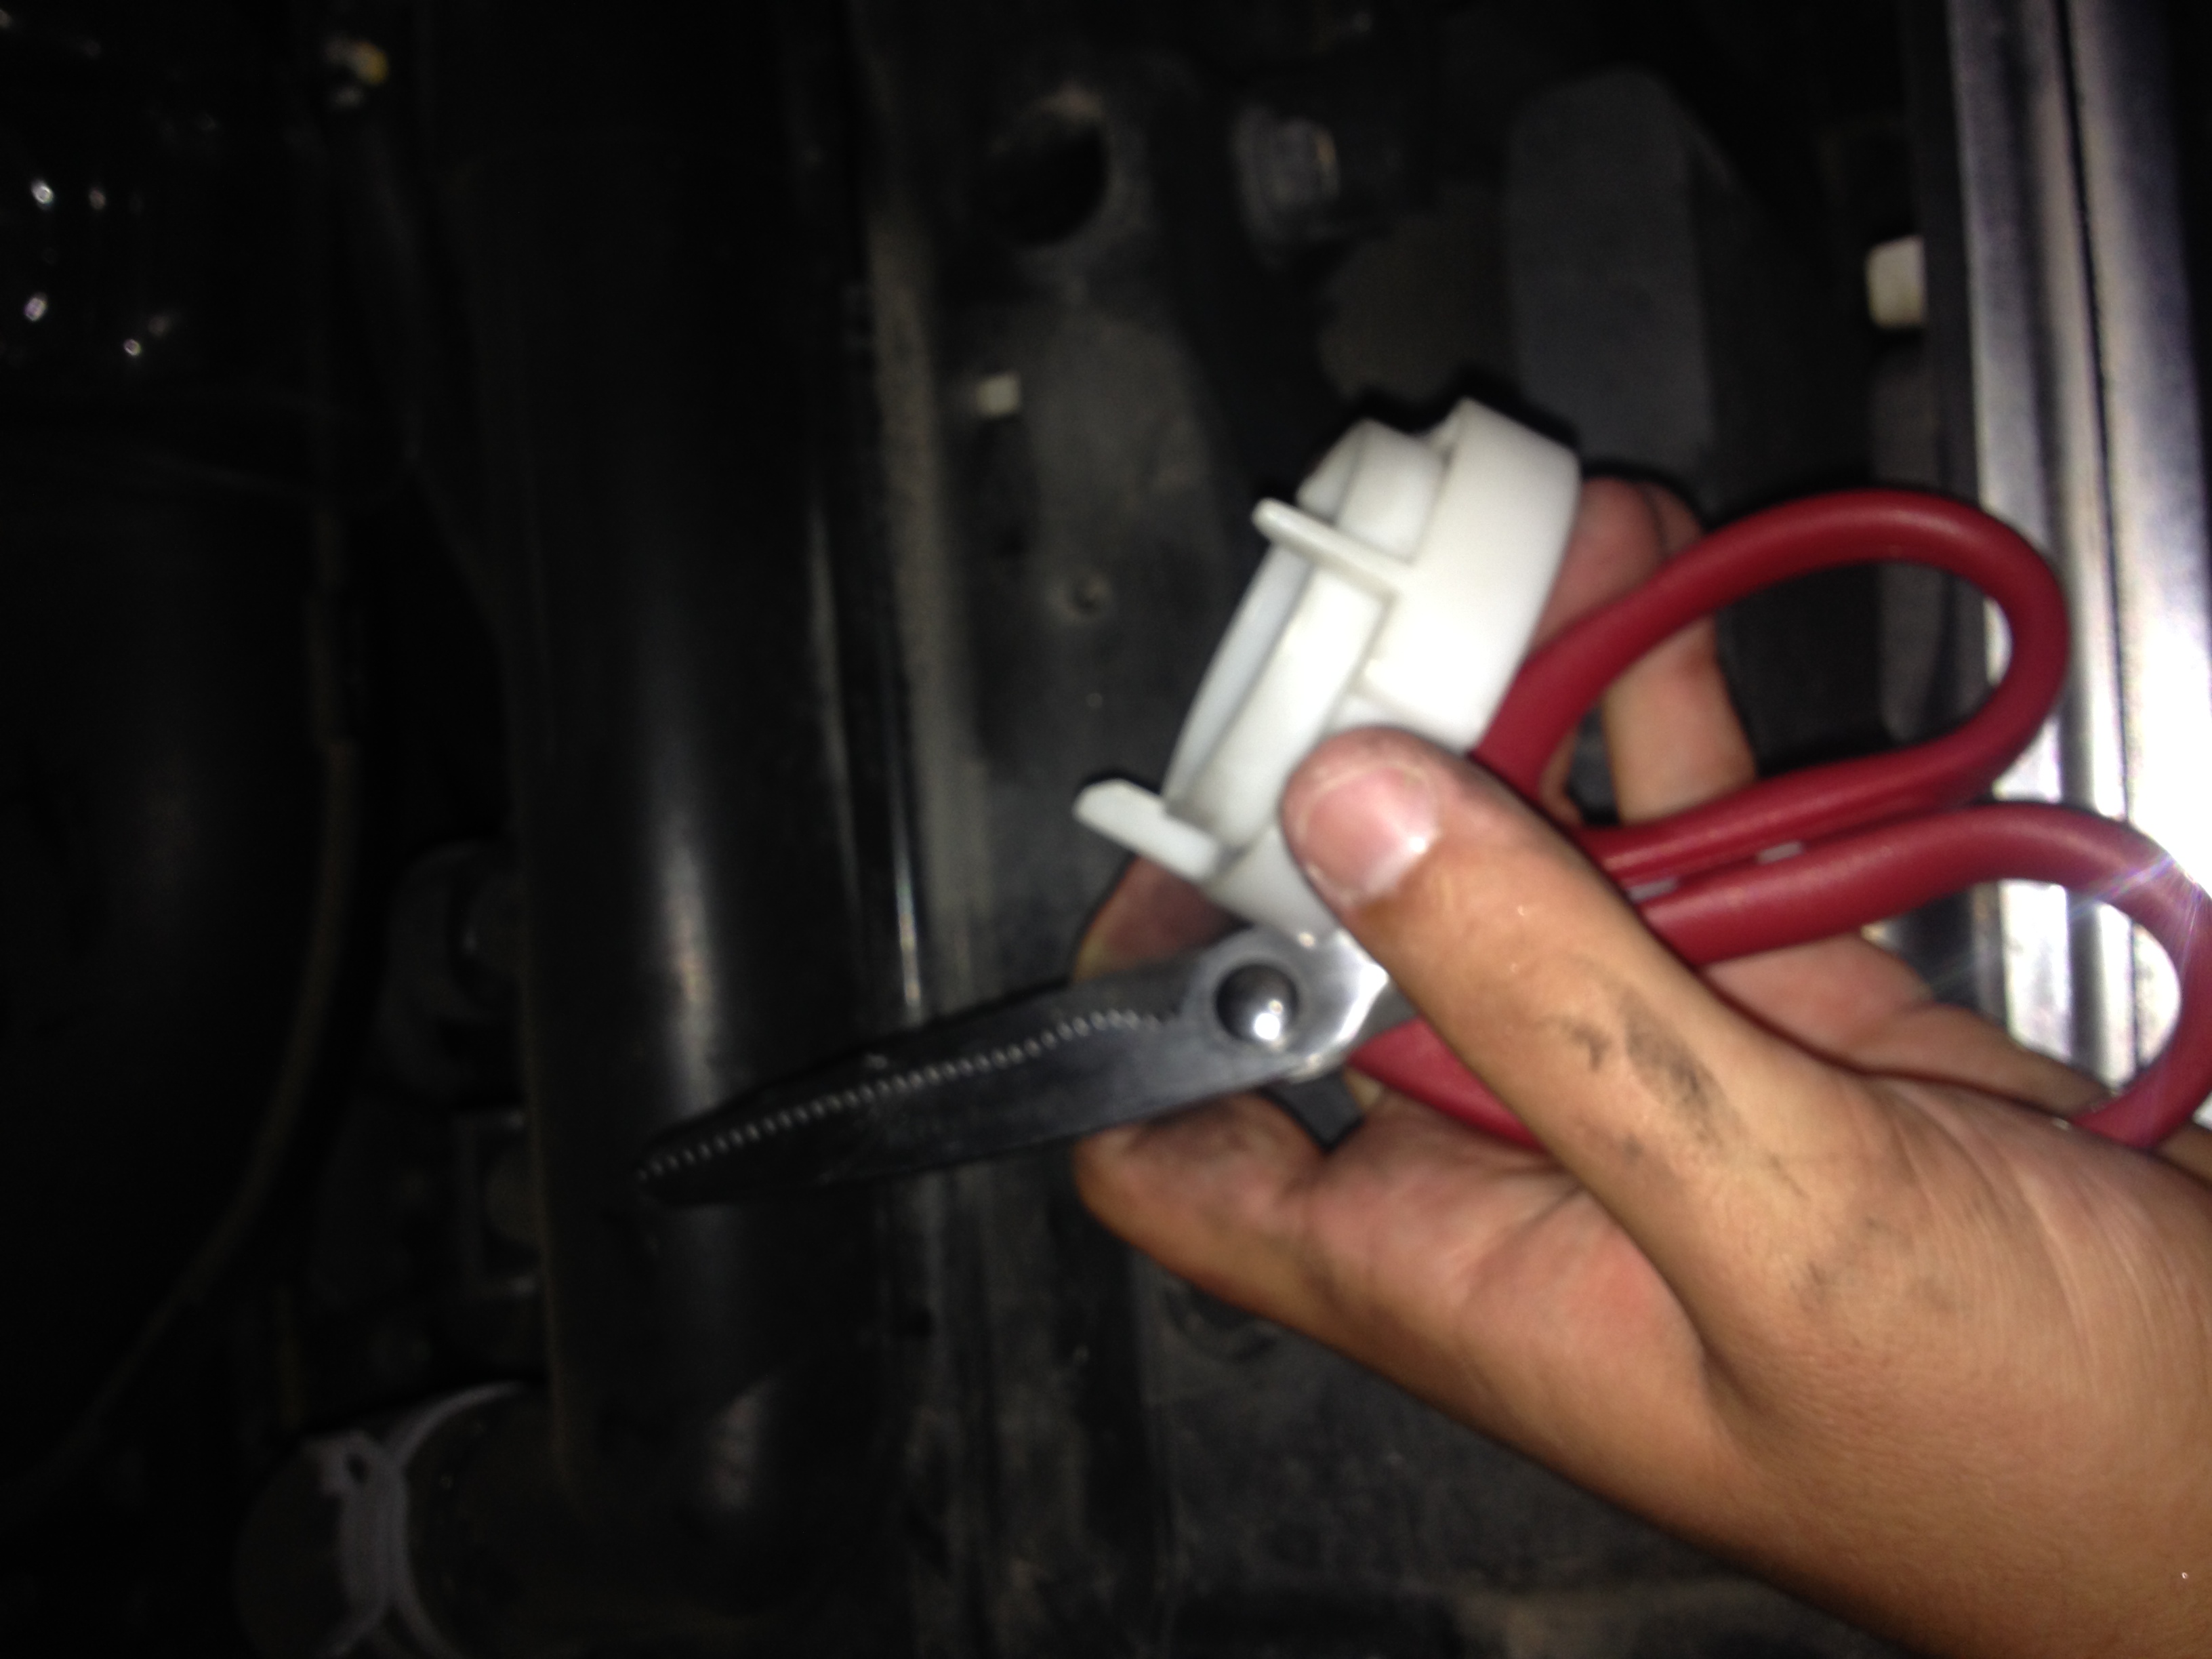
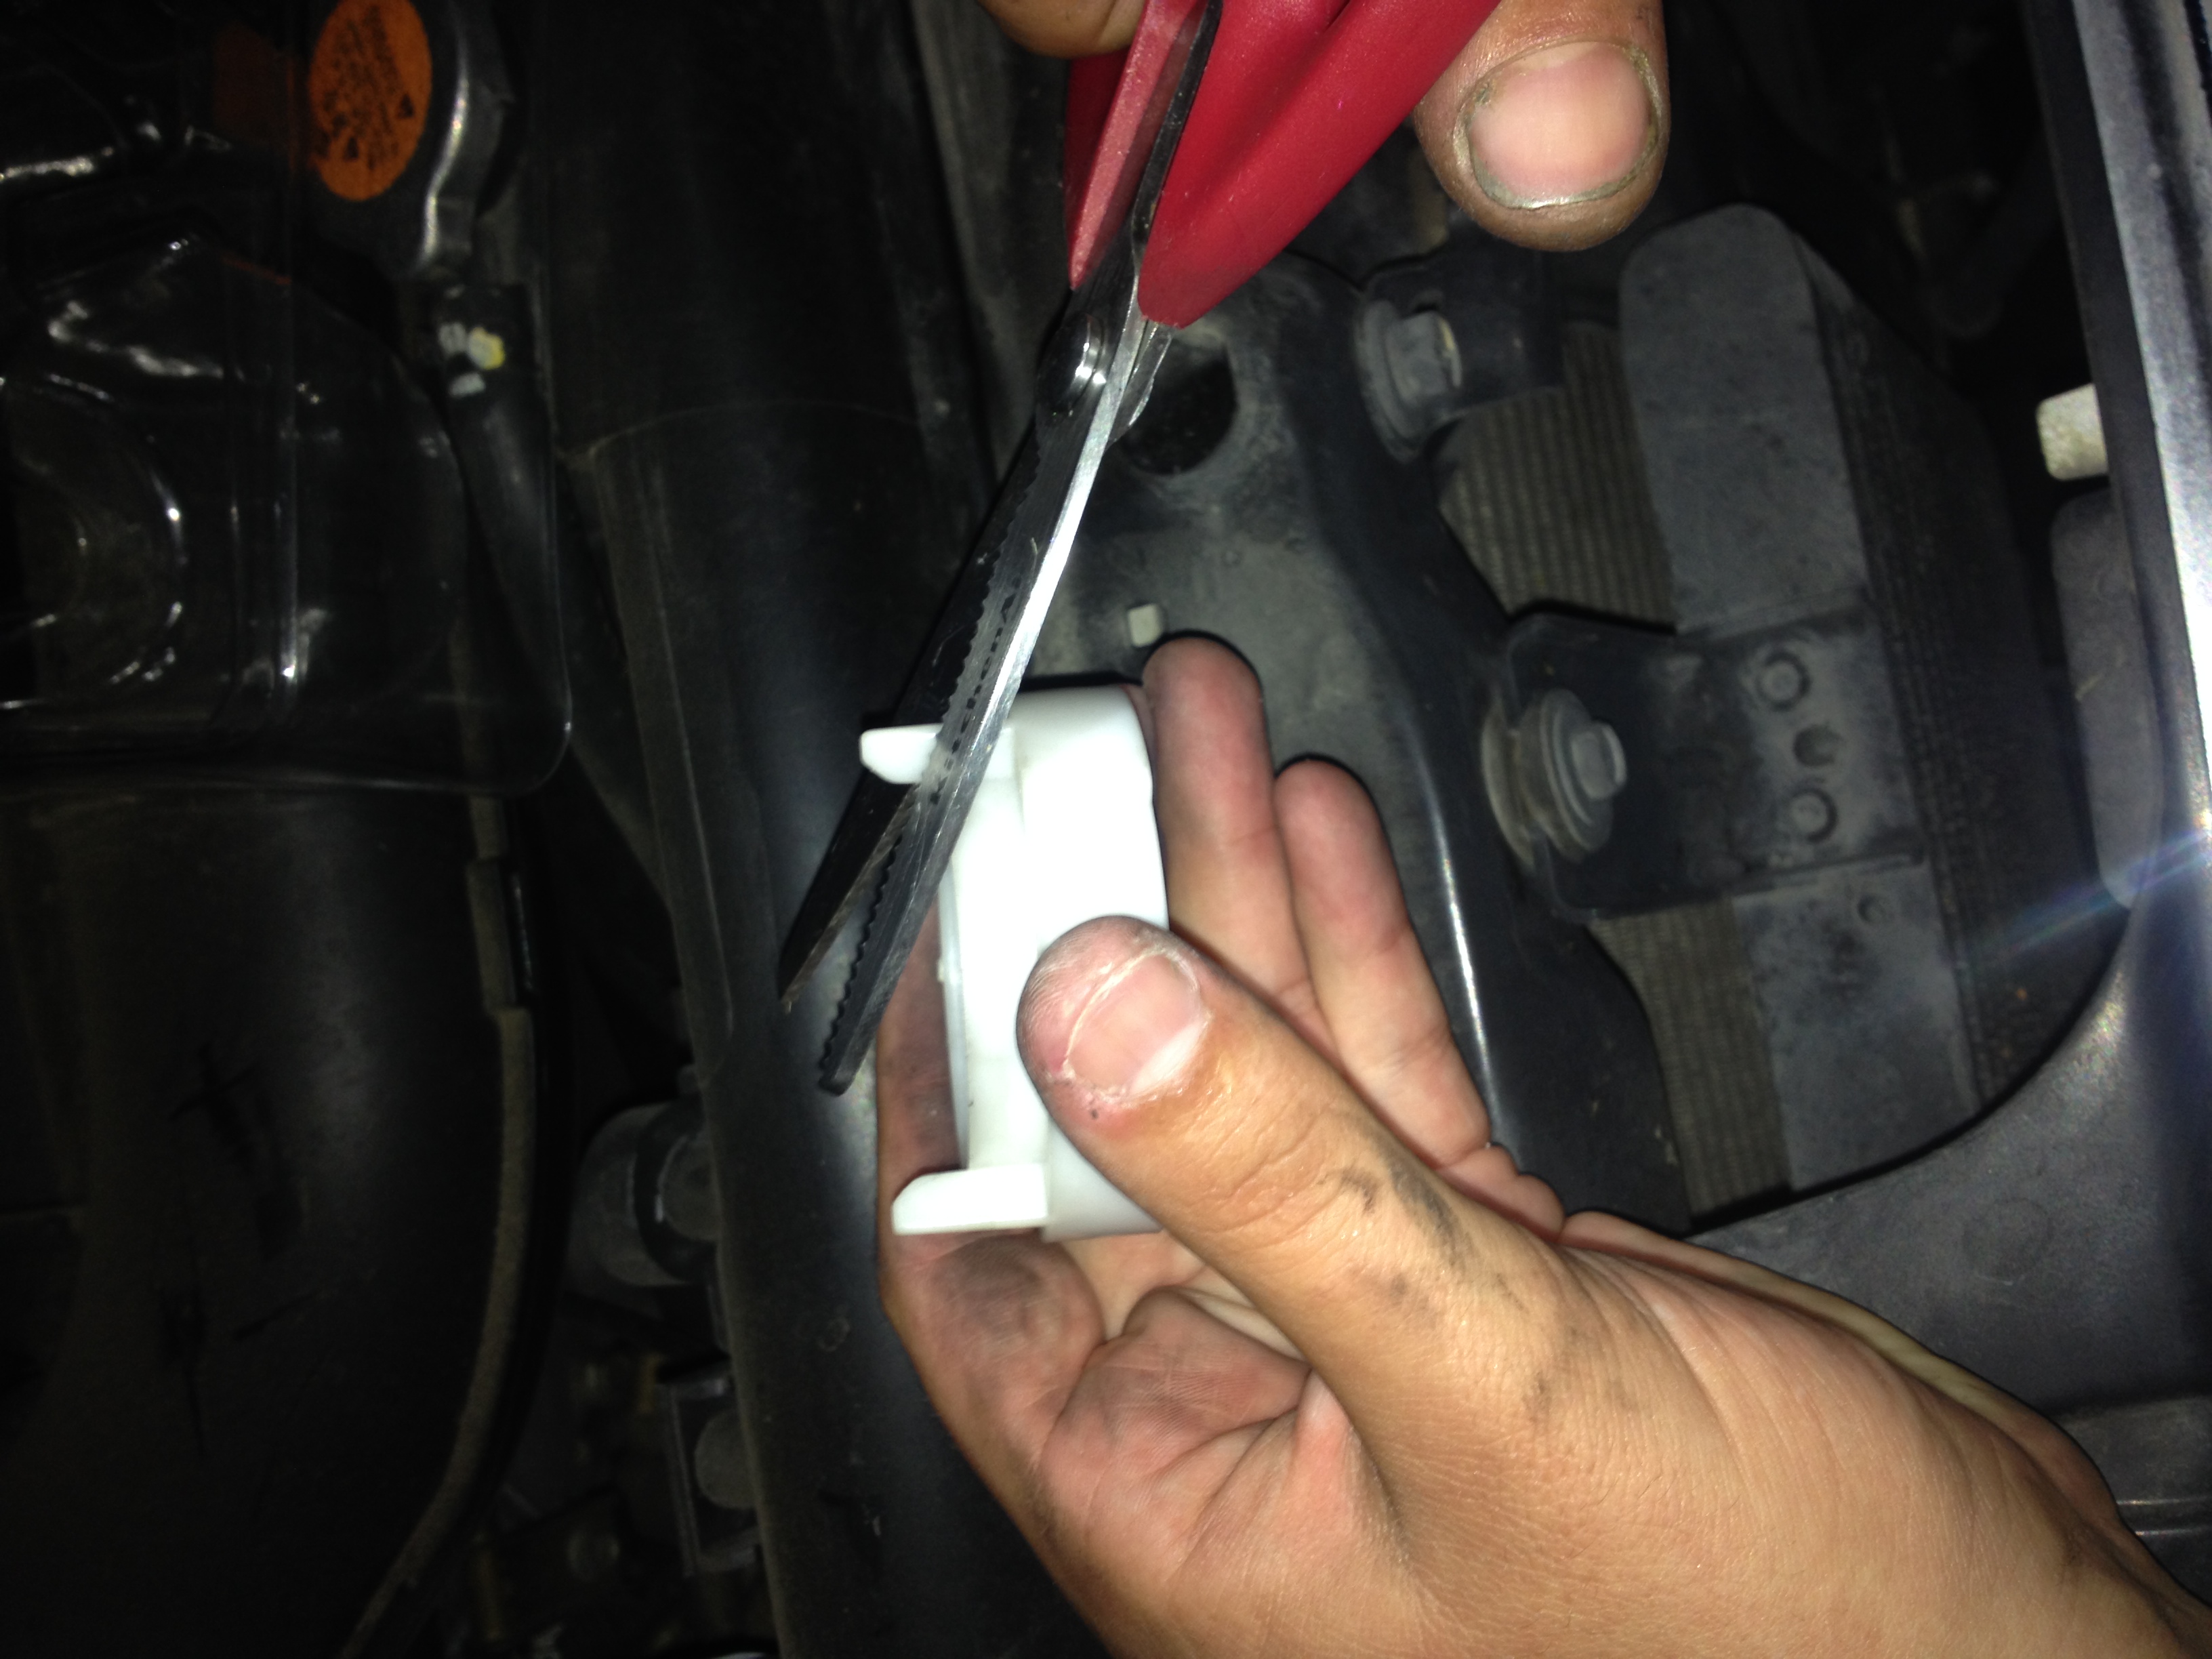
Take off the white, plastic headlight retainer and trim/shave the 3 tabs on it.
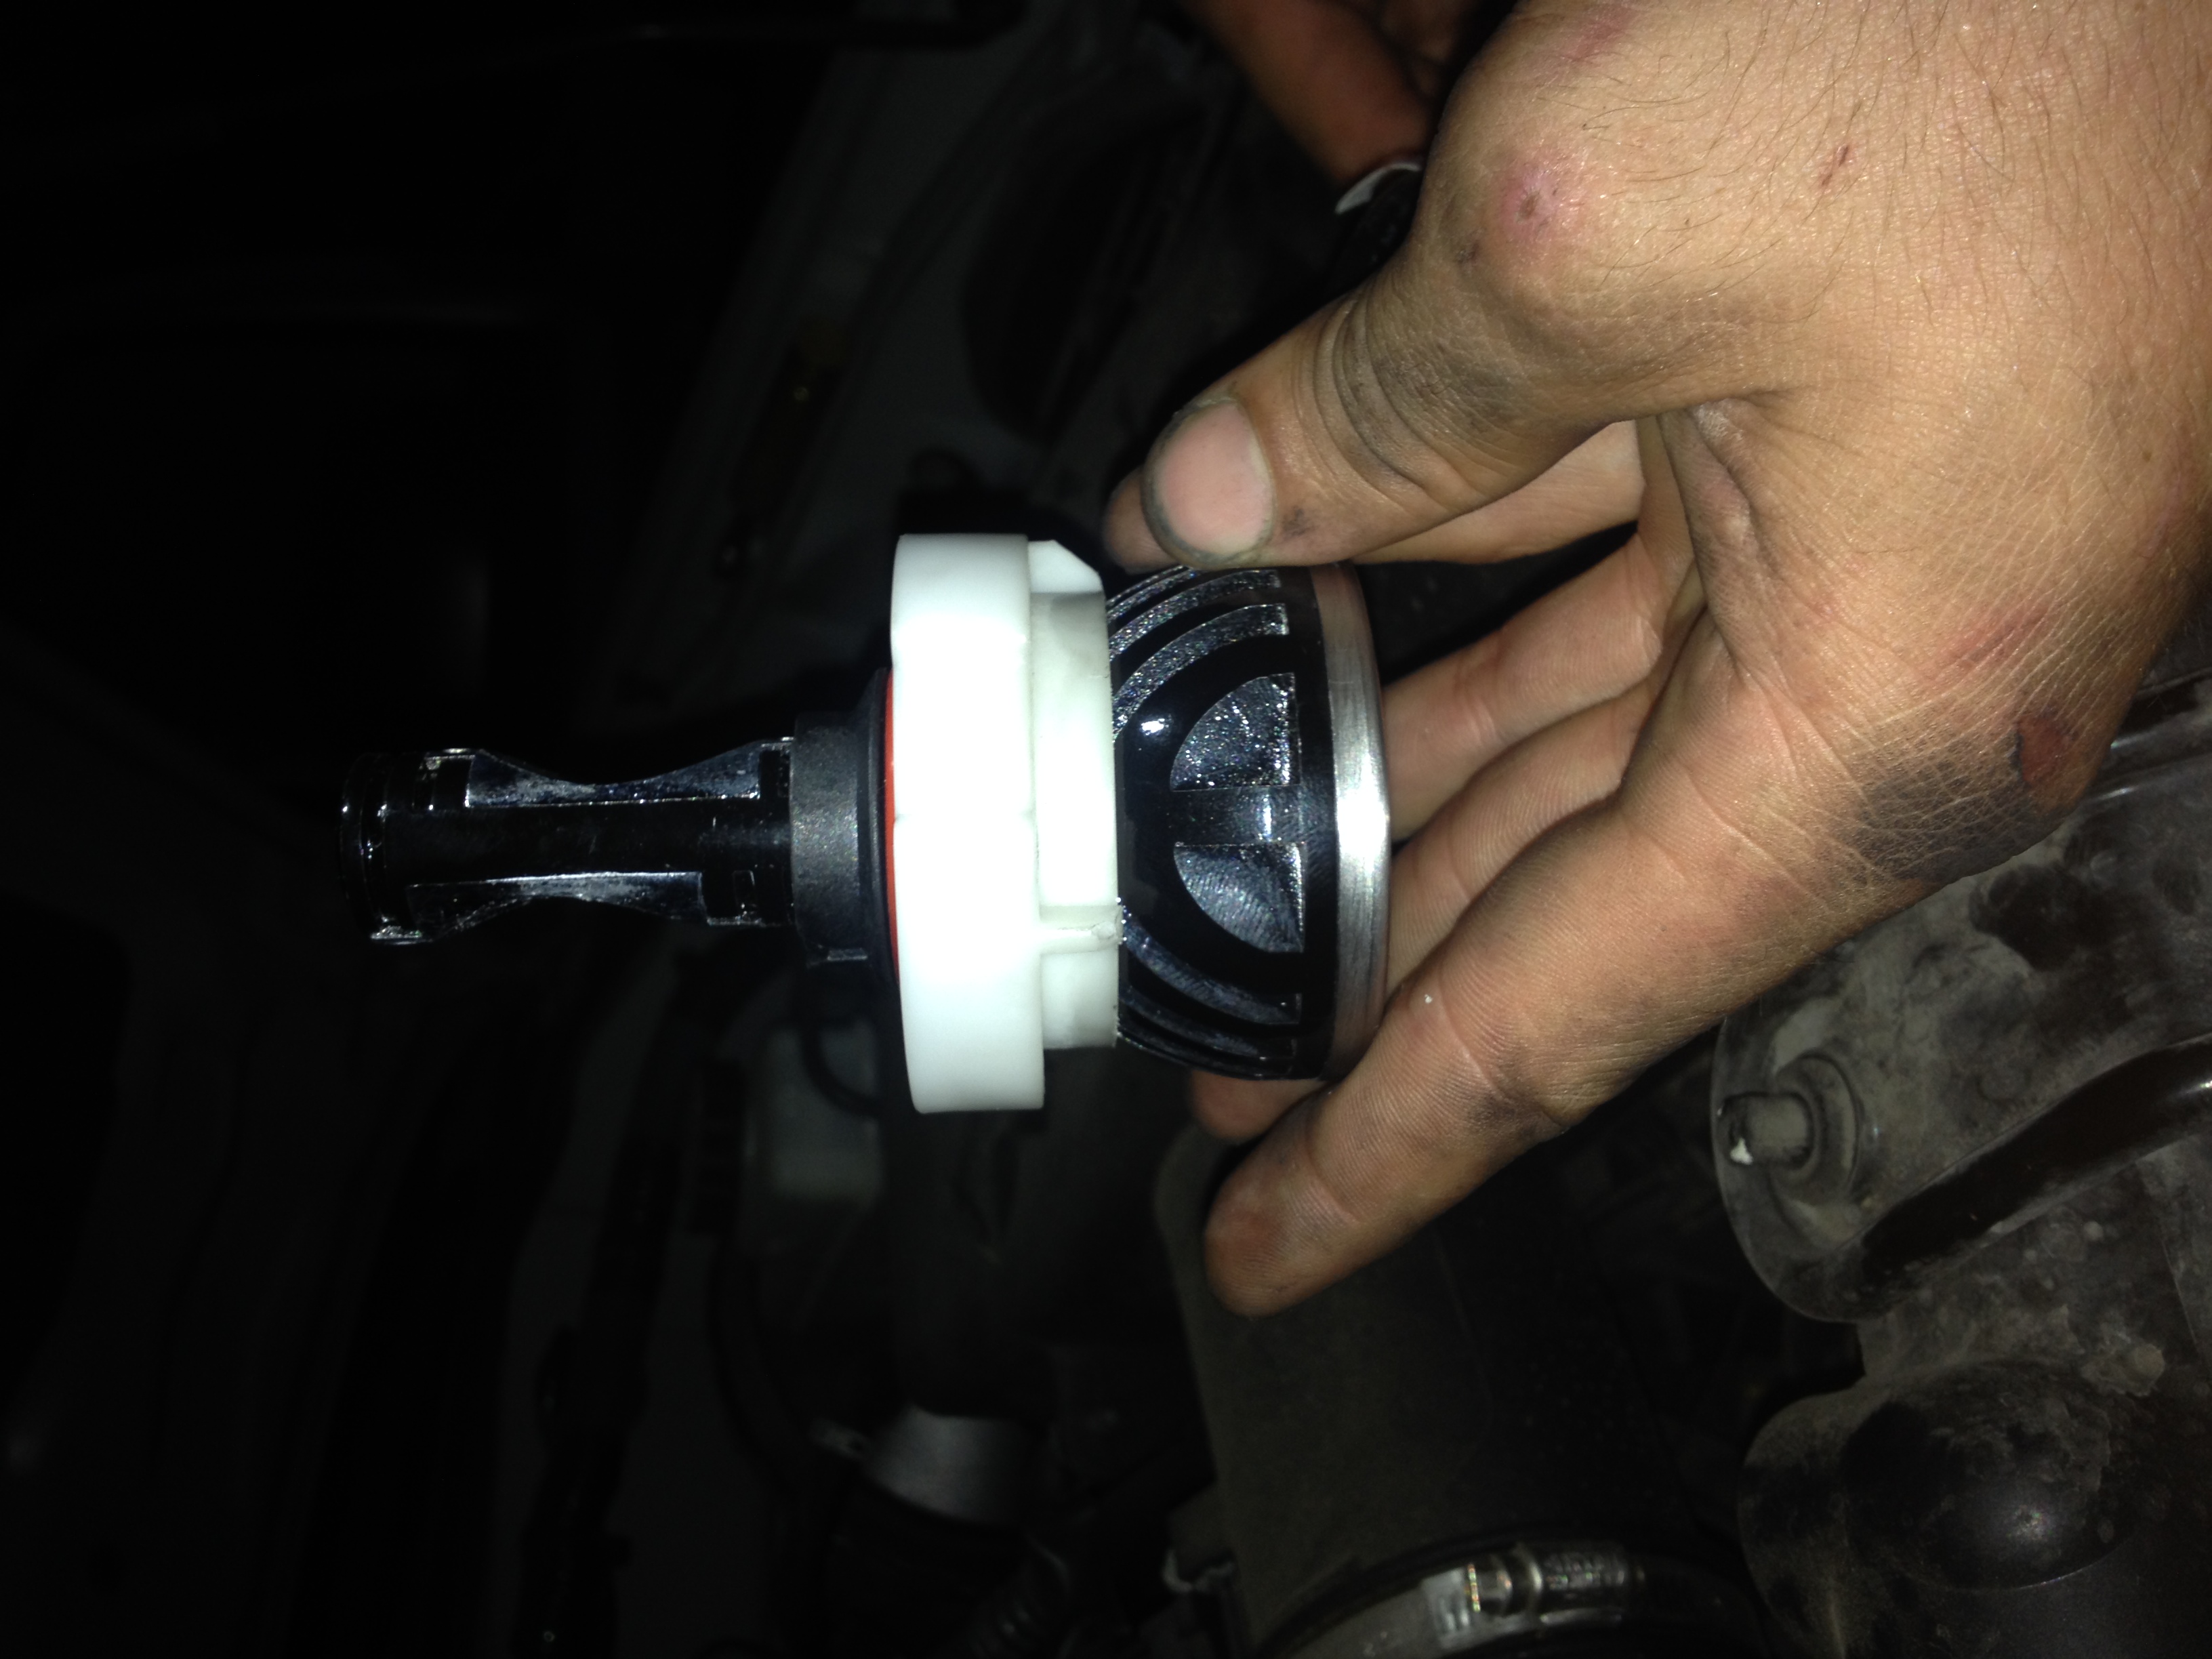
Slide the white, plastic headlight retainer over the LED assembly and reinstall the lower collar.
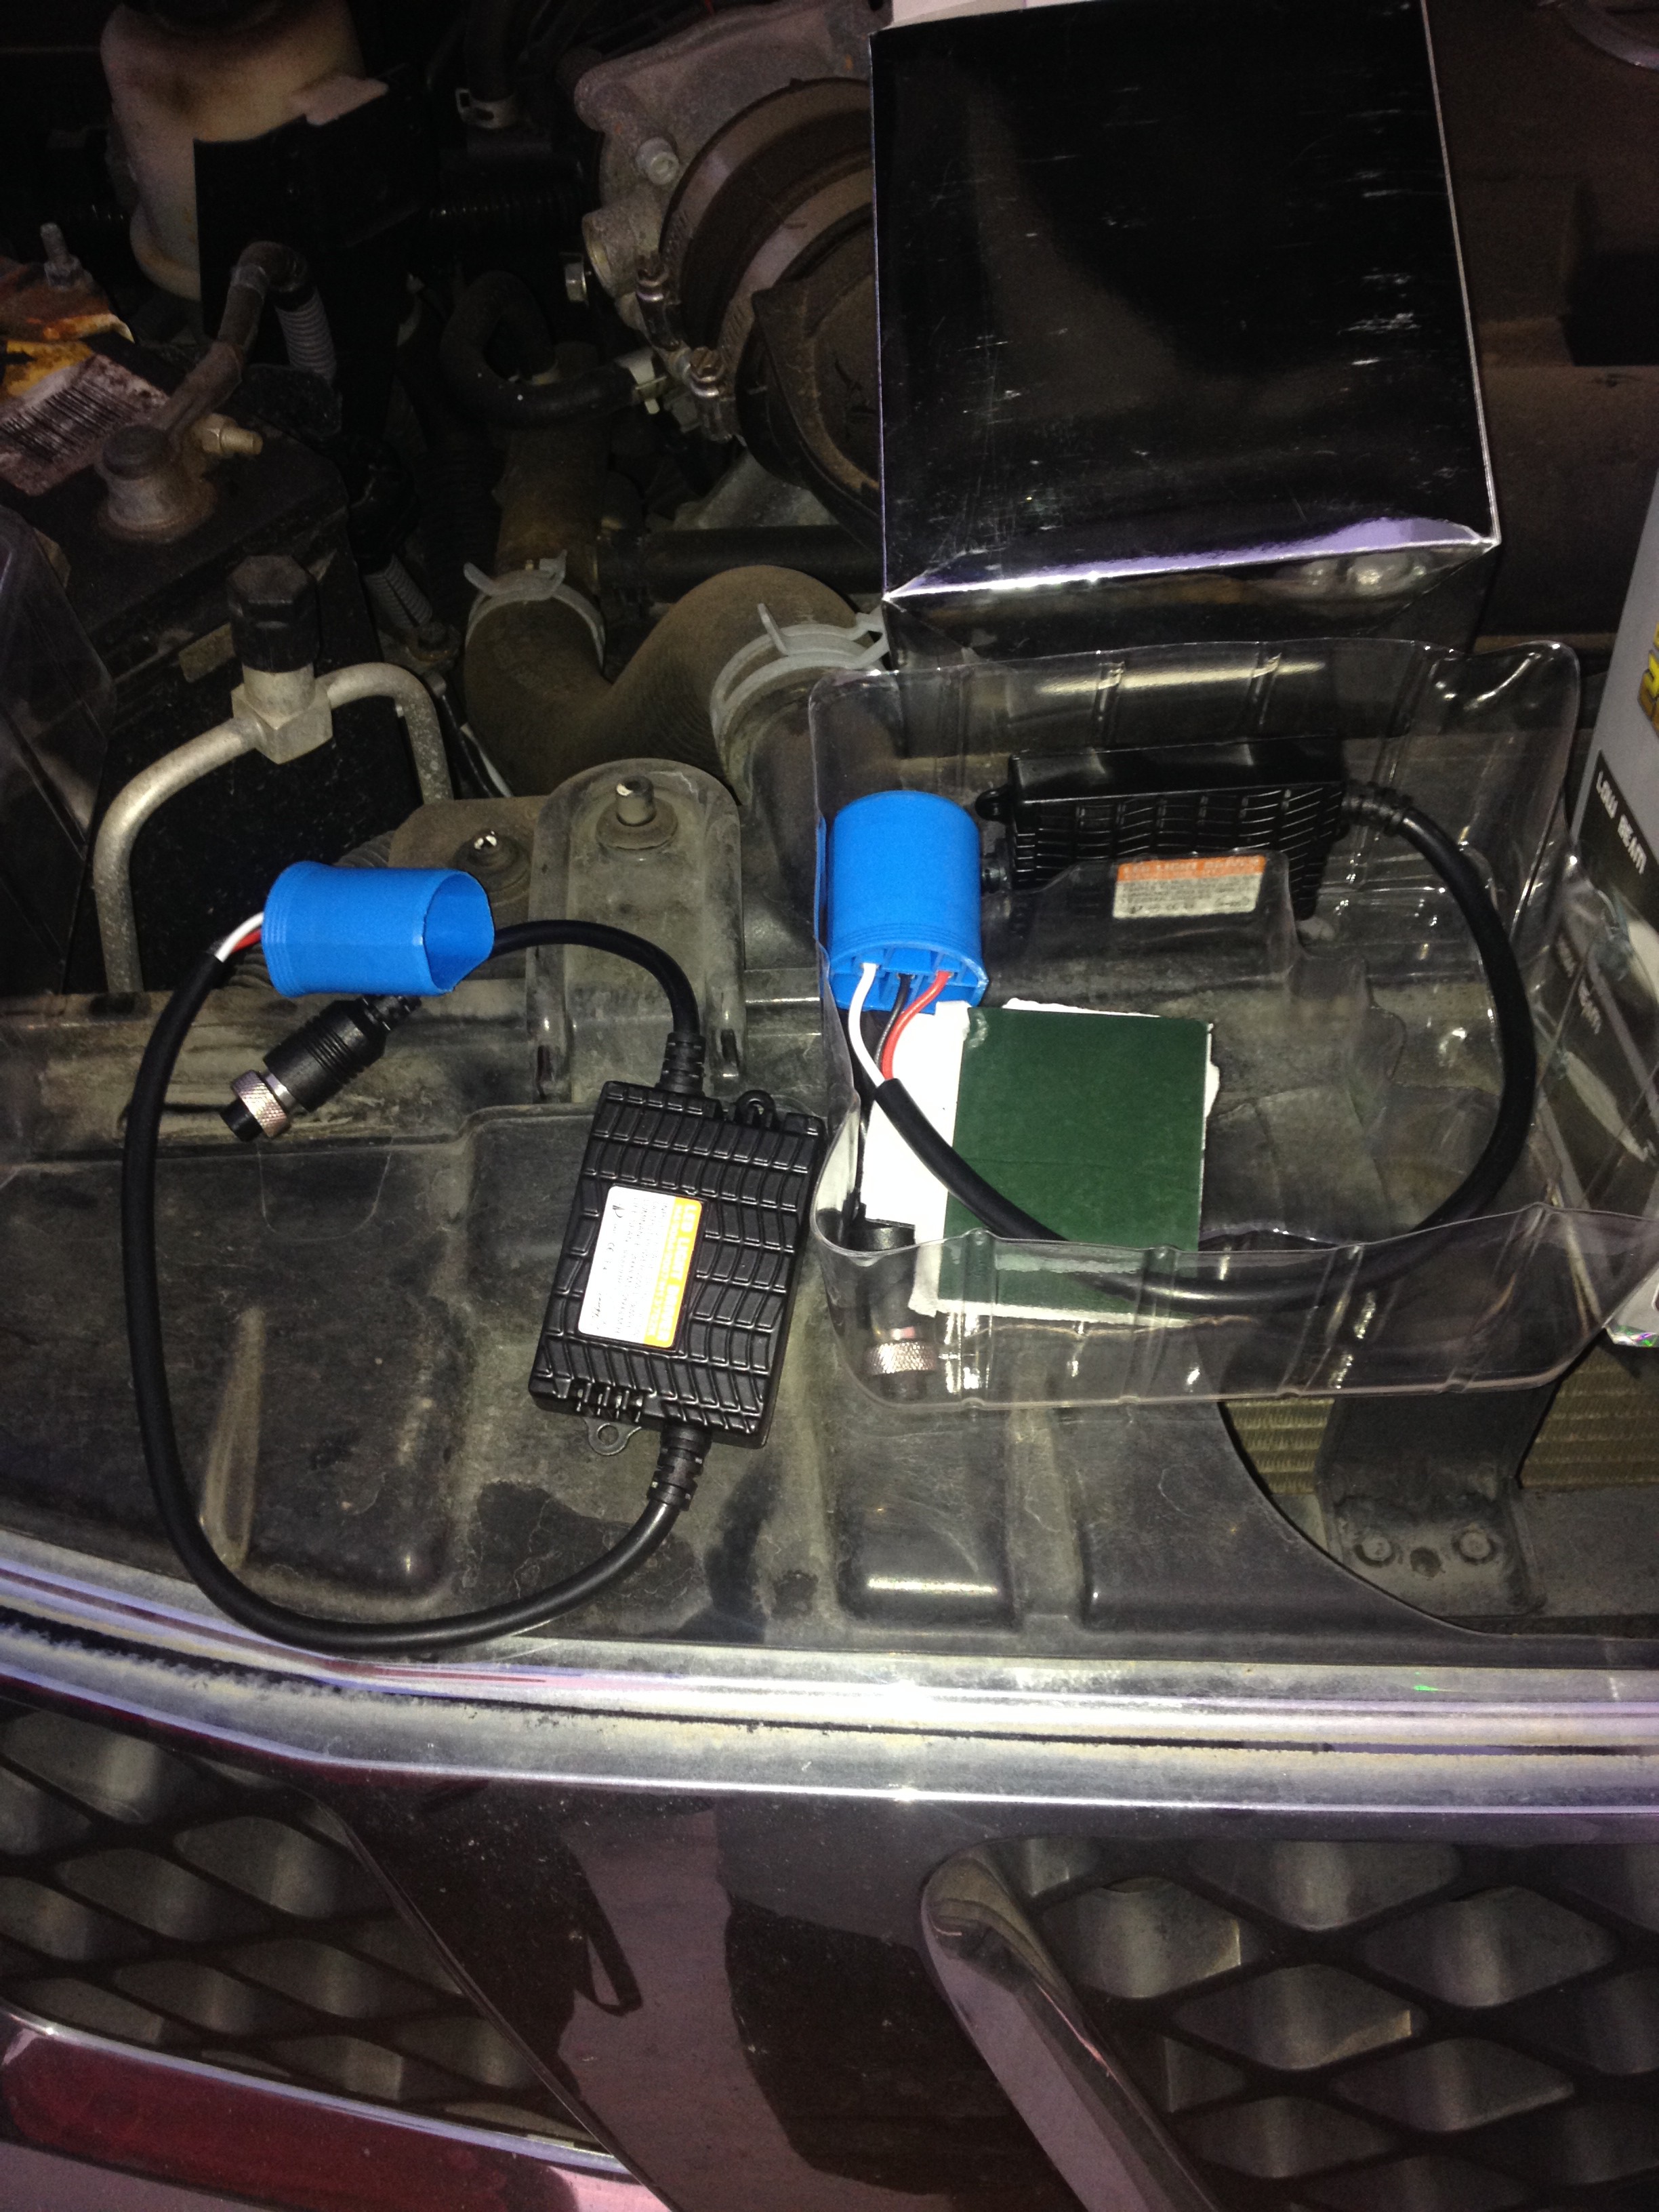
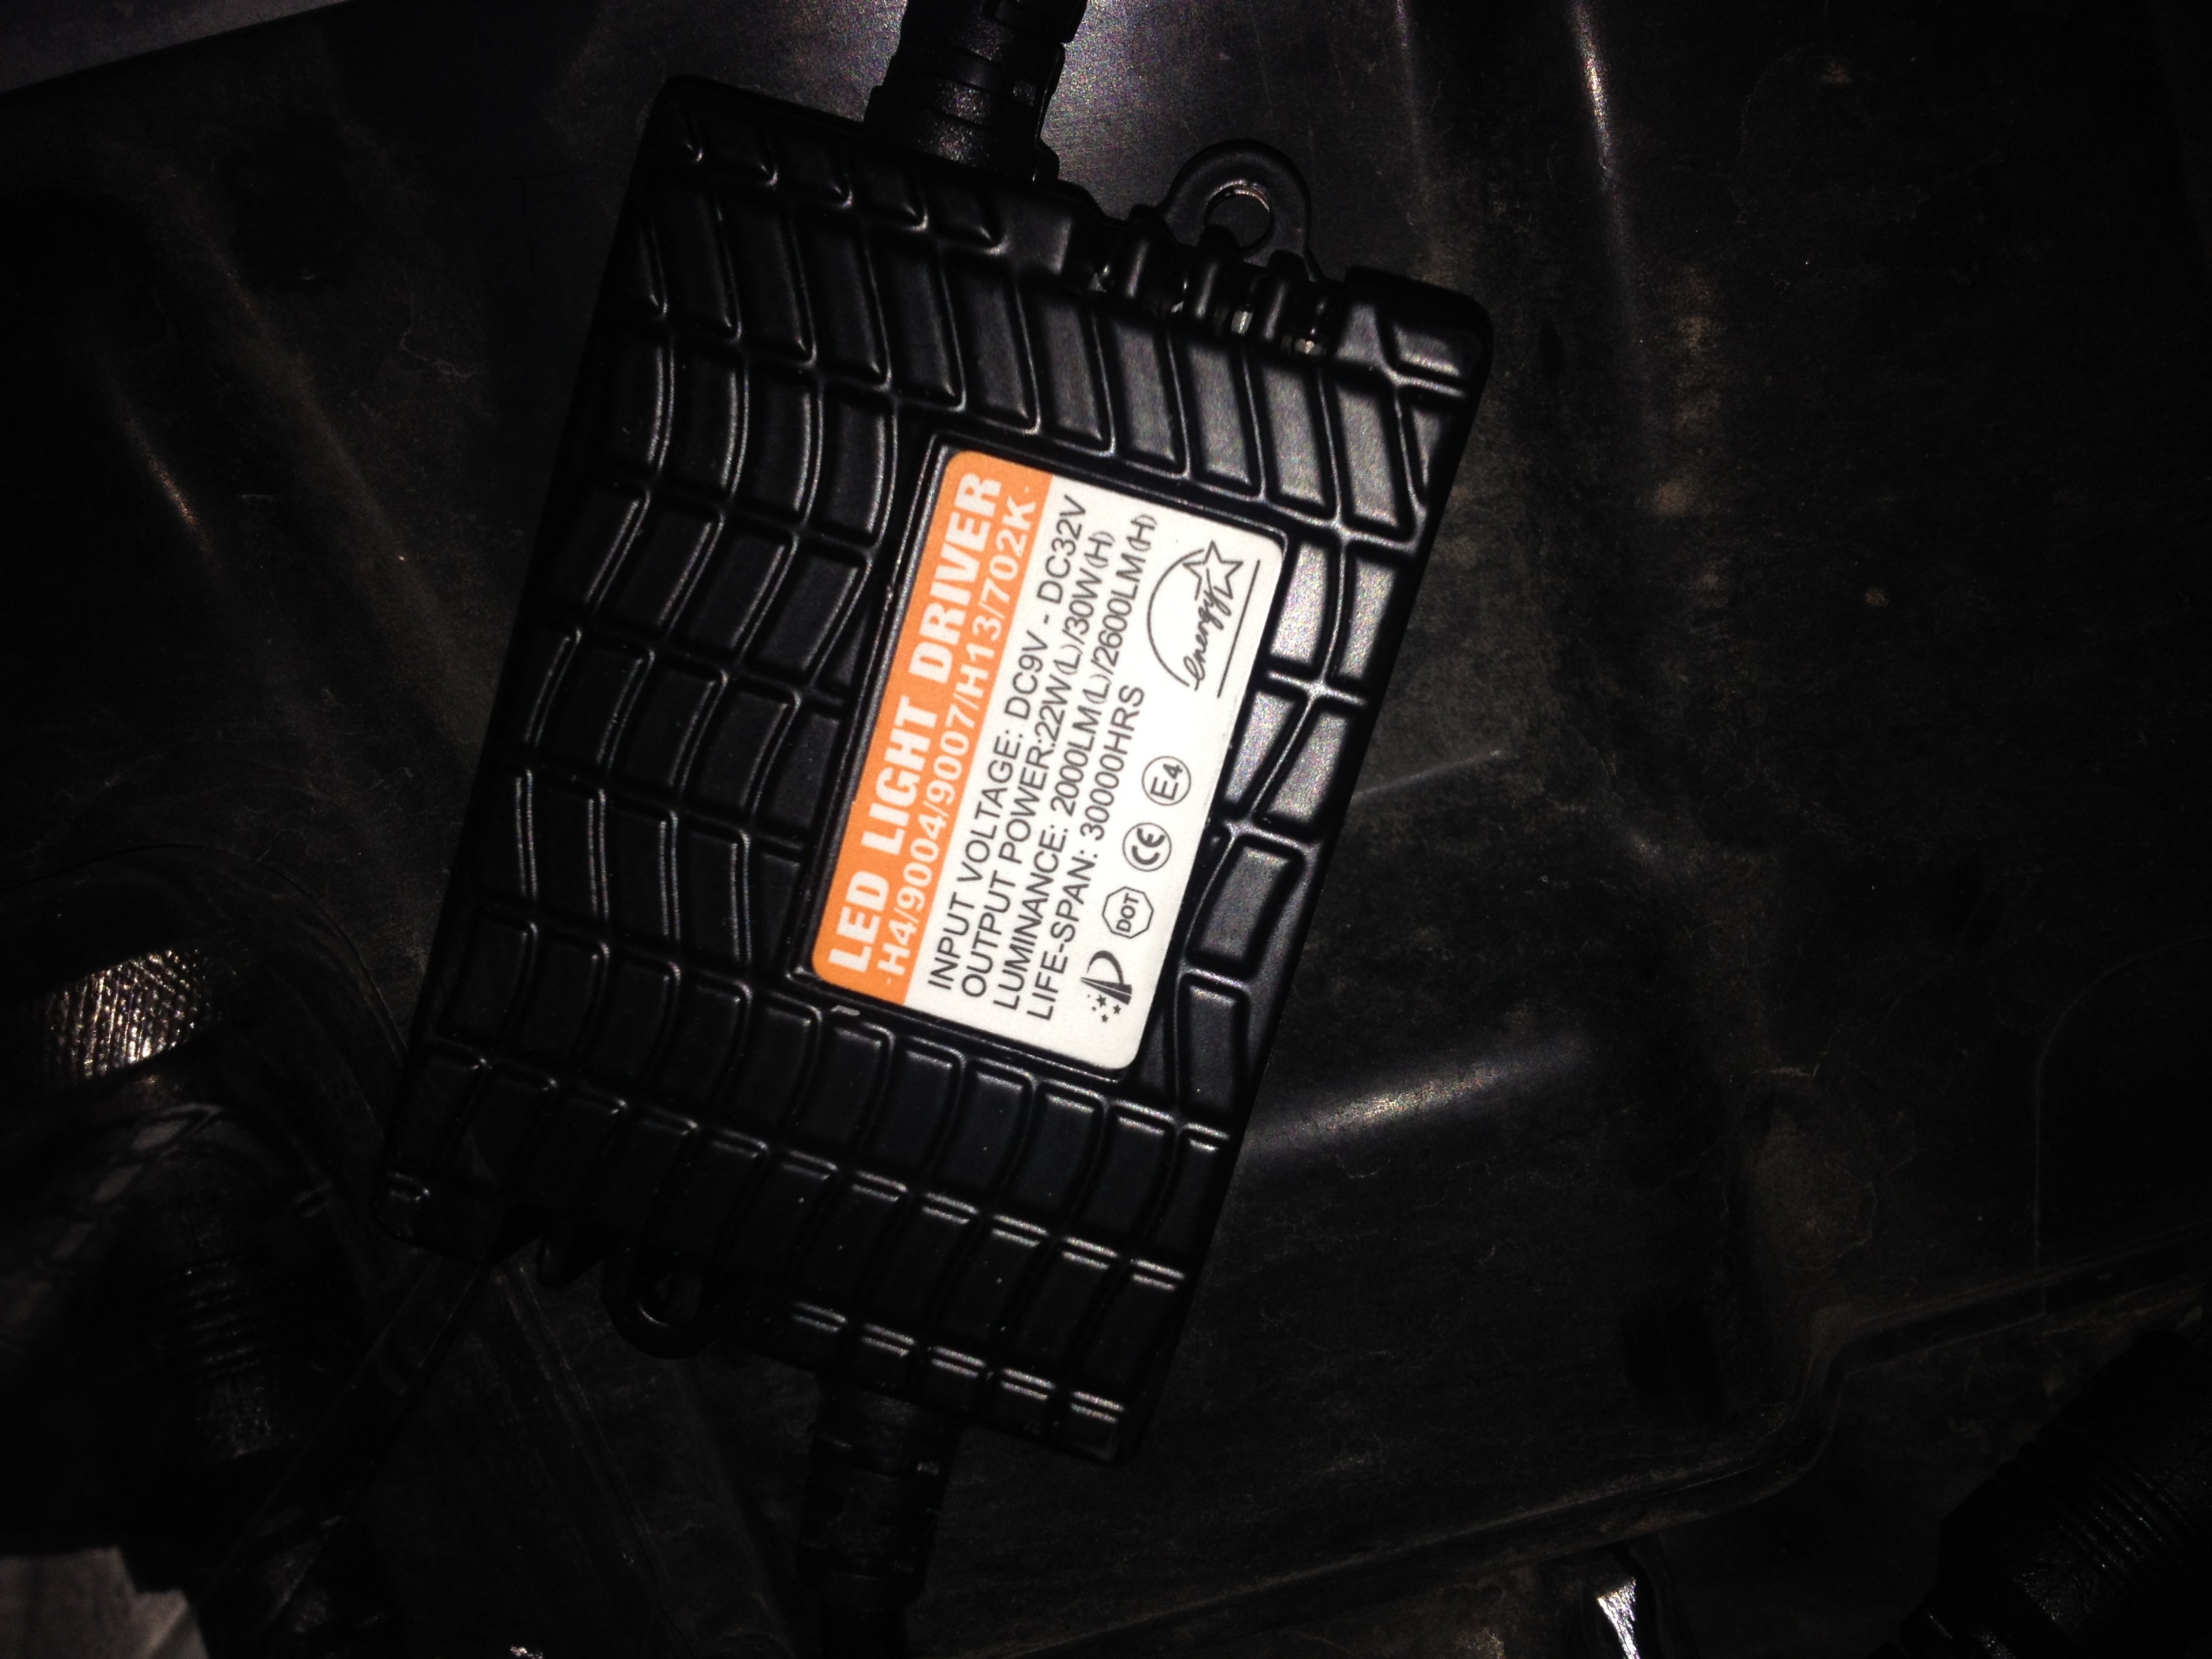
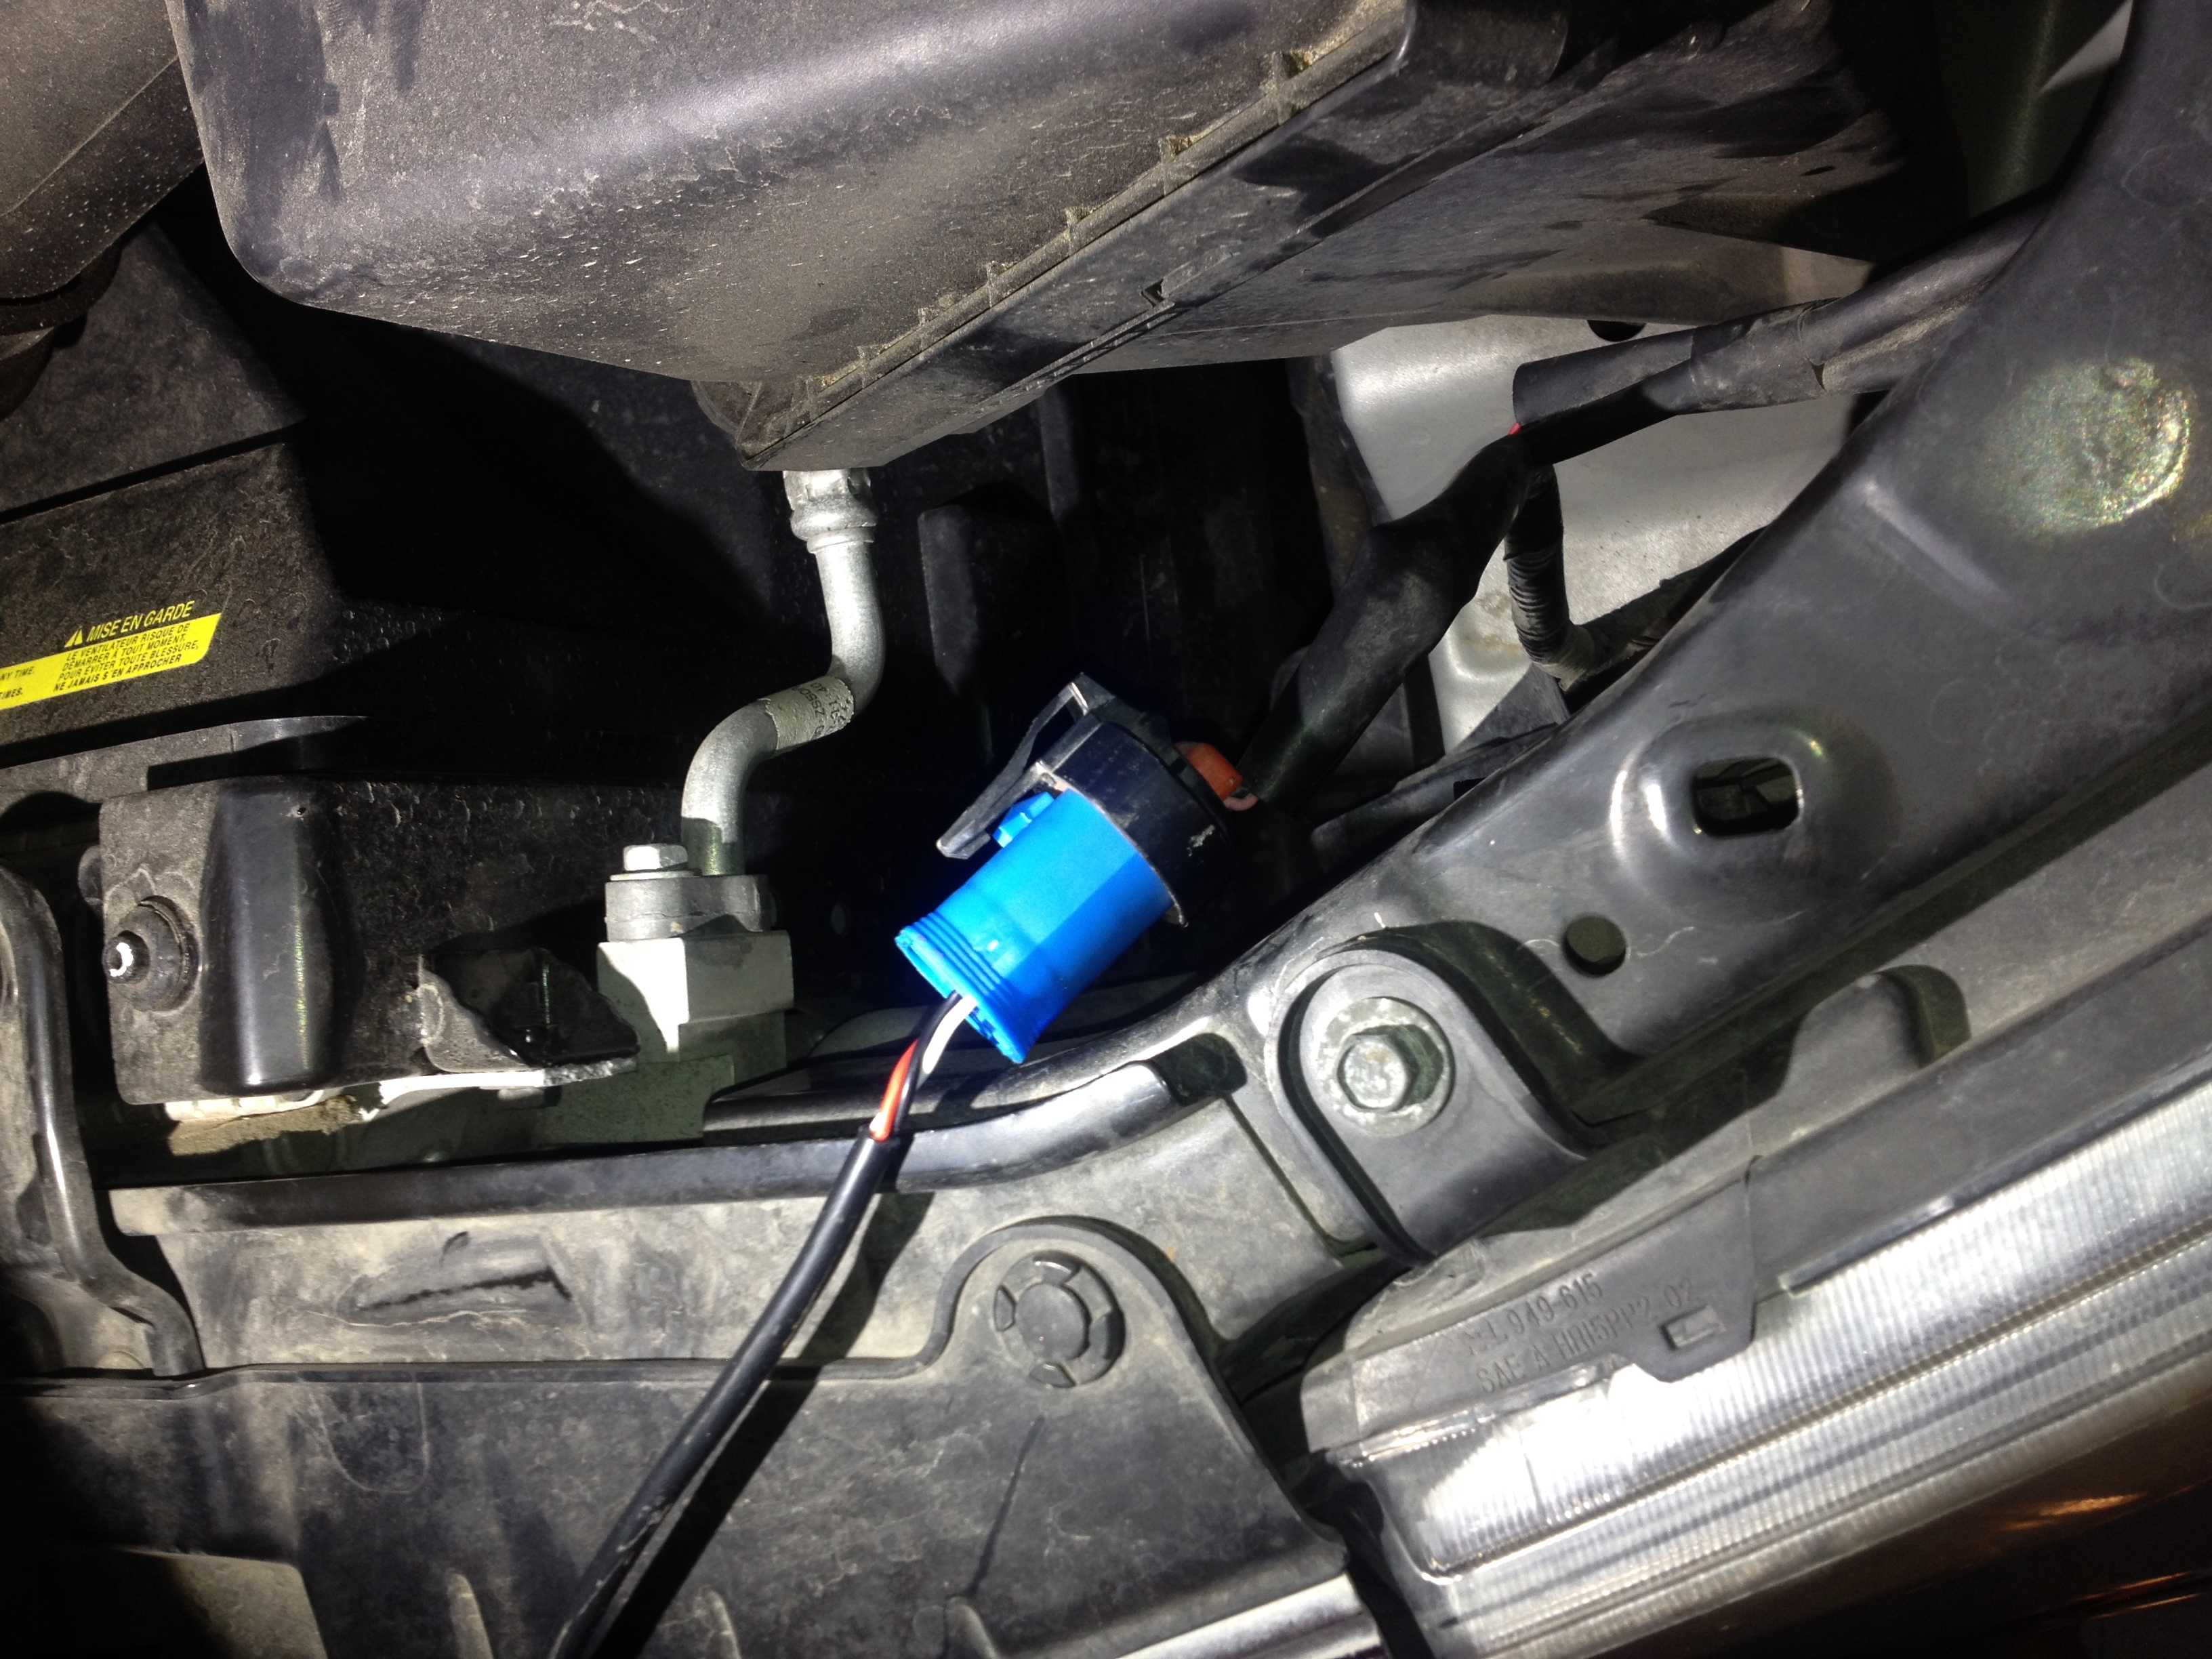
Plug in the assembly to your factory headlight wiring harness, and plug the harness in from the LED driver to the LED light.
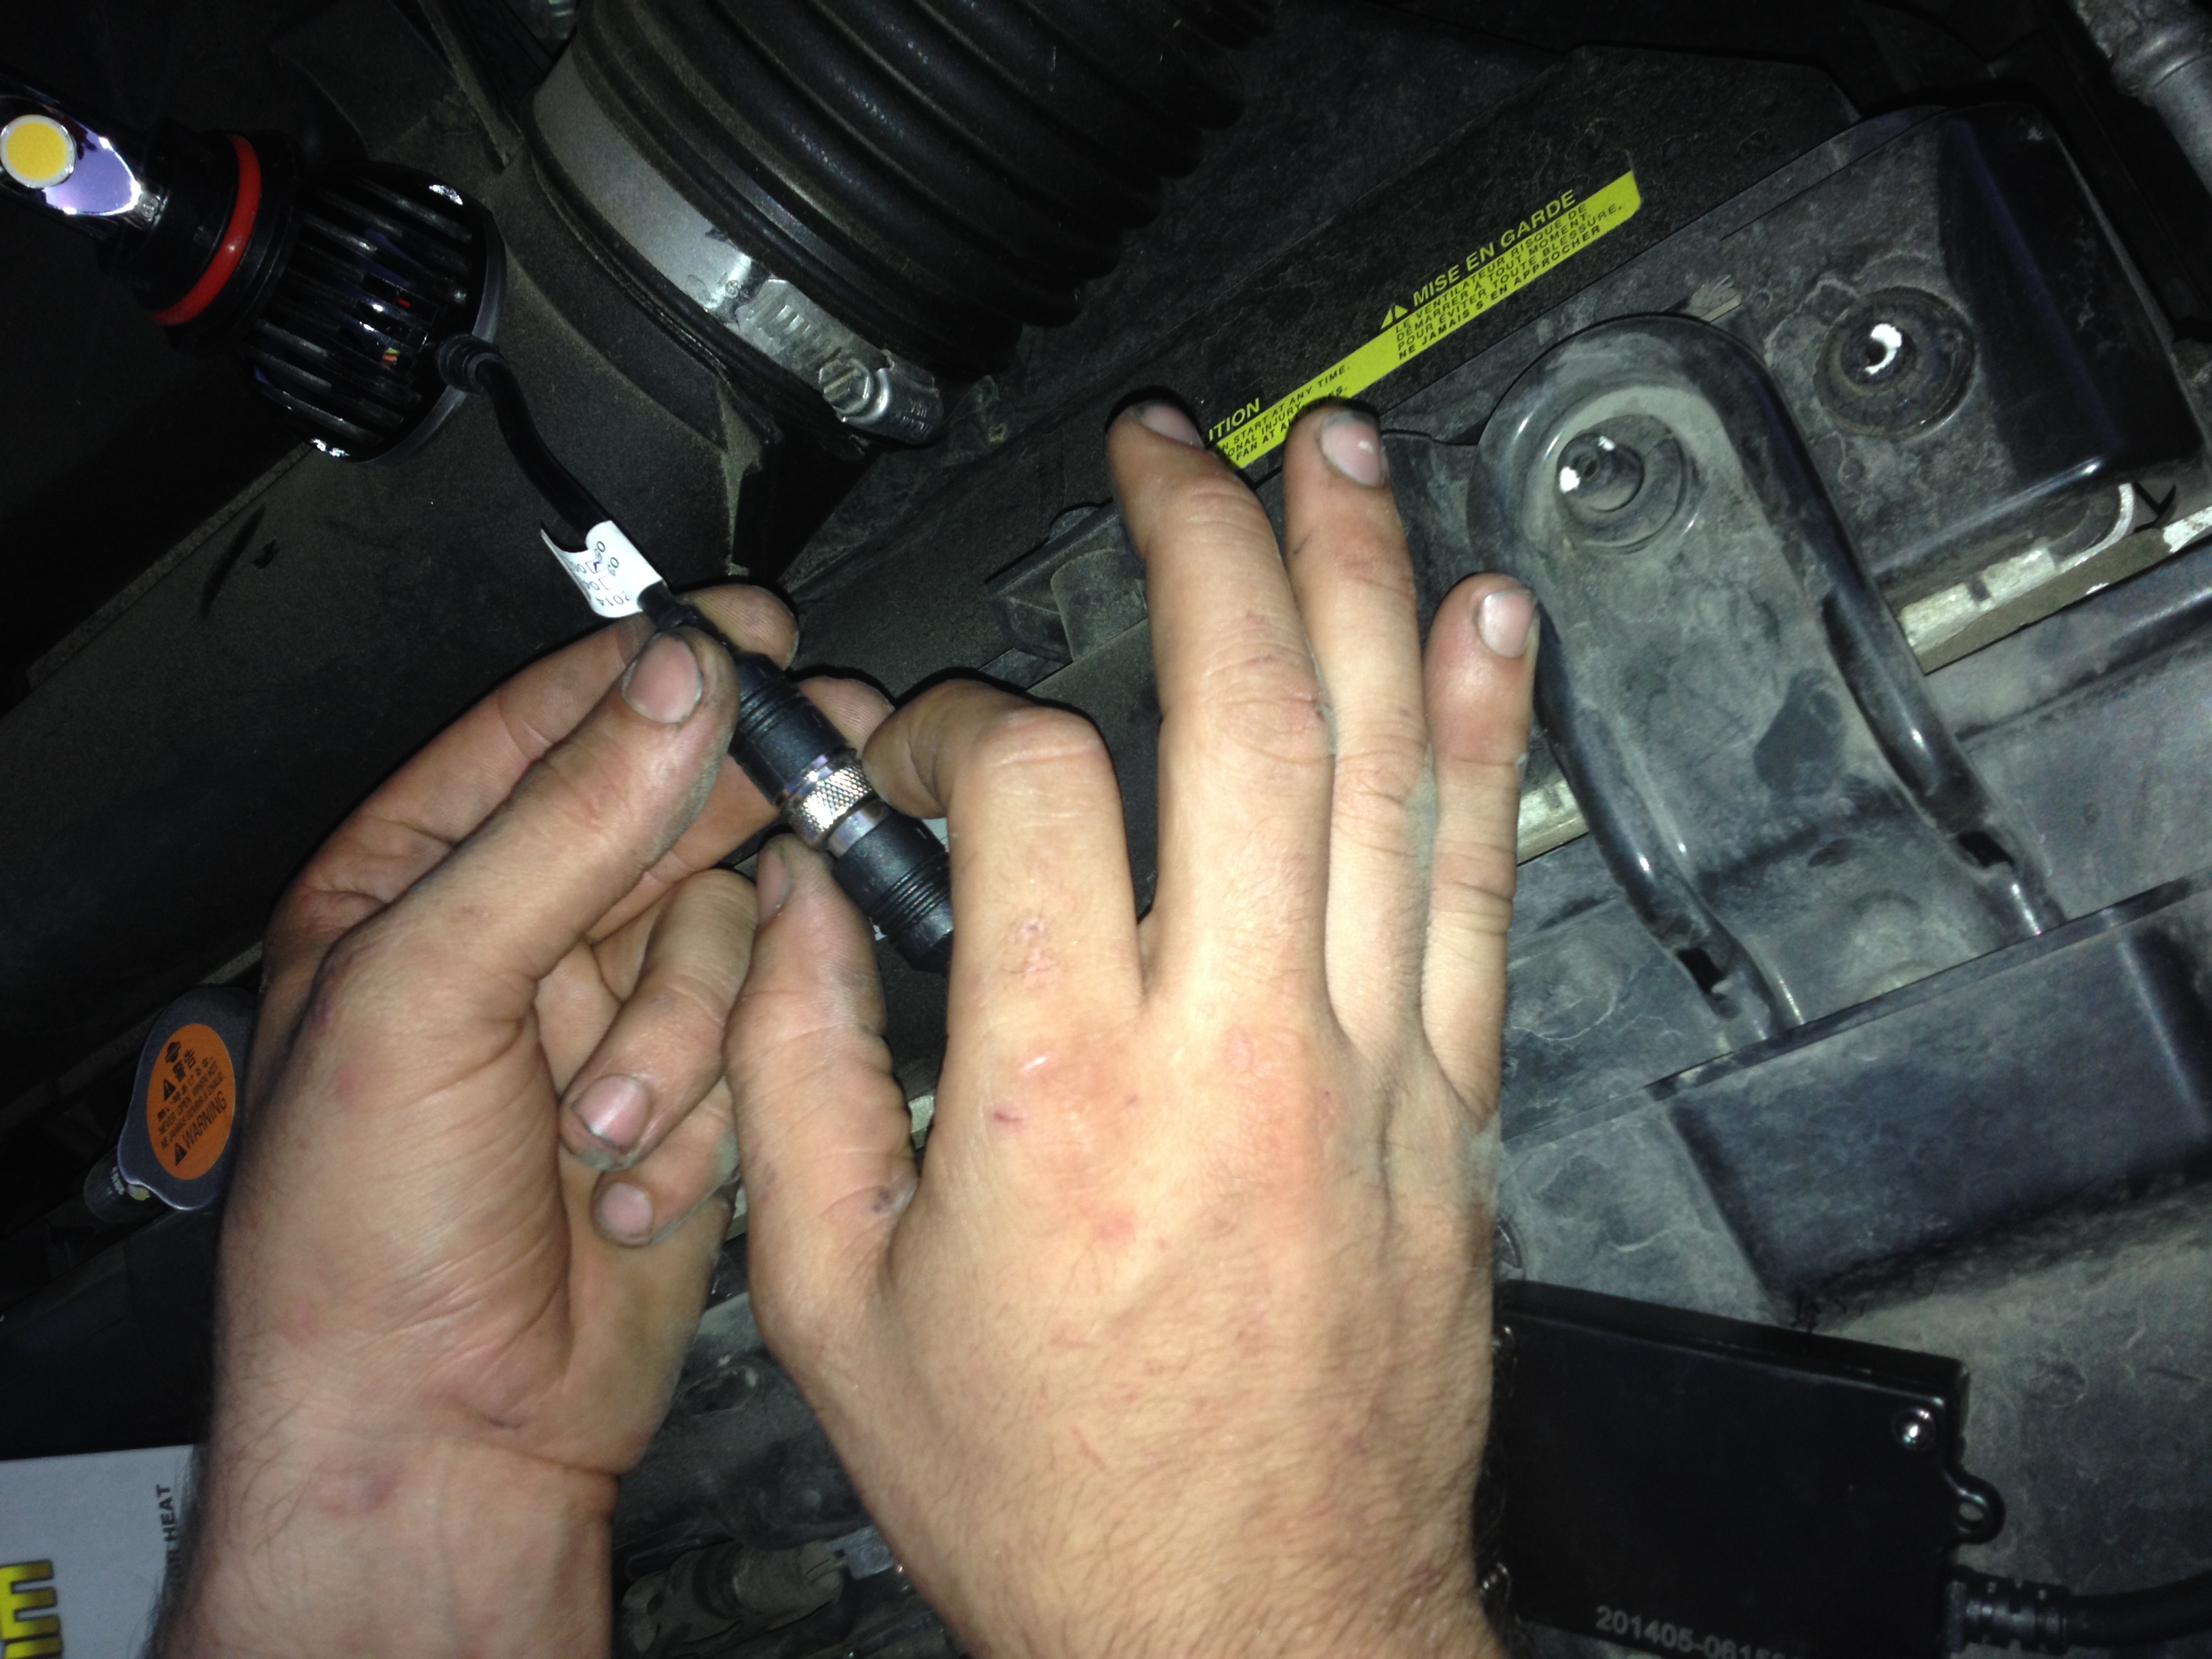
Install the assembly into your headlight, then repeat the steps for the other side. Connect your battery, and test your lights.
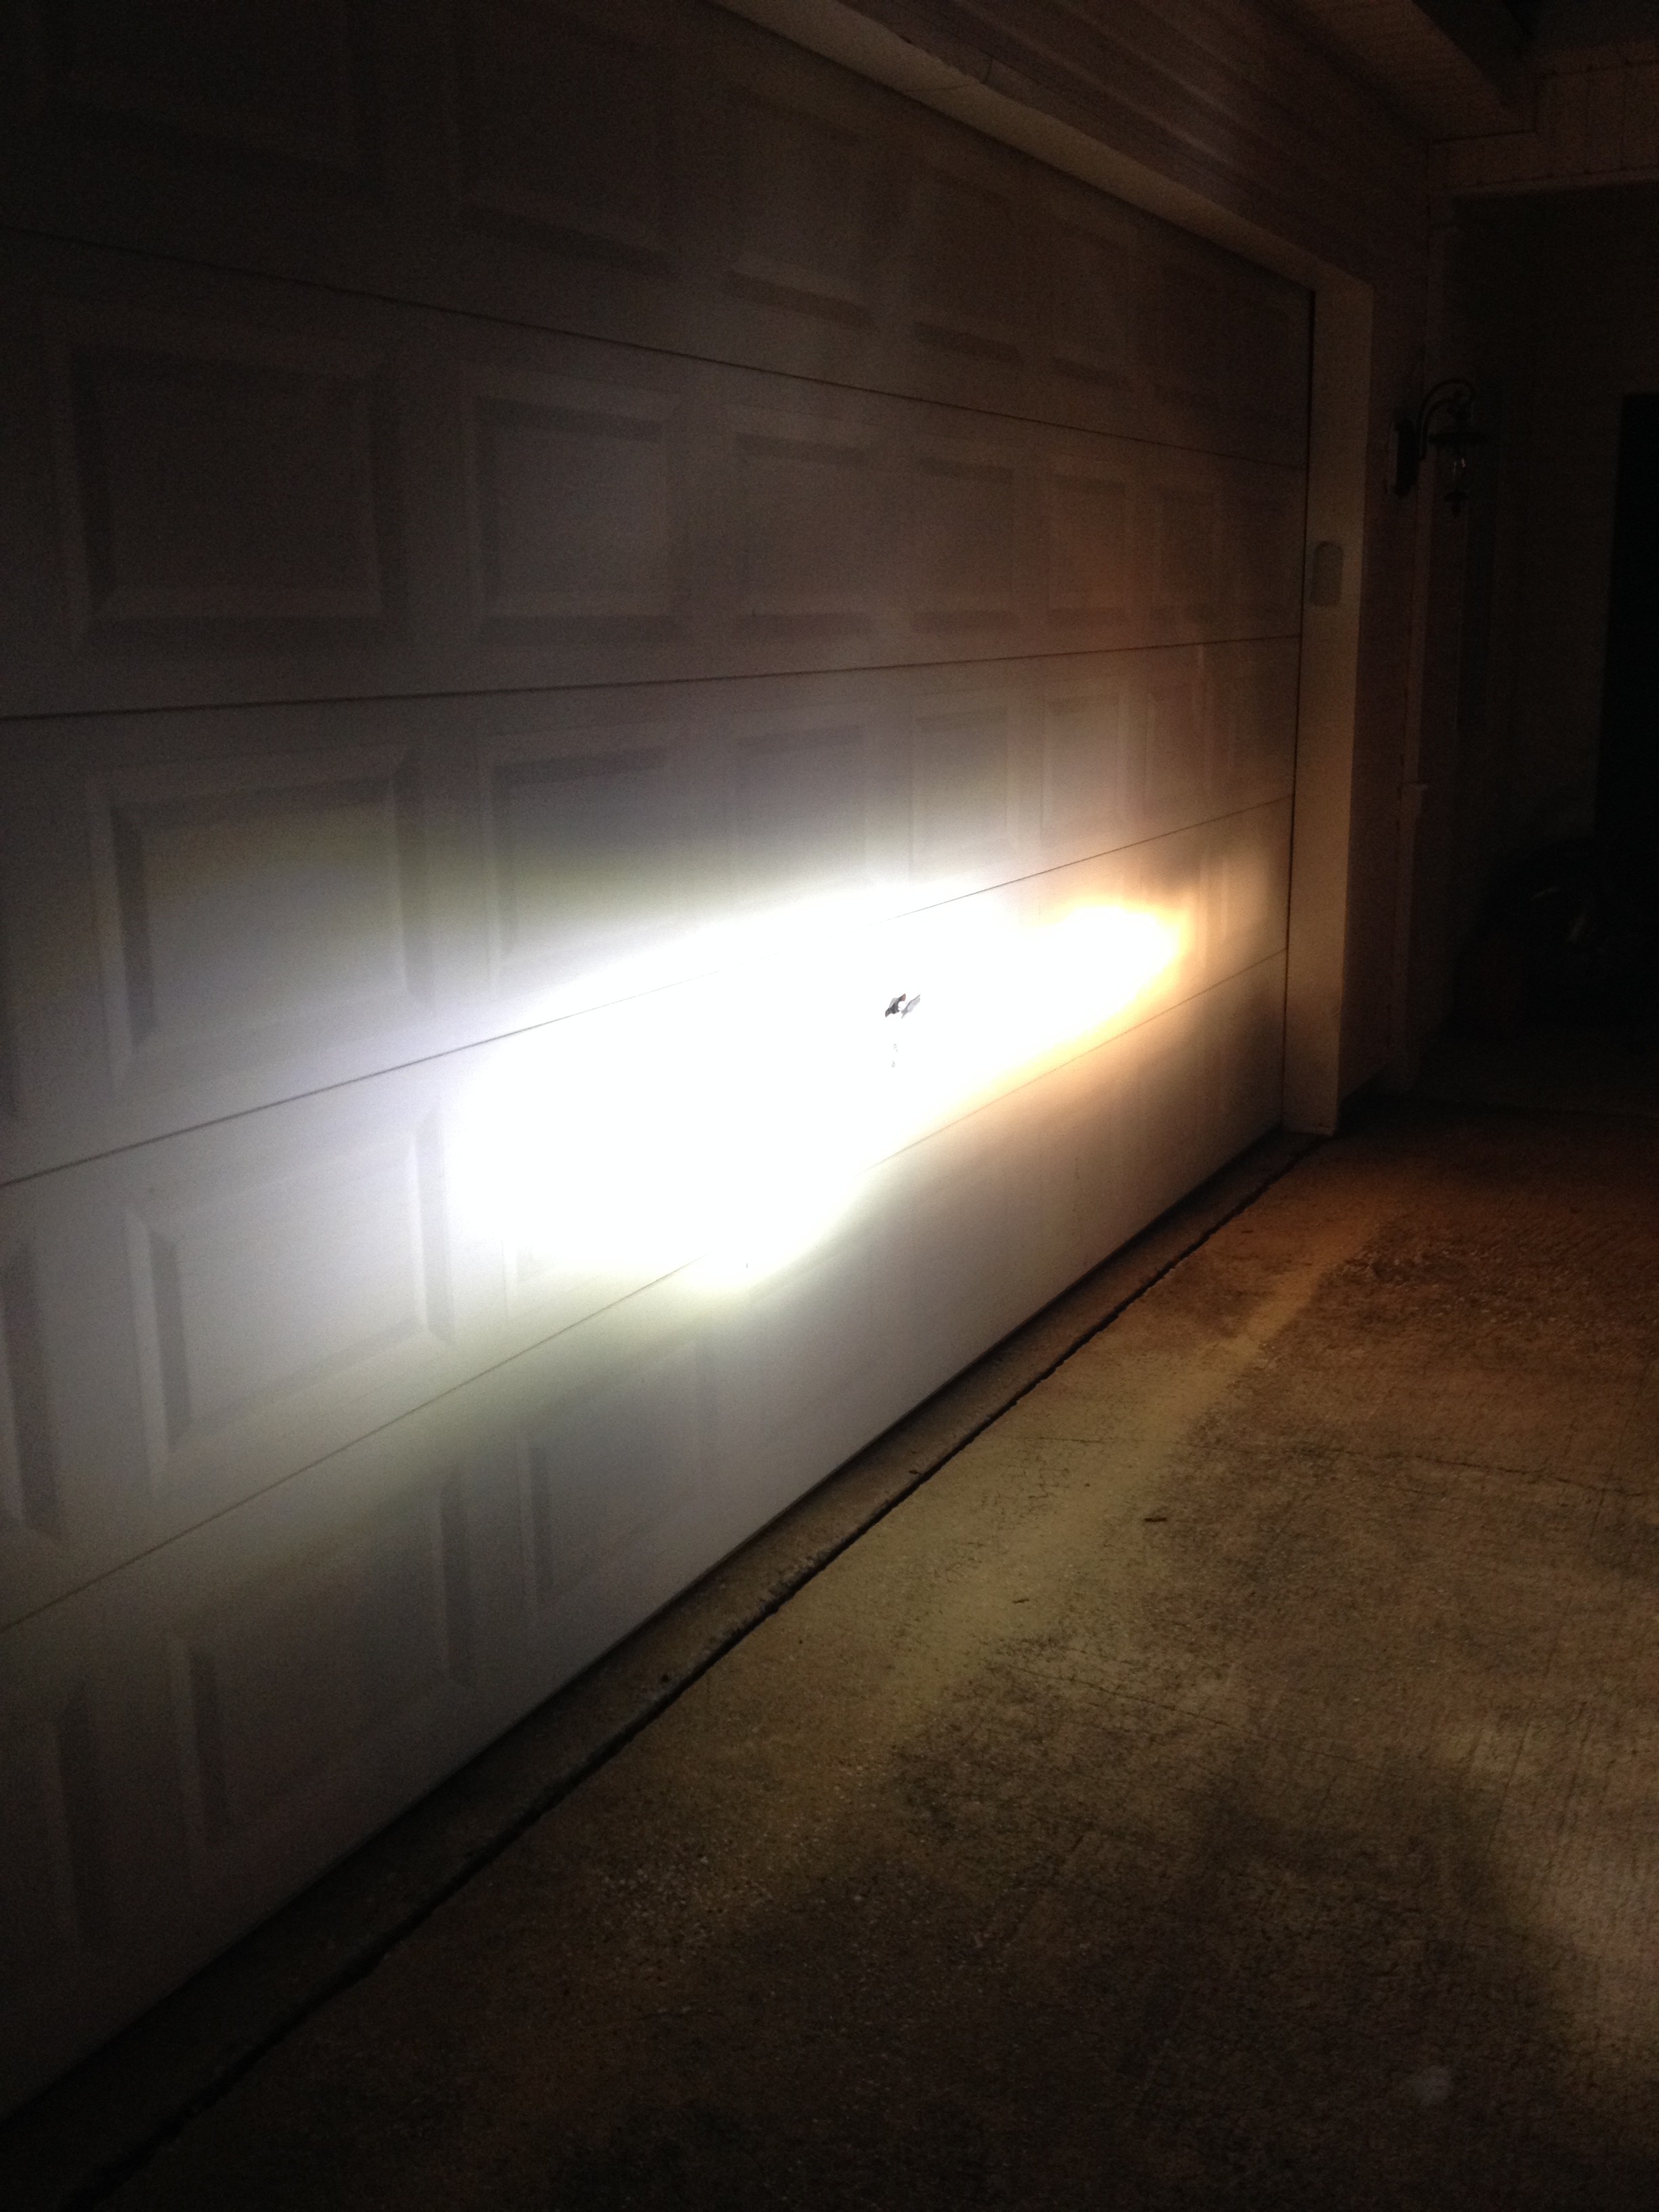
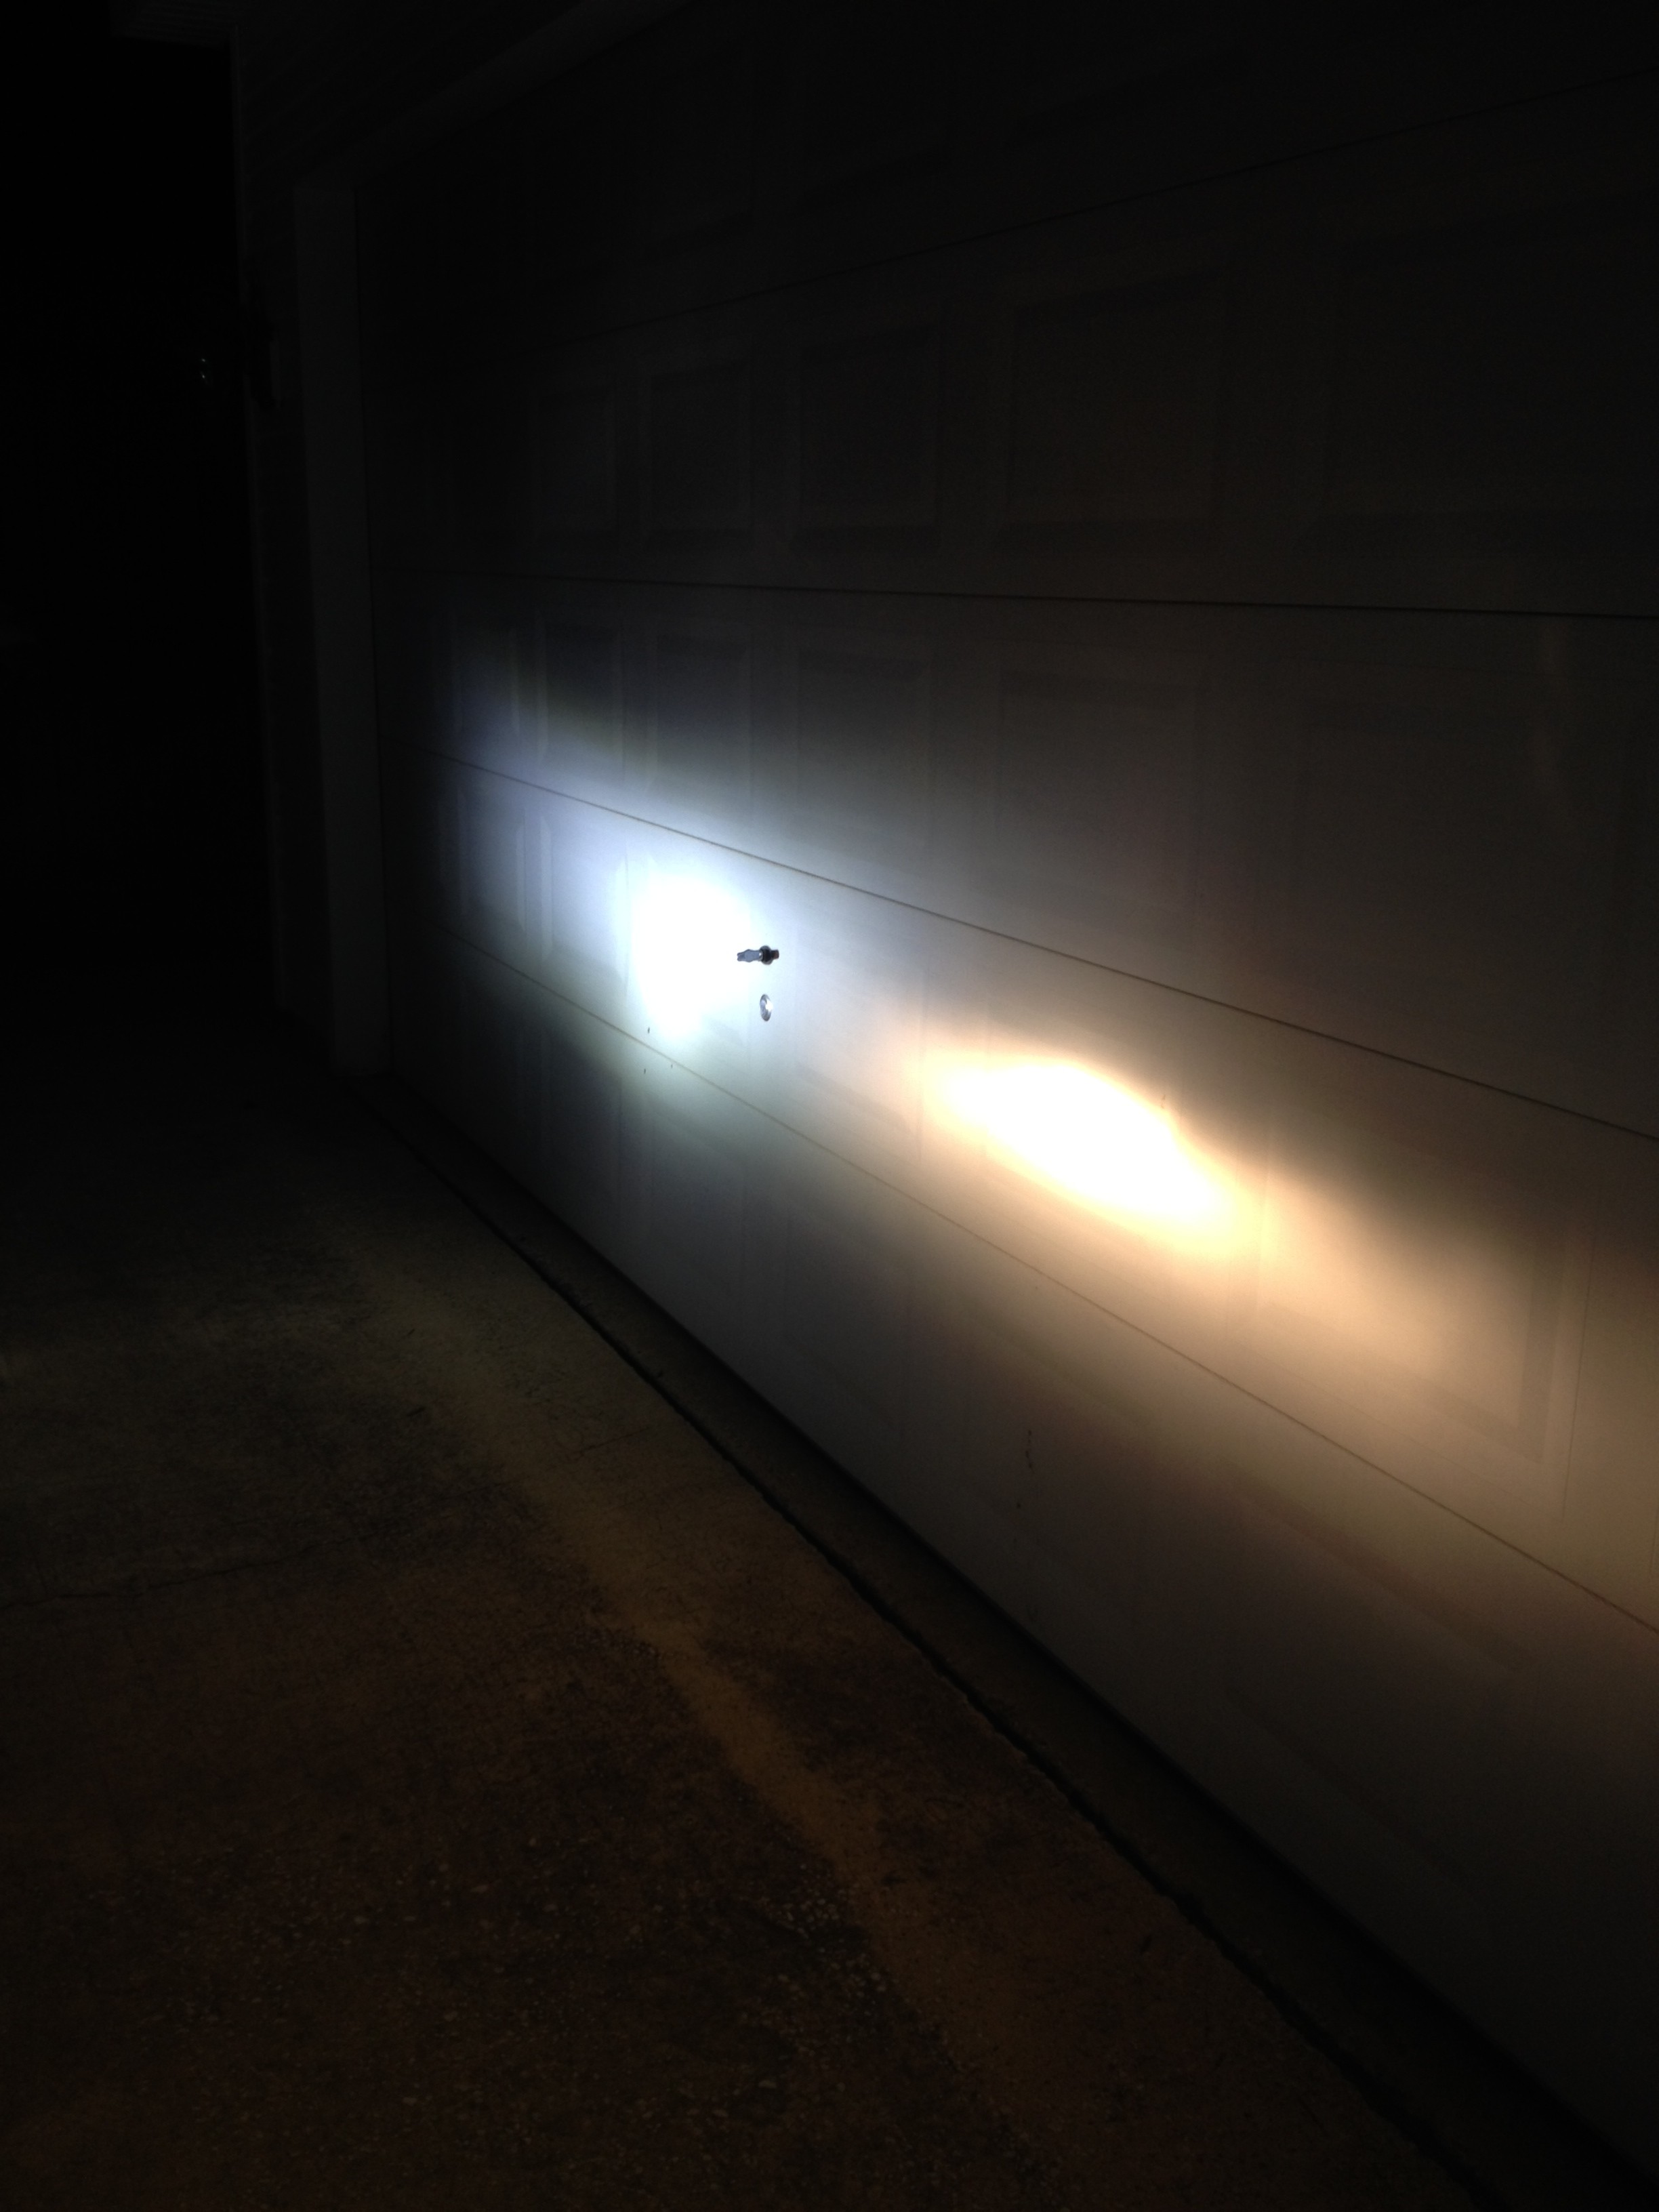
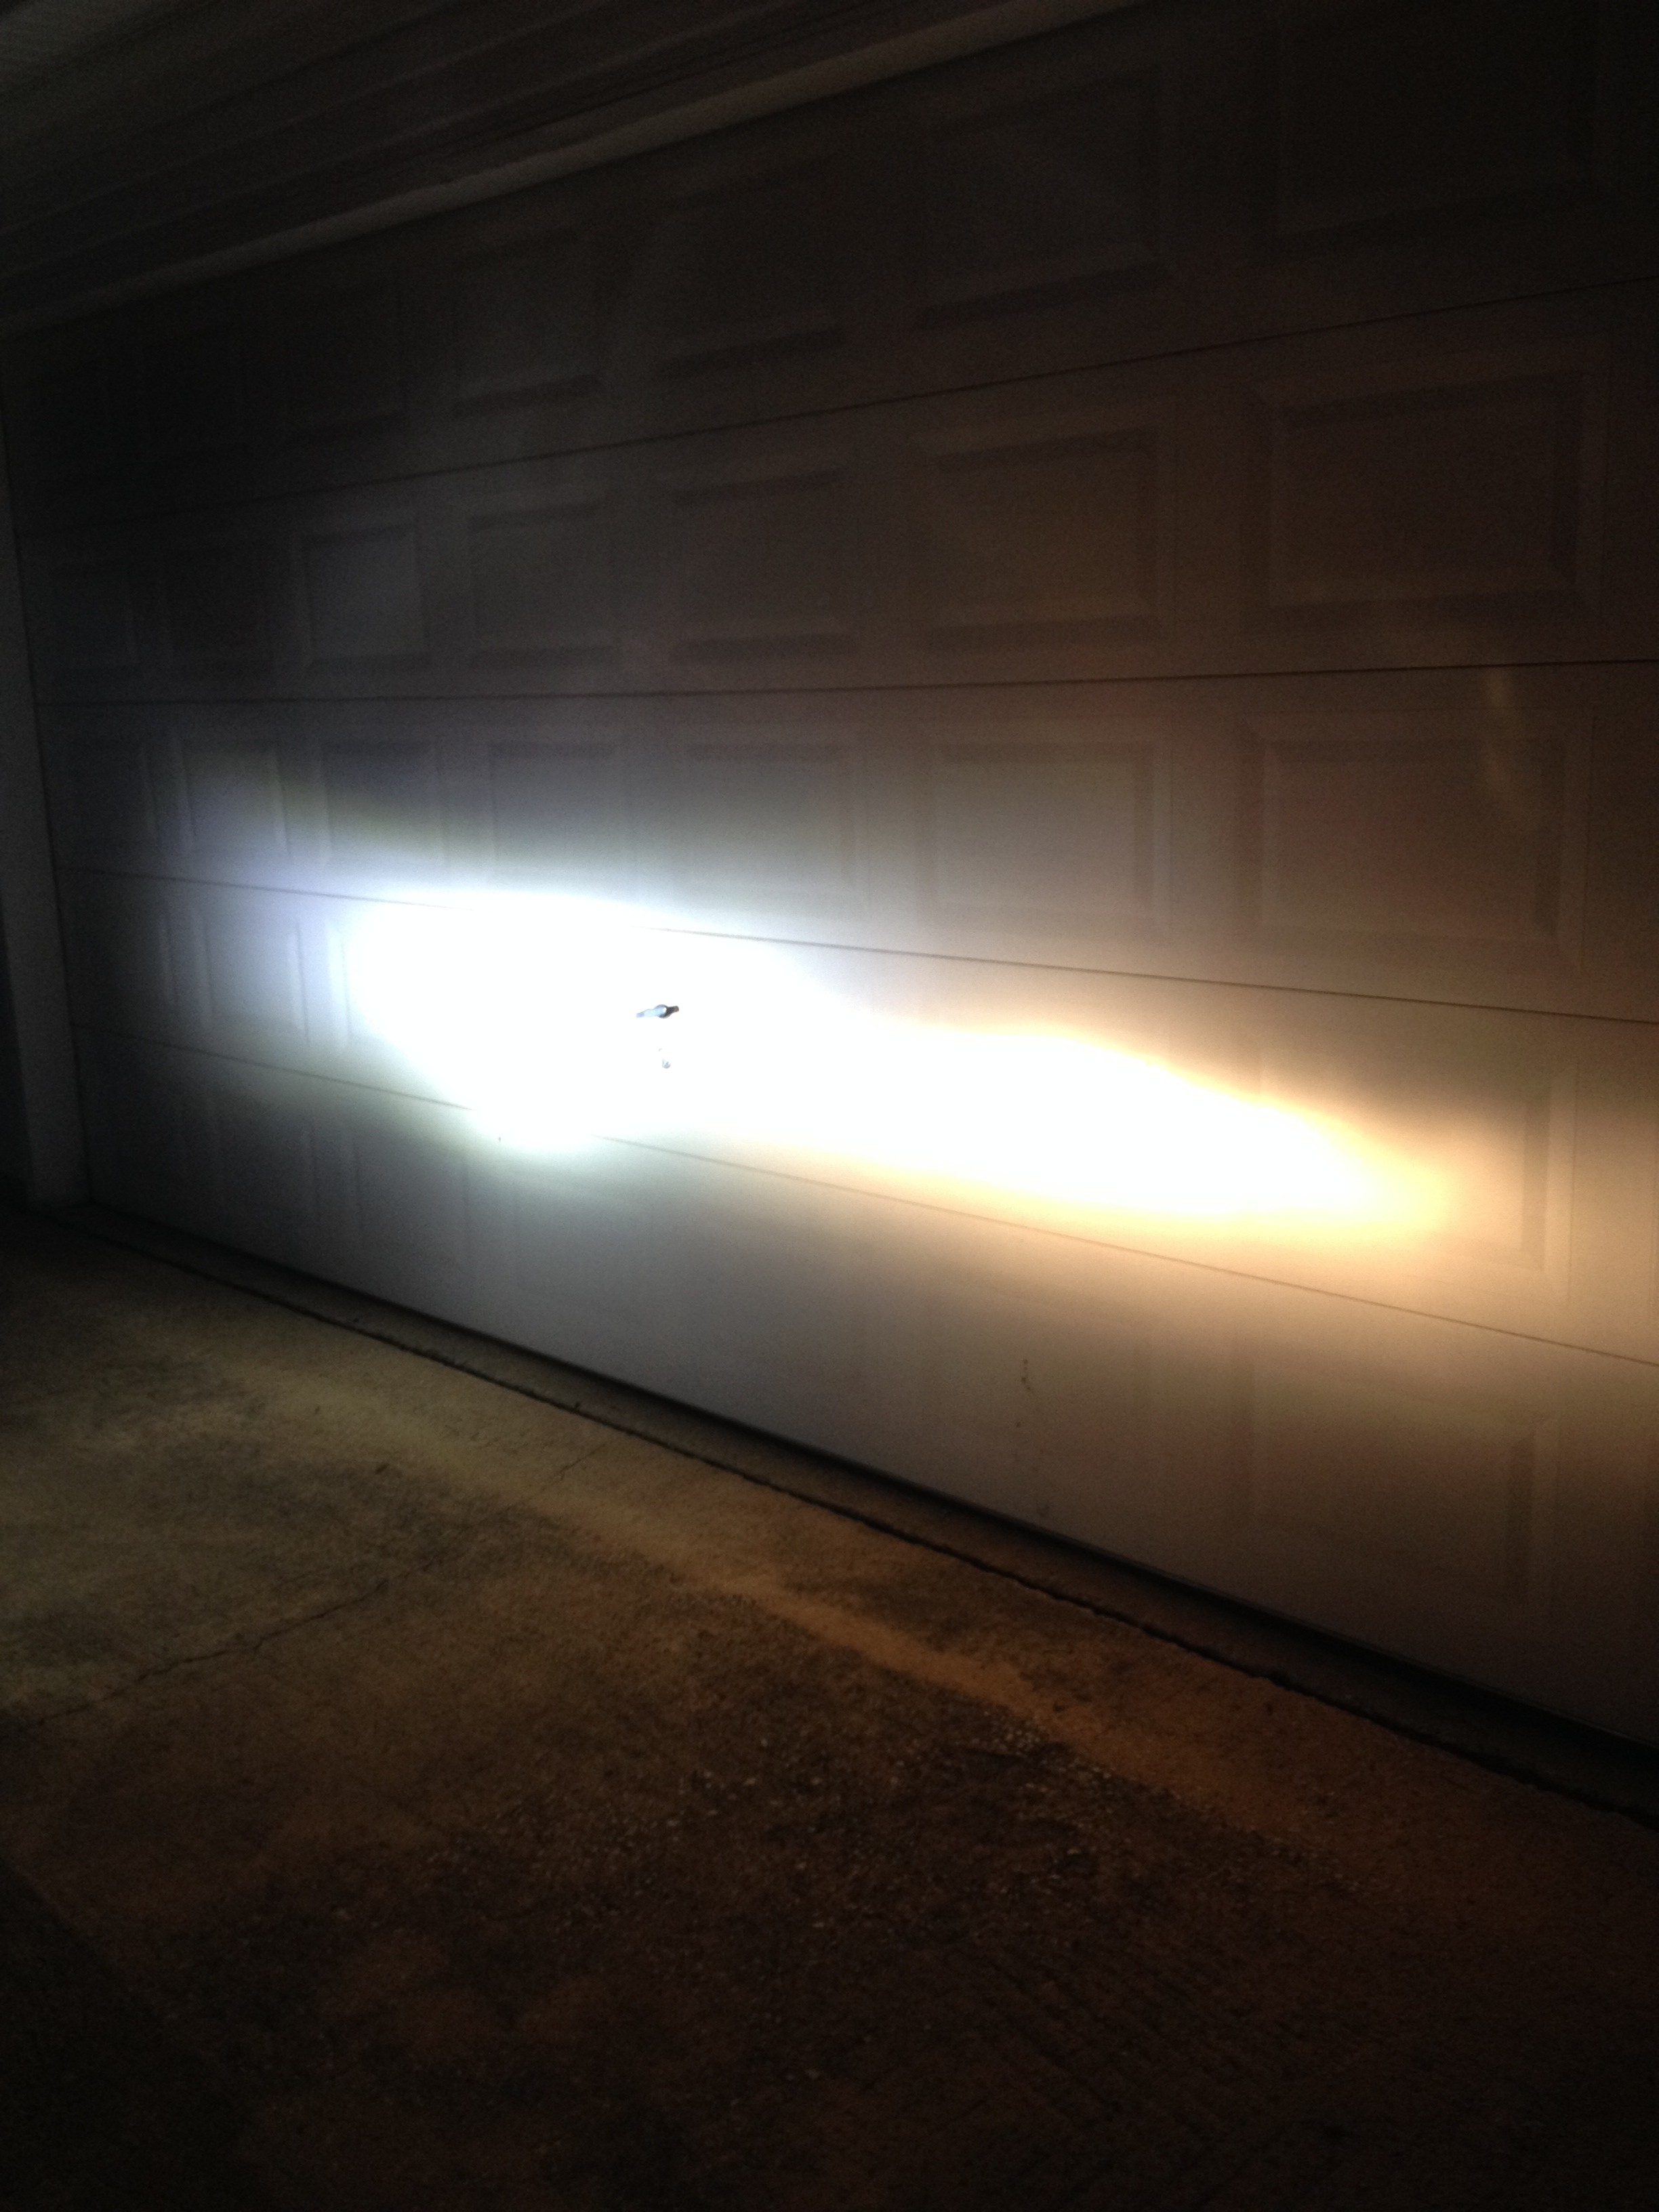
Here are the pictures I took of the beam itself – Note this is with the new PlasmaGlow Igniter on the left, the stock headlight on the right:
Here is the view from the inside of the truck:
…and the all-important front view!
…and both headlights completed!
For questions, or to discuss this installation, click here: PlasmaGlow Igniters LED Headlight Bulb Conversion Install and Review
Hope you enjoyed the install – If so, share it with friends!
NICOclub is back again with Carlisle Events to host our 18th annual NICOFest Carlisle AutoX…
Kraft Auctions Offers Fans a Chance to Own a Piece of Datsun Racing History
We built Datsun Ranch in 2014, and it was the culmination of a lot of…
Since it's not just Datsuns that are vintage anymore ("classic Nissan" still sounds weird, right?),…
Let's talk about big brake kits for a bit. For the purposes of this article,…
What do these terms mean? Pulsed Secondary Air Injection (PAIR) Valve: The PAIR valve sends…