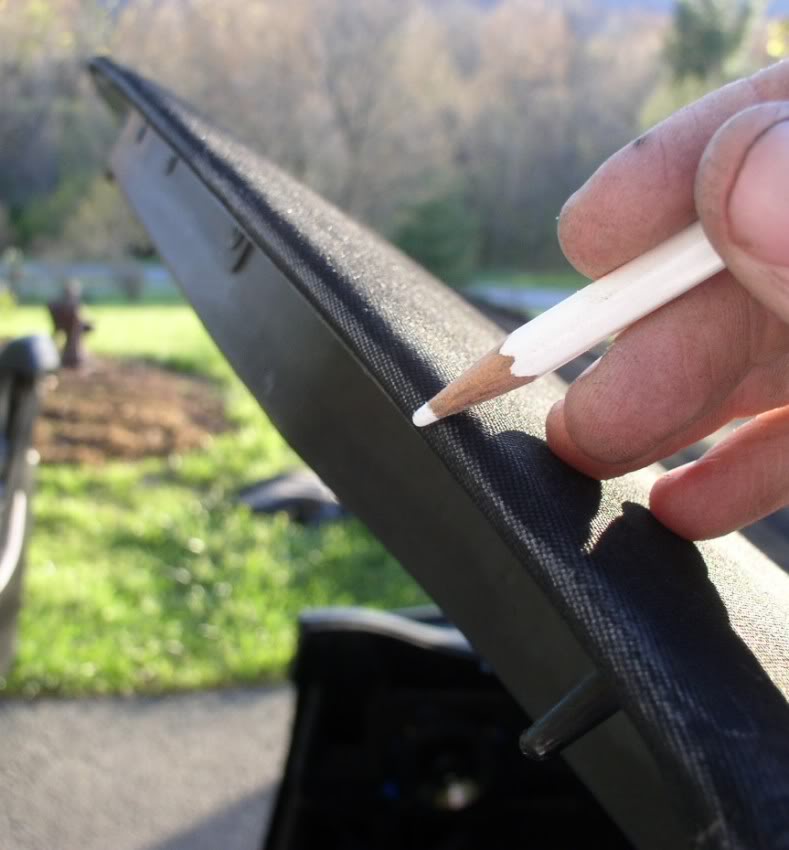
Next up you need to get your marking pencil back out. Mark a line all across the leading edge of the number 1 bow.
Remove the screws holding the cloth retainer to the bottom of the number 1 bow.
Once you get the screws undone, take a prying tool and gently pry the retainer off. It has a gummy substance holding it down, so be prepared for a bit of resistance. One thing to avoid is to bend the piece out of shape. It bends easily, and you want to avoid turning it into a nice L shape.
Break the cement from the underside of the number 1 bow. I had a bit of a time getting mine to totally come loose. I eventually got some pliers out to get a better grip and peel it off. Since you’re replacing the top, a few tears here and there won’t be bad. Just don’t completely destroy it.
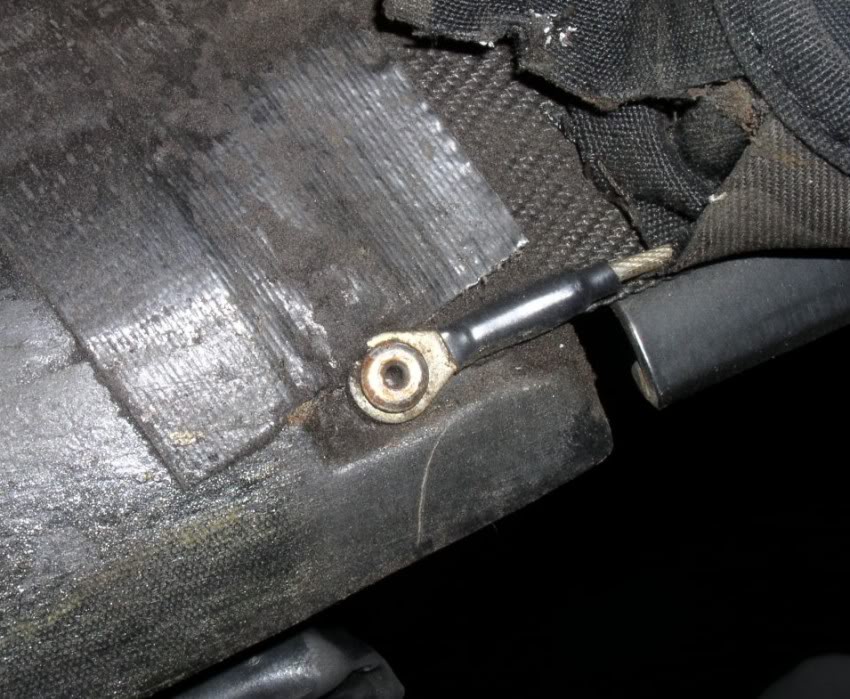
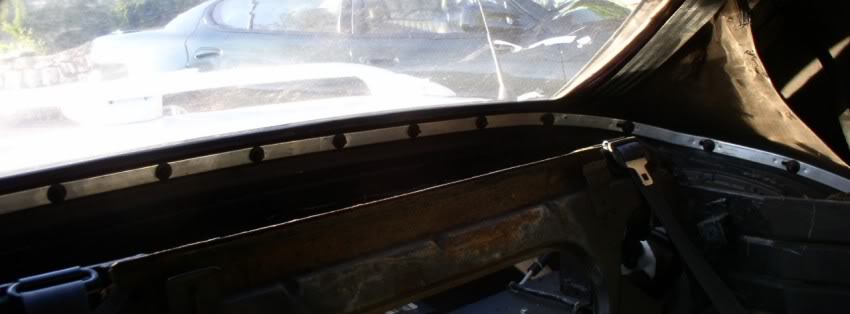
You’ll also want to remove the weatherstripping from the front rails. There are two nuts on the top, and one screw underneath the weatherstripping. You can peel the stripping back a bit and get to the screw.
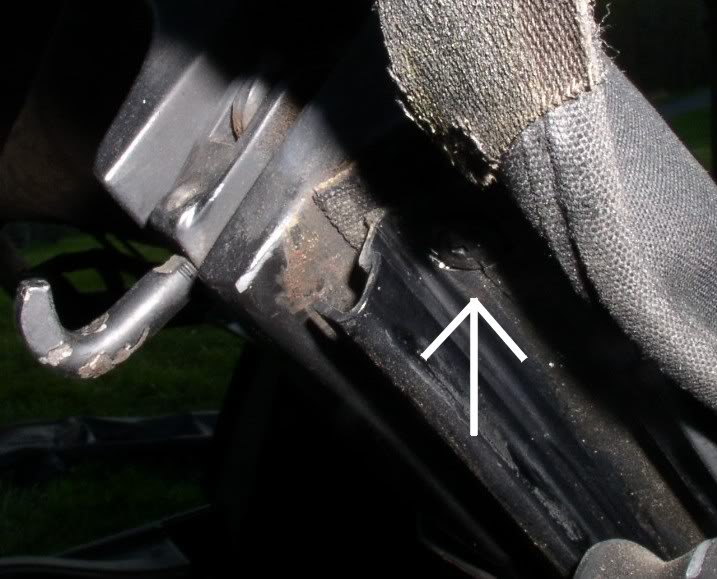
Finish breaking the front of the top loose of the 1 bow, and you’ll see the guide cables. The FSM says they’re screwed in. Both tops I have replaced have had them riveted in place.
Drill it out. You’ll have to get a riveter and replace it.
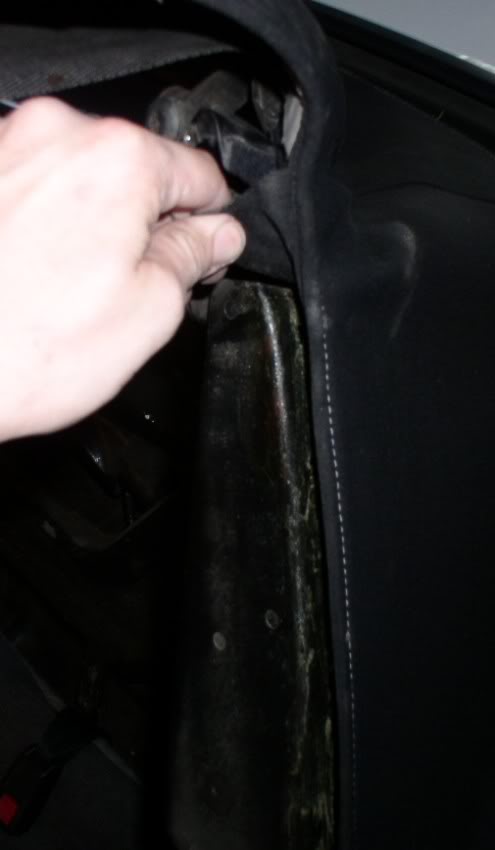
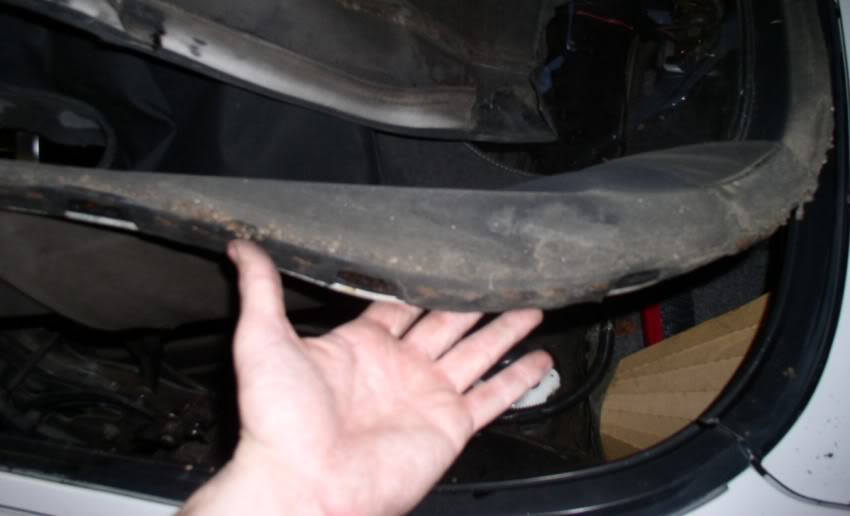
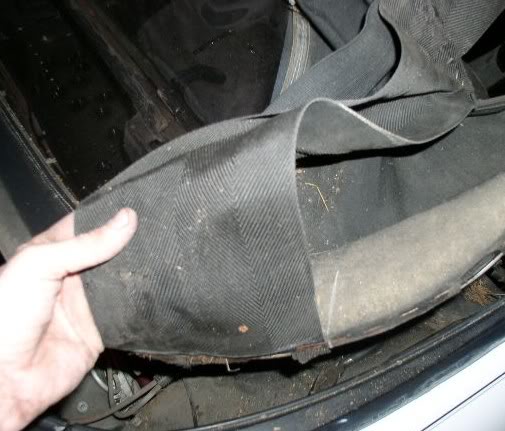
Go ahead and pull the top off the frame where the rear seal is.
Go back inside the car and remove the top well cover. There will be 17 speed nuts holding it down. They may be fast to put on, but take forever to take off. Supposedly you can get under them with a pair of wire dikes and pop them off, but I have never gotten that to work. So I just spin them off. Yummy! The speed nuts are underneath the vinyl, so you’ll have fun fumbling away in the dark.
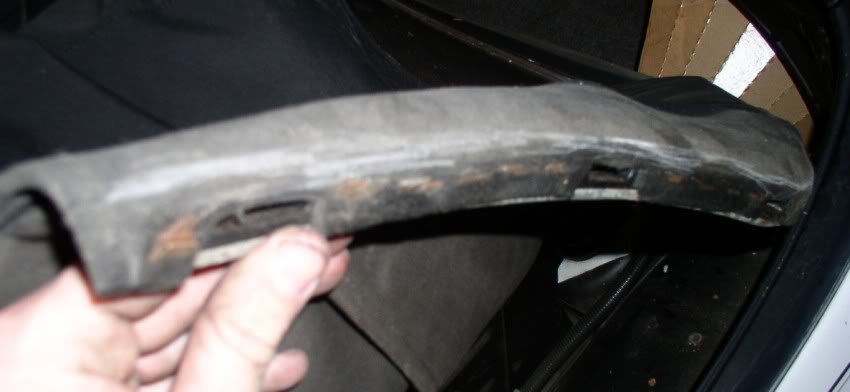
Once you get that out of the way, you’ll have the tack strip out in the open.
Get your penetrating oil and soak each of the nuts. The last top I did, one of the nuts snapped its stud off. It’s a bear to replace, so you’ll be doing yourself a favor using the oil. Since ASC did the conversion, you’ll have the fun opportunity of getting to use a standard deepwell socket to remove these.
Once you have the nuts off, you can start to free the tack strip off the studs. There are long slits on the strip that points forward, and small holes in the back. what you have to do is gently pry the ends of the strip inwards while pulling the whole assembly forward. With any luck you’ll get it all to pop out without bending the strip up too bad. It’s thin metal that likes to bend easily.
Take your marking pencil again and start marking the top edge of the tack strip on the cloth. Your new top will already be marked, but just in case you’ll want to make these marks. Also mark the relation of the top to the rear window drape and make a centerline mark on the rear window. The hole in the tack strip in the middle is dead center.
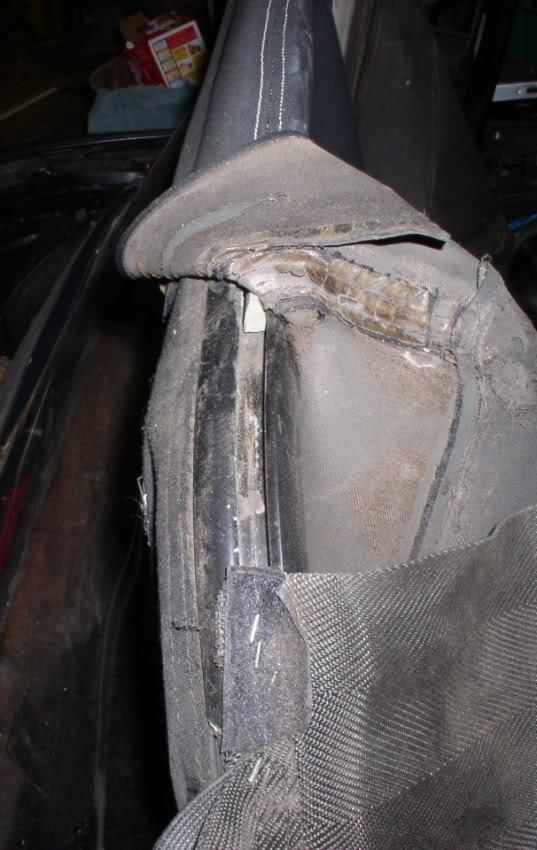
Now take your pick and start pulling the staples out. You’ll want to focus on removing just the staples that hold the top to the tack strip, and leave the staples that hold the backlight pad and the rear window drape.
After you free the top, you’ll have to remove a spacer that is wedged into the number 4 bow. This wedge holds the top to the number 4 bow. The backlight pads that hold each bow together have a tack strip on the bow that block you from pulling the wedge out. Simply slide it down, but not all the way out, and you can get to the wedge easier.
Take a drift of some kind and hammer the wedge out. Once you get it started, you can take some pliers and pull it the rest of the way out. I found that if the top’s plastic snap slides too far out, it’ll get wedged in tight and prevent you from pulling the wedge all the way out.
Pull the velcro apart from the top and rear drape, and pull the top off the number 4 bow. Most times, the plastic snap will just come off the top as the adhesive has just had it.
Also, the number 2 and 3 bows would normally be screwed into the top. It has little pouches that a bar slides into. The bar is then screwed to the bows from underneath the bows. Years of deterioration typically dry rots the pouches. That’s why old verts tend to look like a blimp once they start moving. The top isn’t anchored to the frame there and blows up.
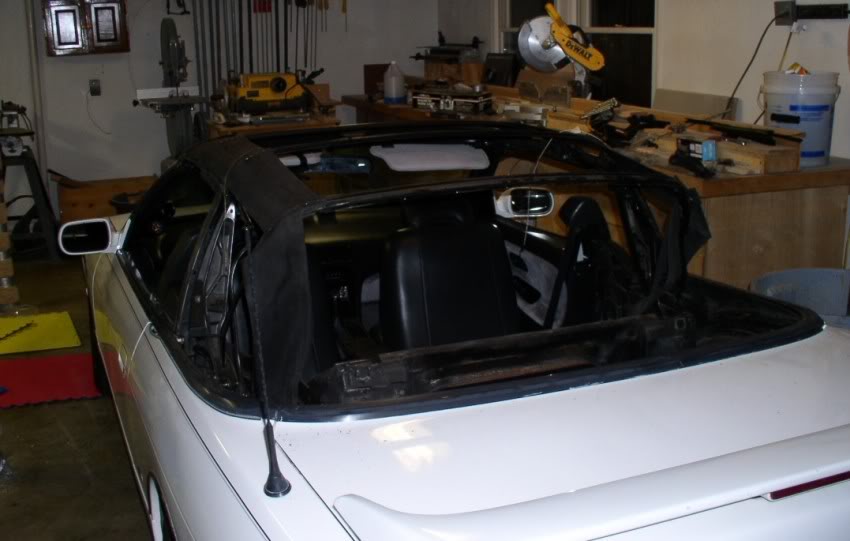
Once you have the top freed of the bows and the tack strip, you can pull it off and toss it to the side.
Take your marking pencil and make marks where the backlight pads line up the drape, and finish making more marks for the drape to tack strip relationship. Remove the staples for the backlight pads.
There’s one set screw in the middle of the number 4 bow that holds the rear drape in place. Remove it, and start sliding the drape out. Once it’s free, place the assembly off to the side and start checking for anything that needs replacing. The frame could use a cleaning and oiling, and the backlight pads need checking for frays and tears. Thankfully mine were in good shape, so I won’t need to replace them. If you do, be prepared to drill more rivets and have measurements to cut your new strip to length.
OK, here’s another good spot to take a break… When you’re ready to tackle the rest, here’s Part 3 of Replacing your Nissan 240sx Convertible Top!
NICOclub is back again with Carlisle Events to host our 18th annual NICOFest Carlisle AutoX…
Kraft Auctions Offers Fans a Chance to Own a Piece of Datsun Racing History
We built Datsun Ranch in 2014, and it was the culmination of a lot of…
Since it's not just Datsuns that are vintage anymore ("classic Nissan" still sounds weird, right?),…
Let's talk about big brake kits for a bit. For the purposes of this article,…
What do these terms mean? Pulsed Secondary Air Injection (PAIR) Valve: The PAIR valve sends…