WE’RE BACK!
Guys, I apologize for the lack of updates – Project 510 had to take a bit of a break, for several reasons: I had a couple health issues that kept me out of the garage for about 6 months, a couple of our other cars needed some immediate attention, and life just got in the way!
With that said, let’s get back to the updates. As we discussed before, my good friend Doc wanted to ‘make his mark’ on this project, and so he’s been assembling a set of Weber 42 DCOE carbs. They’ll be a nice fit on the Cannon aluminum manifold, and should provide plenty of fuel for the built-and-cammed L20b.
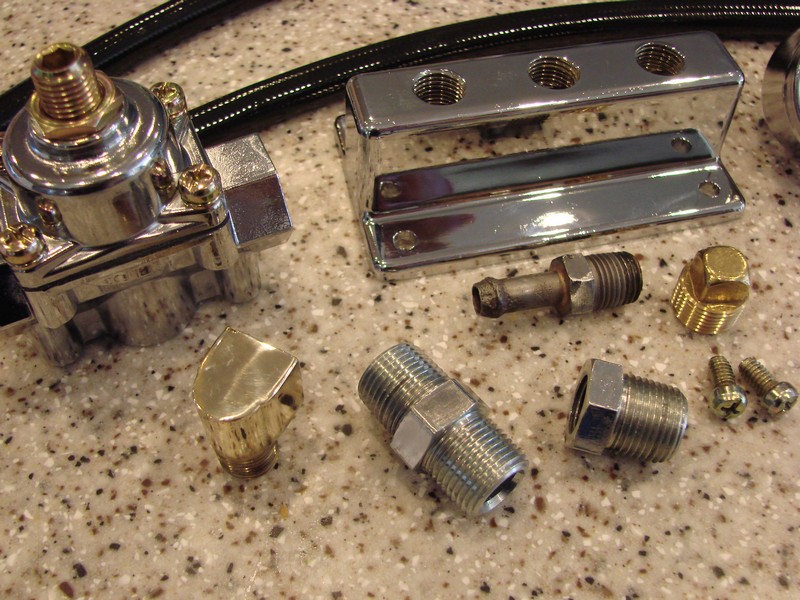
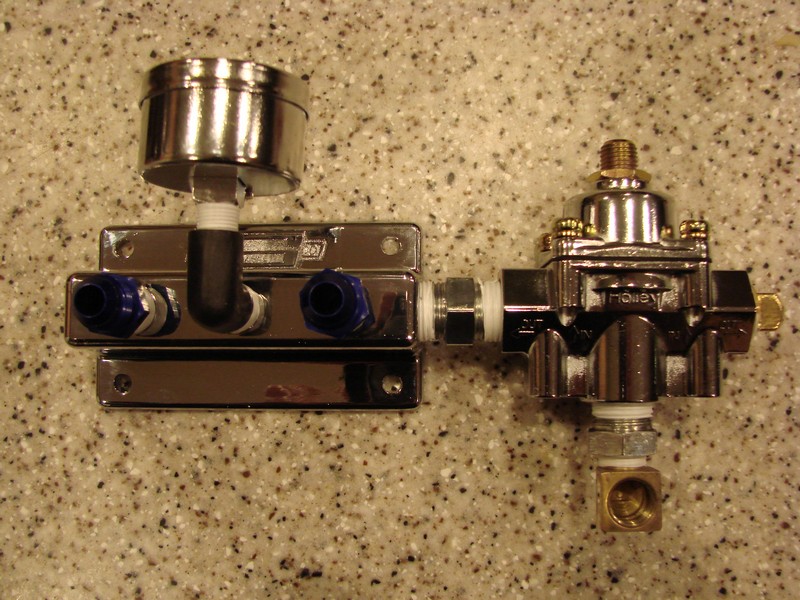
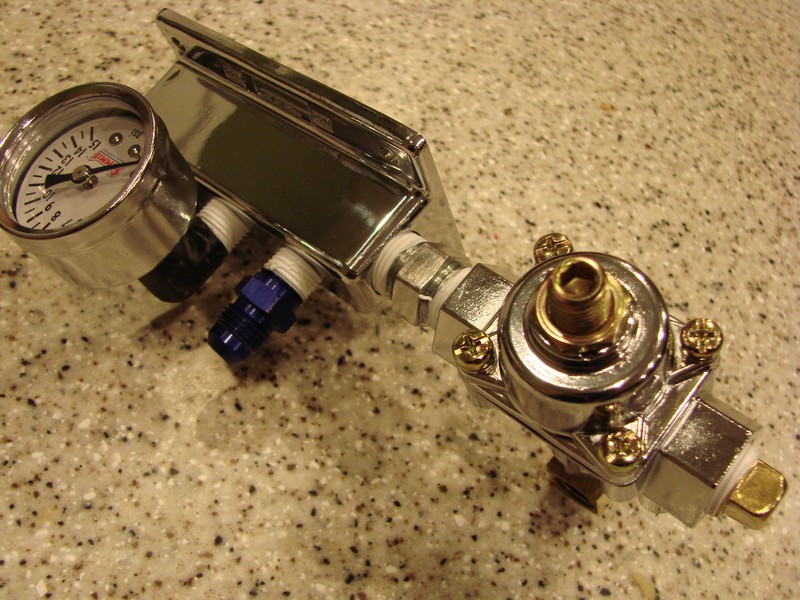
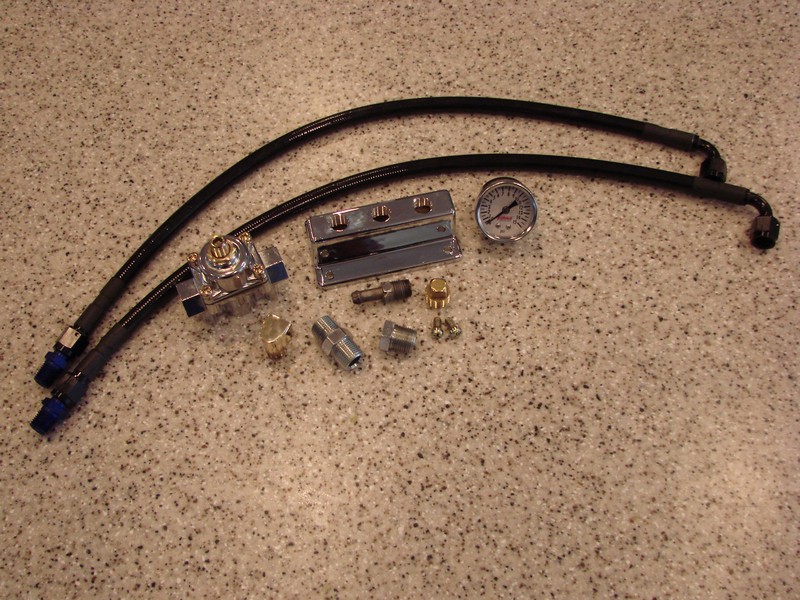
While waiting on the carbs, we went ahead and assembled a fuel system for the 510. Rather than running a simple “T” on the fuel line and hoping both carbs get equal fuel, I decided to run a fuel distribution block as well as a fuel pressure regulator and a gauge. You’re probably thinking, “Who runs a FPR on a carbed setup?” Well, with a mechanical fuel gauge, the fuel pressure can vary quite a bit, and it also delivers in pulses. This would smooth out the flow and ensure that we’re not pushing more fuel than the carbs need. Even though the floats will do their job, this will keep them from being pegged to the top all the time (or starving for fuel during hard cornering).
And here it is mounted to the side of the fender:
With that out of the way, and the carbs ready to install, it’s starting to look like a functional engine! I can already tell that the custom linkage is going to be problematic down the line. It’s not exactly the way I want it, but I also don’t want to go the slacker route and run a pull-cable, either. We’ll come back to the linkage later, after I do some more research.
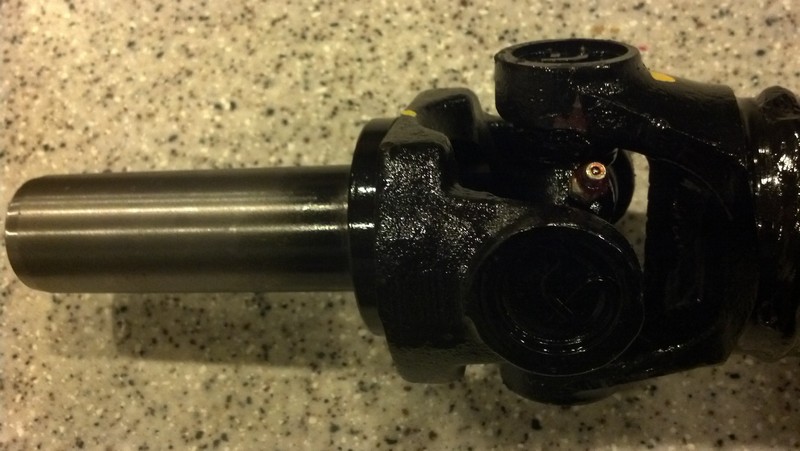
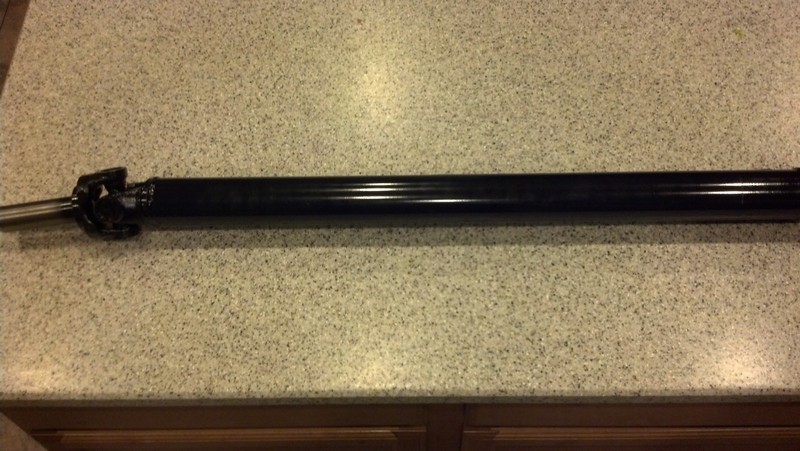
We’ve still got to snag some air horns / velocity stacks for these, and a couple of the venturis were wanting to work their way out of the carburetor body. We’ll get some of those bits tidied up later. In the meantime, the drivetrain shop called to tell us our driveshaft is finished, so we’ll install that next.
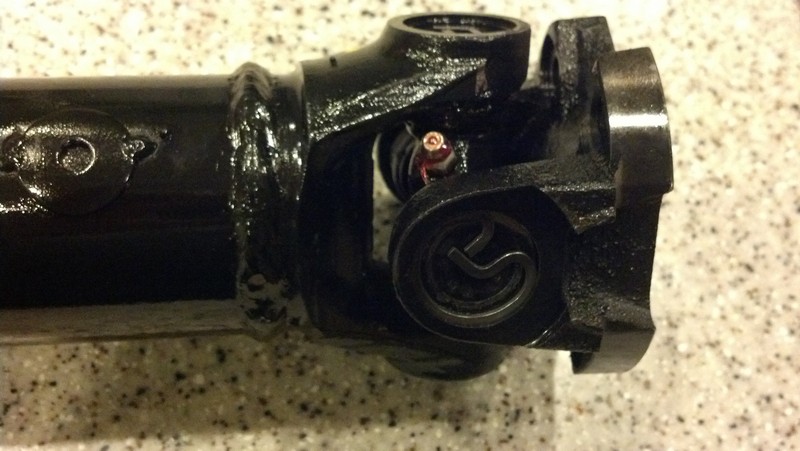
Sexy stuff, huh? Check out the zerk fitting for greasing the u-joints! This should work out real nice.
In the next episode, we’ll get the hood squared away and installed, and see if we can get her fired up and running – We’re almost there! Join us for the next episode here: Datsun 510 Build – Part 12
NICOclub is back again with Carlisle Events to host our 18th annual NICOFest Carlisle AutoX…
Kraft Auctions Offers Fans a Chance to Own a Piece of Datsun Racing History
We built Datsun Ranch in 2014, and it was the culmination of a lot of…
Since it's not just Datsuns that are vintage anymore ("classic Nissan" still sounds weird, right?),…
Let's talk about big brake kits for a bit. For the purposes of this article,…
What do these terms mean? Pulsed Secondary Air Injection (PAIR) Valve: The PAIR valve sends…