Overview:
Another one of Vroom-chirp’s interior articles!
Difficulty: ***
Time: 1 hour
Cost: less than $10
Tools:
-Sewing needle
-Marker
-Razor blade
Materials:
-Fabric or cover material of your choice
-Thread
Procedure:
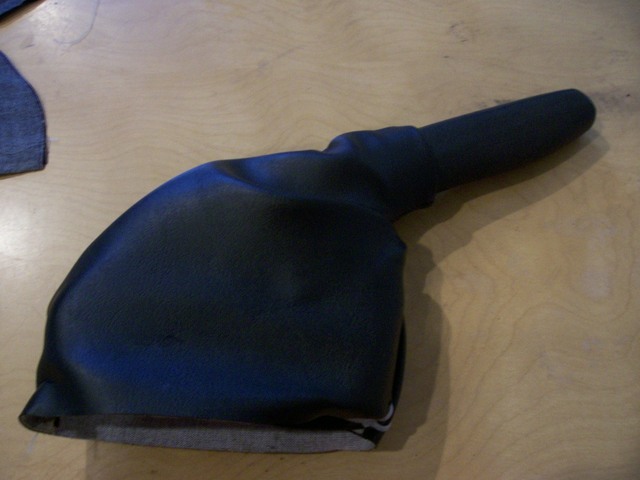
Pull the E-brake in the upright position, then grab that sucker hard and pull in the direction the handle is now pointing. Twist if you need to, the cover will come off if you apply enough force.
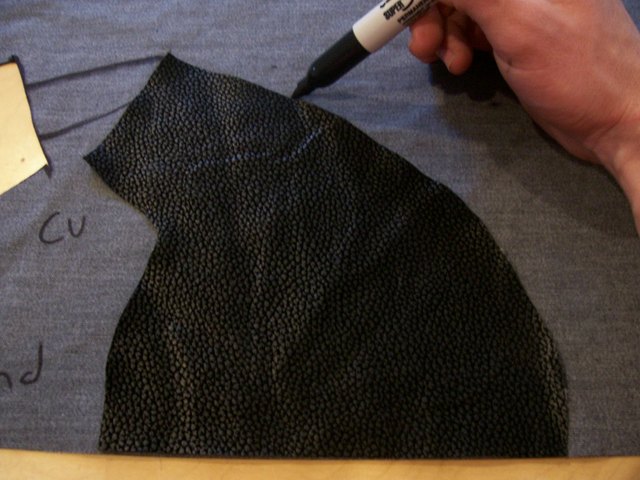
Lay the rubber cover on the material that you have chosen to use and trace around it.
*NOTE* You must leave extra space on the bottom of the cover as shown. If not, when you pull the E-brake it will show the lack of material. I gave it about 2 inches.
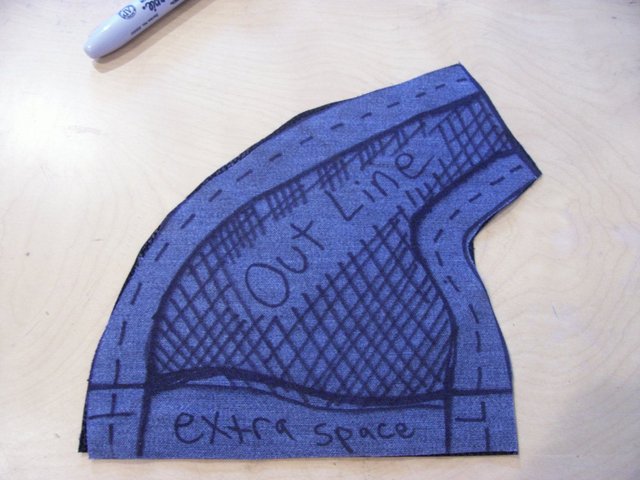
roughly mark an inch from the trace, the dotted lines shown. That will be your stitch line to follow, the another inch from that, a cut out line to follow.
Cut that out and flip it over, then trace the outline of that cut out onto more material.
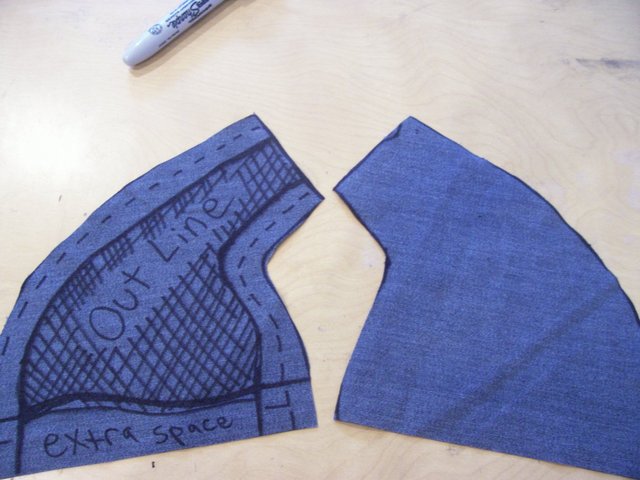
when you’re finished, cut it out as well.
Lay them together with the backing showing on both sides and sew your dotted lines.
*NOTE* The closer you sew to the outline of the handle that you traced, the tighter the boot will be on the handle.
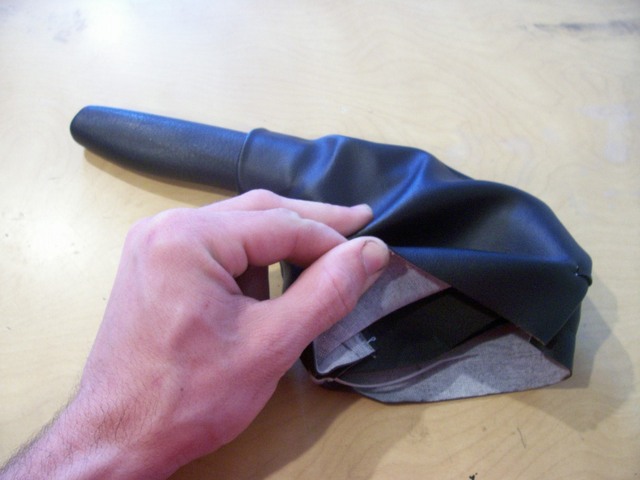
Install by inserting the top of the handle into the top of the material while its still inside out.
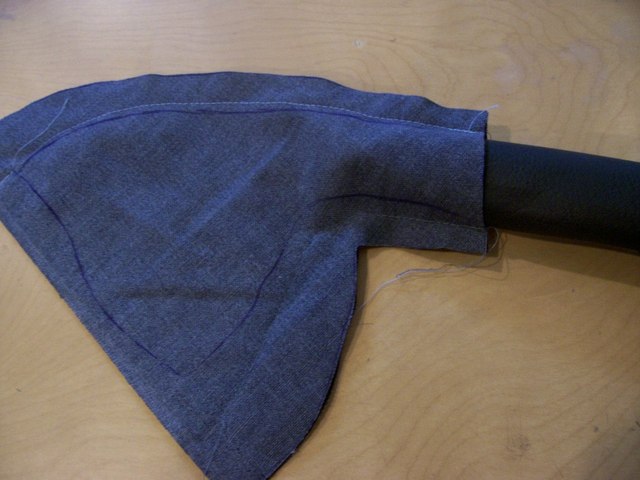
Then begin pulling the material over the handle, right side out, leaving the two inches at the handle still inside out. Notice how that made the top look nice and tucked to achieve that clean look.
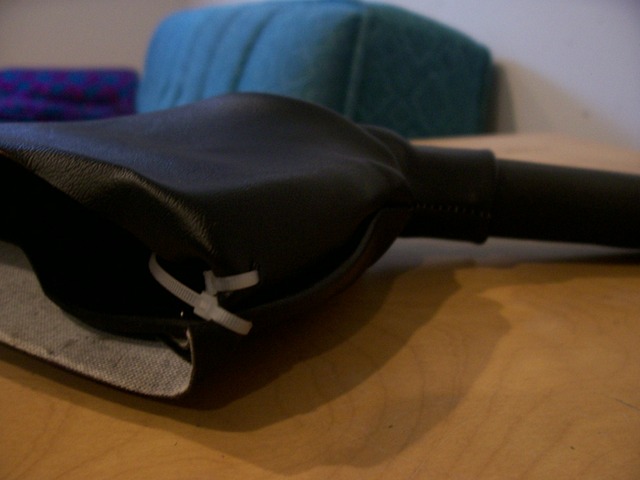
OK, this is where it might get tricky; I wanted that crumpled look, but the material I used was too stiff. To get that look, I pinched the material at the arch and stuck in two zipties on either side of the stitch mark to hold it. You don’t have to do this, but it looks more natural if you do. I did it on both front and back.
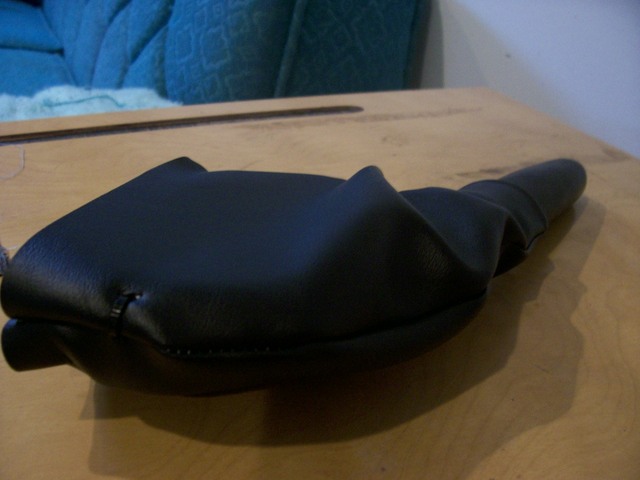
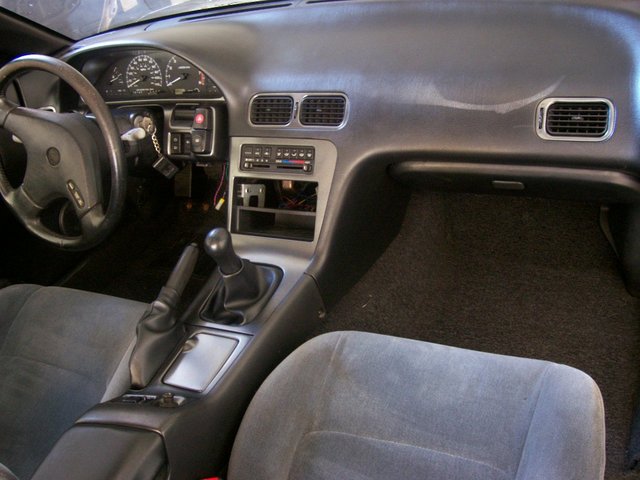
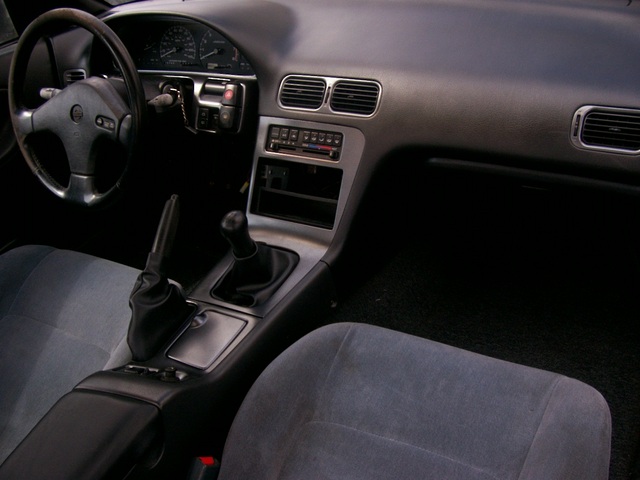
Re-install the cover and check out your finished product: