Cracked dashes plague us all. Instead of going to the trouble of replacing the whole dash, or trying to install a dash cover, you can fill and paint over the cracks and end up with a really nice-looking dash for little cash and effort.
Difficulty: ***
Time: 1-2 hrs + dry times
Cost: ~$30-40
Materials:
– Latex Gloves
– Painting Mask
– Dust Mask
– SEM Texture Coating
– SEM Color Coat (I used Landau Black)
– Cyanoacrylate Glue (I used Super Glue)
– Baking Soda
– 100, 220, 400 grit sandpaper
– Masking Tape
– Newspaper/Masking Paper
– Lint free rags and regular rags
– Wax and Grease Remover (I used Prep-All from the Wal-Mart automotive section)
– SEM Plastic Adhesion Promoter
– You can use Denatured Alcohol, I don’t recommend though because it dries too fast
– Dash Protectant (I used Meguiars Vinyl/Rubber Protectant)
Tools:
– Scissors
– razor blade
Procedure:
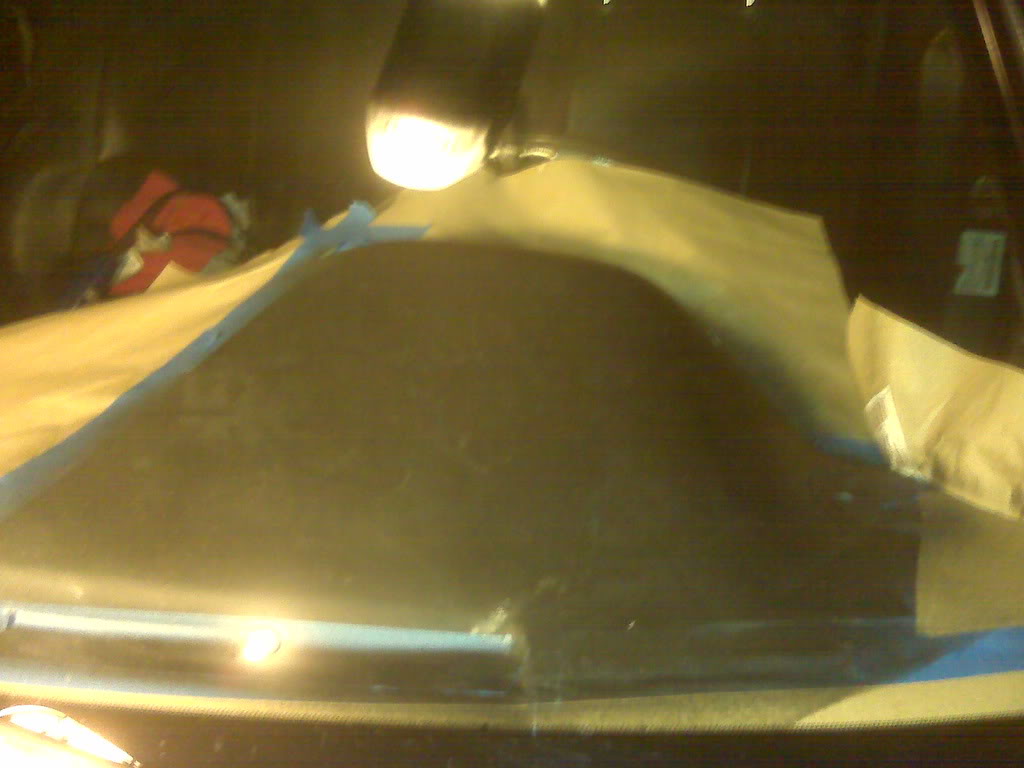
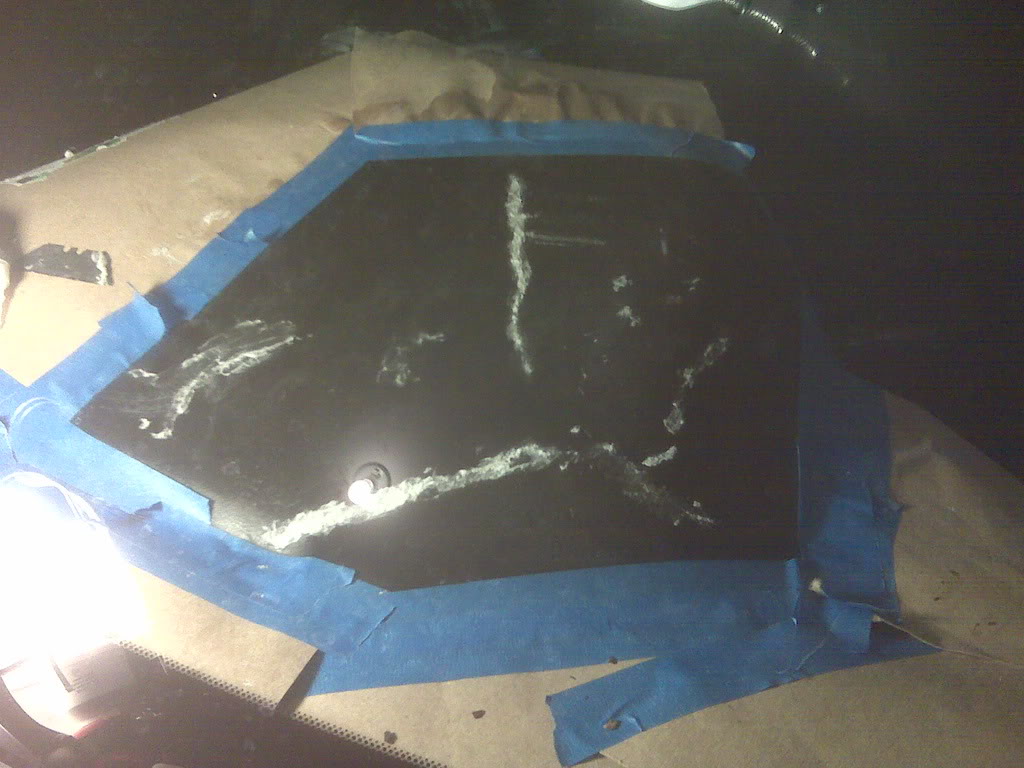
Here’s what I had to work with:
You guys really don’t wanna know how this happened.
Steps:
1.Mask the area you want to work with.
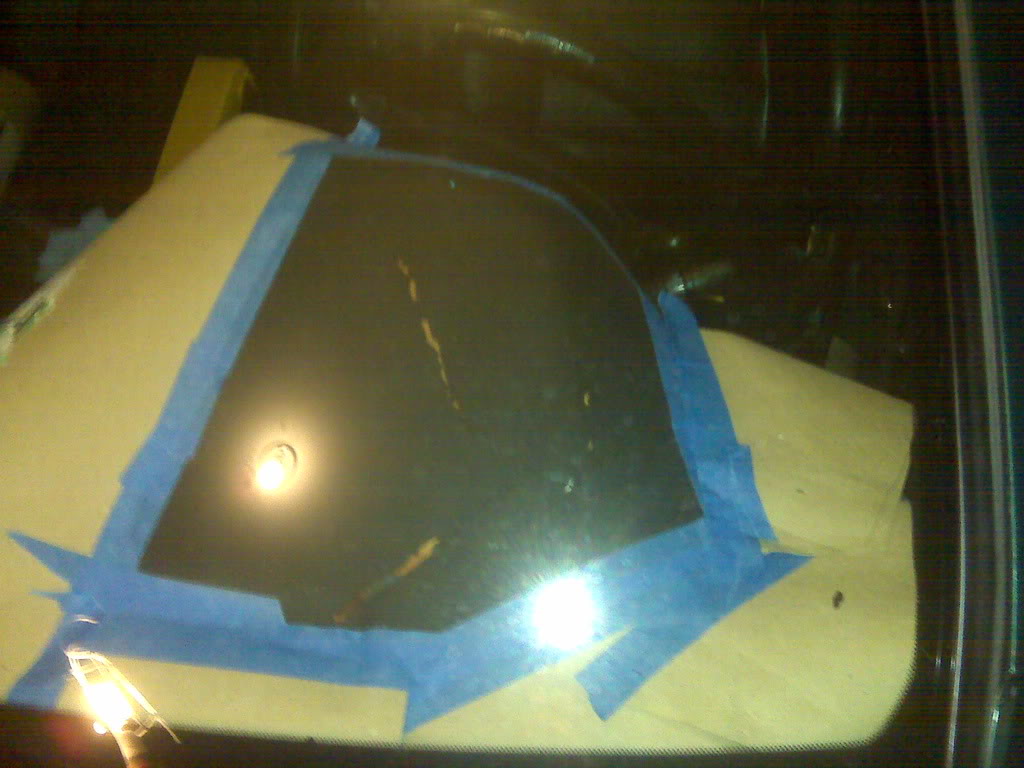
I had small hairline cracks branching out…
2.Use the razor blade to cut out any broken pieces of the dash so you have a good surface to work on. If you look at the first picture above, at the bottom of the dash you can see what I’m talking about.
3.Clean the area with Wax/Grease Remover so you have a good bonding surface.
4.Fill the crack with glue and use your razor blade or finger to flatten the glue so it doesn’t raise the edges of the crack. THIS IS VERY IMPORTANT, if the edges raise it’s a PITA to sand down. Keep moving your razor blade/finger so it doesn’t stick. Then let it dry.
5.Once you have a good structure to work on you can now start leveling the surface. You do this applying CA Glue and flattening it with your razor
blade/finger and then applying some baking soda to fill in the cracks.

6.Once it’s dry, start sanding it down starting off with the 220 grit. If you’re having problems getting the surface flat then use the 100 grit, but use the 220 grit to get rid of the scratches that the 100 is going to cause.
7.Most likely you’ll take chunks off when you’re sanding, so repeat steps 5 and 6 until you have a very flat surface. IT IS VERY IMPORTANT to have a flat surface, any of you guys that have done body work know how paint DOES NOT flatten the surface. Any imperfections will show when you paint over it.
8.Clean the surface off, use Wax and Grease Remover, and then wipe it off again.
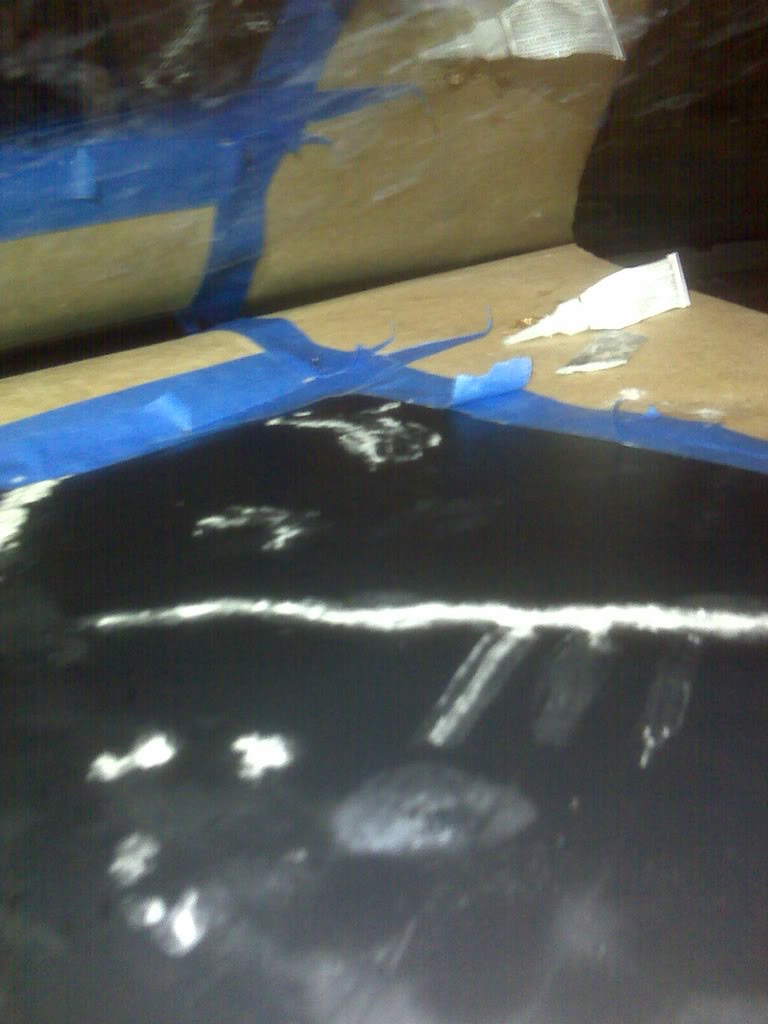
9.Here’s the hard part. Make sure you mask off any areas that you don’t want to get overspray on. Now take the SEM Texture Coating, if it’s your first time using it get a piece of cardboard and spray it for a couple seconds because some “white-goo” like substance will come out, keep on spraying until it comes out black. Once it’s ready, go ahead and spray the area. The hardest part is getting the texture correctly. You do this with a mix of getting the right distance to spray at and sanding it with a 400 grit when it dries. I recommend only doing one coat, because if you do more, when you remove the masking tape you will have a line since the surface painted is higher than the masked area.
10.Now grab your Color Coat and paint over the SEM Texture Coat. I suggest only doing 2 coats of this for the same reason above.
11.Now remove the masking tape, if you do have a line, take your 400 grit and sand it down to have it blend. Make sure you sand only that first layer of Color Coat, if you sand too much YOU WILL sand down the Texture Coating and when you do so it will turn Grey.
12.Apply Dash Protectant and you’re done!
Suggestions:
-Practice with steps 9-11 on something else that isn’t of value to you. Try to get your hand movement in a half-circle motion to get a nice blending, so you won’t get any lines (or as much) when you remove the masking tape.
-I also suggest expanding the masking area to make the blending easier.
-If I was to do this again, I would use a Plastic Adhesion Promoter (SEM also sells it) to make sure the SEM Texture gets a good bonding surface.
Read up on these:
http://semaerospace.com/images…s.pdf
http://semaerospace.com/images…s.pdf
————–
Other than that and what I bolded in red, you should be good. My finished product turned out okay, it’s good for about a 5 footer, but up close you can see the imperfections. Sure as hell beats the eyesore it was before. If I sanded down more it would’ve been perfect. Hopefully, you guys are more patient at sanding than I am! If it starts chipping since I didn’t use Plastic Adhesion Promoter, I’ll do this again and sand it down better.

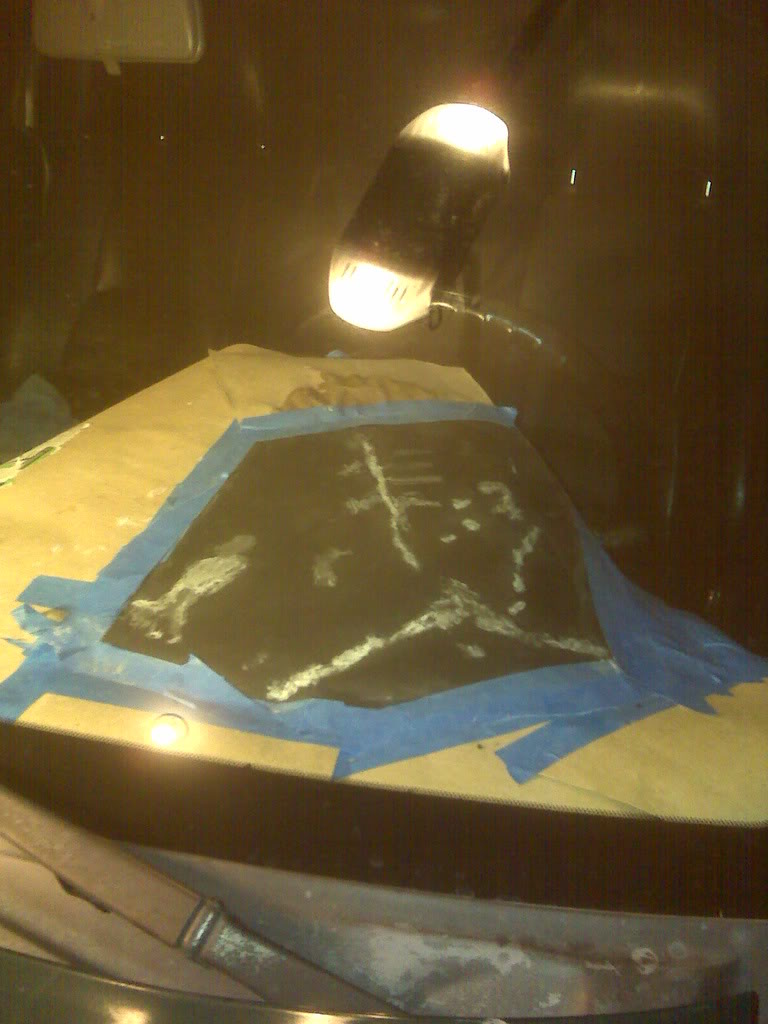
I couldn’t reach the bottom spot with the spray can – Ignore the dirty glass.