I wanted a windsplitter for my maxima, however they are very expensive. So… Go to home depot and buy a gallon of fiberglass resin and a sheet of 1/8″ masonite (hard press fiberboard) $35.
Go to a fabric store and buy two yards of fleece $5.
Go to a specialty fastener store (Tacoma screw) and buy 16- 3/16″x9/16″ with 3/4″ flange rivets $2.
Get a piece of cardboard and cut out a template of the windsplitter. Make sure to have the correct dimensions of the underside of your car (mounting points). When your cardboard template is spot on, transfer it to the masonite. Fit the masonite to the underside of car and trim if necessary.
When the masonite fits perfectly, wrap in fleece and secure tightly with spray adhesive.
Mix fiberglass as per directions and cover fleece (paint on and mix in small batches to keep from setting up too quickly make sure to saturate the fleece completely. After many coats of fiberglass Bondo any bad spots.
When it’s completely cured, use a heat gun (or in my case my wife’s hair dryer) and heat the fiberglass and bend. You have to get it good and warm and be very patient when bending or you’ll crack it. I soaked it in the sun for a couple of hours and then heated it and bent it. The aluminum angle pieces are on there for lateral support. They also straightened it from front to back because when I bent up the sides, it also put a front to back curve in it.
Wet sand well, start with 150grit and work up to 600. Use glazing putty to fill all airholes (very small but will show up in paint). Re-wetsand with 600 grit. Primer and paint wetsand in between all coats to avoid “orange peel”.
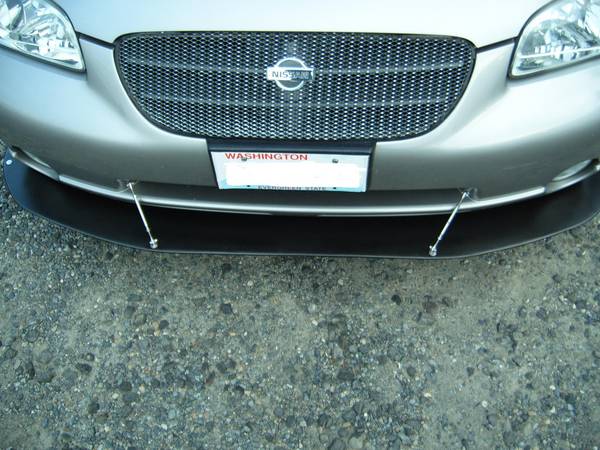
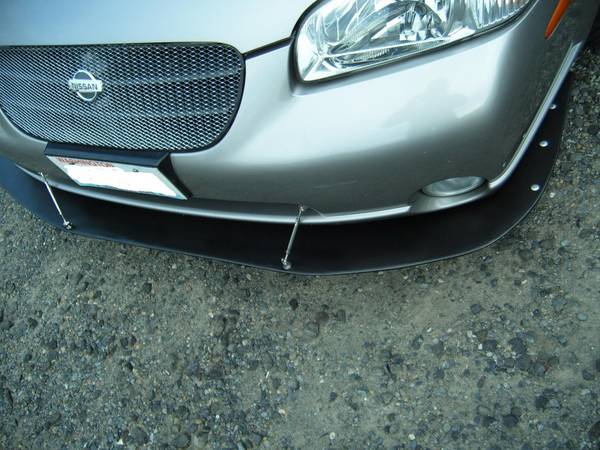
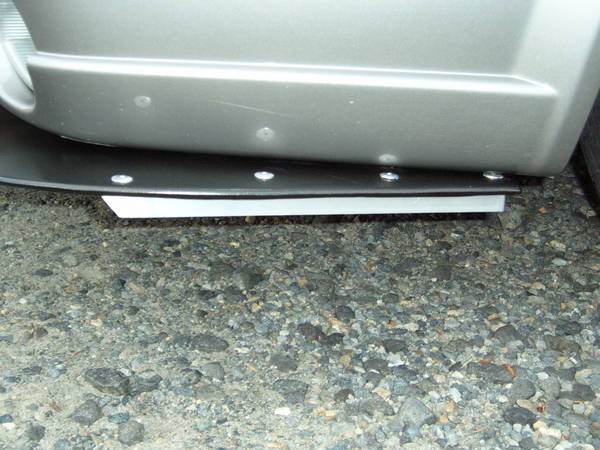
Put under front end, drill 3/16 holes thru splitter and bumper, and rivet in place (use 3/16 washers on backside of rivets to keep from “popping thru” the urethane bumper.
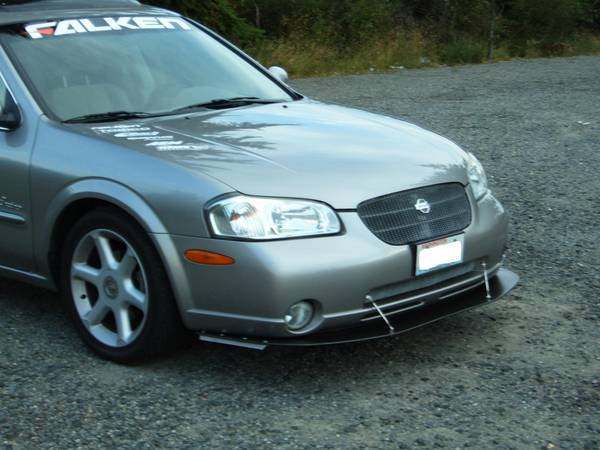
Optional- spend $50. on wind splitter support rods. Done, enjoy a beer, or in my case a Pepsi and enjoy your new aggressive look. (Some adjustment will need to be done to achieve the proper amount of downforce)