CREDIT FOR THIS GOES TO CODERED
Okay this is a write up for making your tail lights smoked or blacked out.
***REMEMBER THIS IS NOT I REPEAT NOT REVERSIBLE UNLESS YOU WANT TO SPEND HOURS SANDING DOWN TO THE PLASTIC, YOU’VE BEEN WARNED!***
Ok first off tools and accessories!
1. Socket Wrench with sockets
2. Needle nose pliers
3. 600 grit sand paper
4. Nite Shades
4. An automotive clear coat
5. Squirt bottle, filled with water and a few drops of dish soap
6. 2000 Grit sand paper
7. Sponge
8. Rubbing compound (the red one)
9. Electronic buffer (not necessary)
10. flat head screw driver
that’s it.
————————————————————————————
First off removal of the lights
You will need your flat head screw driver to remove the 2 tabs covering the 2 screws that hold the light in place.


Ok now that the taps are off you can get your socket wrench and right size socket (sorry i forgot the size just trial and error) you will need the extender beacause the bolt is some distance back.

as for the second bolt this one you can get loosend with the need lenose pliers then fully remove with your fingers.

I also found it safer to buy an extender magnet so that you don’t drop the bolts anywhere down in the body!!!

just stick it on the thread while unscrewing it.
Do the same with the other tail light.
After the bolts are out you can now proceed with removing the light itself
just pull back on it, it will take some force because there is some double sided tape holding it on.

After removing the light you can now remove the brake, turn, and reverse lights by twisting the connector counter clockwise.


After there out to prevent damage to them i just wrapped them in a microfiber towel.

Done with removing
————————————————————————–
Priming
First start off with a nice painting surface.

For a little extra security i taped up the holes that the bulbs were in

k
Clean the lights with a little soapy water to remove grime and w/e could be on them. rinse with water leave no soap behind.
Whip out your 600 grit sand paper and sand away until it looks like….

This.
————————————————————————————
Painting.
After sanding remember to clean with the soapy water again remember to leave no soap behind….again
Allow to fully dry or else you will pay with one messed up paint job.
pop open your can of Nite Shades

Start painting, if you read the back of the can you would know that you should be painting 12-18 inches away, your supposed to do light coats….really light coats. the more coats the darker.
After first coat doesn’t look like much but we are going to get there.
Allow 10 min to dry in between coats

Second coat

third coat (with flash off)

with flash on

Fourth coat with flash off

With flash on

Allow to fully dry before moving on to clear coat.
The clear coat you can put on a lot thicker and a lot closer but don’t let it run
Here is a pic after the first clear coat, with the flash on.

Apply any number of clear coats, i did 3
moving on!
———————————————————————————-
Wet Sanding
Okay, a lot of people will say to do this on the car, but don’t you could scratch your brand new car’s paint.
Make sure the clear coat has had at least 4 hours to set.
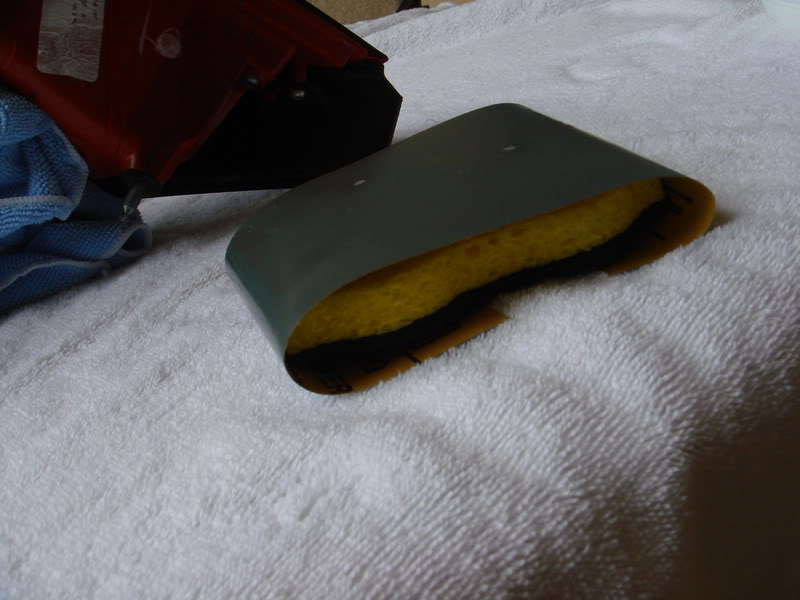
Making sure again you have a well preped surface gather your tools, 2000 grit sand paper, Spray bottle (with soapy water), sponge, bandade’s(you’ll see why)
Proceed to spray the soapy water on your lights and on the 2000 grit sand paper


Wrap the sand paper around the sponge, i used this instead of a sanding brick you don’t really need this you can do it with your hand.
Wet Sand until you remove all the orange peel (please google if you dont know it is.)

There is a pic after wet sanding
—————————————————————————
Rubbing compound & polishing
Smear rubbing compound all over the tail lights with a moist cloth and allow to dry to a haze then rub off with a clean cloth

You will now see that your tail lights aren’t exactly smooth or have a good looking finish, just bare with me.
Put the lights back on the car and again apply some rubbing compound on them, but work a section at a time and now use your buffer (if you don’t have a buffer use your wax on wax off motion.) and proceed to buff the heck out of it when you are done wipe it off, move on to another section.
here is a picture after i was done with the buffing.

As you can see, its a mirror finish!
You are done just reassemble the same as assembly.
I forgot to add one important little tidbit. alcohol removes nite shades in if you accidentally get it on any surface a little alcohol will remove it.