Find related tutorials and information on your vehicle in NICOclub’s Nissan Forums & Infiniti Forums |

I’m switching to coil overs and shorter struts. The shorter struts require sectionign the strut housing to “increase travel” which is actualy reducing gross travel but moves the travel higher up and lowers the car.
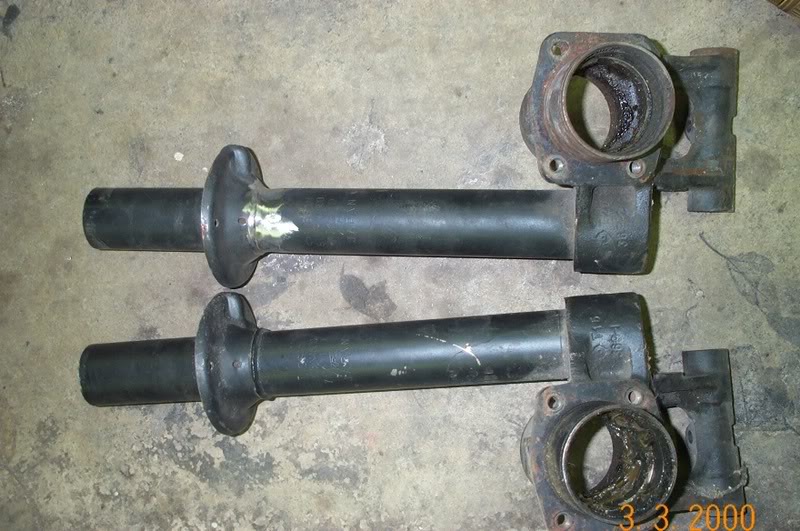
For my 240Z I am actually using 280Z strut tubes so your measurements will vary. The main reason is the housings on the 240Z are narrower and if not perfectly aligned or a touch out of round, can keep the strut cartrige from fitting in. I started with the rears, first thing was to remove the stock spring pearch, here I have ground off the weld holding the pearch on with my angle grinder.
A few taps with my mallet and ti slides right off.
Next cut a few inches off the top, you need the threaded part to hold the struts in with the gland nuts, I thought of removing a section lower but i figure this way I can clean up the inside of the weld if need be. With the gland nut threaded into the removed setion, I placed it on the strut cartridge and made a simple mark with a permanant marker.
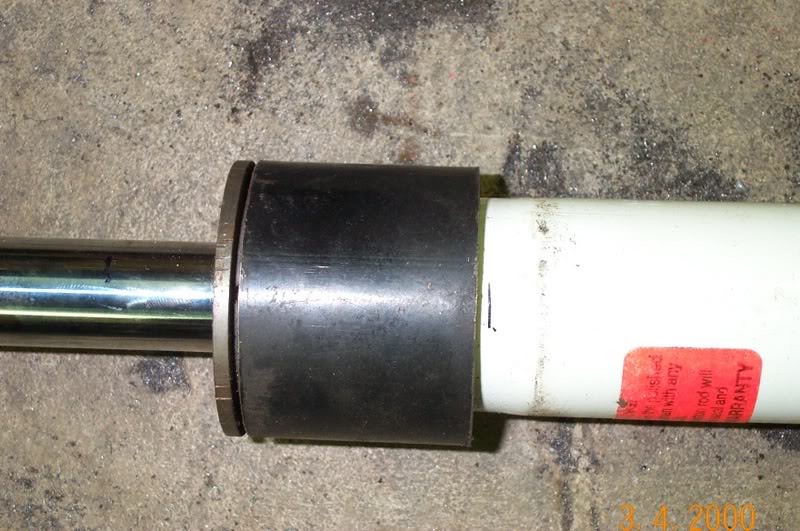
I then took that piece off and slid the cartridge into the housing and made a mark on the shaft showing where the tube came up.
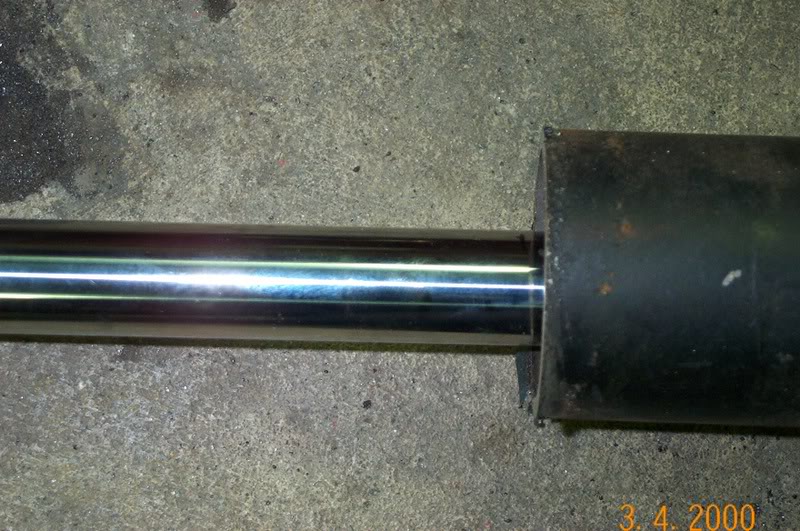
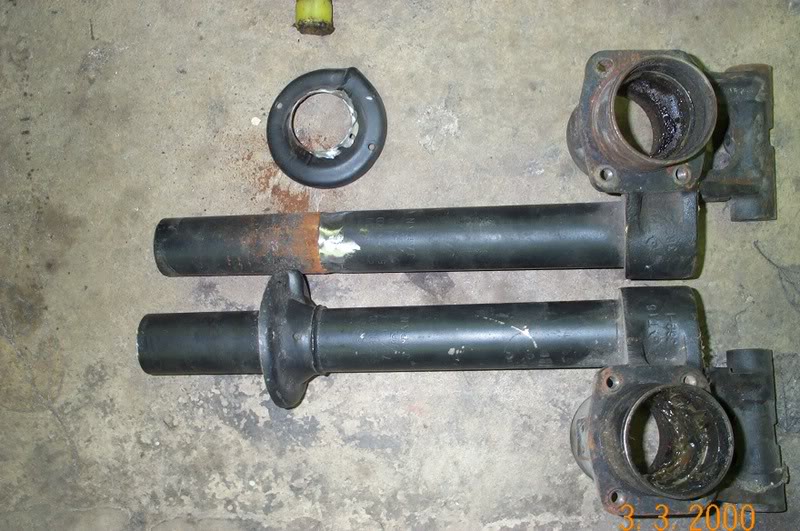
I then measured the distance between the 2 marks and removed that much from the tube, in my case about 3 inches. Here you can see the shortened strut body and the 2 marks on the strut (well maybe you can’t see them but trust me they are there).

Here you can see the 2 pieces fitted together and the strut cartridge in place.
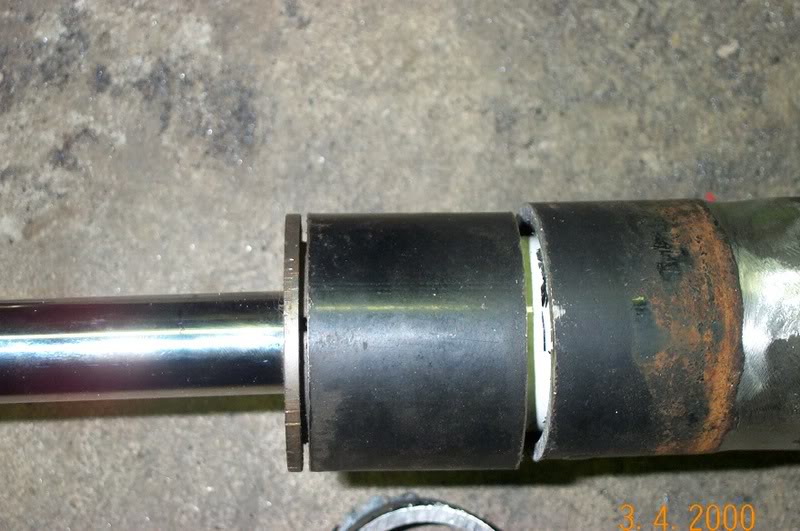
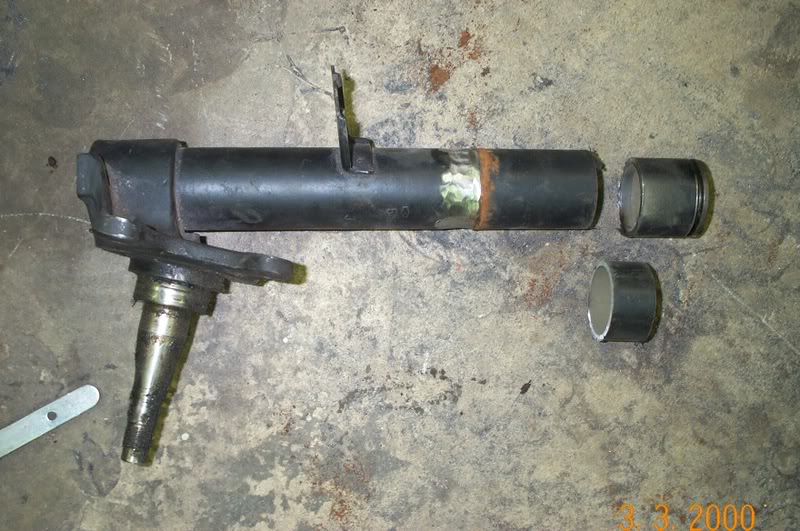
Here you can see the section removed as well as the upper and lower pieces to be welded back together.
Here is it assymbled and ready for welding, you can see the section removed.
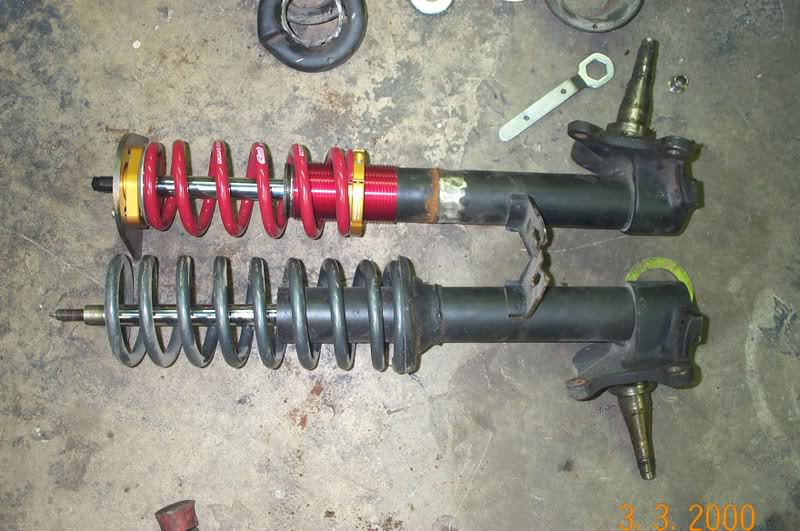
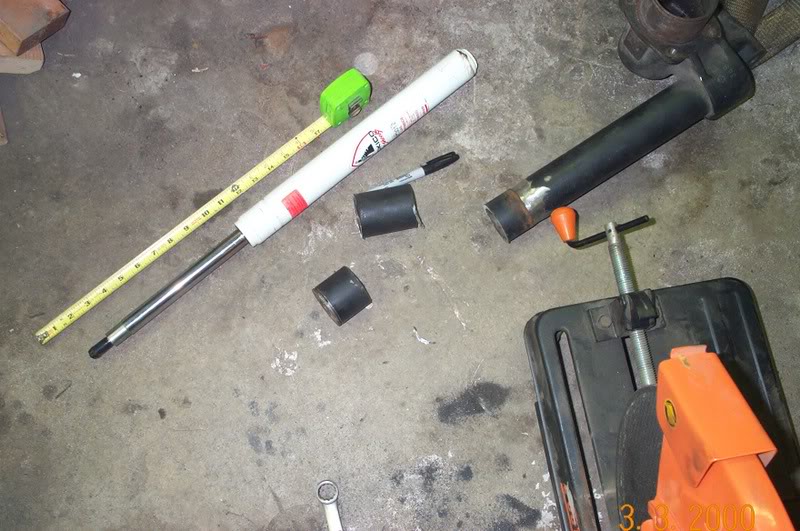
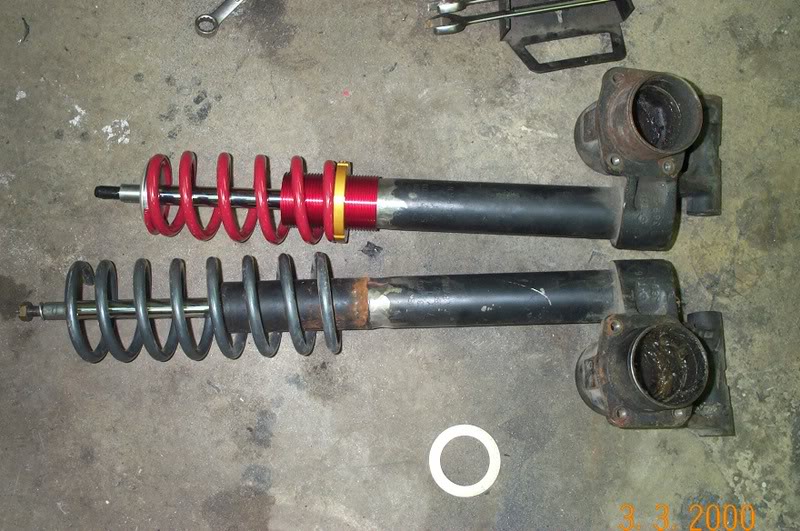
For comparison purposes, here is the sectioned housing with the coil over sitting next to the uncut housing with the stock size shock and suspension technique spring.
The fronts worked the same way only the amount removed was only 1.5″.
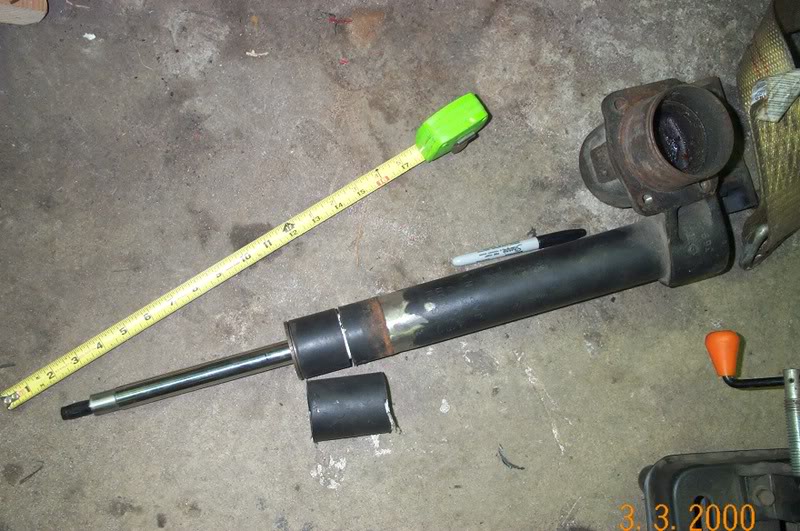
Compare to the stock housing and ST spring.