OK, those of you who have read this far are probably thinking, “Enough already, show us the damn finished product!” Bear with me – While suspension rehab on a ’67 Datsun isn’t a “sexy” topic, I promise, you’ll like the results. Stick with us, this is getting good.
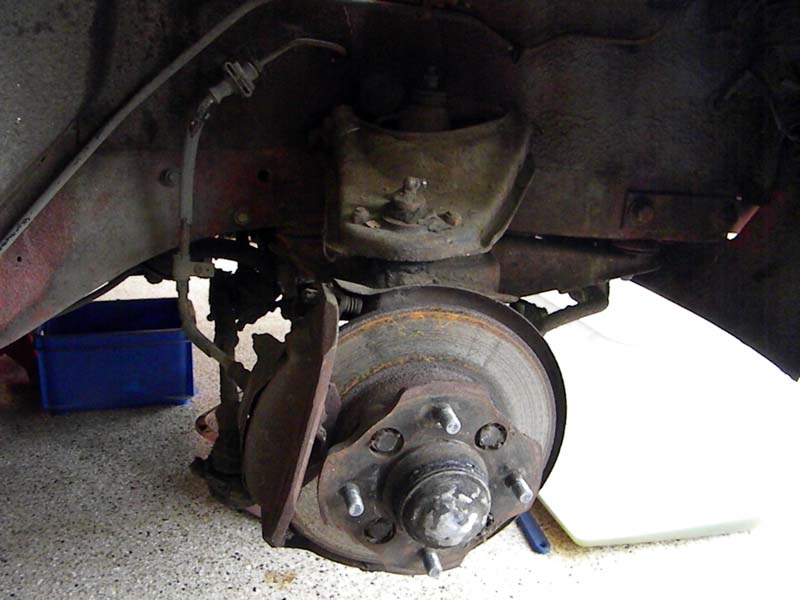
The steering on the wagon had gotten notably sloppy over 44 years, and part of the reason for all this suspension work was to make sure we had addressed the right problem. A sixteenth of an inch of “slop” in each part can add up to a quarter-turn in the wheel (and a harrowing driving experience). Aaron (Bwana) was out for the weekend and tweaked the steering box. This is a great starting point to assess how much free play is still left. While the steering box adjustment took up some of the slack, there was a lot left – Ball joints, bushings, tie rod ends, bearings… Everything is suspect on a car this old.
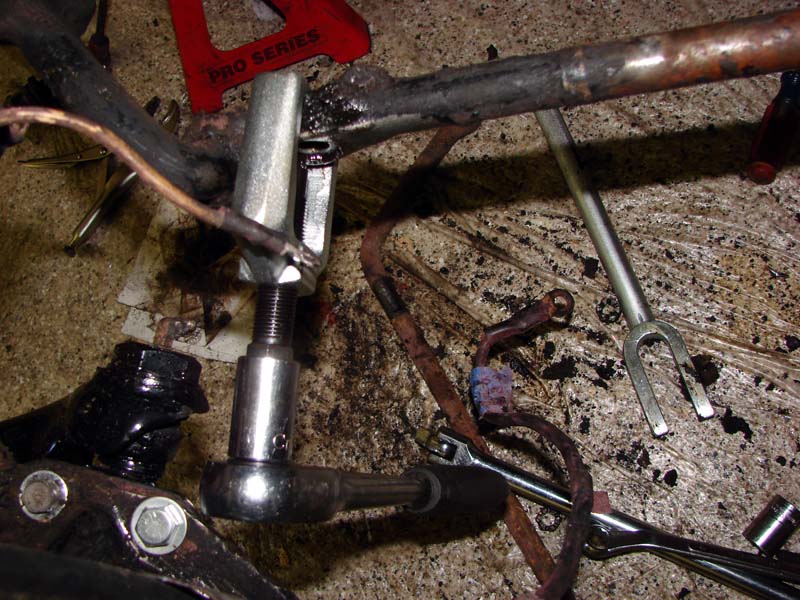
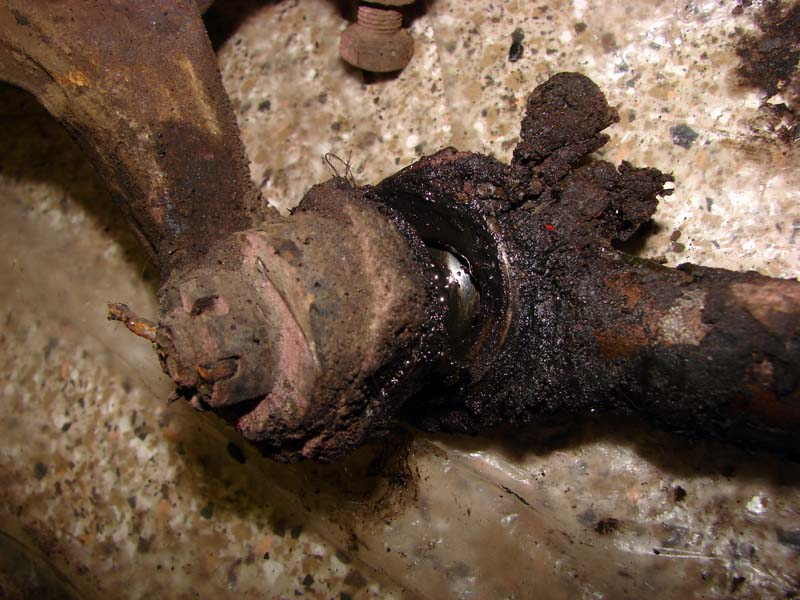
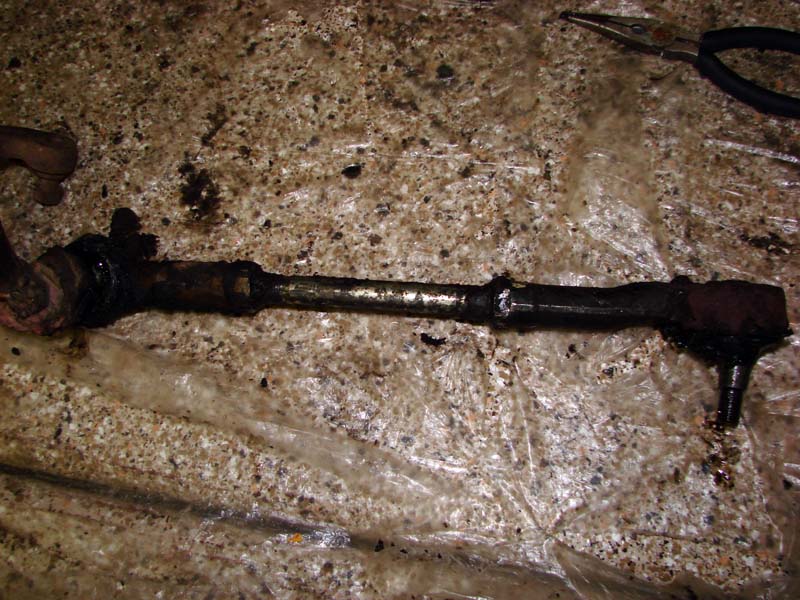
One of the first challenges we ran into was the fact that lower ball joints for the 411 have been pretty much non-existent for a decade. Nissan’s NOS stuff was sold out long ago, and due to the scarcity of the car, no one’s reproducing them. By a simple stroke of luck, while we were in California on vacation at Les’s shop, he mentioned he might have a couple laying around. Sure enough, he did. Not cheap, mind you – but when you HAVE to get the car back on the road, you do what you gotta do. The upper ball joints were sourced through a gentleman in Singapore, who I met through an ebay transaction. He turned out to be a pretty valuable source, as he also had inner and outer tie rod ends (great quality stuff from Triple-5, or 555 Parts, a supplier of OEM-quality parts to Nissan for years).
Success in finding most of the parts we needed increased our motivation, and Becky and I hit the garage hard on our days off. The JCCS show was only 3 months away, and we wanted her to make her debut there. First order of business was to start dismantling the front suspension. Since this was going to be a messy job, we laid down plastic drop cloths underneath the car, lifted her up on jackstands, and prepped for a long project. While we started disassembly, we enlisted the help of our son, Darian, to start removing all the road grime from the frame rails and underside of the car. Some “disposable” clothes, a pair of safety glasses, a paint scraper and cordless drill with a wire wheel was all he needed to be off and running. I’m pretty sure I swept up a 5-gallon bucket full of grime. We might make a Datsun restorer out of him yet.
Have a look at the “starting point”:
I’d decided on Roadster front springs for a bit of a drop, but I was wary of too much of a reduction in ride height. All springs sag over time, and I didn’t want to put some 40-year-old Roadster springs in there and have it droop beyond a reasonable height. Again, I lucked out and sourced a set of springs that had been removed and thrown in a box decades ago – therefore, less likelihood of drooping. These got the wire wheel treatment to remove surface rust and were powdercoated red to match the car. Shocks were sourced from a NICO vendor, and we went with KYB’s.
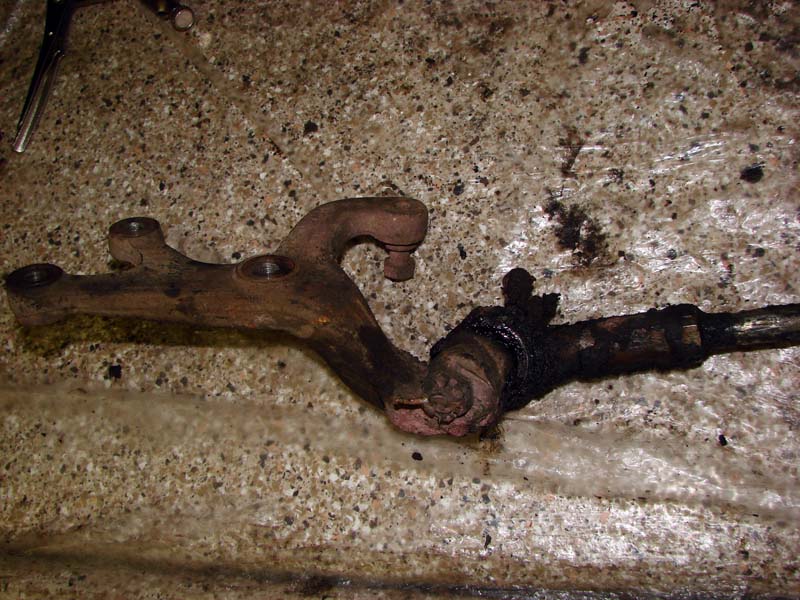
More of the “before” pics – Click on each one for a closer look. It’s no fun working in this nasty mess:
The 411 SSS had front disc brakes from the factory, and the rotors were still in great shape. The calipers, however, were a different story. In fact, the entire braking system was in such a condition that I can’t believe I actually survived the drive from southern California – more on that later. A year ago, I went through the ordeal of trying to rehab my Roadster front calipers, only to find I’d wasted 2 days and a ton of work – the sleeves of the brake cylinders were just too pitted, and I wound up completely retrofitting an upgraded brake system. Not wanting a repeat of THAT hassle, I found a set of new 510 brake cylinders on ebay, verified that they were the same as the 411 brake cylinders, and snatched them up. A new set of pads was sourced from NAPA, as was a set of new brake hoses. Some new brake hardware rounded out the install.
The upper and lower control arms were literally buried in nearly a half-inch of greasy, nasty mess. A couple hours with the wire wheel and some degreaser, and they got a fresh coat of black chassis paint. Those super-rare, beautifully-machined ball joints we were lucky enough to score went in cleanly, and all new Grade 8 bolts from my local Ace Hardware finished off the control arms.
Read more: In our next installment, the suspension gets finished and work starts on the engine bay!
NICOclub is back again with Carlisle Events to host our 18th annual NICOFest Carlisle AutoX…
Kraft Auctions Offers Fans a Chance to Own a Piece of Datsun Racing History
We built Datsun Ranch in 2014, and it was the culmination of a lot of…
Since it's not just Datsuns that are vintage anymore ("classic Nissan" still sounds weird, right?),…
Let's talk about big brake kits for a bit. For the purposes of this article,…
What do these terms mean? Pulsed Secondary Air Injection (PAIR) Valve: The PAIR valve sends…