Article Series
- 1967 Datsun WRL411 Rescue and Restoration - Part 1
- 1967 Datsun WRL411 Rescue and Restoration (Part 2)
- 1967 Datsun WRL411 Rescue and Restoration (Part 3)
- 1967 Datsun WRL411 Rescue and Restoration (Part 4)
- 1967 Datsun WRL411 Rescue and Restoration (Part 5)
- 1967 Datsun WRL411 Rescue and Restoration (Part 6)
- 1967 Datsun WRL411 Rescue and Restoration (Part 7)
- 1967 Datsun WRL411 Rescue and Restoration (Part 8)
- 1967 Datsun WRL411 Rescue and Restoration (Part 9)
- 1967 Datsun WRL411 Rescue and Restoration (Part 10)
 OK, you’re still with us – This is where it gets fun. Bex and I hope you’re enjoying reading about our restoration as much as we enjoyed doing it!
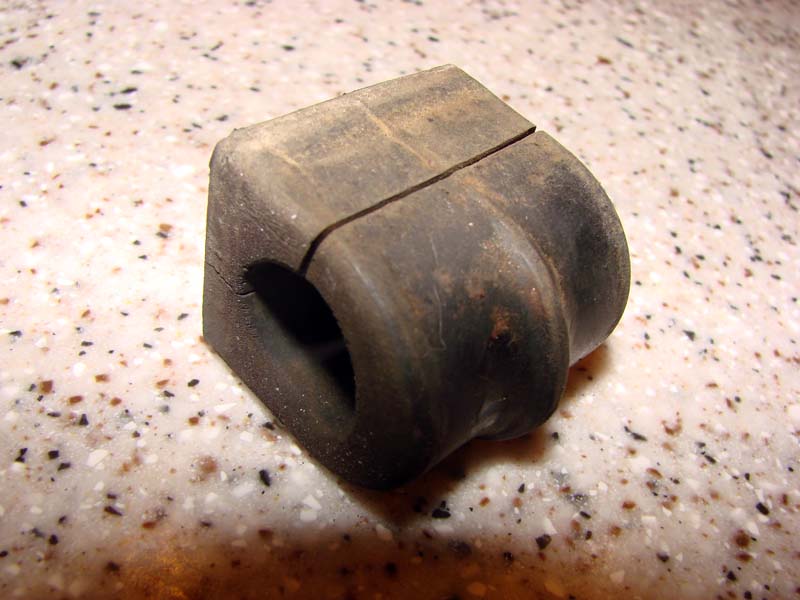
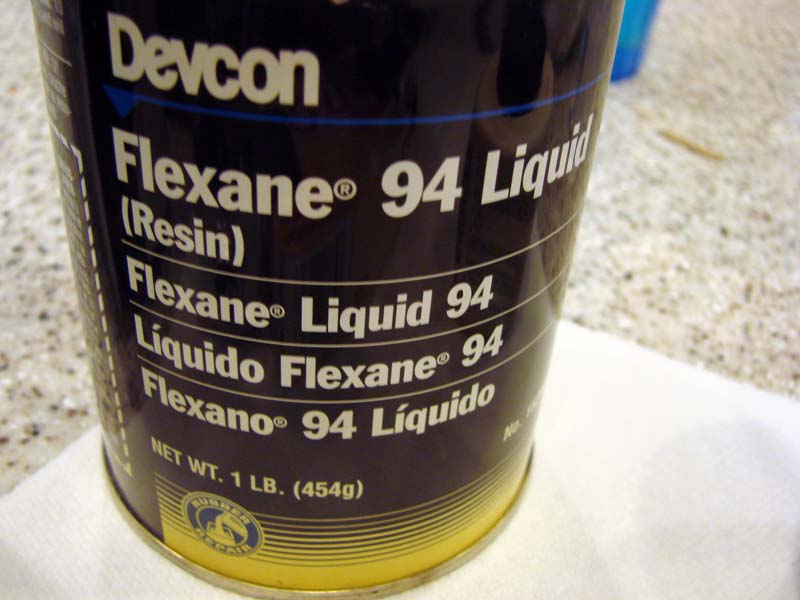
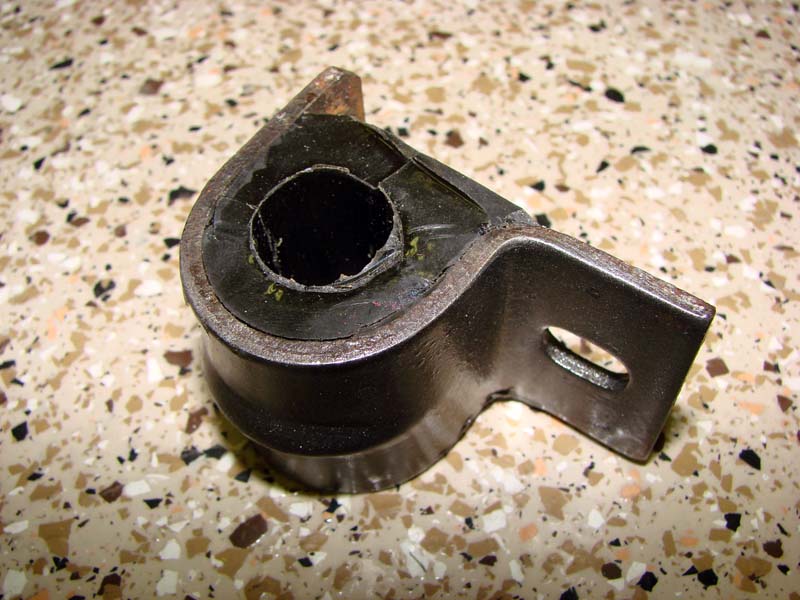
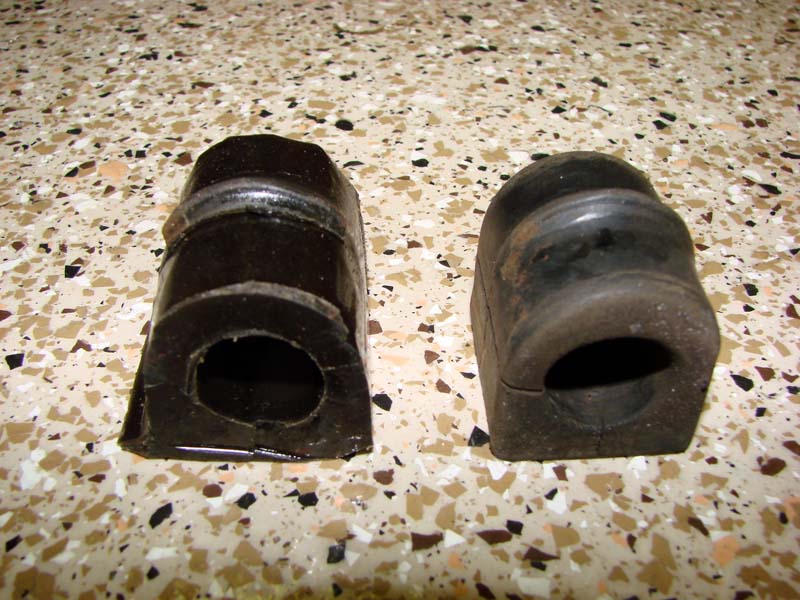
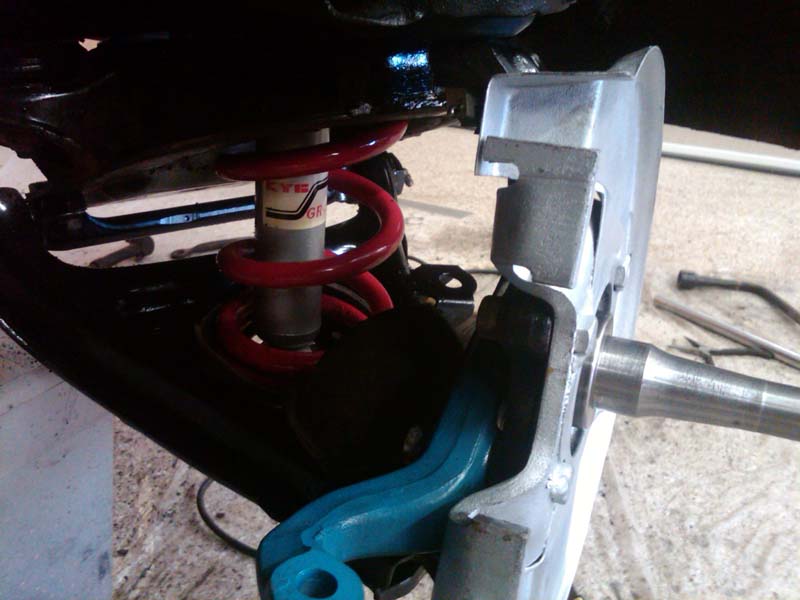
The front sway bar bushings were virtually nonexistent, as time had taken its toll on them. I wanted to use polyurethane bushings here, but finding the proper center bushings was proving to be futile. Endlinks were easy, they were on the shelf at AutoZone. So, I made my own bushings to mount the sway bar to the frame. Those of you who have been with NICOclub for a while might remember I made my own engine mounts for Project Vert a few years ago, and I looked forward to trying another application. There was JUST enough Flexane remaining in the container to make these two pieces.
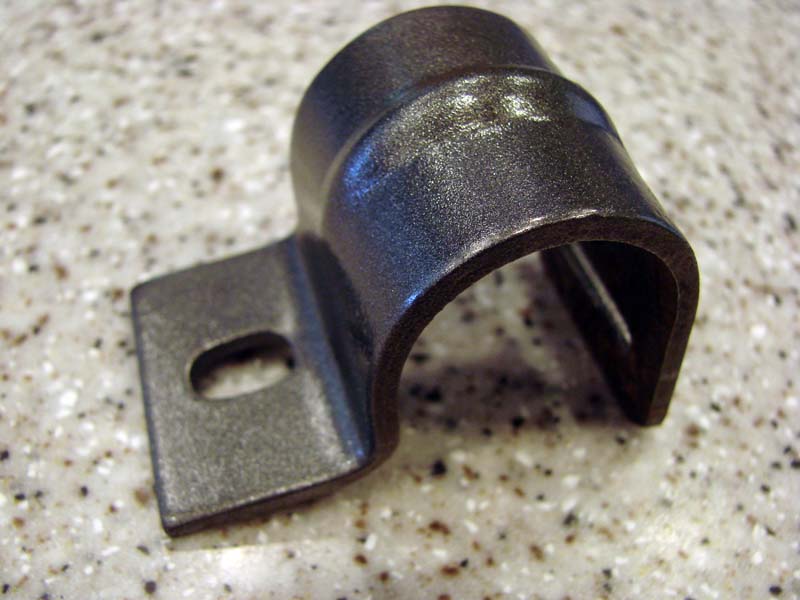
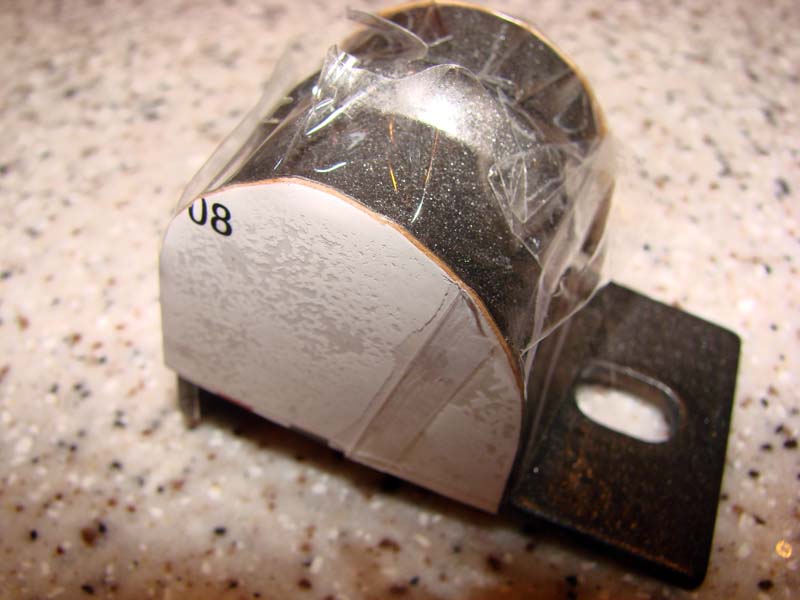
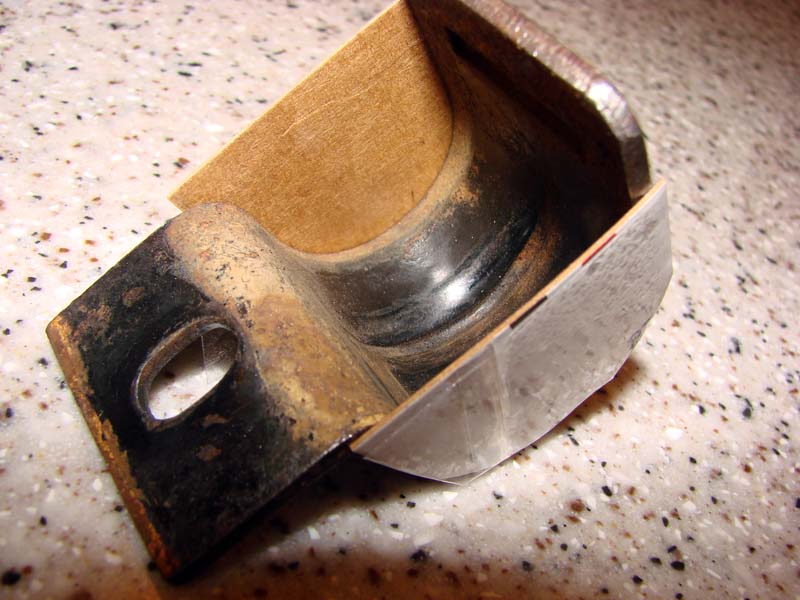
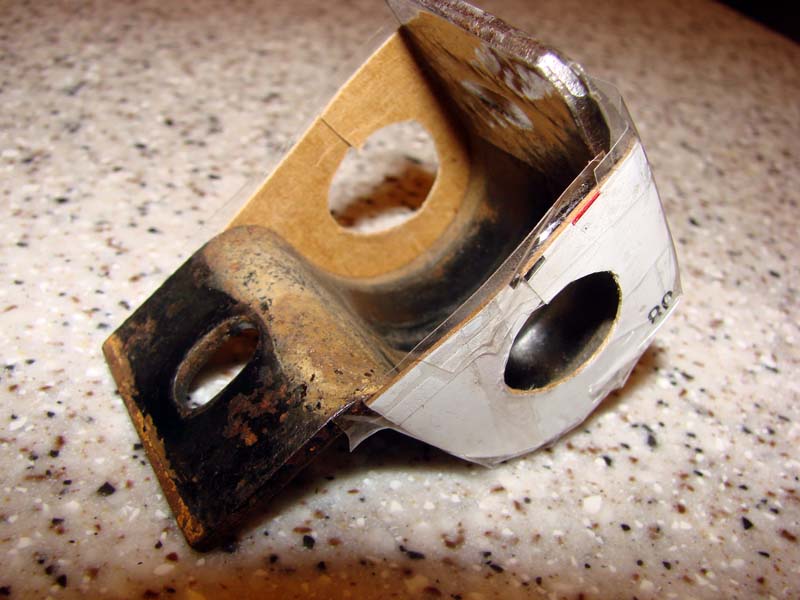

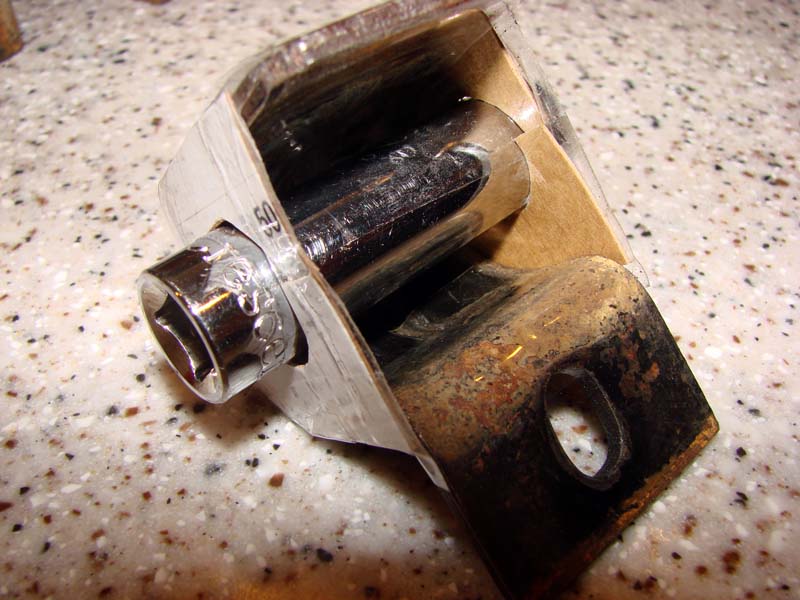
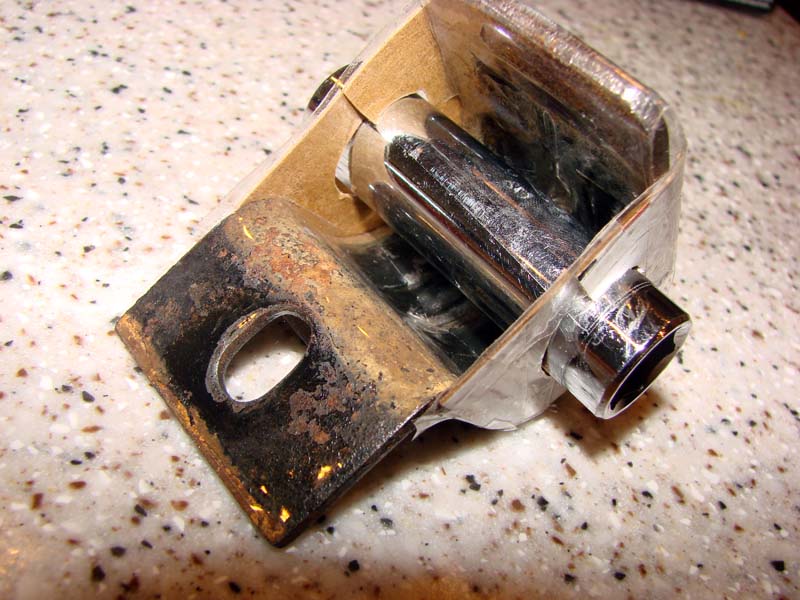
I cleaned and polished the brackets, since I’d be pouring the Flexane directly into these (like a mold). I made cardboard “sides” for the mold, sealed with packing tape (which Flexane won’t stick to) and used a deep socket (with the same diameter as the sway bar) to suspend in the mold and leave a void for the sway bar to pass through.
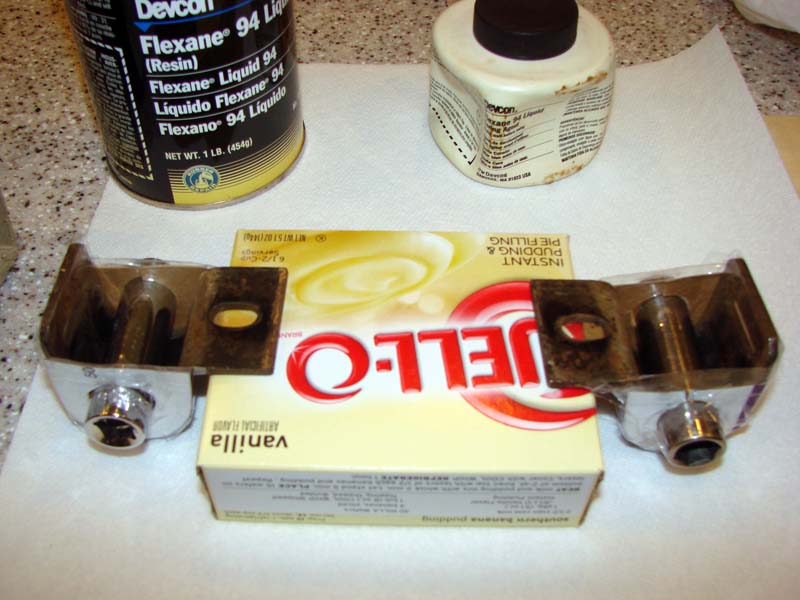
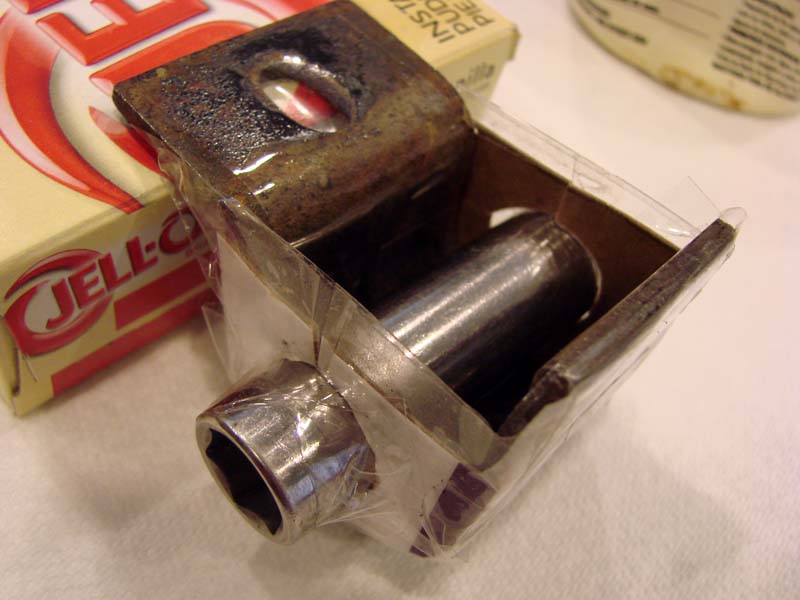
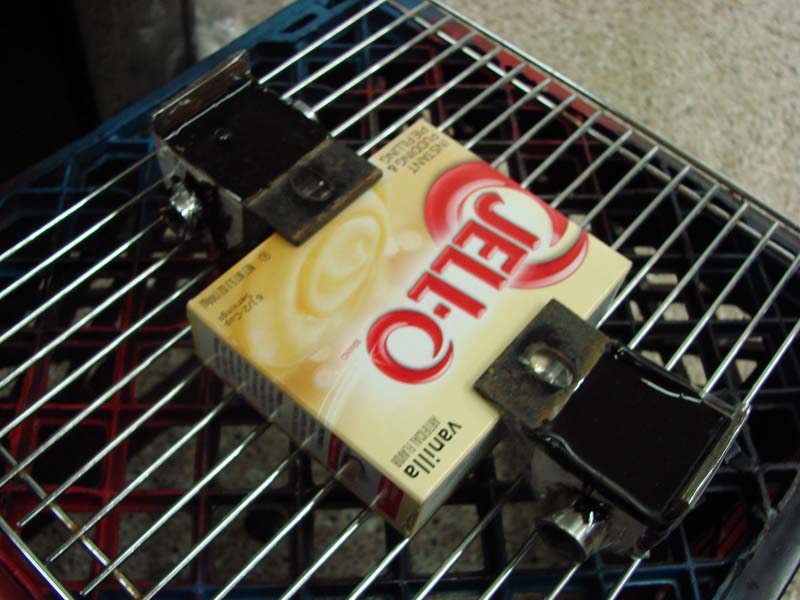
An hour later, I had a pair of one-of-a-kind polyurethane sway bar bushings for a Datsun 411.
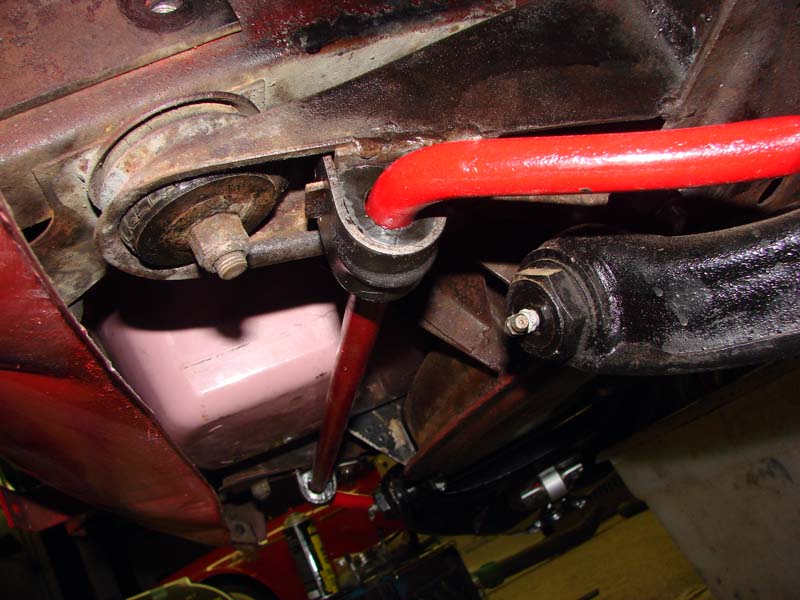
The spindles were easy – Blast, scrub, de-grease, and paint. The great part about redoing a suspension is, you can use up some of the leftover paint from other projects. Contrast is cool, and it’s not a show car, so as long as it’s clean, use some different colors! The new tie rod ends were fitted to the old tie rods (after a session on the wire wheel) and adjusted to roughly approximate the original toe settings – this would be good enough to drive her to an alignment shop for a proper adjustment later.
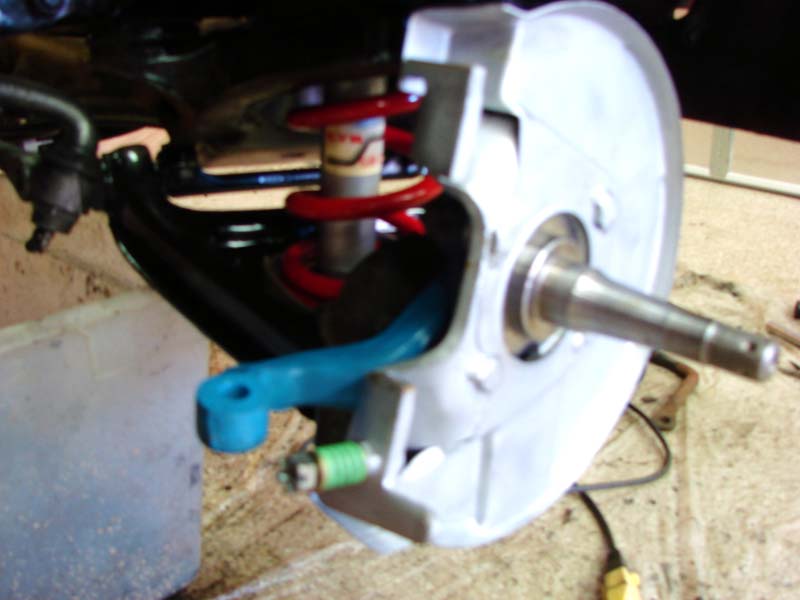
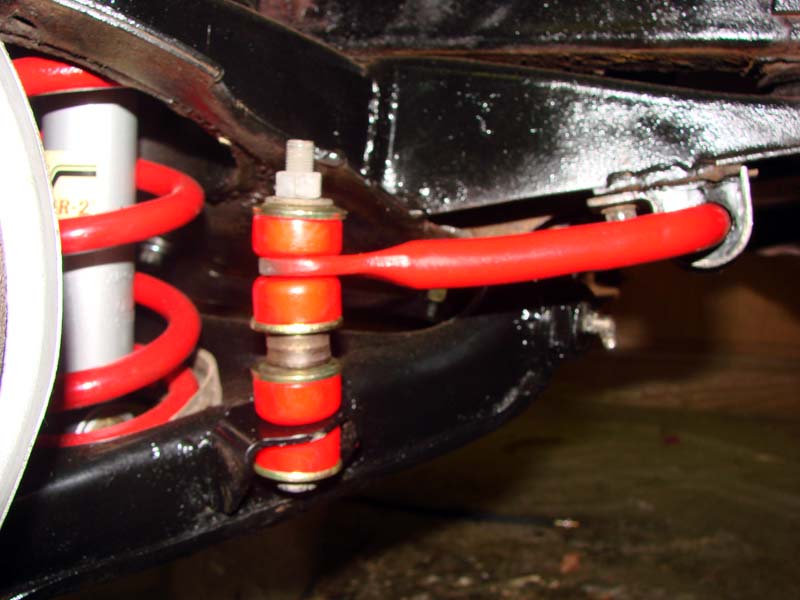
Front wheel bearings still measured within spec, so these were soaked in mineral spirits, degreased, and re-packed with Mobil 1 synthetic grease (great stuff, get some). New seals were sourced from NAPA, and the assembly was complete. The wheelwells were treated to a fresh coat of black rubberized undercoating, which really cleans up the look of even an unrestored car.
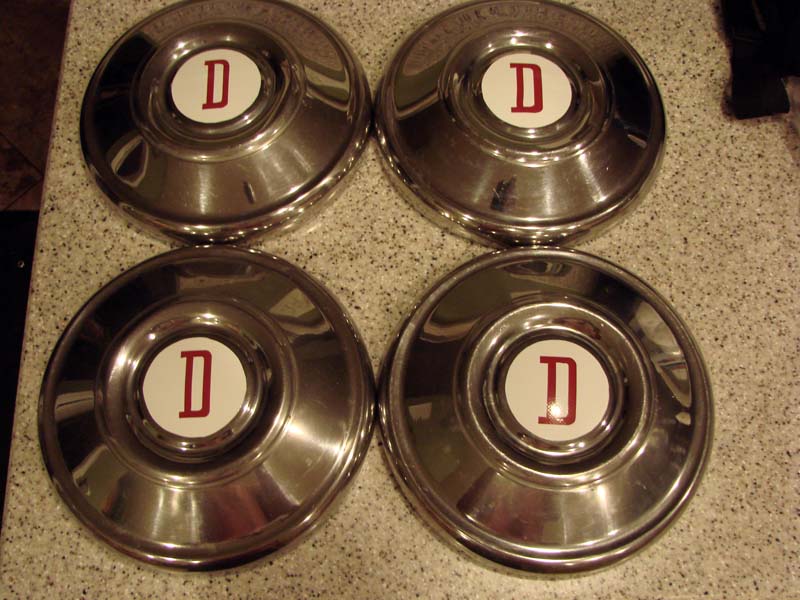
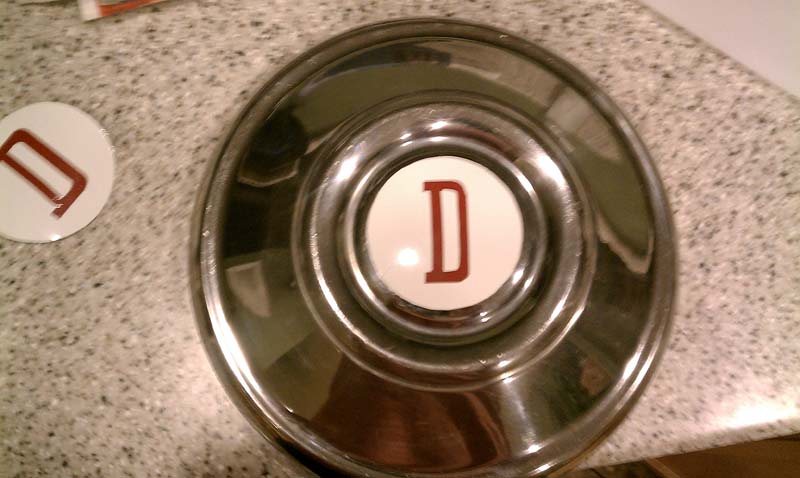
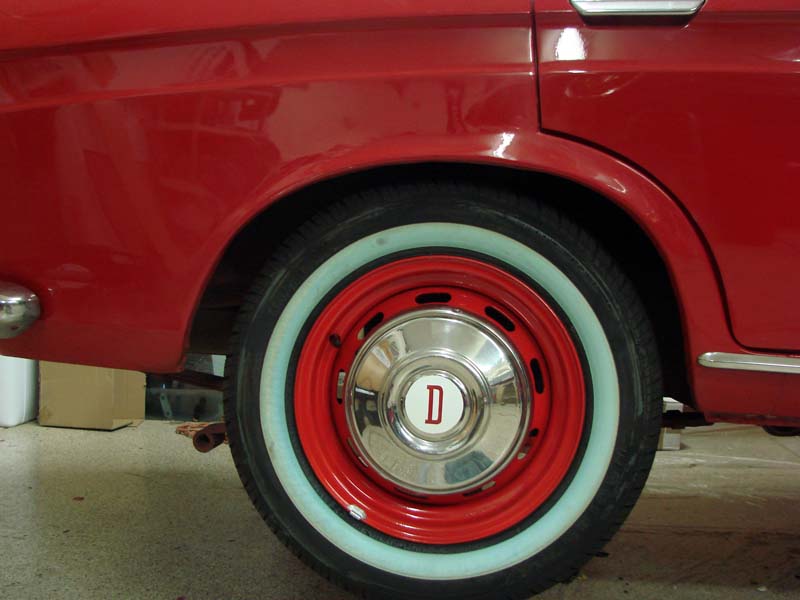
During this process, we decided to forego the GAB Sport wheels and go with something a little more traditional. I really wanted to emphasize the “vintage” appearance of the wagon, and stick to the old-school flavor. The problem was, I had already sold her original hubcaps to fund the paint job (they’re very rare) and the original 13″x5″ steel wheels were already fitted to another Datsun across town. Since 13″ wheels are hard to find good tires for, and I planned on putting a lot of miles on this car when finished, I decided to step up to a wider 14″ steel wheel. A couple phone calls and I had a complete set of 14×6″ late Roadster wheels. While these were sent off to the powdercoater, I scoured the Internet for some wide whitewalls. A seller on ebay had a set in the size I wanted, and the price was reasonable. All that was left was to find JUST the right hubcaps for her. Less than a week later, I ran across an ebay ad for a set of Datsun 520 pickup hubcaps in good shape. These would be perfect, but even after a good polishing, they were a little plain. I spent a few hours (and some leftover vinyl) making some center logos for the hubcaps, utilizing the early “D” logo that was found on the early 60’s Datsuns. They’ll stay until I find something I like better – I’m thinking of having some one-of-a-kind reproductions of the early center caps done in heavy-duty vinyl.
Read more: Glad to be done with that part – Time to get up off the floor and do some stand-up work!