Instead of shelling out $150 each time your battery fails, which seems to happen at the most inopportune time, why not adopt some simple habits that will ensure your investment lasts a lot longer?
Treat it Right
Batteries are very sensitive to temperature extremes. Excessive heat can create a low electrolyte condition. Here in Arizona, we know to check our battery fluid levels at each oil change. Likewise, if your battery is exposed to radiant heat from a turbocharger or exhaust header, it may be a good idea to heat shield it or even relocate it. But extreme cold can be just as damaging – A discharged battery is like a radiator with no anti-freeze. Its electrolyte solution is basically just water, and when water freezes, it expands. This damages the plates inside and can even crack the outer housing, creating a corrosive mess. Keep your battery charged through the winter by using a trickle charger, and if you notice a low-voltage condition, get the battery into a warm environment and charge it immediately.
Cleaning and Restoring
If you’ve kept up on the maintenance and haven’t mistreated your battery, it shouldn’t require a lot of cleanup or refurbishing. But, much like the exterior of your car, some periodic attention to your battery’s appearance will go a long way.
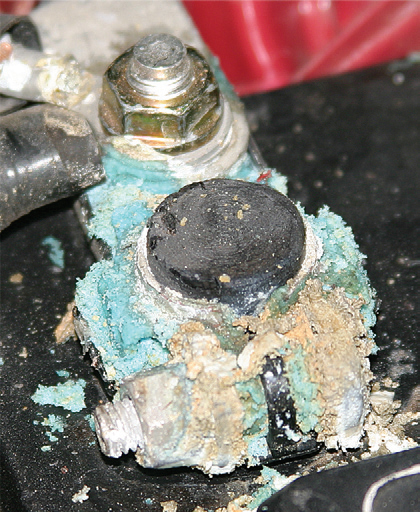
If you get the dreaded “cauliflower bloom” on your terminals, you’ve neglected your battery OR it’s leaking. This is caused by hydrogen gas being released from the acid in the battery. This acid, or sulphate, reacts with metals and oxygen and creates that ugly white (or bluish-green) coating on your terminals. Let’s take a detour for a second and talk about why they leak: The seal between the terminal and the plastic casing is very fragile (especially on “discount” brand batteries). Applying torque to the terminals, or tapping the terminals onto the battery posts, can compromise this seal. Treat your battery terminals gently, and install your terminals properly – oh, and ditch that battery carrier handle that lifts by the terminals!
The best way to remove the corrosion it is to first neutralize the acid. Grab a cup, throw in a handful of baking soda, and then slowly add cold water to make a thin paste. Add this to the corroded terminals and agitate with an old toothbrush. Once it breaks down the corrosion, rinse the area well – You’ve now neutralized most of the sulfuric acid so it doesn’t wreck your clothes, burn your skin, or damage your paint.
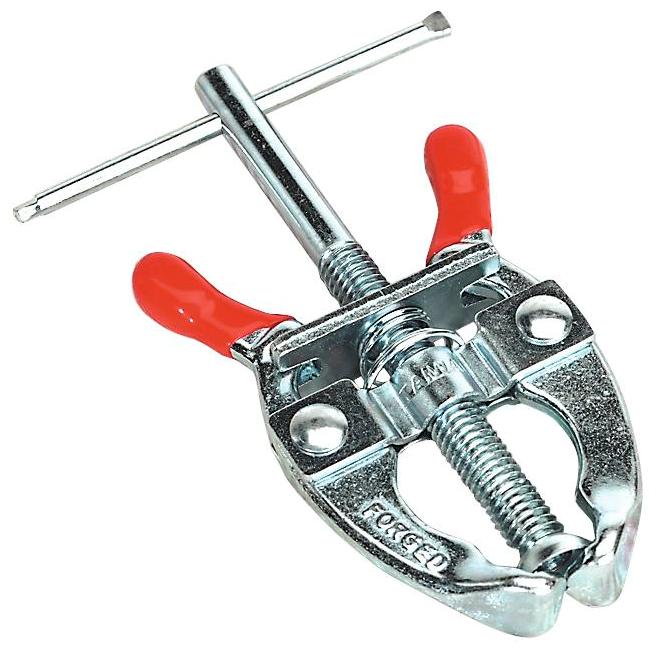
Remove the battery terminals by loosening the bolt, gently. It’s not uncommon for a neglected terminal to become almost permanently attached to the battery. Don’t beat on it, and don’t pry it. Use a tool to spread the battery terminal clamp, or even better, buy a battery-clamp removal tool. It’s cheaper than replacing a battery when the soft lead terminal snaps off.
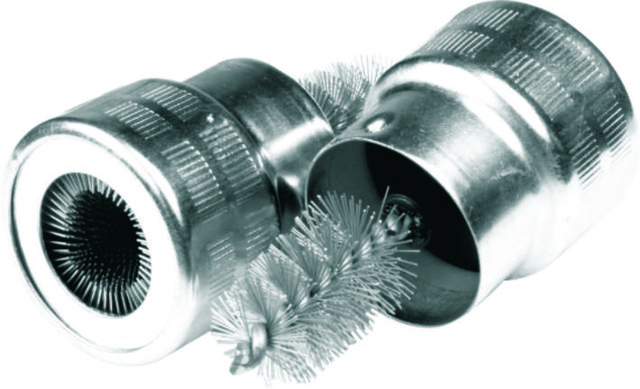
Next, go get a couple cheap wire battery post cleaners – keep one in your garage and one in your car. These cost no more than a couple dollars. This handy tool takes oxidation and filth off the posts and minimizes resistance between the terminals and posts. Use the tool to get bright, shiny metal showing on both the battery post and the inside surface of the terminal. Any barriers to conductivity will decrease the amount of current reaching your starter and your electrical system – AND can inhibit charging system effectiveness.
Give the clamps and posts a final cleaning with more baking soda and water, and follow up with a good washing (with soap and water). Dirt attracts moisture, which creates a connection between the two terminals, and can drain battery voltage just sitting there.
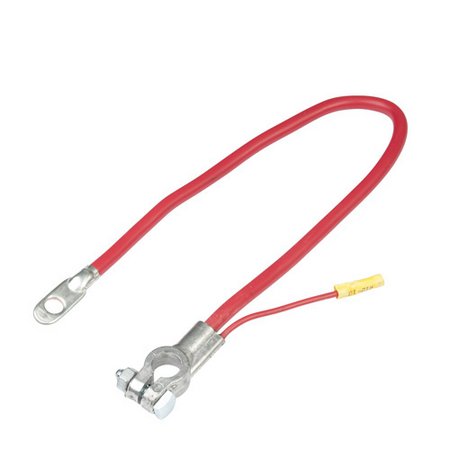
NOTE: If, after cleaning, your terminals look damaged, corroded, or just plain funky, replace them. Corrosion will travel along the copper stranded wire, inside the insulation, and prevent adequate flow of current, rendering all your efforts useless. In fact, you may be better off replacing the entire cable. Make sure to use the proper molded-on clamps and heavy-gauge replacement cables – Typically, replacement cables are less than $10.
Don’t be tempted to strip back the insulation and slap on a set of $5 “universal” replacement clamps. They’re junk, and you’ll be doing this same dance all over again in a short period of time.
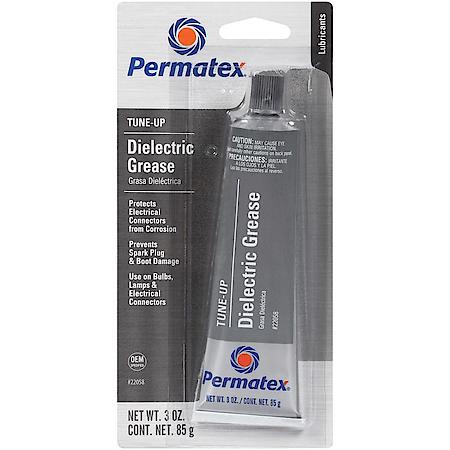
Apply a thin coating of dielectric grease to the terminals and clamps (as well as the other end of the cable, if you replace it). You can buy this at any auto parts store or home center, and it’s useful on ALL electrical connections (plus, it makes them easier to disconnect in the future). It also prevents moisture from reaching the terminals.
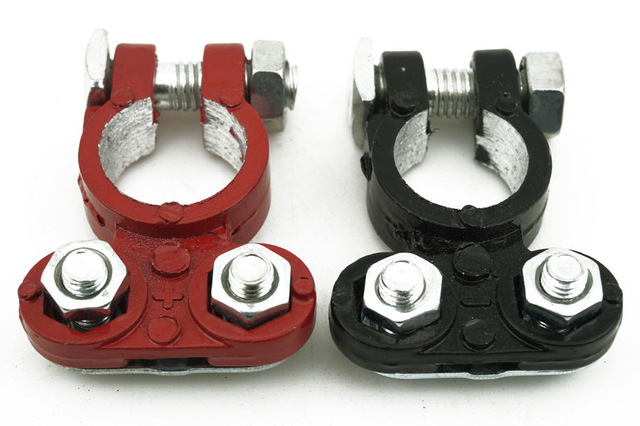
Reinstall the clamp, but avoid overtightening. All of this process is virtually the same for those of you with a side-terminal battery. The side-post terminal bolt does not need to be tightened much – make sure the terminal is secure (give it a little wiggle) and you’re done.
NICOclub is back again with Carlisle Events to host our 18th annual NICOFest Carlisle AutoX…
Kraft Auctions Offers Fans a Chance to Own a Piece of Datsun Racing History
We built Datsun Ranch in 2014, and it was the culmination of a lot of…
Since it's not just Datsuns that are vintage anymore ("classic Nissan" still sounds weird, right?),…
Let's talk about big brake kits for a bit. For the purposes of this article,…
What do these terms mean? Pulsed Secondary Air Injection (PAIR) Valve: The PAIR valve sends…