This writeup for a DIY fuel pressure tester was performed on a 1990 Nissan 300ZX Twin Turbo, but could be performed on just about any vehicle with easy access to a fuel line.
Ok, I needed to test my fuel pressure to see if my regulator is working or not, so figured I would do a quick write up with part numbers on how I did it on the cheap!
Tools Needed:
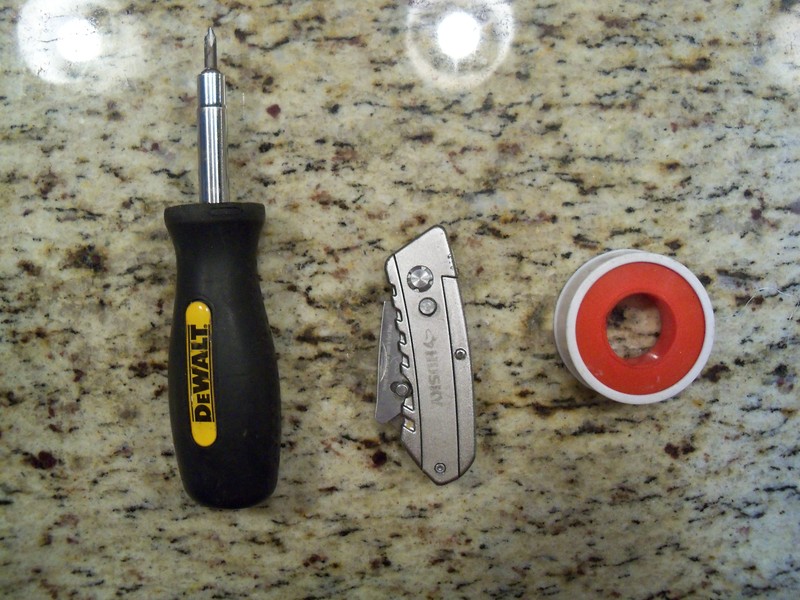
– Screwdrivers (I used a multi-tool type one)
– Teflon Tape
– Razor blade (to cut hose)
– Various wrenches (to tighten fittings)
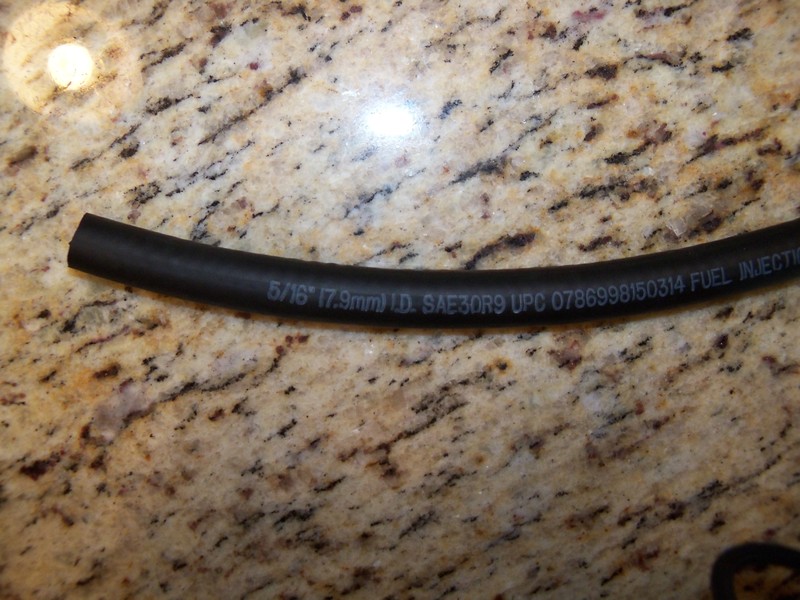
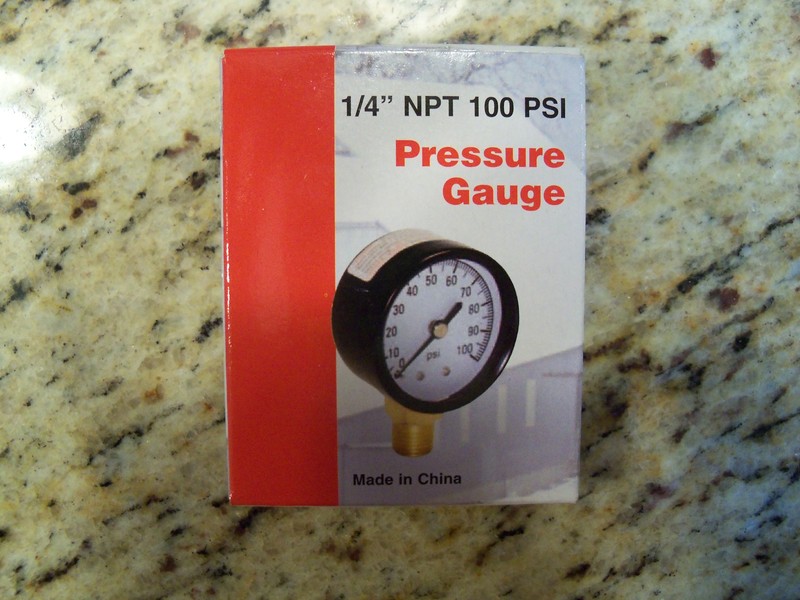
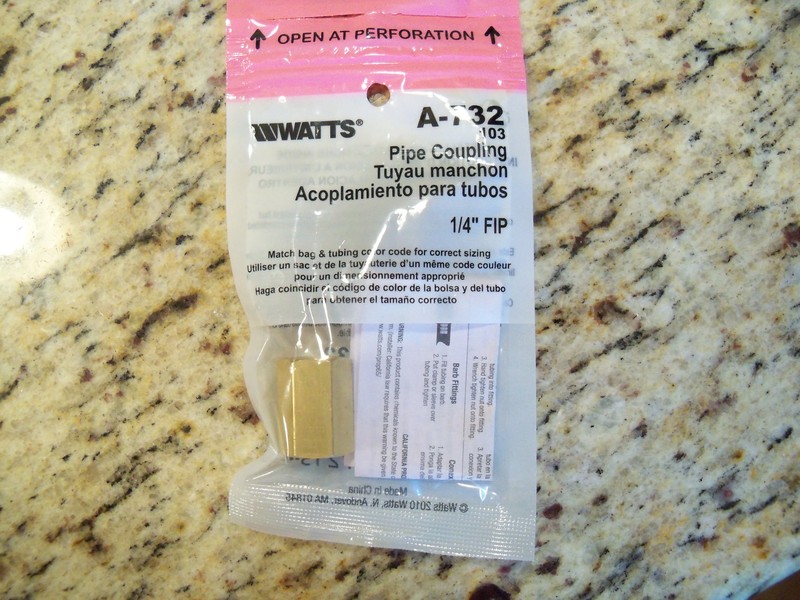
Parts needed:
(the hose was from Advance Auto, everything else from Lowes)
-1ft of 5/16″ fuel injection hose – ~$6 per foot
– 1/4″ NPT 100psi Pressure Gauge (Part Number 64124) $9.98
– 5/16″ID x 1/4″ Brass Hose Barb Adapter (Part number LFA-201B) $1.54

– 1/4″ Pipe Coupling (Part Number A-732) $3.38
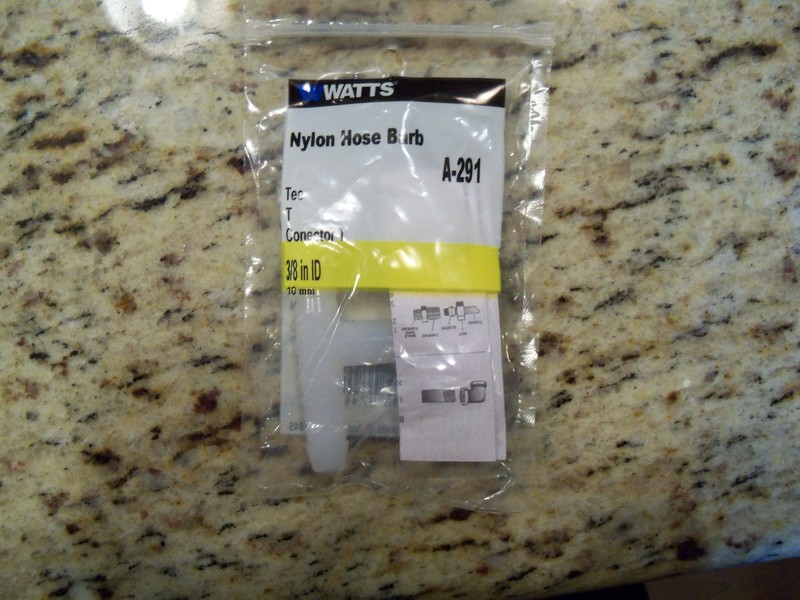
– 3/8″ ‘T’ Nylon Hose Barb (Part Number A-291) $2.38
*Ideally you want a 5/16″ brass one, but there were none, so I went a little bigger and used ‘The Force’*
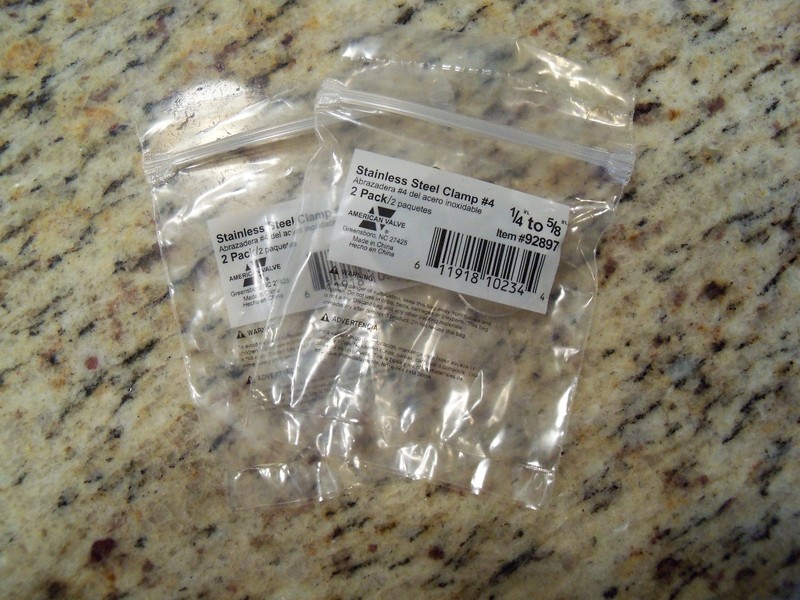
– 2 packages of 1/4″ to 5/8″ Stainless Steel Clamps (Part Number 92897 for a total of 4 clamps) $0.96
Installation Instructions:
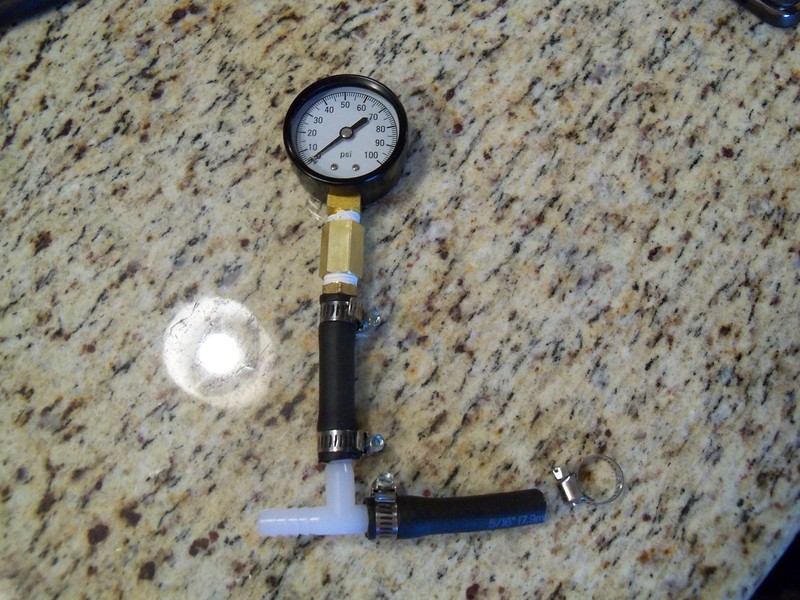
1. Put teflon tape on the two threaded spots, the gauge and the barb adapter. Then you will be putting them together in this order:
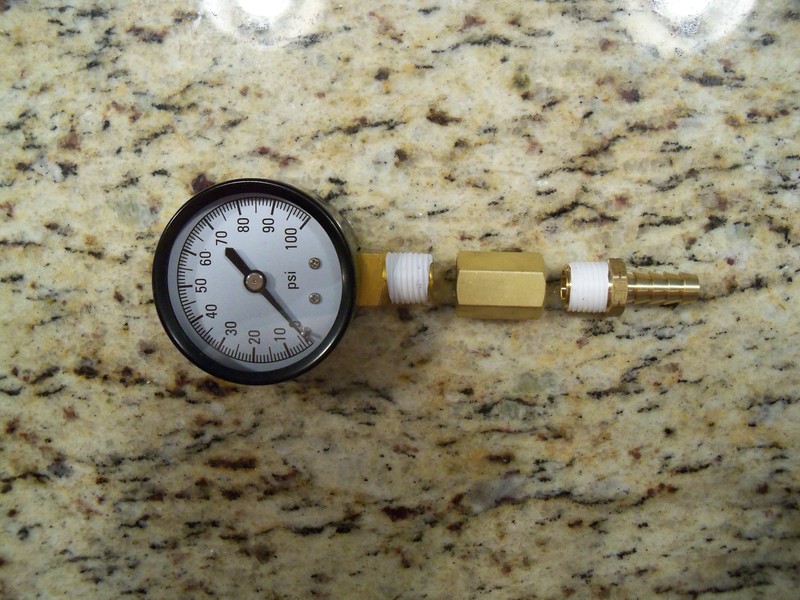
2. Put them together and screw them down fairly tightly.. don’t hurt yourself 😉
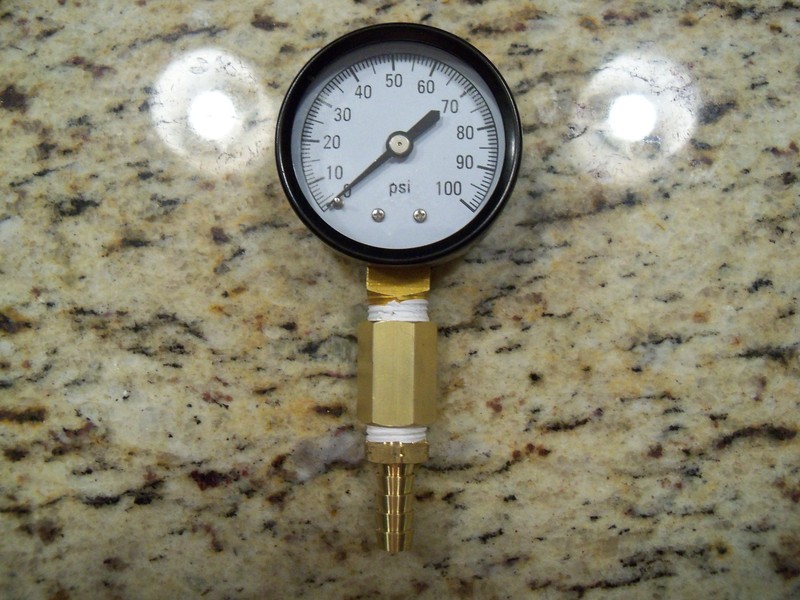
3. Cut two sections of hose, 3-4 inches in length. You will be putting one from the brass fitting under the gauge itself to the solo branch of the T barb. Then the other you will put on one side of the T. The empty side will be for the hose on the car itself. Put it together to look like this:
4. Now go out to the car. Pull the fuel pump relay. (in the driver’s side kick panel for the Z32, it is the green one) Once it is removed, try starting the car. This is to relieve the fuel pressure.
5. Go under the hood and remove the fuel line going from the fuel filter to the fuel dampener. I do not have fuel dampener anymore, so I’m using a generic image.
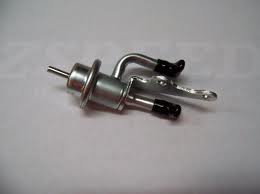
There are 2 parts that look kinda like this, the Fuel Pressure Regulator is on the Driver’s side of the plenum, and the Fuel Dampener is on the Passenger side. Follow the rubber hose off of it to the hard line, then finally the rubber line to the fuel filter. (This is a Z32 step. For other cars, use any line in the engine bay coming directly from the fuel pump.)
6. Pull the hose clamp holding the hose onto the fuel filter. If you haven’t removed this hose in a while, take a pair of pliers and try to twist the hose back and forth on the fuel filter until it breaks the seal and moves freely. (If your filter hasn’t been replaced in a while, you may want to change it now ;). Finish pulling that hose off of the filter.
7. Now the hose coming off of the T Barb fitting on our fuel pressure gauge goes onto the Fuel Filter. Don’t forget your clamp. Then the other side of the T Barb fitting goes into the line going to the fuel dampener. Again, don’t forget your clamp.
It should look something like this:

Put your fuel pump relay back in, and you are ready to check your fuel pressure. This is good to check on things like fuel pressure regulator condition, fuel pump condition.
This is not a solution recommended to leave in the car. If you are going to leave it permanently, obviously you do not want to use the plasic barb like I did 🙂
**All credit for this post and images used (apart from FPR) go to Ziggy1621. Link to the original thread can be found here. This post can be adapted to just about any vehicle. It’s just a matter of finding the right fuel line to “T” off of. **