by Asher4857
Overview:
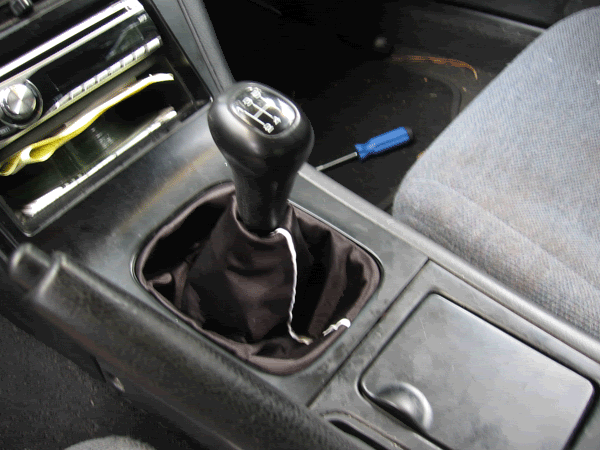
So I was bored today and I had been talking about about it with a friend. We were gonna try just for fun to see if we could make a shift boot. So i went out to Wal-Mart today, bought so supplies and went to it. Actually came out really good..
Difficulty: **
Time: 1 hour
Cost: less than $10
Tools:
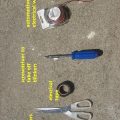
– seam ripper
– marker
– scissors
– sewing needle
Materials:
– vinyl, leather, or fabric for new cover
– thread
Procedure:
Step 1:
Remove old shift boot from your car and take a set of seam rippers to the stitching on both sides. You should have 2 near identical separate pieces.
Step 2:
Trace the shape of one of the pieces onto a piece of paper, proceed to cut out the paper. We’re gonna use this as our shape.
Step 3:
Take the material you want to use (or the cheap material you want to cover if you couldn’t find any good material that was thick enough to use). Place your stencil on top of the material, good side down obviously so you don’t ruin it. Use some kind of pen that you can see when you write on the material but not to much so it bleeds through and trace the paper shape onto the material and proceed to cut that out. (repeat so you have 2 of the same shape in the same material).
Step 4:
If you want to cover your material like I covered the nasty leather with some nice satin, go a head and glue the newly cut material onto the nice material, be sure not to use too much glue because you also don’t want that to bleed though. Go ahead and cut out around the newly combined materials leaving about a 1/4 inch border between the nice material and the bad material.
Step 5:
(note, if you want to use piping, see below step 6)
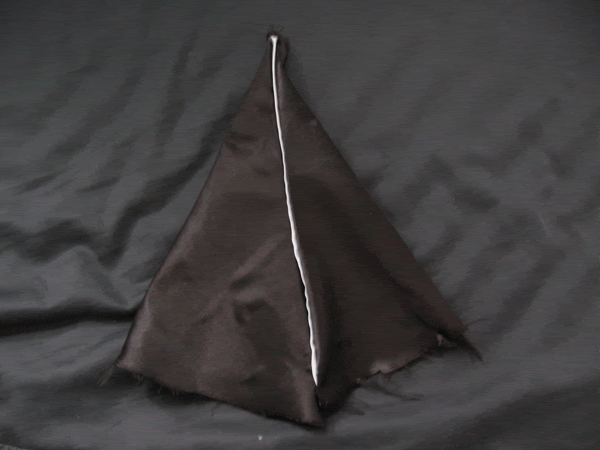
Take one of the 2 new pieces and lay it nice side up, then take the other piece and lay its nice side on top of the other’s. (you’ll see why in a sec) Begin to stitch along the thick material’s edge ONLY ON THE SIDES LIKE THE FACTORY DID!!! DO NO CLOSE THE TOP OF BOTTOM!! Make sure you do close stitches as you don’t want it to be weak and rip later on.
Step 6:
Pull inside out and admire your new shift boot!!
PIPING: Before you sew the pieces together, take another piece of material, cut a long thing rectangle out of it and fold it in half, crease it as much as you can so it will stay folded easily. put the crease toward the inner part of the shift boot along the edges so only a little will show. then begin to sew like in step 5.
