Last year I attended Zdayz (2014) in my 1990 Nissan 300zx TT affectionately named Shibui and had some of the most memorable road driving times of my life! The ones I wish I could forget are those of a squirrely backend of the car, and the infamous rubbing sound when coming out of an upward turning hair-pin turn. I was new to mountain roads in a fast car, and had setup the car with lowering springs and adjustable struts, but this told me I needed more!
After much research and looking around the old inter-web and a phone call to Charles at Powertrix.com, I decided upon the Ultra-lite Coilovers made for the Z32. They currently offer 3 different models of coilovers (SS, RT, UL) ranging from $1100 to $1850 with various options to suit the users’ needs. They also had coilovers for the Z31-Z34 as well as S13 and S14 cars and are working on an S30 chassis coilover. I had heard great reviews of the quality and price-point of the products, and after speaking with Charles about the recent upgrades in materials and coatings for them, as well as his passion towards his products, it was a no-brainer. Furthermore, the Ultra-lites have aluminum pillow ball upper mounts which maximizes performance damping. Also, most components are made of aluminum allowing them to be 2-3 lbs lighter than others which saves lots of unsprung weight.
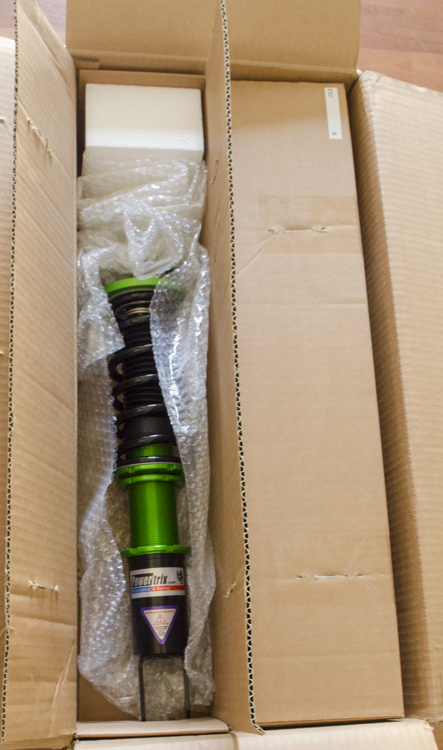
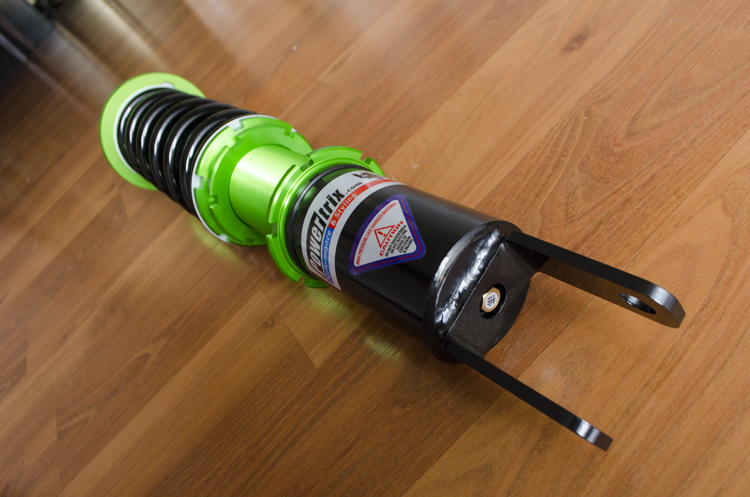
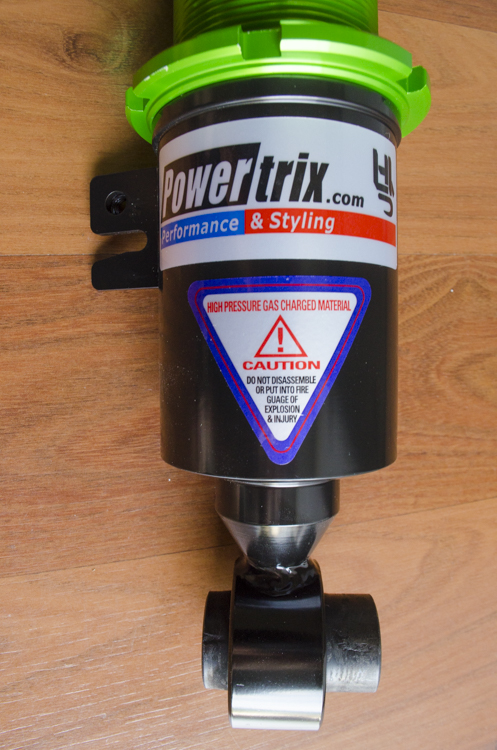
The products showed up quickly, and call me weird, but I was stoked to open the big box and find smaller boxes neatly nestled inside. Being someone who works with customers on a daily basis, I was excited that they cared enough about their customers to pack the coilovers in a way that if there was going to be a scratch on the coilovers, it wasn’t going to come from Powertrix or from shipping, it would come from my novice hands installing them. When I opened the box of the first coilover, it was as if the angels sang and the sky lit up in a bright metallic green glow. I may be exaggerating a bit, but my wife was sitting across the table on our deck laughing at me as I ogled over them and gently kissed one (hey don’t judge me). Build quality looked AMAZING! The welds were prefect, coatings very consistent and clean, and even the stickers were aligned symmetrically (I’m a little OCD). Inside the box were all 4 coilovers and a set of tools for adjusting/tightening the rings. Since I had no experience installing and setting up coilovers, I contacted a buddy who did, and we set up a date 3 days later to install them… I couldn’t wait!
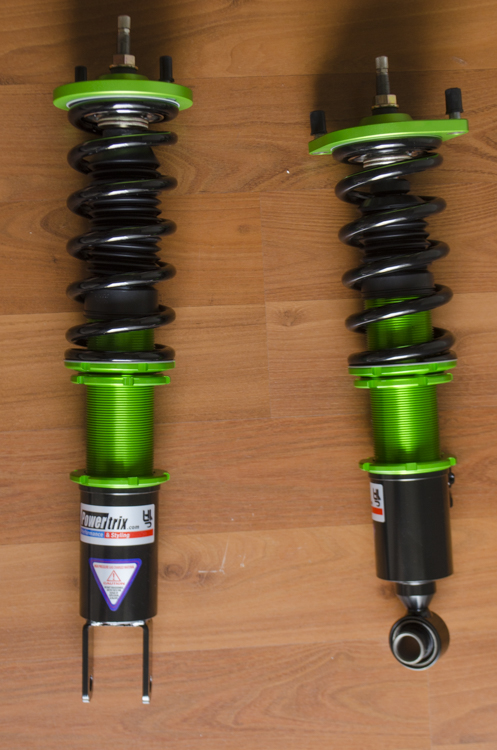
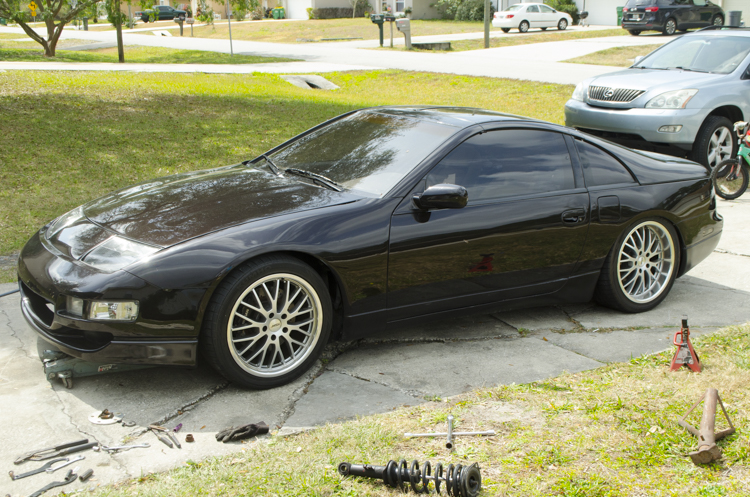
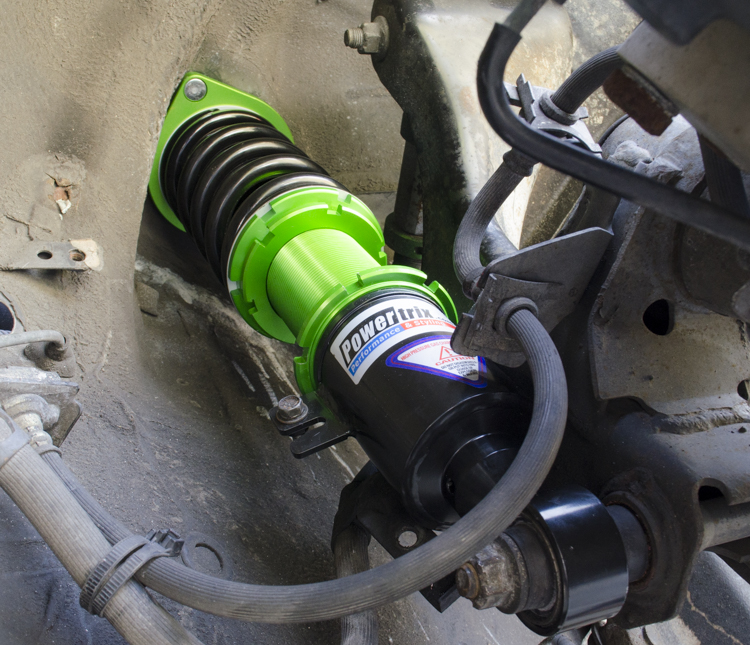
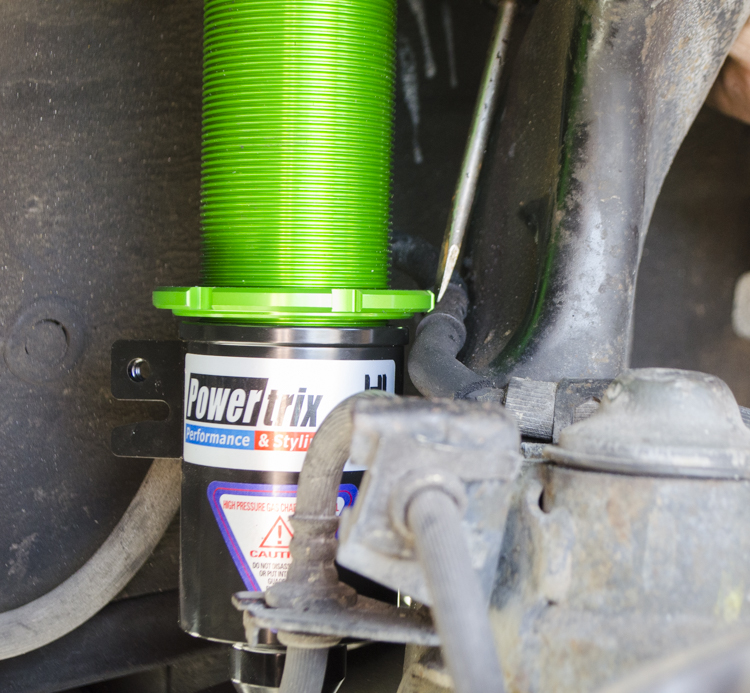
So the morning came for us to install the coilovers. I was excited and nervous at the same time. Was this going to take all day? Was it going to be difficult to dial them in and set the correct height so the car wouldn’t look like a 3-legged dog running down the road? Hey, I had no idea because I had not seen an installation before, and let’s be honest, my current struts had only 1 adjustment! So we began putting the car on jack stands, removing wheels, and removing the old struts. I was a little shocked to see the height difference, and being that my car was pretty low before, I was a little concerned (see pic below). But we proceeded to measure each coilover’s height to make sure they were even before our original installation to judge starting height. To my surprise, the installation was extremely simple! Within about an hour with only hand tools and an impact gun, we had all four on the car, even, and set the car down. Our first run was definitely off, the front of the car aiming high into the sky, and the rear tucked as if I were on air bags parked at a Saturday night meet in a random fast food restaurant car meet. So we started at the front, bringing it down about three quarters of an inch and working back and forth a couple of times to make sure it was level. Next we moved to the rear and did the same. I loved how we didn’t have to remove the coilovers to make adjustments as my friend said he had to with the last set he installed for a friend. We simply measured from the underside of the top base of the coilover to the top of the silver colored washer above the two locking rings that positioned the spring (see pic). Once we had that even, we set the car down, measured from the ground to the highest point of the wheel opening in center and adjusted accordingly. Obviously with the gas tank on one side and other items underneath the car, one side was lower than the other, which is why we would not make the base-to-ring measurements the same.


I’m sure after reading this, there will be many who will chuckle at my ‘technical words’ for installation, but I find it comforting to know that such a phenomenal product could be installed by someone who didn’t know the correct terminology and do so in such a short amount of time (right around 3 hours from start to finish). The car feels amazing now and looks great with its current stance. I may be raising the rear another half an inch, but haven’t decided yet, so here it stays. I have tons more confidence in driving the car as it is stiffer, more responsive in steering, and I also feel more of the car on the road which allows me to control it better. I haven’t pushed it hard except once or twice, but be looking forward to a follow up article in the not so distant future as Shibui is headed back to Zdayz to ride the Tail of the Dragon this time next month with it’s beautiful green Ultra-lite coilovers from Powertrix.com.

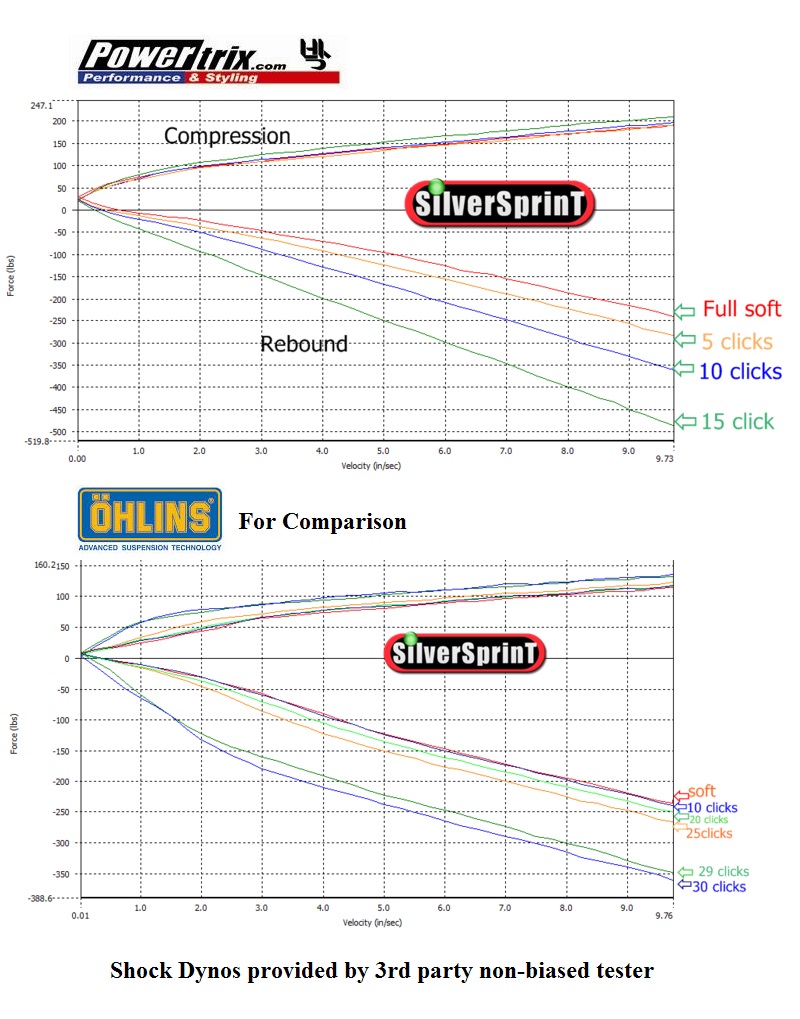
Below are details from Powertrix about the product as well as a shock dyno pic, which I found pretty cool!
Powertrix Ultra-lite Coilovers:
DETAILS / FEATURES LIST
- (PPI) Polymer Plastic Injected dust boots (New Feature)
- Upgraded Front Lower mounting bracket and bushings (New Feature)
- Direct Bolt On Fit, no modification required.
- Independent Ride height and Spring Preload adjust-ability
- Rebuild-able/Replaceable Premium 55mm aluminum shock boby mono-tube dampers
- Increased range of performance damper settings
- (Complete All for Corners) Front and Rear Pillow ball upper mounts
- 15 way strut damper adjustments
- (Standard 8k/6k Spring Rates) 175mm front and 200mm rear spring length.
- *Custom Spring Rates also Available
- Spring Rates:
- 8k/6k springs = high performance oriented, good ride quality, geared for double duty street driving and track/autocross events and spirited driving. We currently use this spring rate for track/racing.
- 7k/5k springs = good performance with best ride quality however handling performance will be slightly less than 8k/6k. For the comfort oriented driver that cares more about ride quality than performance.
- 9k-10k/7k-8k springs = Extreme Track/Racing oriented, definitely stiffer than what is recommended for daily driving. (this is more of a customized set up and only recommended on a dedicated track only race car.
Dyno
The Dyno Charts were not performed by by Powertrix, they were performed by a non-biased 3rd party and are not edited in any way.