NICOclub

The Nissan and Infiniti enthusiast community - Repairs, modifications, resources and much more!

  • Nissan Forums
  • Infiniti Forums
  • Truck & SUV Forums
  • Datsun Forums
  • Marketplace
    • Advertise on NICOclub
    • Advertisers Directory
    • Fabricators’ Marketplace
    • Classified Ads
  • PRODUCT REVIEWS
  • TEST DRIVES
  • SERVICE MANUALS

Infiniti Q45 Glove Box Hinge Repair

December 10, 2009 by admin

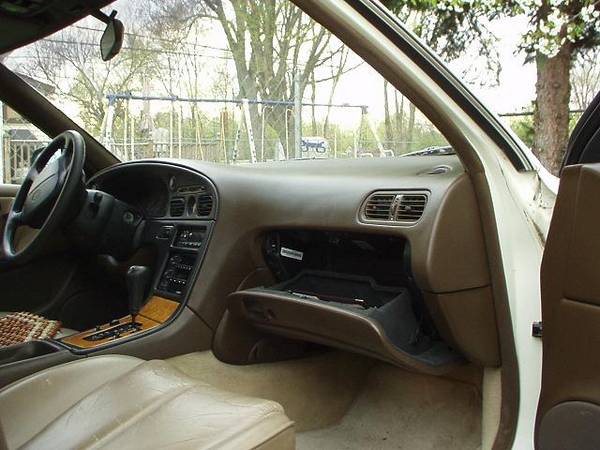
Is your Glove Box hanging? Dangling? Living in the trunk? Do you not want to search for a new glove box hoping that it’ll be the right color and that the hinges won’t break on it, too? Why not manufacture some hinges of your own that are stronger than stock and much less costly than buying a new door?

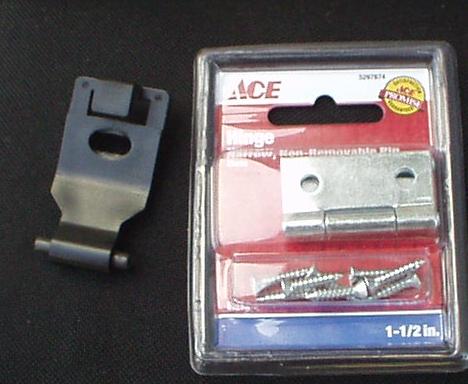
Items needed: new hinge, hinge that screws into the car, flat head and Phillips screw driver, pliers, sheet metal screws, maybe glue.

First, separate metal hinges, I used a screw driver and a pair of pliers, keep the solid pin.

Secondly remove the plastic hinges from inside the cavern where your glove box should be. Remove the hollow pins. Insert solid pin in the plastic hinge and wrap the arms of the metal hinge around the solid pin. Notice which
direction the arms wrap around the pin in coordination with the plastic hinge.

Pictured below.

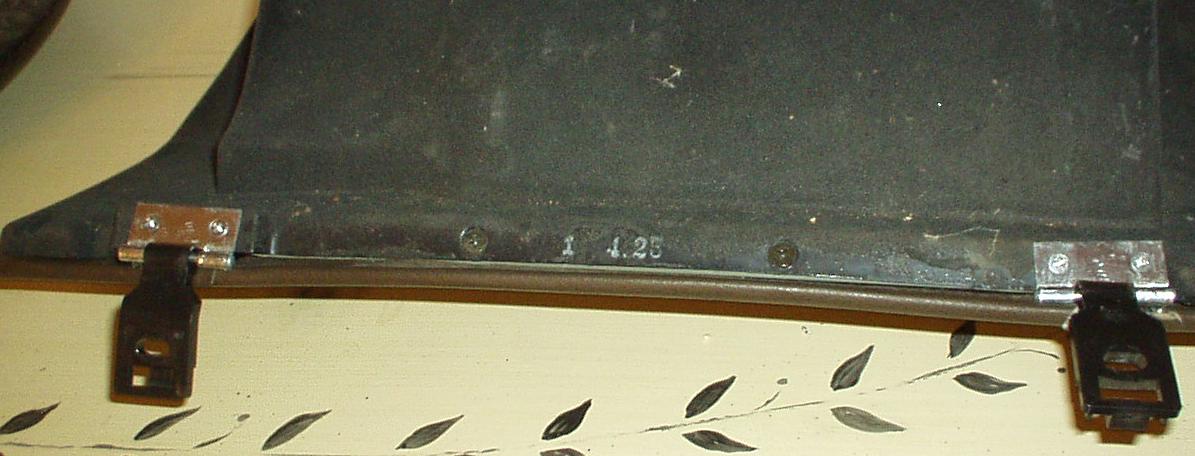
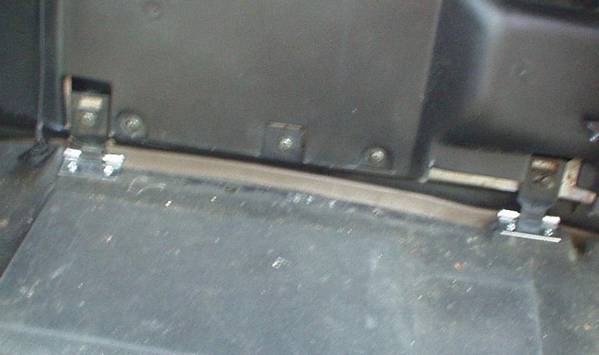
Remove the remains of the old hinges , make it at least semi smooth, doesn’t need to be perfect, just not too bumpy. Next, align the metal hinges centered basically where the old hinges existed. Drill pilot holes so the plastic doesn’t split. Use sheet metal screws to fasten the hinges down, make sure not to over tighten, it’d probably strip out the screw holes!

Drivers side hinge pic 1

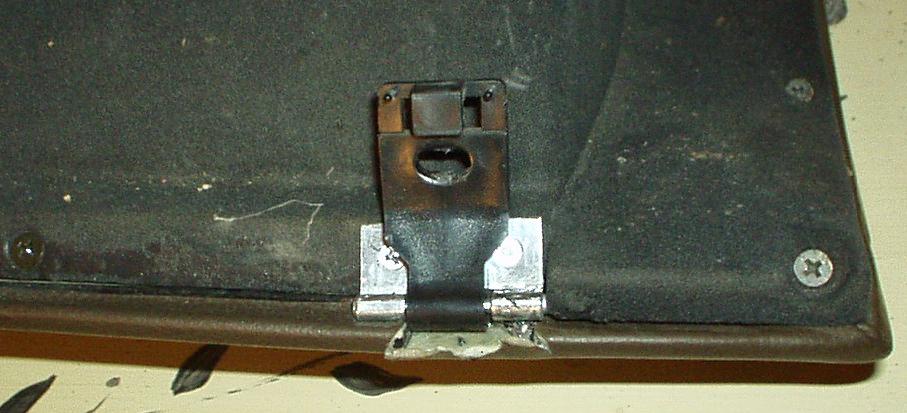
Drivers side hinge pic 2

Passengers side pic 1

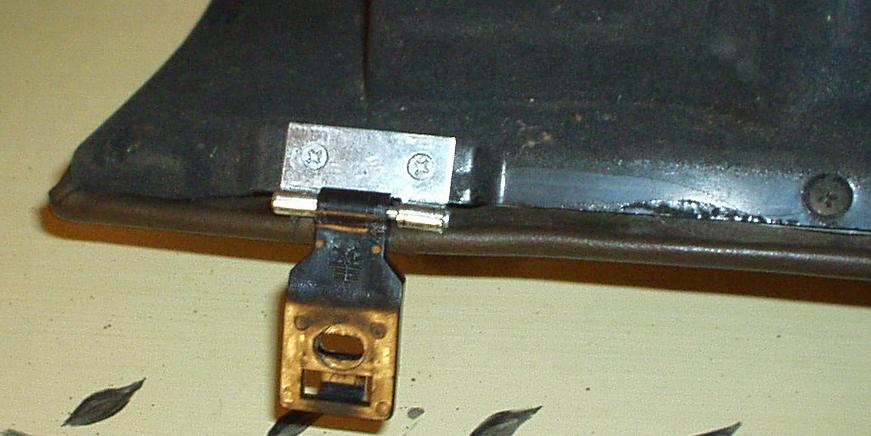
Passengers side pic 2

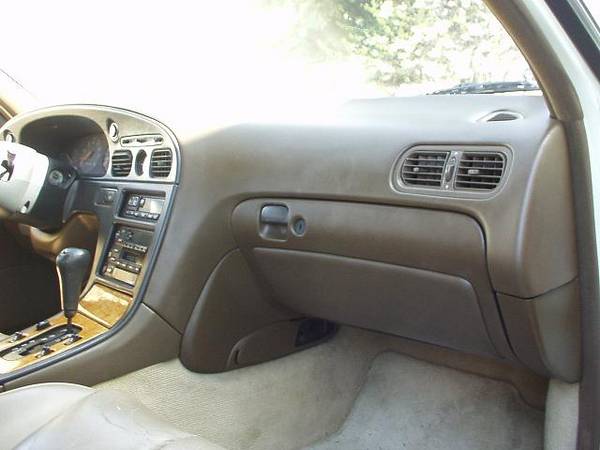
Now, try installing it in the car. This is when we want to make sure everything lines up smoothly before we finalize the installation. If it doesn’t line up quite right double check everything was done properly and try tweaking it, but if it went smoothly, it should, You’re done! Unless you want to pull it back out, remove the screws on the metal hinges and put a drop of glue on them to help them seat in there a little tighter.

There you go, new glove box hinges on the cheap. If made properly they should last longer than just shelling out the cash for a new glove box door with the plastic OEM hinges.

By John “magus_blackomen”

Filed Under: Q45 Articles Tagged With: cars, glove box, hinges, how to, infiniti, nico, q45

Related posts:

Infiniti Q45 Fuel Pump Replacement
Changing the Belts on an Infiniti Q45
Q45 Chain Guides Removal / Replacement
Installing Infiniti Q45 Knock Sensors
Replacing Motor Mounts on an Infiniti Q45
Q45 Rear Sway Bar Installation / Upgrade
Infiniti Q45 Introduction to Performance Modifications
Road and Track Article on the 1995 Infiniti Q45
Infiniti Q45: Buying Advice
Installing an Under Drive Pulley for the Infiniti VQ35DE

Search NICOclub.com

Sponsor

Nissan Infiniti Online Forums Nissan 240sx technical information Nissan technical information Infiniti technical information Nissan Infiniti Road Tests and Reviews Nissan Infiniti Related Articles Nissan Infiniti Technical Information Articles Nissan Infiniti Events and Shows

Sponsor

Recent News

2021 Nissan Altima: Everything you need to know

6 Ways to Prepare your Car for Spring and Summer

Help! My Nissan is stuck in ‘Park’ – Here’s the fix.

Important Info for 2002-2018 Nissan Altima Owners

OnlineTires.com and GLS Shipping Race to the Bottom

D21 Hardbody Rehab and Restoration

Audew Power Station Jump Starter Review

Protect Your Shop During the Pandemic…

Sponsors

Sponsor


NICOclub's Nissan forums and Infiniti forums and all affiliated sites are the property of HDS Holdings, Inc. They are independent publications and are not affiliated with or endorsed by Nissan or Infiniti. Information Copyright © 2000-2021 by NICOclub, all rights reserved. Material may not be copied or reprinted without written permission.

NICOclub Sitemap | NICOclub Privacy Policy

Copyright © 2021 · NICO Club 2014 on Genesis Framework · WordPress · Log in