Infiniti Q45 Rear Sway Bar Installation and Upgrade Steps
Typically, your rear sway bar bushings will be hard and worn and deformed from years of use, so while you’re installing your new 20mm Active rear sway bar, I recommend new polyurethane bushings.
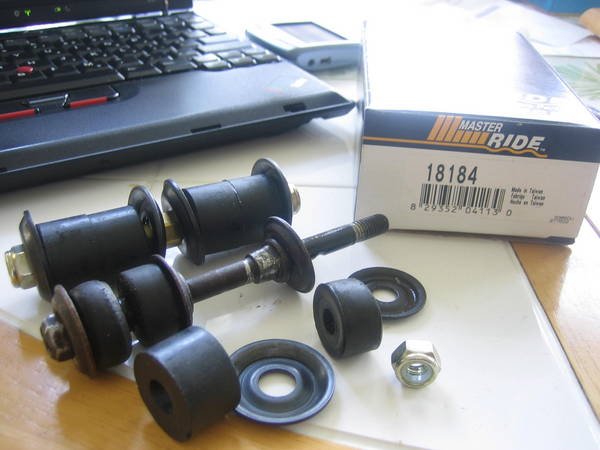
Old and new side by side. Notice how much longer the OEM link bolts are. I used the OEM bolts and changed everything else. Note bushing size difference as well as seat washers. I also put the box in the shot for anyone who wants to try this. Just go to Napa and ask for the number on the box.
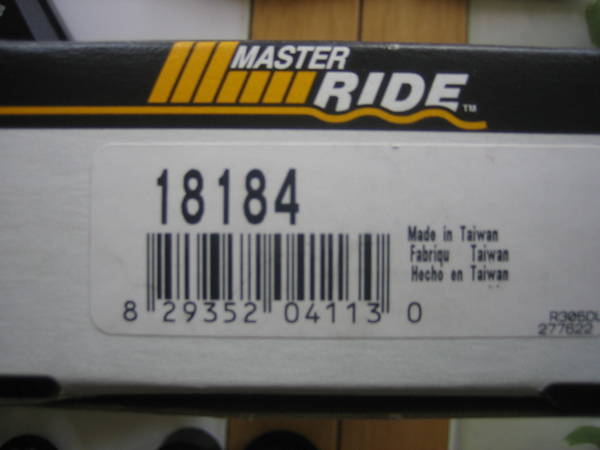
Close up of the box for all you Stevie Wonders and Ray Charles out there…
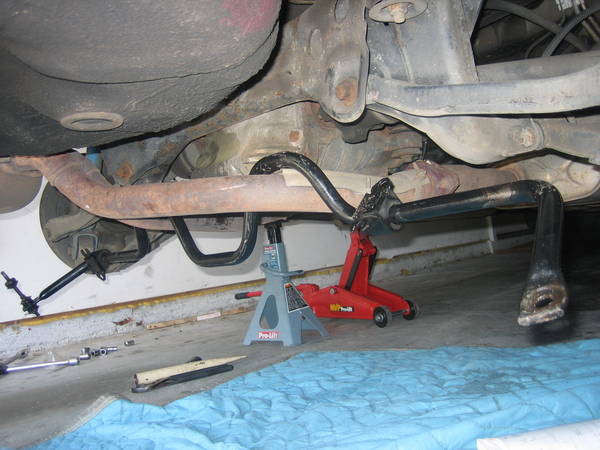
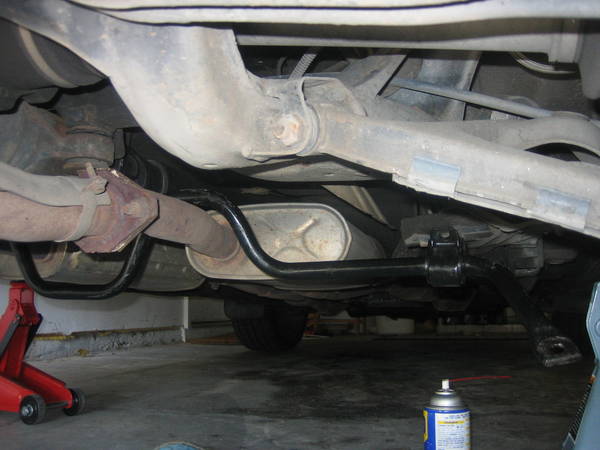
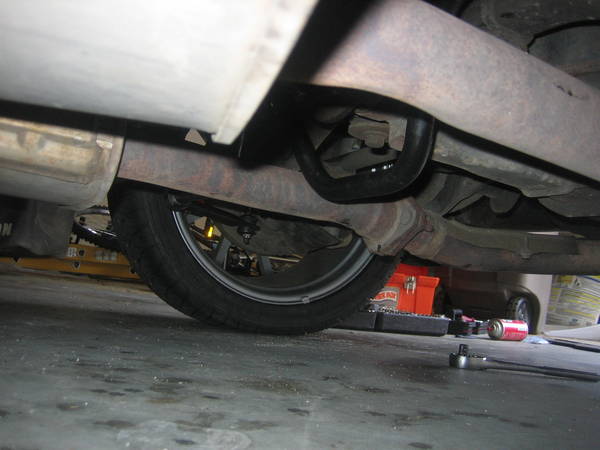
Pay close attention to this one. Getting the bar into place took like two minutes. I fed the bar into position BEHIND the diff, then slid it forwards to it’s proper position up near the drive shaft flange. There was no need to mess with the exhaust and even though I took off the driver’s side rear tire, I probably could have left it on where this was concerned. Here’s how you start the bar off…
Now I have moved it forward to it’s mounting location. Quite simple…
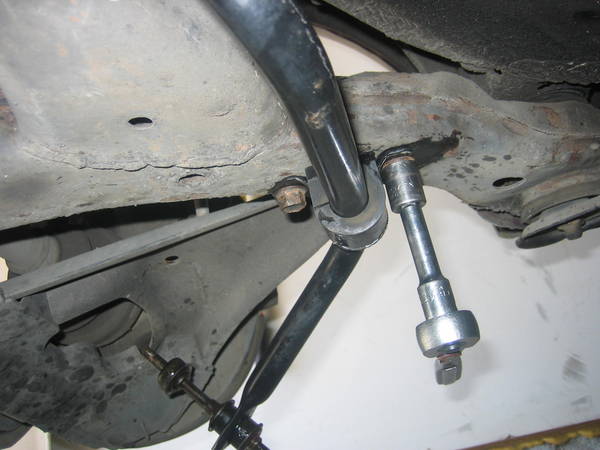
Driver’s side main support bushing… Connected ALL nuts and bolts loosely before tightening anything. I also sprayed all the holes with WD-40 as they had never been used and were quite cruddy.
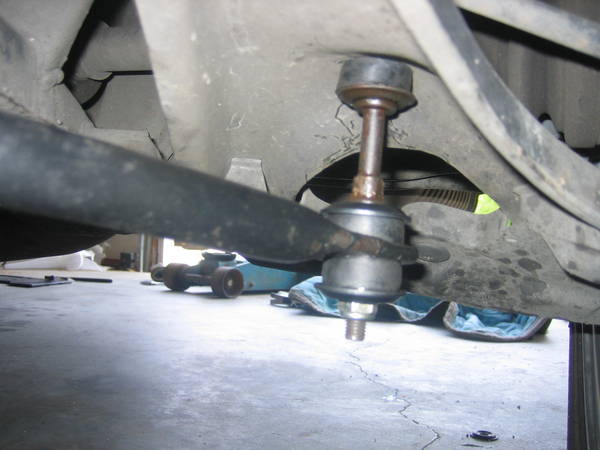
Please note that the car is supposed to be sitting on all 4 tires for the end links to line up properly. With car on jack stands, I jacked up the lower control arms instead providing the same effect and allowed me to stay under the car.
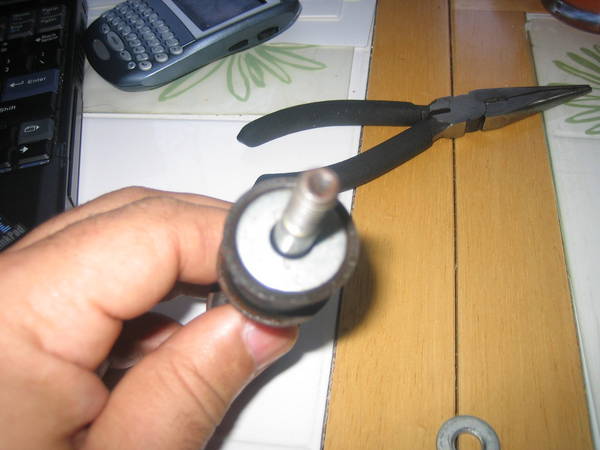
Here’s with the bushing in place. This is a cut bushing… I ended up loosening the top nut and re-centered the bushing you see here as it was slightly off center. The washer below it is fixed and is smaller than the new washers making the larger bushing harder to seat.
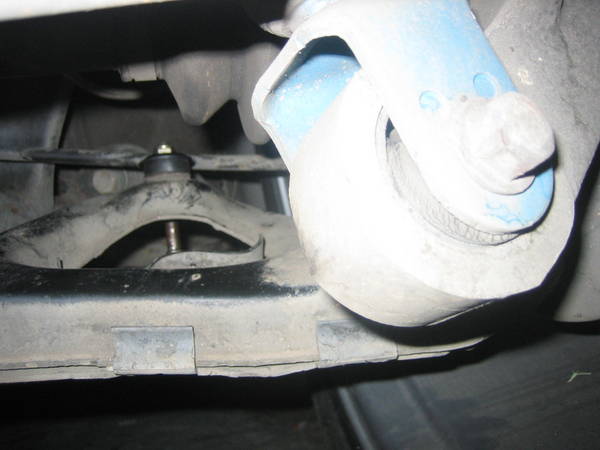
Top bushing (cut)
All done… bad pic but I wasn’t jacking the car up again for you slackers…
Now, go out and feel the wonder of power-on oversteer – Be careful!
By DrewQ45
