Now that you have your top off, you get to do the fun job of prepping the new top and window to go on.
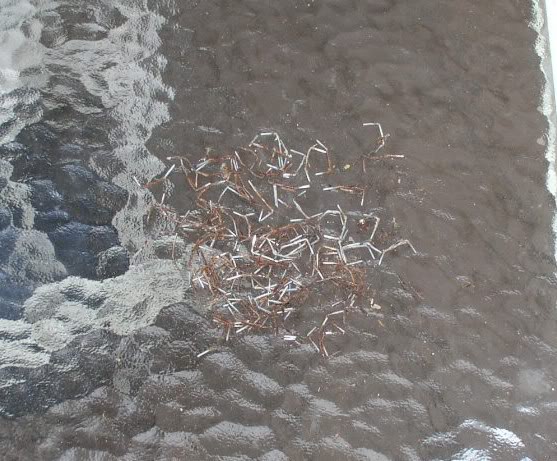
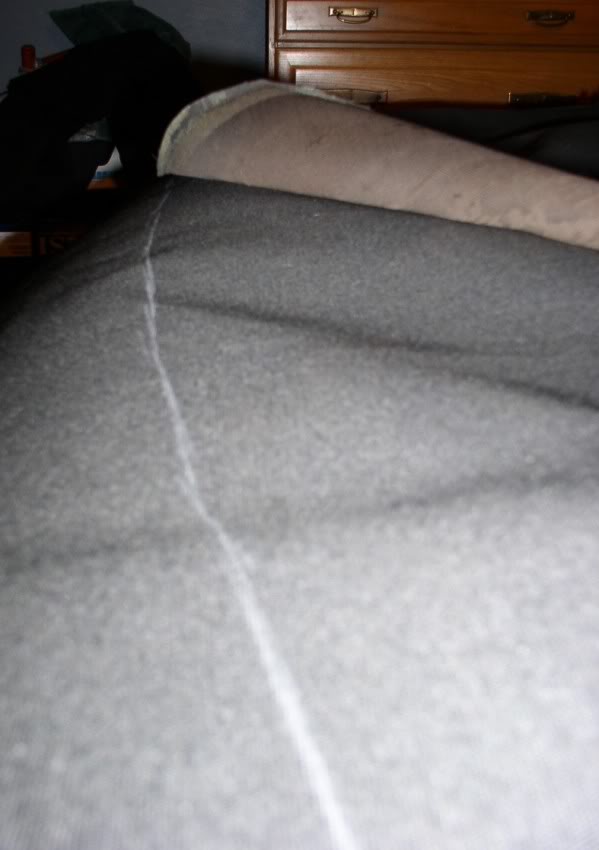
First thing is to finish pulling the staples out of the rear window after you make your guide lines for the top edge of the tack strip. This is the most annoying part of this job. Both tops I have done had over zealous staple installers. I removed probably 200 staples from the window alone.
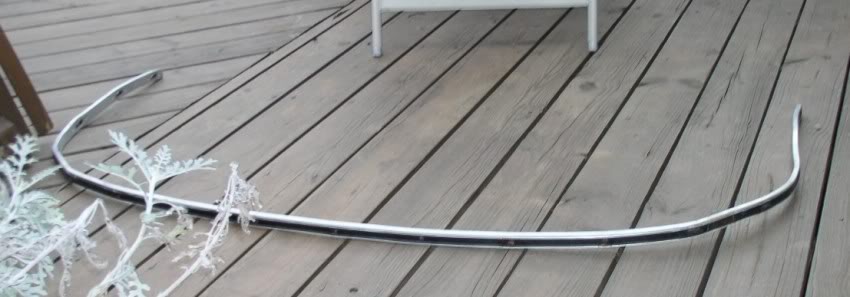
Mark which way is up on the tack strip. You don’t want to get halfway done and realize it’s upside down. That happened to me and I had to undo about 40 odd staples.
Next is kind of optional. The manual says to cut the old window along your edge marking and then use that as a guide to draw your new line in on your new window. The tops I have seen typically have this line already marked in for you. I cut my old window just to make sure that they’re reference line was correct. Then I took the cut off piece and used it to mark general locations of where to cut the new material to allow the studs to pass through for the tack strip.
One thing I definitely differ on the manual is right here. It says to go ahead and cut your new top and window for the stud holes. I waited and did that on the tack strip as I stapled in. I found the old material to be off in relation to the new material as far as the holes lining up is concerned. Probably from being stretched for 15 years. I’ll go more in depth on how I staple and cut in the next section.
I also did the same for the leading edge of the top where it folds over the number one bow. The first top I did had this line marked correctly, but the top I received didn’t have that line. So I layed the old top over the new one and drew in the line.
It’s painful to lay the dirty, deteriorating top over your brand new, clean one.
You really need that line for when you glue the front bow down. You glue it down without tension on it by putting the top in a half down position. This way the cement can adhere better and when you lay the top back down, it’ll pull the top tight.
Now you need to prepare the surfaces on the top frame for cement. Take some cleaning products and start cleaning down the surfaces. Carb cleaner seems to work real well for dissolving the old adhesive without doing damage to the paint and metal. Follow with an alcohol wipe to get any oily residue off.
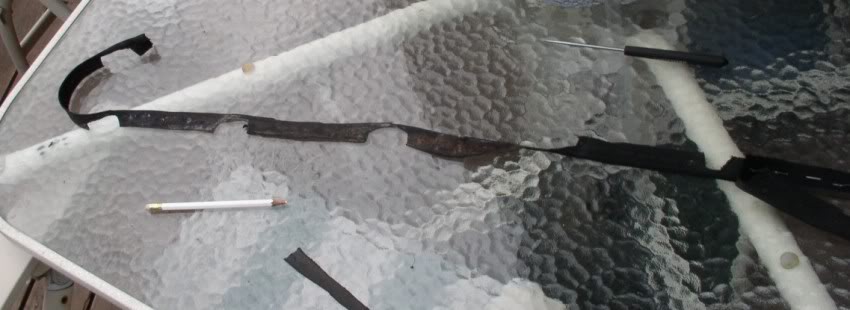
After you have your new top and window prepped and ready, it’s time to get them stapled on to the tack strip. The tops I’ve dealt with have reference lines for the top edge of the tack strip, but you should double check those lines anyways with your old top to be certain they’re right.
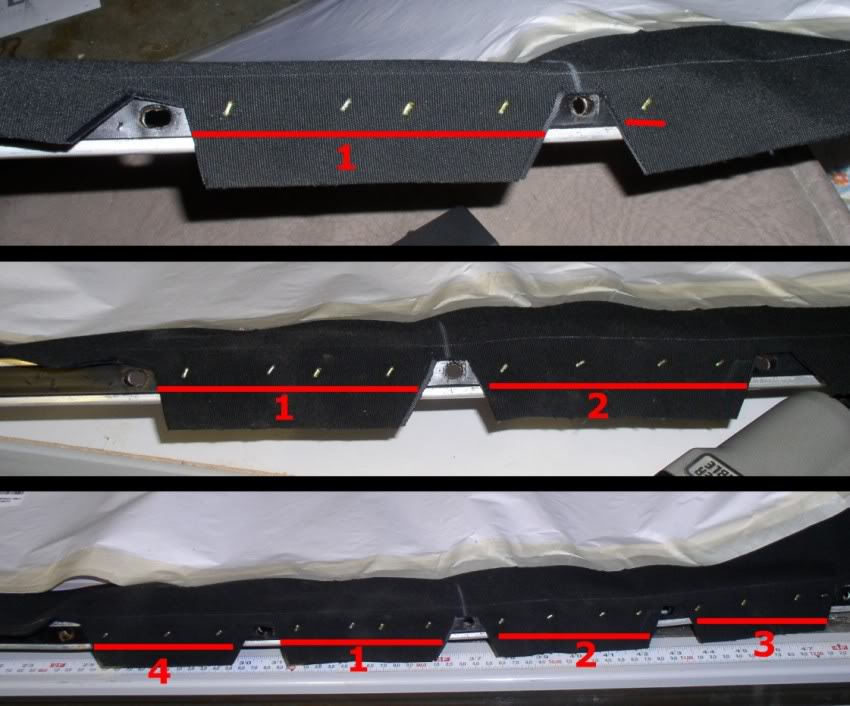
The FSM says to go ahead and use your old top to mark out the areas to cut out for the studs to pass through for when you bolt the tack strip back in place. I find it easier to not do it do it during prep. What I do is cut out the center cutout and put two staples in on each side to hold the drape to the tack strip. Then work my way out. I hold the cloth down taught against the tack strip and mark my next cutout and make my cuts. Then I staple the cloth down between the cutouts. Then I jump to the other side and do the same thing. Mark->cut->staple. And I keep working towards the outside alternating sides as I go. This will help you keep the rear window stretched against the tack strip and should hopefully keep wrinkles out of it.
You can see where I stapled my initial holding staples down and then worked my way out on one side (1). Then in the second picture, I have worked out towards 2. Then I cut out and work out towards 3, then 4 so on and so forth.
Once you reach past the window and into the curve of the tack strip, alternating back and forth becomes a chore and isn’t necessary anymore. Just finish off the one side and then go back and do the other side.
This is a great spot for a break – You’re almost in the home stretch, but if you’ve done as recommended and read the whole article before starting, you already knew this.
Here’s Part 4 of Replacing your Nissan 240sx Convertible Top!
NICOclub is back again with Carlisle Events to host our 18th annual NICOFest Carlisle AutoX…
Kraft Auctions Offers Fans a Chance to Own a Piece of Datsun Racing History
We built Datsun Ranch in 2014, and it was the culmination of a lot of…
Since it's not just Datsuns that are vintage anymore ("classic Nissan" still sounds weird, right?),…
Let's talk about big brake kits for a bit. For the purposes of this article,…
What do these terms mean? Pulsed Secondary Air Injection (PAIR) Valve: The PAIR valve sends…