Voodoo Arm Install and Review – S Chassis
I recently got an opportunity to install and test a set of super awesome control arms for the s14 from Voodoo13, and wanted to give you guys my impressions on their performance! I saw Voodoo 13 on Chris Forsburg’s car during FD last year, and if they’re good enough for him at that level, then they’re going to be great for my needs.
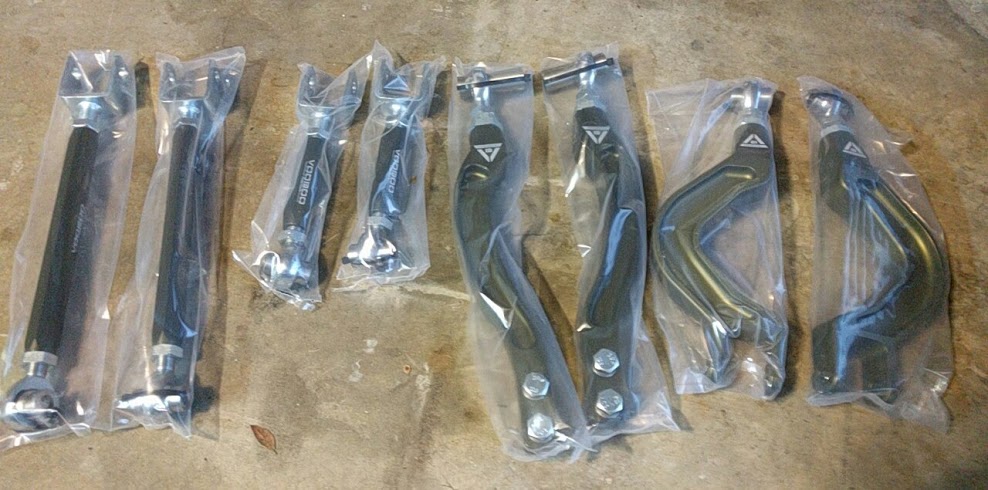
Out of the box impression:
Holy cow. These things are light! Surprisingly light. I have aftermarket rods currently on the car now, which are steel, and the feel and difference in your hand is immediately noticeable. Inspecting the heim joint, I was pretty happy with the overall quality of the piece. I like that the rod ends are PTFE/Nylon. When shopping for suspension components, a PTFE or greaseable unit is key for longevity. The zinc coating for corrosion prevention looks high-quality as well, which is key when you are going to make adjustments for different needs and setups. And did I mention, they are light!
Install 1: Front Tension Rods
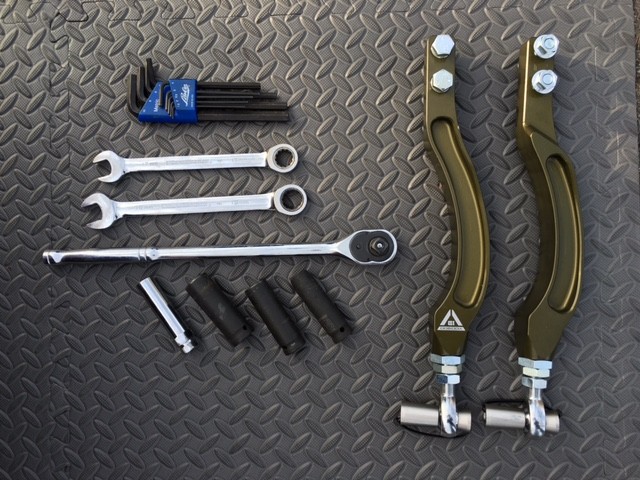
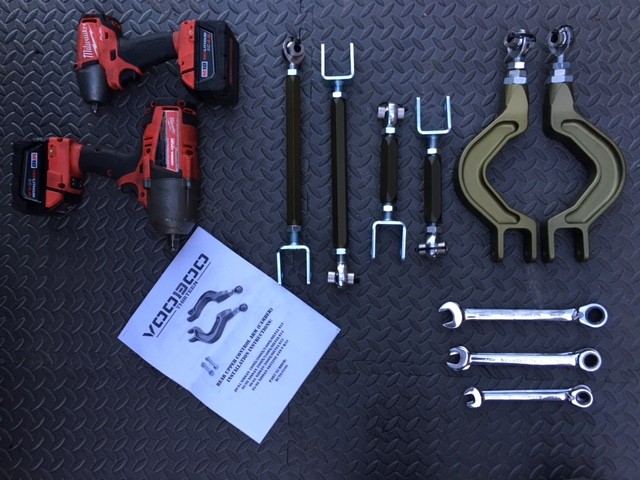
What you need:
• Jack / Jackstands
• 14mm Wrench
• 17mm Wrench
• 14mm/17mm Deep Socket
• Torque Wrench (not shown)
• Ruler (explain in a bit)
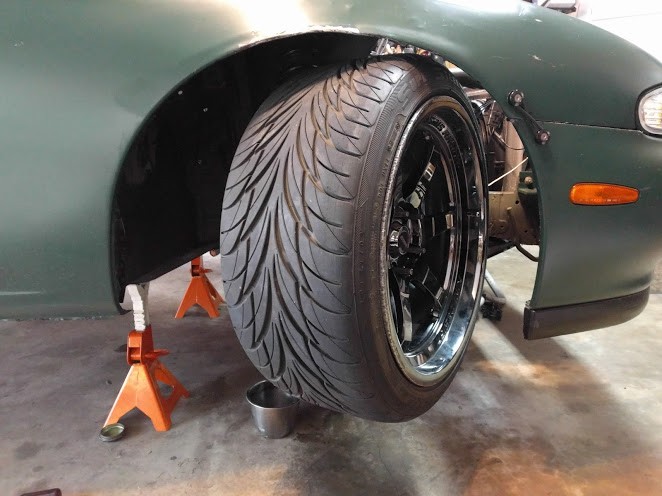
1) To start, raise the vehicle and put it on the jack stands, remove the wheels.
2) Remove the bolts on the lower control arm. There are 2 14mm nuts on the underside of the control arm, this is where you need the 14mm deep socket. These often get coated in oil/grease/dirt, so make sure you get the socket to seat cleanly – you don’t want to round one off!
3) Then remove the forward bolt. This one can get pretty gnarly with road grime, so make sure you have enough leverage! A 3/8 ratchet won’t cut it here.
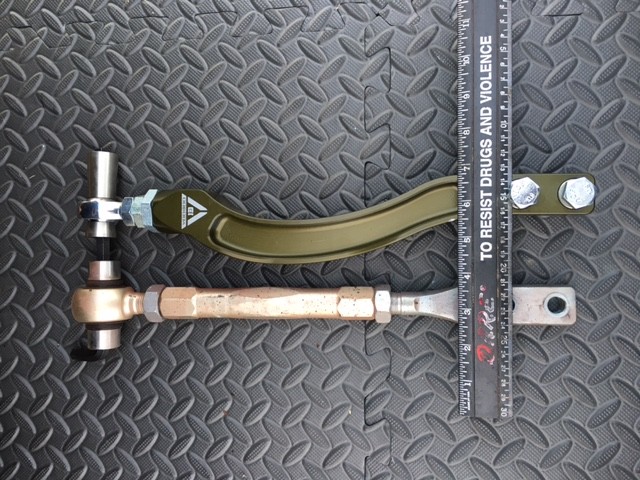
4) *crucial step* make sure you measure out the tension rods to match the rods you are removing. Putting them in there without matching is reeeeeally going to screw up your alignment, and depending on your fitment, may create a steering / turning issue depending on your caster needs.
5) Reinstall the tension rod. I did this one loosely mounted to the arm first, and then the forward bolt.. A slight jacking under the control arm will assist with aligning it.
6) Now just torque everything to spec and repeat on the other side. Don’t know where to find torque specs? Your FSM is a great place! Luckily, you are in a good place for that – Nissan 240sx Factory Service Manuals!
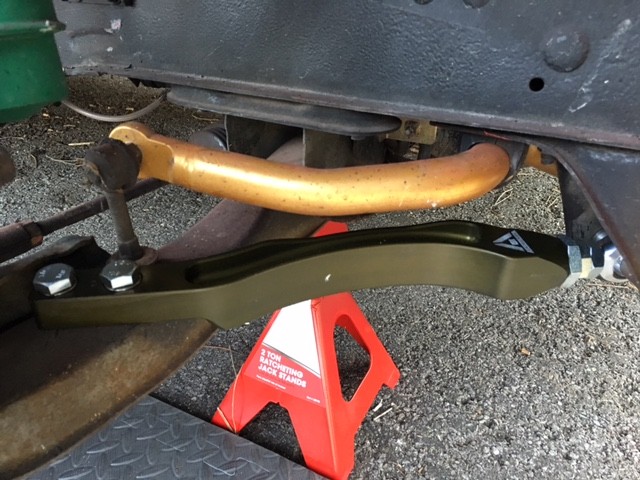
7) The curved shape of the rod is great for angle kits so you can get way more angle. Give yourself a high five (or adult beverage), the rears are up next!
Install 2: Rear Upper Control Arms, Toe & Tension Rods. Here is the fun part!
What you need:
• 19mm Wrench
• 17mm Wrench
• 14mm/17mm Deep Socket
• Torque Wrench (not shown)
• Ruler (explain in a bit)
• Flat Screwdriver
• PB Blaster
NOTE: Depending on your location in the country, a PB Blasting of the bolts the night before may be a good idea, particularly if you are on the original arms.
1) I started here with the RUCA (Rear Upper Control Arm). Remove the bolt closest to you on the knuckle and then the inner eccentric bolt. Be careful when taking this bolt out. DO NOT force it. Ruining the ‘tang’ on the eccentric washer means you get to spend $30 on a new one. (This is where the flathead screwdriver comes in handy to pop this washer off)
For this arm, I REALLY recommend replacing these with eccentric delete bolts, particularly for track use. They reduce the opportunity for an alignment issue later when this bolt shifts – and it will, under hard driving. This bolt is the original camber adjustment bolt for the stock suspension, but new arms offer this adjustment, so it is no longer needed. They come in a set of four, so you can delete the eccentric here and on the rear toe rod. Voodoo13 offers them as well: Eccentric Delete Bolts for 240sx
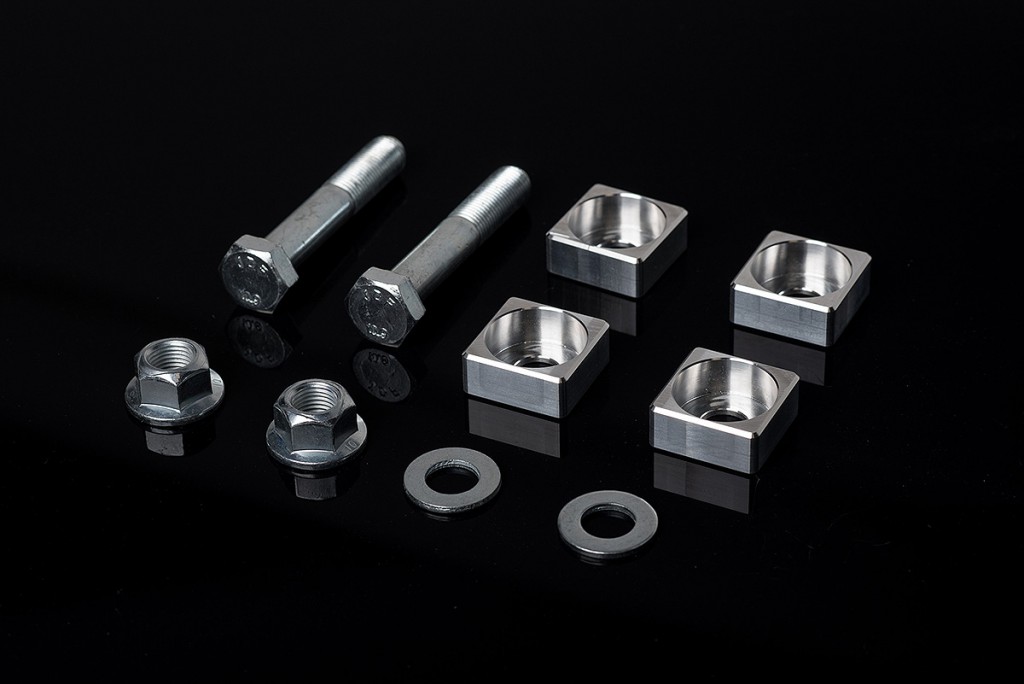
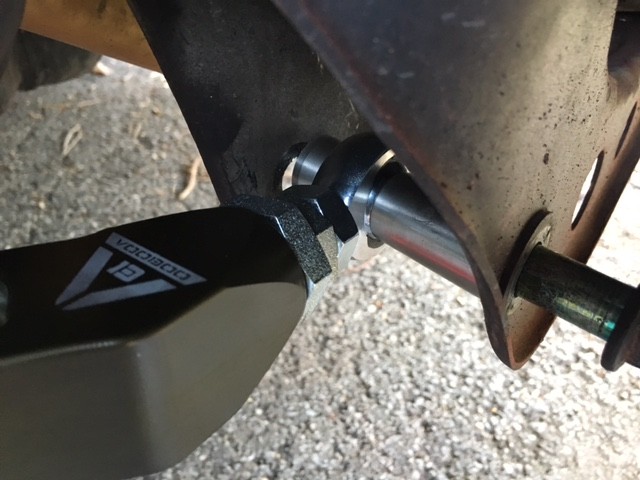
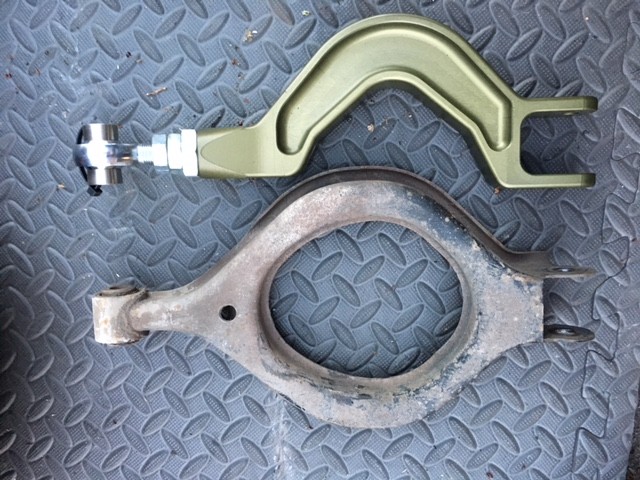
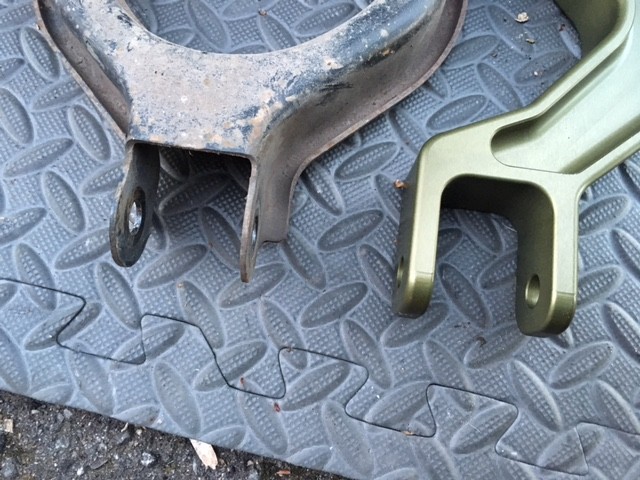
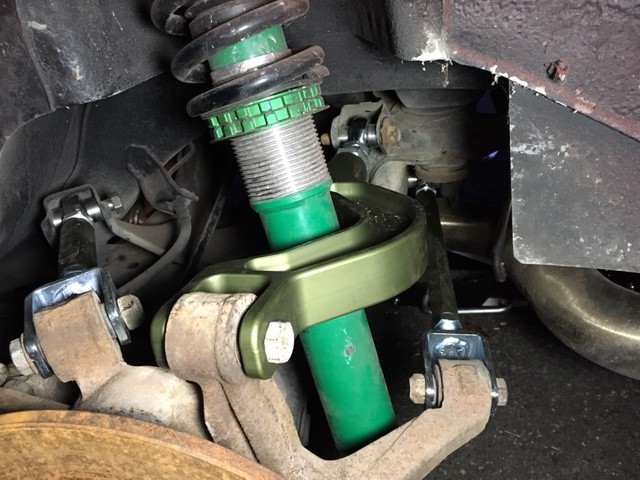
2) When reinstalling this RUCA, you will notice the extra bolts in the box, here is where they are used. Look how BEEFY the Voodoo part is. The extra length on the bolt is what’s needed to clear the extra material. Pretty nifty.
3) A similar procedure is used for the front traction, and rear toe rods. Remove, measure, and reinstall. The rear toe rod also has that eccentric, so remove with care.
It is important to make sure you have all of these parts measured as closely as possible to keep a reasonable alignment before heading to the shop.
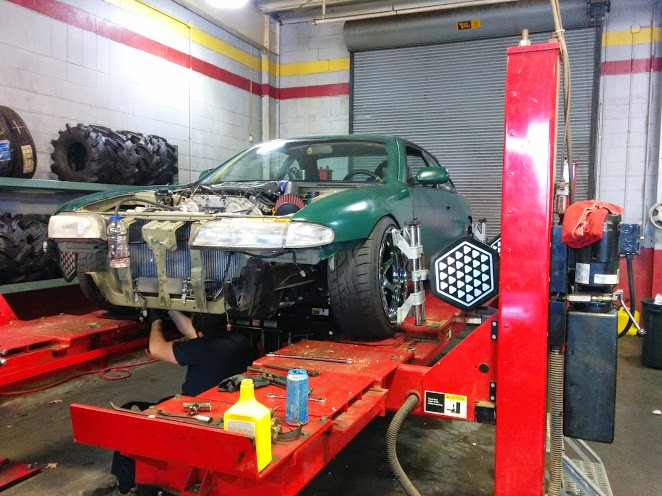
NOTE: IT IS MORE IMPORTANTER to get an alignment after this install. I can’t say that enough. If you are making a suspension adjustment, GET AN ALIGNMENT. Literally zero way to see if what you just spent hard earned money on was even worth it unless you have a good baseline.
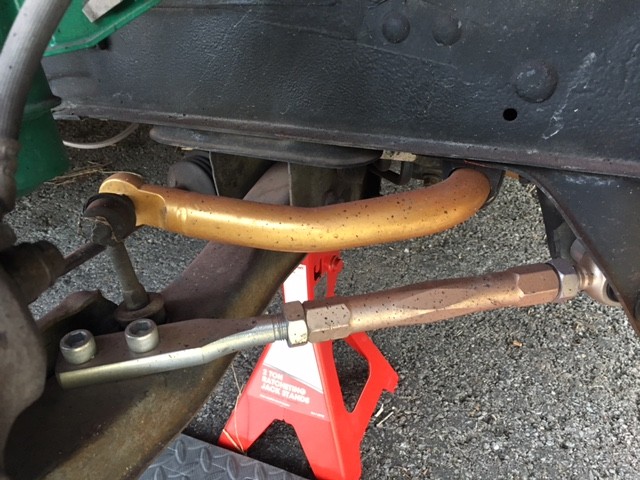
Here are some shots of what things looked like after getting it back together, just before torquing to spec.
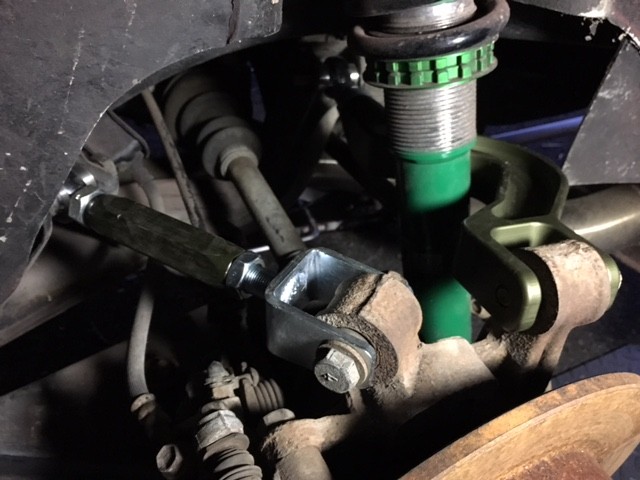
Don’t know where to find torque specs? Your FSM is a great place! Luckily, you are in a good place for that – Nissan 240sx Factory Service Manuals
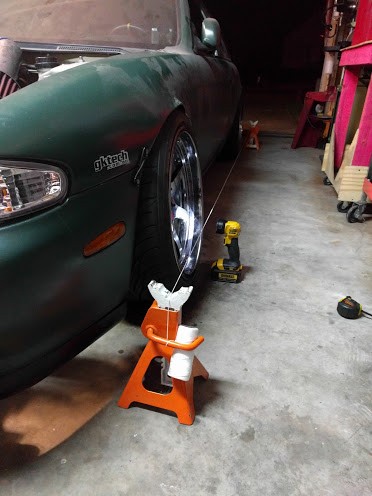
Advanced Step: String Alignment
So I showed this install on my S13, but swapping over to the S14 to see how they hold up under some fun in the NOLA sun. That brings me to my next phase, I call it the ‘’I-just-finished-at-2am-and-I-need-an-alignment-before-I-drift-tomorrow Phase’’ We will just call it the ‘Advanced Step’ here. Being this isn’t really a street car (and I clearly don’t care about tire wear), I am doing a string alignment. I had several years of doing alignments before, but do not let that scare you from making an attempt to learn something new!
Here are some great resources to learn the methodology behind it-
String Alignment How To:
http://speed.academy/diy-wheel-alignment-how-to-guide-explained/
http://www.negative-camber.org/jam149/technical/alignment.html
Conclusion
These units come across to me as a very good quality item for the money. The engineering is apparent in just handling the piece initially out of the box, and was more apparent on install and making the needed adjustments in that process. There is just something about holding a really nicely crafted part in your hand that is gratifying.
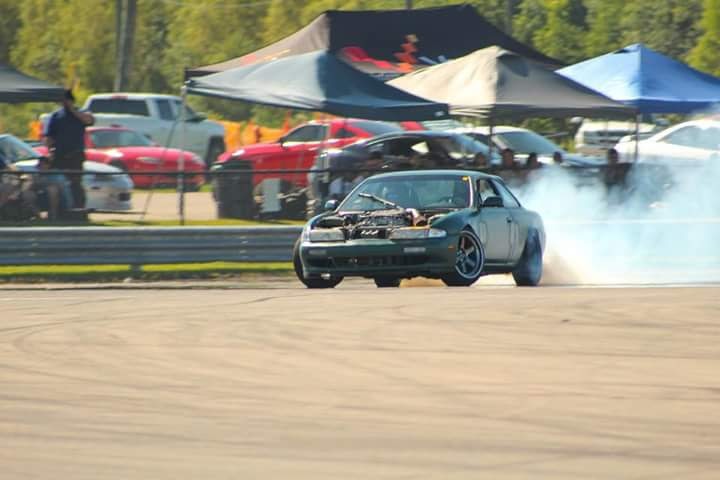
I also dig that they have a unique look (although I do wish the green matched my Tein coilovers!) It’s a nice function and form relationship for strength, lightness and functionality with items like angle kits. These offer a good product for track and street use, and are easy to adjust, which is always key when doing things yourself. Especially because I got a direct comparison to a cheaper piece with the ISR Pro items coming off the car, the quality is really great. I am curious to see how the PTFE bearings hold up without dust covers. They may not be needed, but I may wish that they would have them on the units. They’re spectacular on the track, and it’s one less component to worry about when thrashing tires and stretching the limits of your build!
In closing: if you are shopping the higher end of the suspension arm market, take a look at Voodoo13. A thumbs up for a quality, functional part for this install.