BY: wideopn11
The purpose of this write up is to provide helpful knowledge to anyone who may be attempting to install spacers on the M37. Specifically I own a 2012 M37x and installed 20mm spacers front and rear. While I own the AWD model, this may also be quite useful to rear drive M37 owners. I am not a professional mechanic but I’ve done this on several cars over the years and I love to do what I can on my own. Enjoy.
Safety check, parking brake on, flat surface blah blah blah…
If you can change a tire you can install spacers. Preferably use a lift if you have the option.
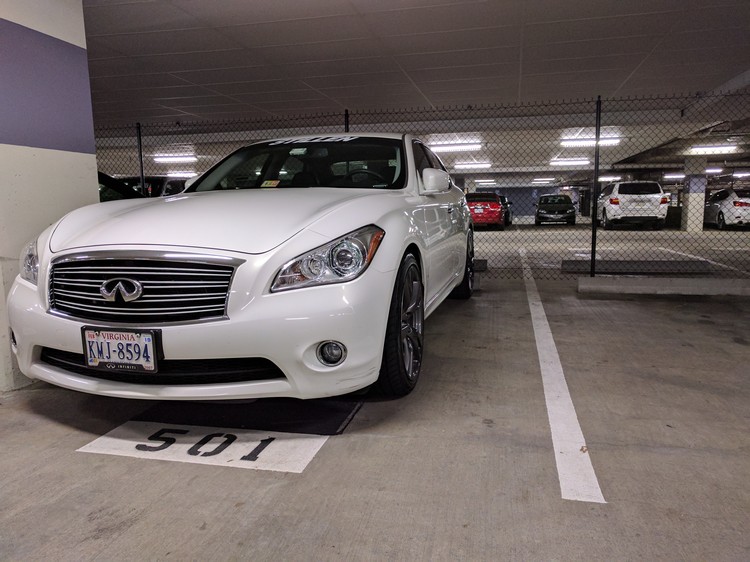
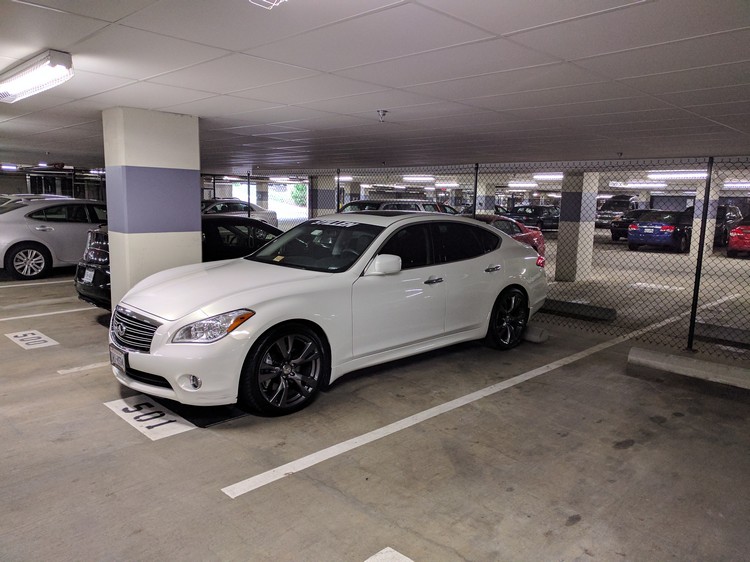
I went with 20mm spacers front and rear after extensive reading, researching and measuring. I’m running the OEM sport wheels and my tires are 245 up front and 255 in the rear. The wider stance is a bit subjective aesthetically since everyone has their own thoughts on what looks good to them. These fit quite well and I’m very happy with how it turned out.
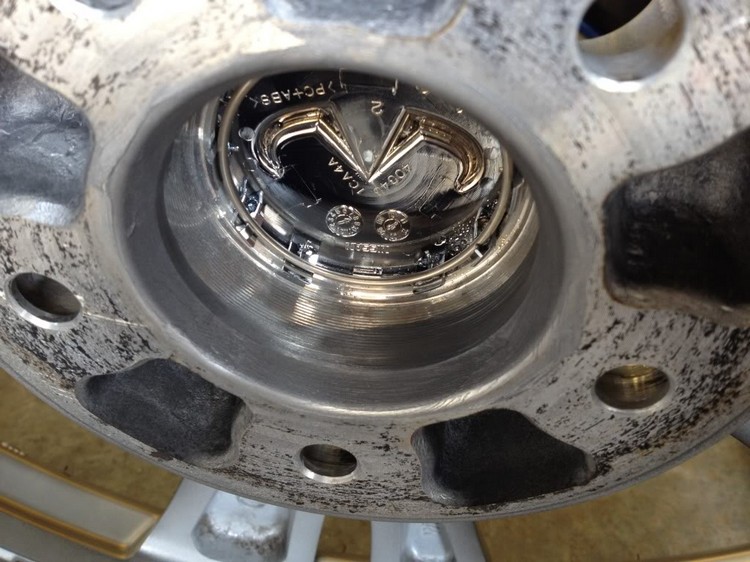
It’s important to check your wheels before starting on this. Some people have reported that their Sport wheels do NOT have the pictured holes on the back side to fit over the spacer nuts. For anything below 25mm spacers you must have these holes or else you will need to trim the factory studs which I would NOT recommend.
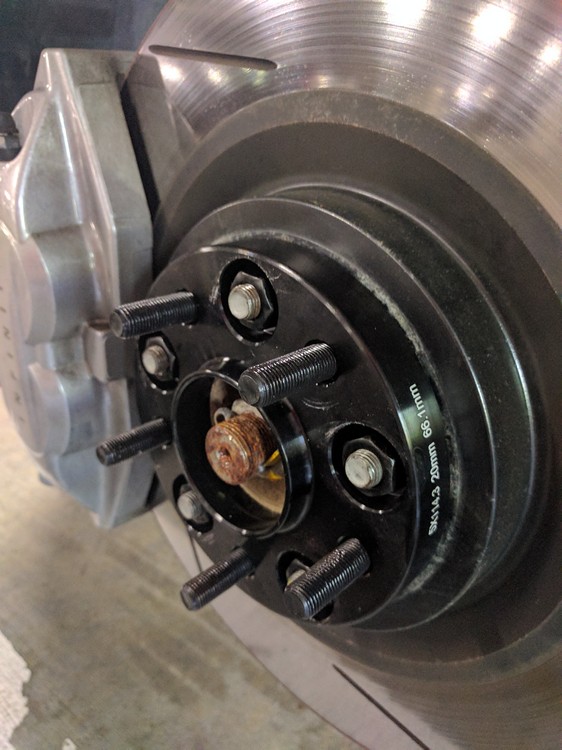
These are the 20mm spacers I went with. They came in a set of 4 on Amazon for a good price. I like the black anodized look to match the black hubs and darker gunmetal wheels.
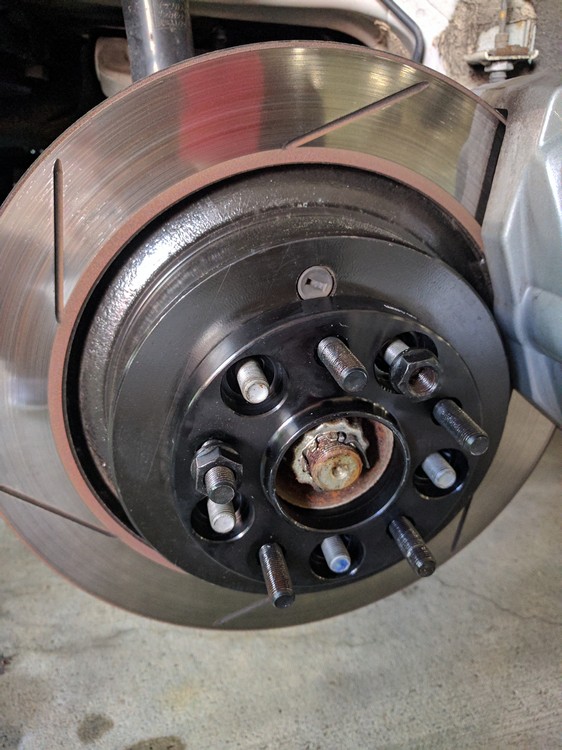
Jack the front/rear up (or use a lift) and remove the wheel. Clean off the hub to remove any dirt or rust that may be there before putting the spacer on.
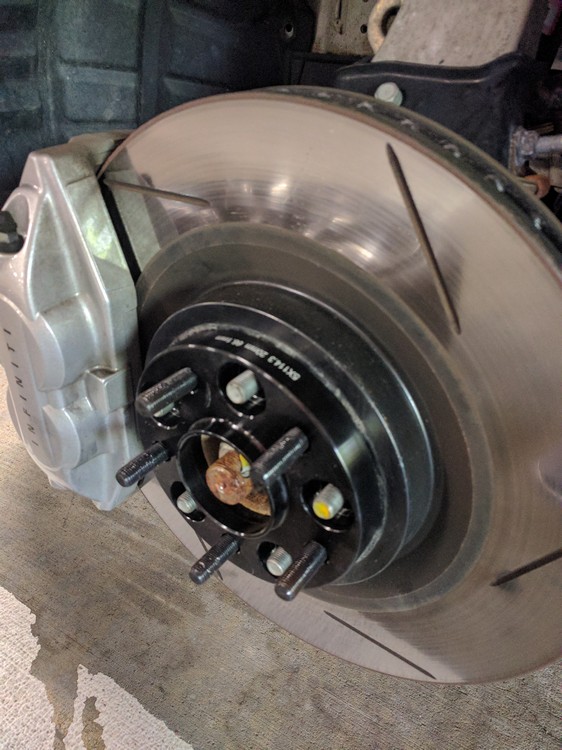
Use a torque wrench to tighten the nuts on the spacers the same as you would for the wheels and then put the wheel back on. I believe the proper torque is 78-82 (someone correct me if I’m wrong). You can see from the pics that the factory studs stick out ever so slightly which is why you need the holes on the back of your wheels.
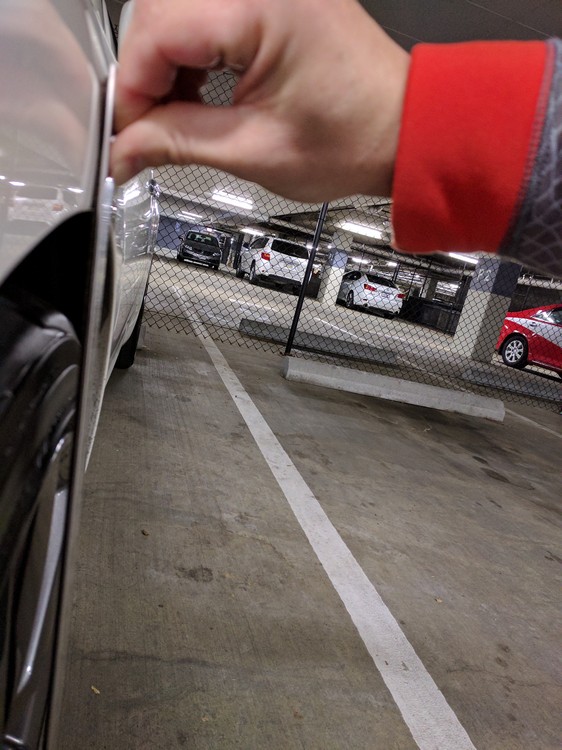
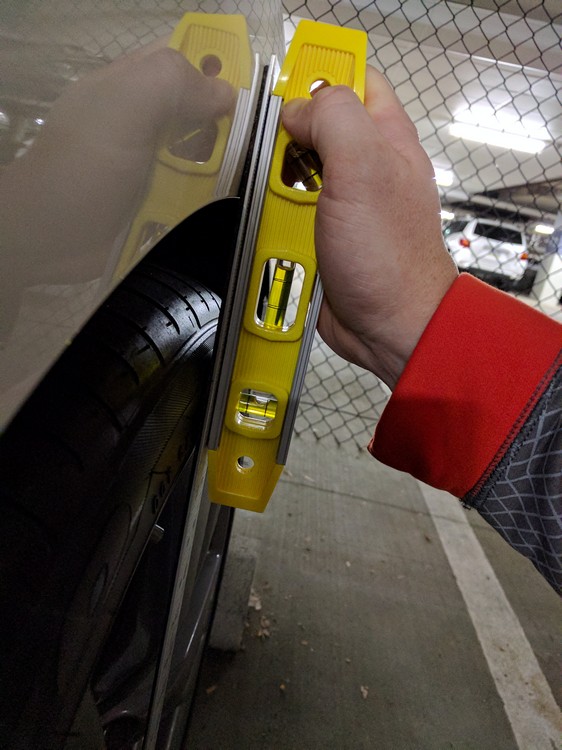
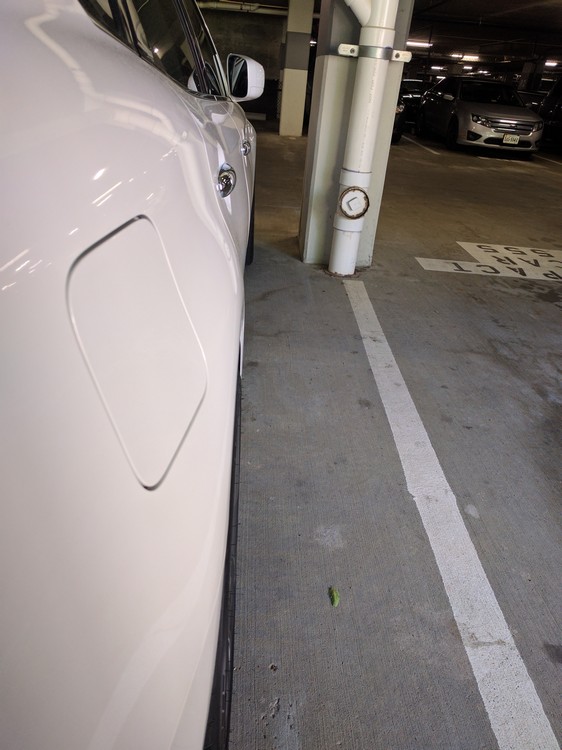
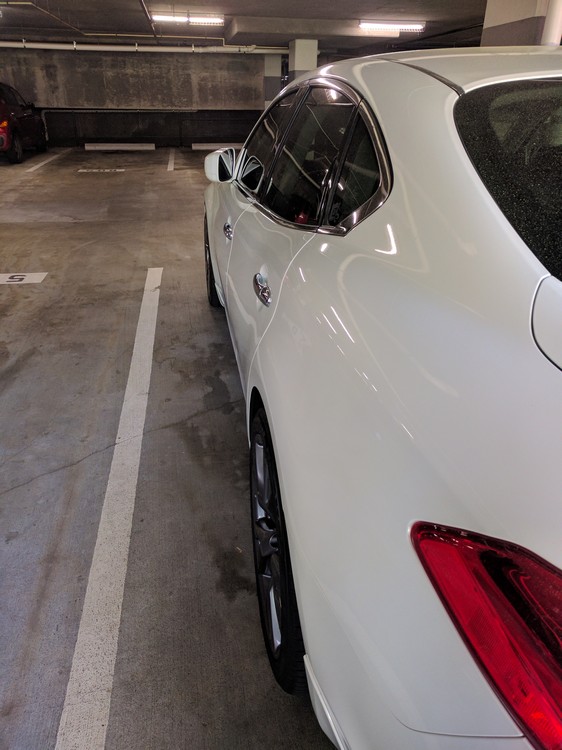
It’s hard to get a proper image with the camera to show just how flush the fitment is but I tried. Trust me when I say they are very close to perfect at the top and poke slightly at the bottom due to negative camber. I’m not sure how much camber I have at the moment but it’s not a lot.
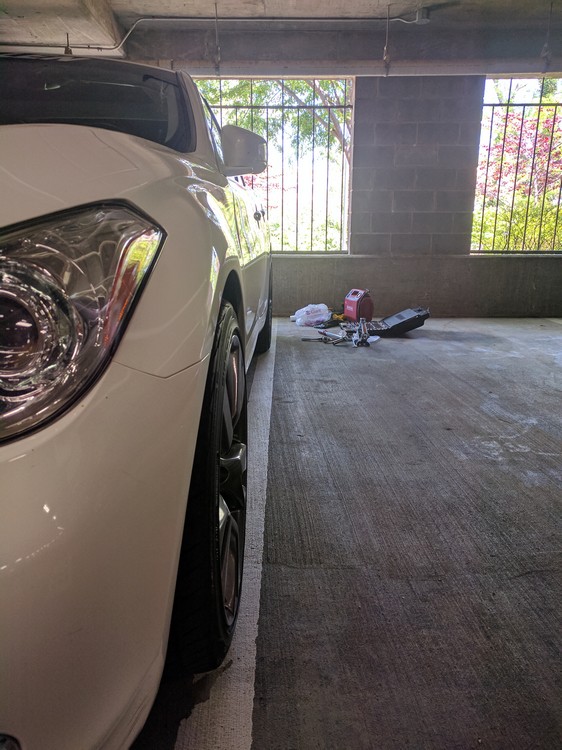
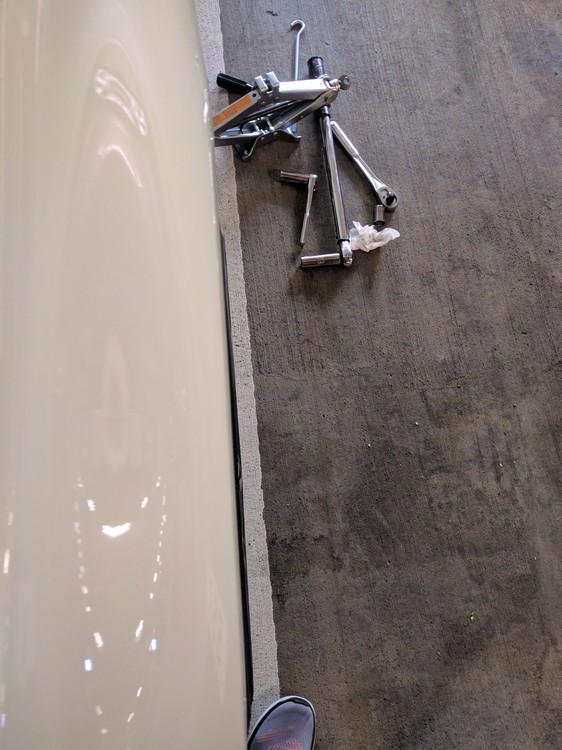
If you take a step back and look at the car overall; I’m very happy with the fit.
NICOclub is back again with Carlisle Events to host our 18th annual NICOFest Carlisle AutoX…
Kraft Auctions Offers Fans a Chance to Own a Piece of Datsun Racing History
We built Datsun Ranch in 2014, and it was the culmination of a lot of…
Since it's not just Datsuns that are vintage anymore ("classic Nissan" still sounds weird, right?),…
Let's talk about big brake kits for a bit. For the purposes of this article,…
What do these terms mean? Pulsed Secondary Air Injection (PAIR) Valve: The PAIR valve sends…