The 350Z turns 15 this year, and if you’ve got one of the early models, you might be thinking the interior and seat upholstery is about due for a refreshing. One option is a set of slip-on seat covers from Ebay or an auto parts store, but those usually fit terribly and look cheap. At the opposite end of the spectrum, a reputable professional upholstery shop can usually replicate the stock appearance of your original seats with new upholstery, but you’ll be spending quite a bit, usually upwards of a thousand bucks. We’re going to show you how to do it for less than half of that!
My 2006 350Z Enthusiast came with manual cloth seats without side airbags. The passenger and driver’s seat have some minor differences besides the raised section between the driver’s legs. The driver’s seat has two knobs that independently raise/lower the front and back of the bottom seat cushion. The passenger seat has an additional tilt release lever in the center of the seat back.
While other models come with power seats and side airbags, these instructions will work for them as well. Just follow the 350Z Factory Service Manual for removal and installation instructions.
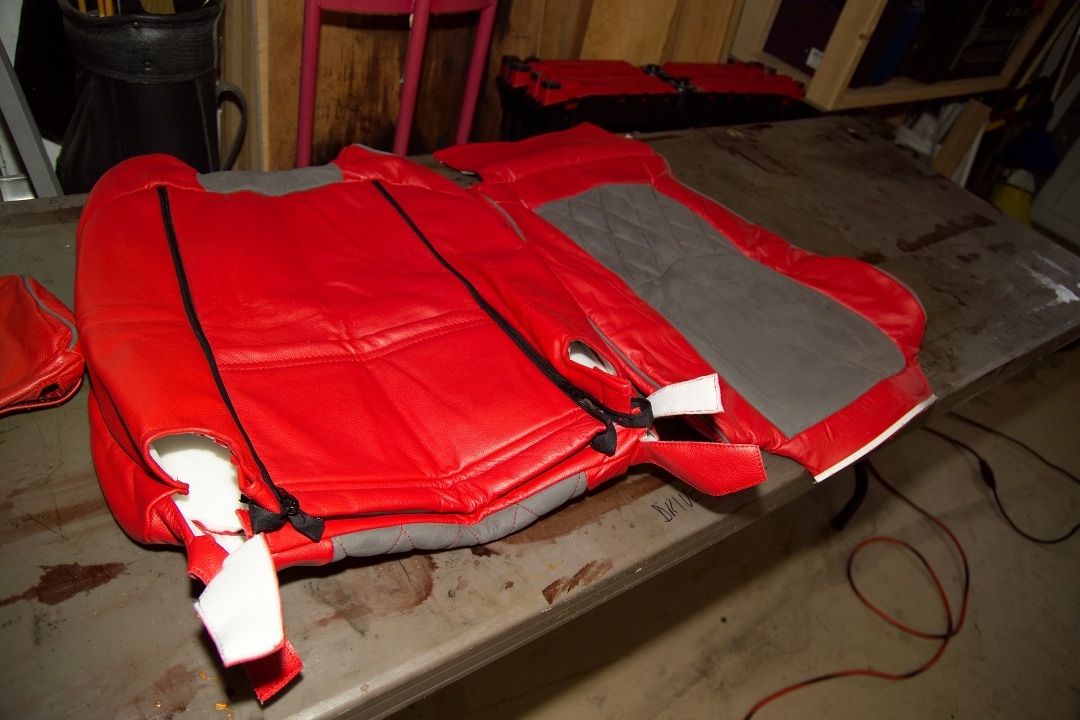
New Seat Covers: The leather seat covers came from NICOclub sponsor Interior Innovations. They took my custom specifications and had the covers produced overseas. The covers were shipped directly to my home. Quality is first-rate and suitable for the professional installer. That said, no instructions were included in the packaging. Hopefully, this write-up will suffice for our Z’s.
Pricing was far more reasonable than expected, there were several different custom options, and they offer other materials besides leather… One could replicate the factory covers, or go with a much more custom design, such as I did.
Interior Innovations claims their covers are made to OEM specifications, to ensure proper fit. They made sure to verify my year, make, model, and options for an exact fit. To this end they succeeded (with one minor issue that I will detail later).
While several suppliers design their covers to be installed over your existing covers without removing the seats, these covers are professional quality, and are really needed for the deeply bolstered seats we have in our Z’s.
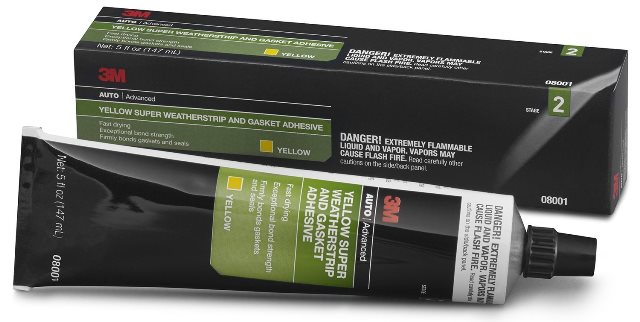
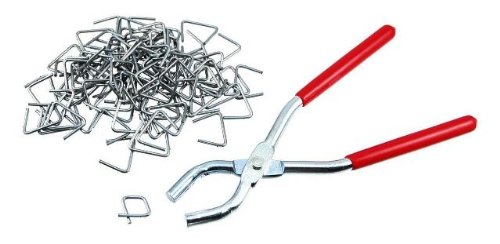
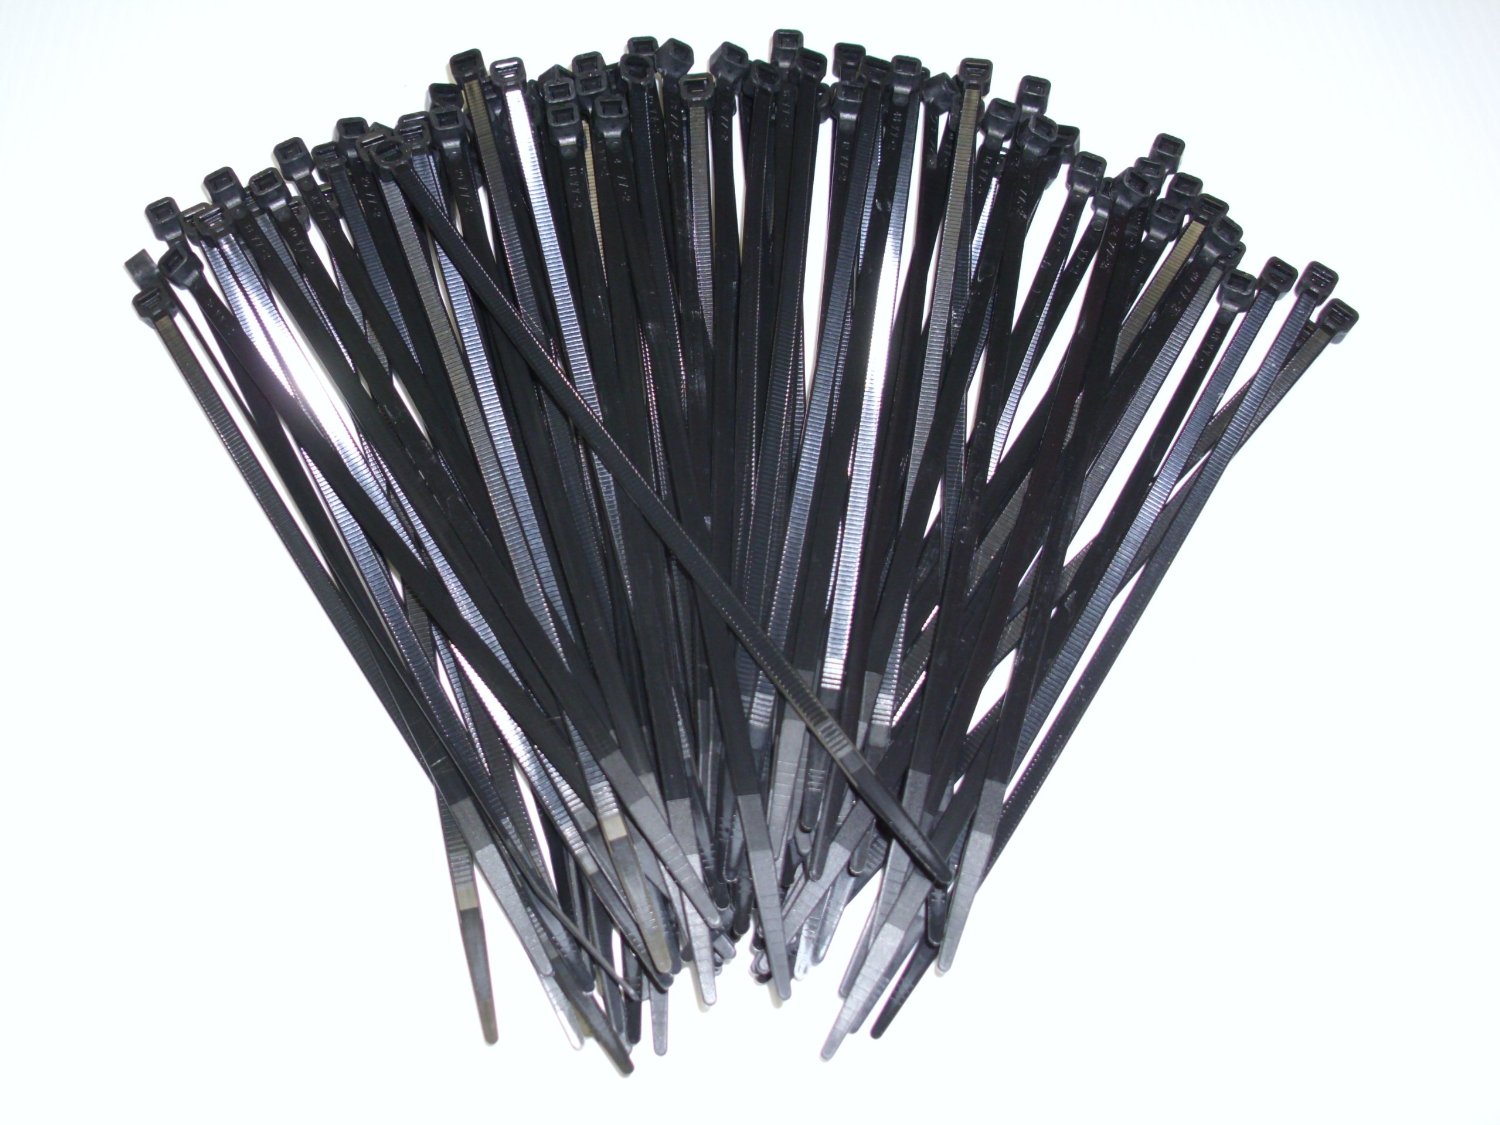
Tools and Supplies Required: Besides the usual shop tools, you will need a pair of hog ring pliers and a supply of rings. These can be purchased at a Tractor Supply or Ace Hardware. You may also want some 4” cable ties. If you are going to use cable ties, you may want a pair of forceps from Harbor Freight to help dress the ties in close quarters. You may also need some 3M Yellow Super Weatherstrip and Gasket Adhesive to repair any damage you find in the foam rubber cushions.
I would also recommend a digital camera or smart phone to take plenty of pictures during the disassembly process.
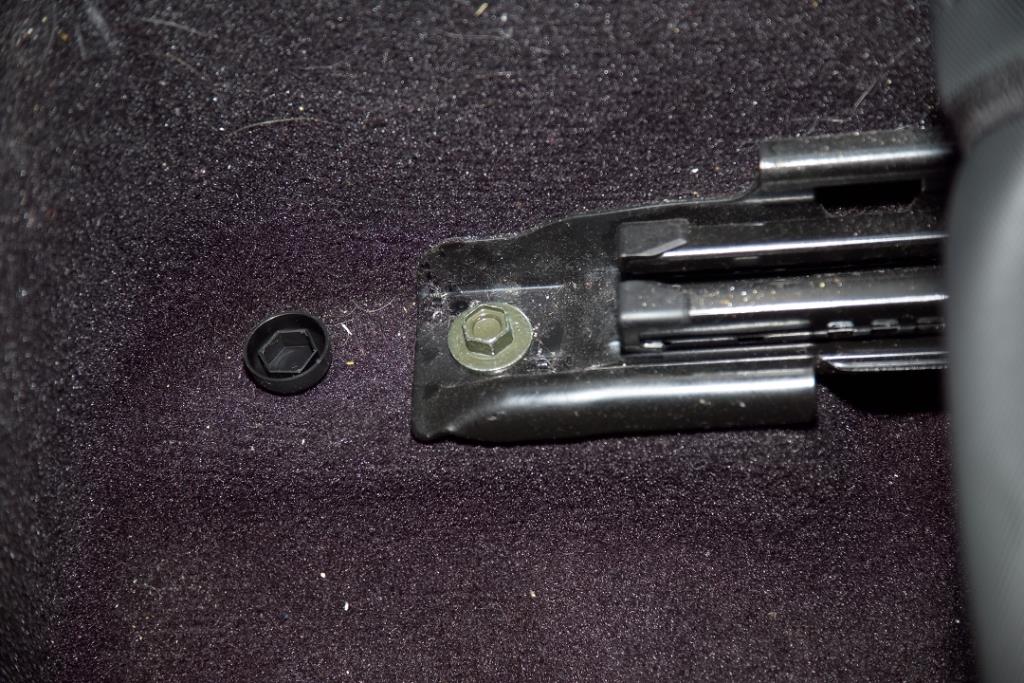
Seat Removal: Tilt the seat backs forward and remove the headrests. Move the seat forward to gain access to the rear mount bolts. The bolts are covered with plastic buttons, which you can pop off with a screwdriver. Use a 14mm socket to remove these bolts. The FSM says these bolts should be torqued 25-40 ft-lbs, but I’ve always found them torqued to the high limit or more at the factory. You may need a breaker bar to break these bolts free.
Slide the seat to the rear to expose the front mount bolts and remove them. The seat mounts also have a pin to hold the seat in position. Lift the seat about 3 inches to release the pin and then tilt the seat rearward to gain access to the wiring.
Of particular note, if you have side airbags, disconnect the battery and wait 3 minutes before disconnecting the wiring on the bottom of the seats. Inadvertently firing the airbags can ruin your installation – and your whole darn day. Wiring connects the seat to the car and varies depending on which options you have. Disconnect the plugs and snip any cable ties as required. Tilt the top of the seat towards the door and lift the seat out (this is easier with a helper – while the seats aren’t terribly heavy, they’re awkward).
Take a break, and we’ll start on the disassembly next!
350Z Custom Seat Cover Replacement – Part 2
NICOclub is back again with Carlisle Events to host our 18th annual NICOFest Carlisle AutoX…
Kraft Auctions Offers Fans a Chance to Own a Piece of Datsun Racing History
We built Datsun Ranch in 2014, and it was the culmination of a lot of…
Since it's not just Datsuns that are vintage anymore ("classic Nissan" still sounds weird, right?),…
Let's talk about big brake kits for a bit. For the purposes of this article,…
What do these terms mean? Pulsed Secondary Air Injection (PAIR) Valve: The PAIR valve sends…