Article Series
Installation
This is where I give the “do as I say, not as I do” disclaimer: I’m in the middle of moving and getting myself squared away with all my things in one place. I have belongings scattered between two states at the moment, so the tools available to me at the time of installation were basic hand tools, the scissor jack from the trunk of the Z, and a pair of jack stands. That made a fairly simple installation far more physically demanding than it had to be. If you have access to a lift and air tools, peace be with you. I hurt for two days after breaking bolts off of the suspension of a 20,000 mile-old MY2013. From the south. With zero rust. (I’m probably a pansy – wouldn’t be the first time I’ve heard it.)
I’ll also admit – do a thorough check of the booklet that HKS provides. Initially, when I looked at a few pages of a wall of Japanese text, I spent a minute wondering how on earth I was going to use Google Translate without a Japanese keyboard, but my brain-fart soon ended and I found the English section of the booklet. It definitely helps to read through it before you start anything just to familiarize yourself with what needs to be done.
This is where I’ll hat-tip to HKS – one of several hat-tips, as you’ll find – the instructions provided are pretty solid. I’m going to summarize the installation with a couple of pictures and suggestions of my own, because HKS has it pretty well covered out of the box. The instructions even come with illustrations that are specific to the application – no generic instruction here. There’s no mistake that the instruction manual covers the HKS Hipermax IV GT system for the 370Z. I hate it when manufacturers cut corners with generic instruction, and HKS gives an example of why they’re known for being top-notch by being thorough here.
There are two tricky parts to the installation, and I will emphasize those as I walk you through it.
I worked from front to rear on the Z for installation because I had only two jack stands. If you have a lift, you can rock this out faster, but you can get it done with jack stands as you don’t need to get the car terribly far off the ground for most of the work (except for breaking bolts off the bottom of the front suspension – the more room you can get the better.) I was able to work with an 18″ breaker bar for the tough bolts with jackstands, for your reference.
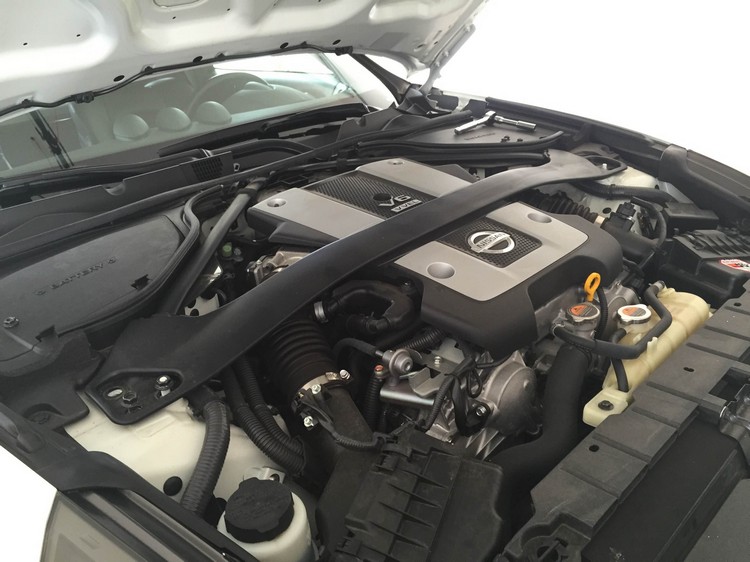
The 370Z comes with a strut brace as shown that must be removed first so you can access the strut towers – it helps to remove this before you lift the car as it’s easier to reach when the car is on the ground.
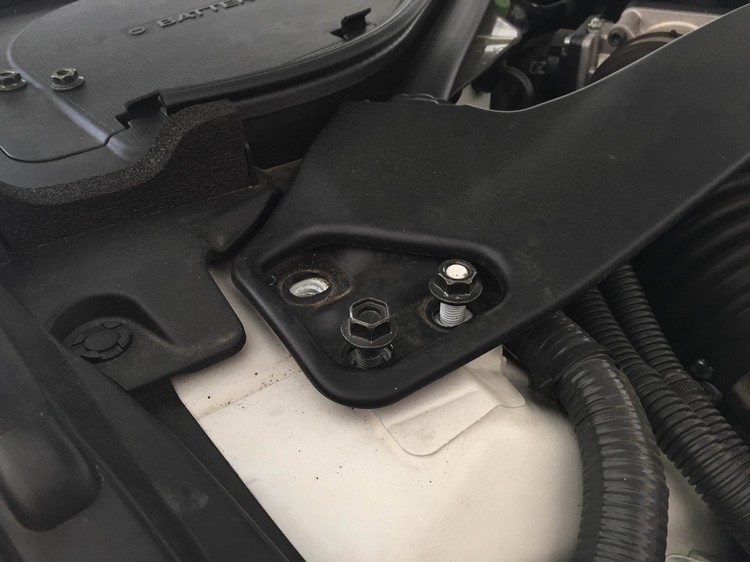
Remove the bolts from each side.
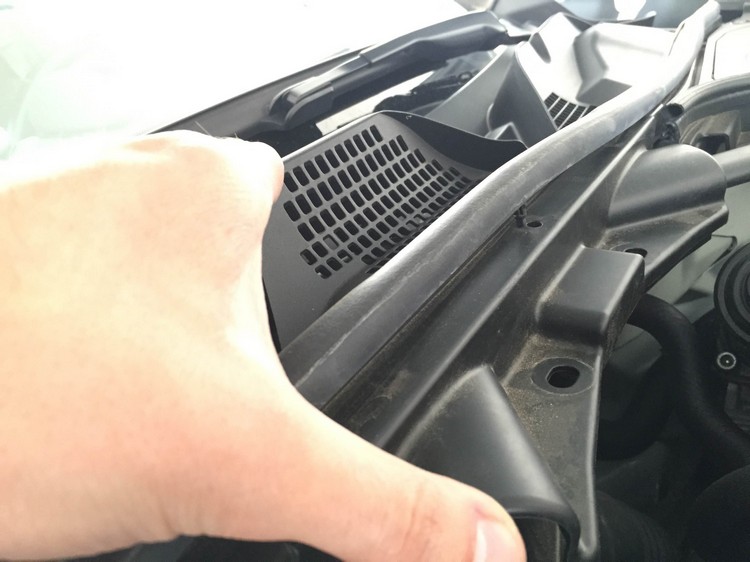
Then remove this segment of the plastic trim where the bar connects to the firewall. Be careful to not damage the rubber welting, as it has tiny plastic pins that hold it down to the rest of the plastic, and they can tear the hose if you just yank on it.
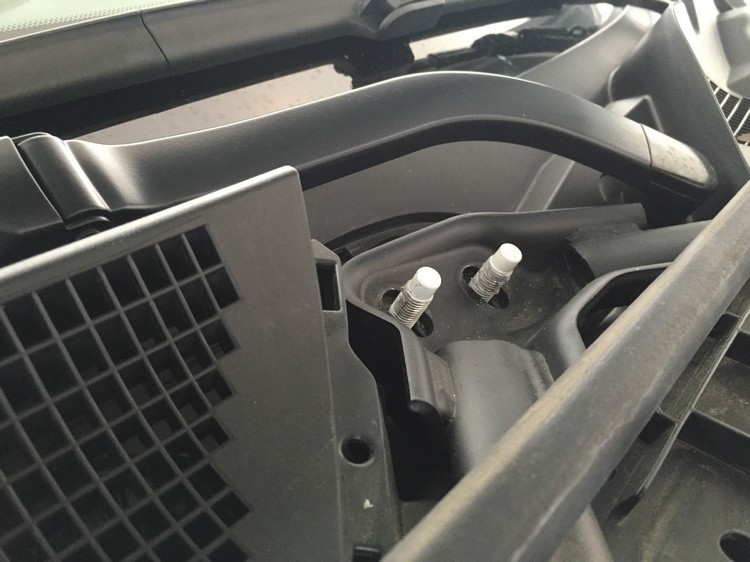
Unbolt the bar from the firewall after trim removal, and remove the bar. (The bar is a bit awkward, so be careful not to drop it on a fender or something. That would suck.) After all that, you can finally access the strut towers like shown here.
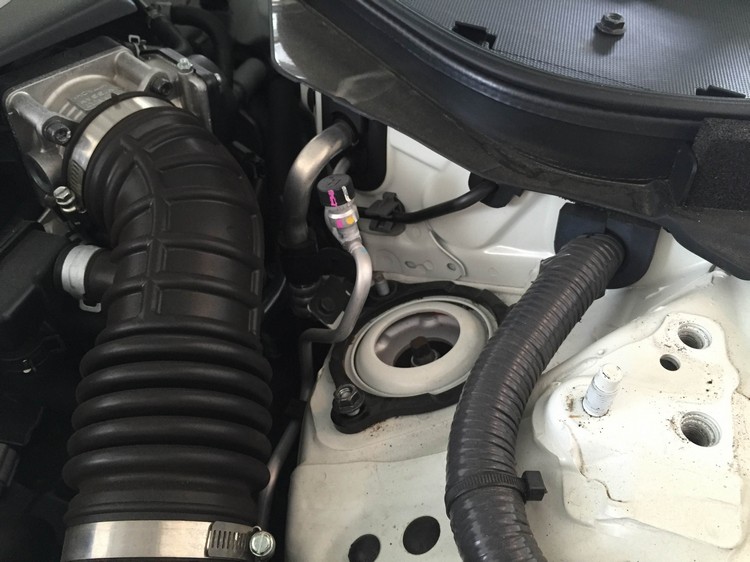
This is where I began work on the front (this part takes longer than the rear). TRICKY PART #1: Caution needs to be exercised here as you have two sensitive components to work around – the ABS sensor wiring and the brake lines. Damaging those will add quite a bit of length to your installation, to say the least. Because the guys at HKS are so nice, they even provide you with zip-ties so you may temporarily secure the brake lines and ABS sensors away from the strut assembly while you work. Another nice touch by guys who clearly work on cars and don’t just produce parts from a template.
The hardest part on the front is breaking the 19mm nut at the base of the strut loose. It sucks. It took me the longest of any single step of this installation. Prepare yourself, though everyone’s car is different. I may have just been unlucky in that regard.
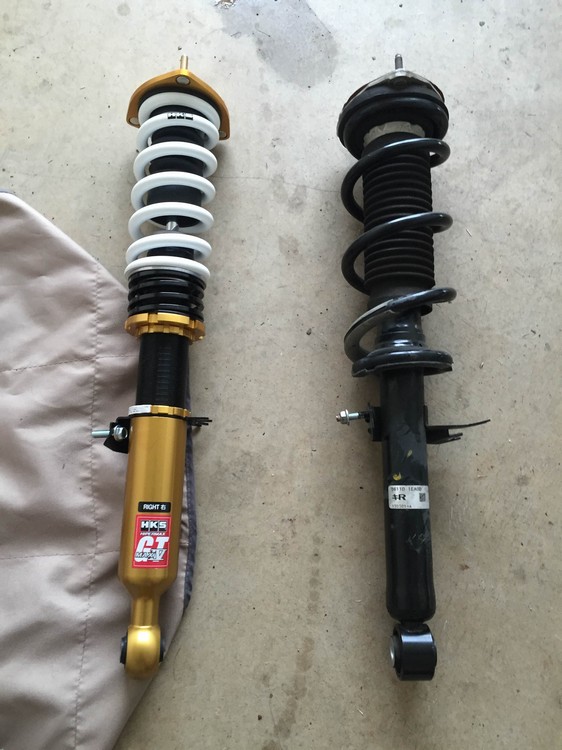
To give you an idea of what we’re dealing with, here is a before and after shot of the front assemblies:
The good news is the HKS front struts were a breeze to install once the OEM parts were removed. They even had mounts for the ABS sensors and brake lines in OEM locations – no awkward mounting here. 100% good design. I have seen other coilover systems come up short here. They also mount just like the OEM strut. I didn’t have to force a single component into place or modify a single mounting point. Top notch quality.
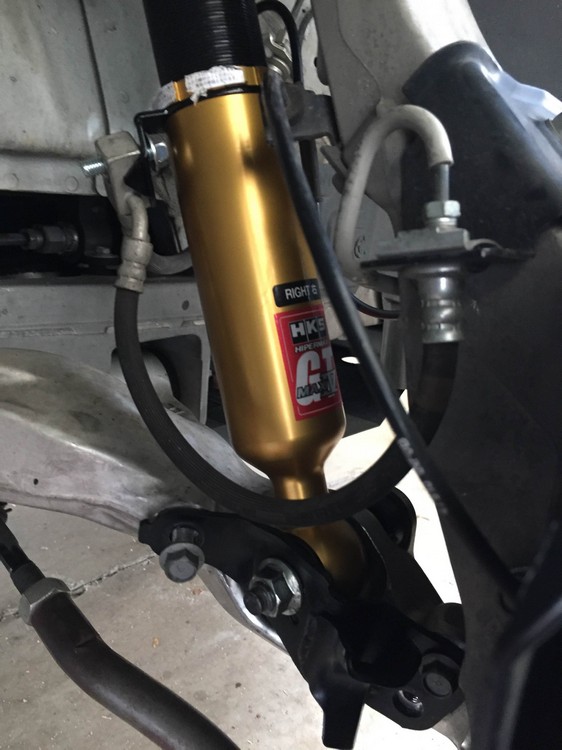
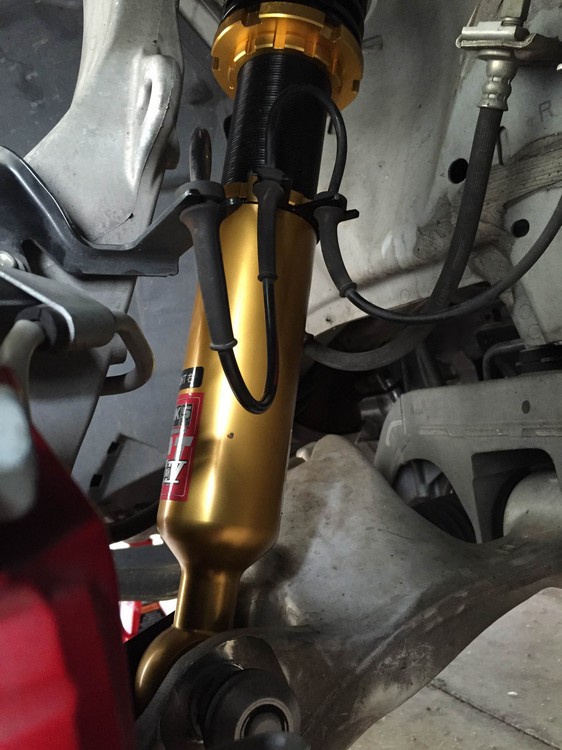
HKS changed their finishing technique for the Series IV. Really. It’s a crying shame you can’t see these things once the wheels are mounted in front of them. They are gorgeous.
Up next – Installing the rears!