BY: PhanatikZ32
Composed by: 300ZXttZMAN
Z32 COILOVER INSTALLATION
Tools needed:
– ½” ratchet
– 3/8″ ratchet + 3/8″ extension
– 10mm socket
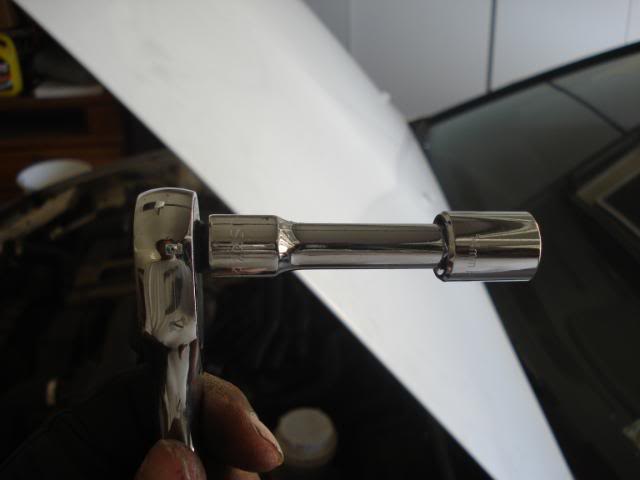
– 14mm socket *deep*
– 17mm socket
– 17mm wrench
– Phillips screwdriver
– BREAKER BAR!!!
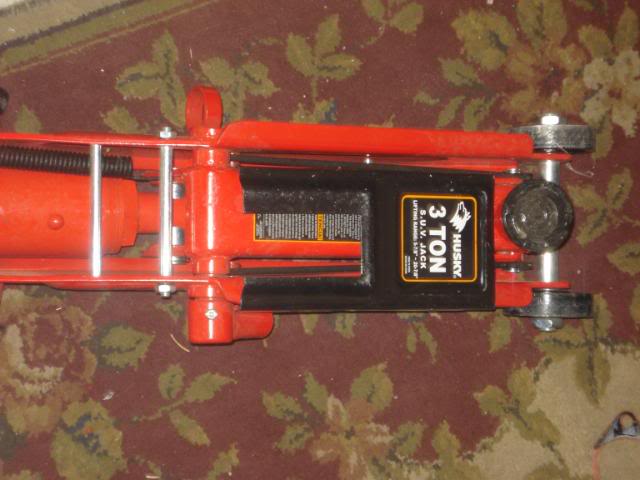
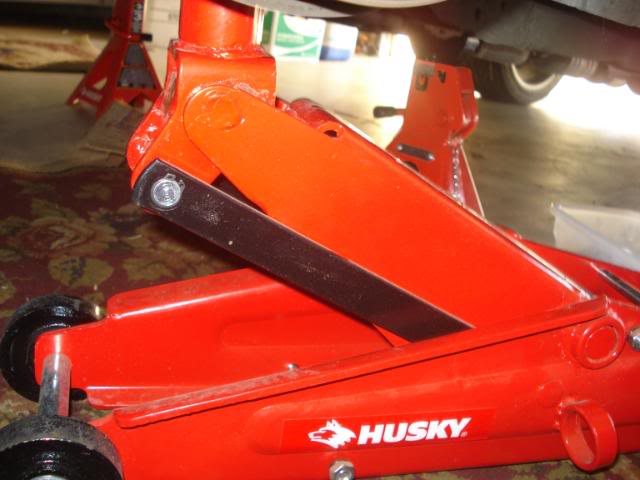
– Jack + Jack stands
– PB Blaster or other rust penetrant spray
NOTE: this installation is for coilovers INCLUDING upper pillowball mounts. If you do not have upper pillowball mounts with your coilovers you might need other tools, such as a spring compressor and your installation process will vary. I will not cover how to disassemble and assemble a shock spring set up or how to install a shock spring set up or coil without pillowball mounts.
FRONT
STEP 1.
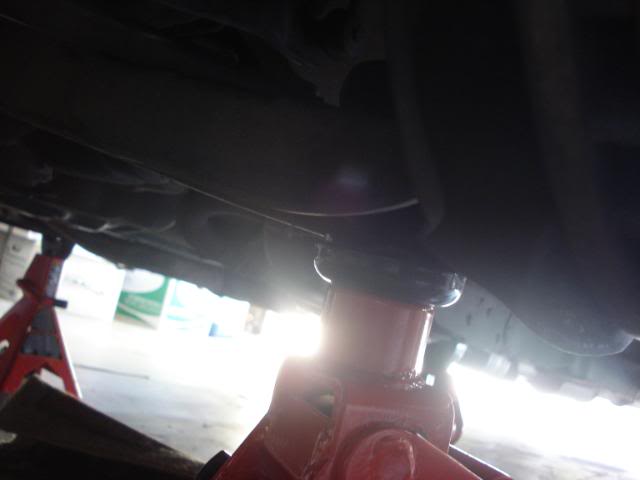
Make sure your e-brake is on and the car is in gear to keep it from rolling. Loosen up the lug nuts on both front wheels (DON’T loosen all the way just enough so that you don’t have to worry about the tire spinning while trying to get the lug nuts off after jacking up the car). Jack up the front end and get it onto jack stands. After making sure the car is secure on the jack stands place your jack to the side and finish removing the wheels.
STEP 2.
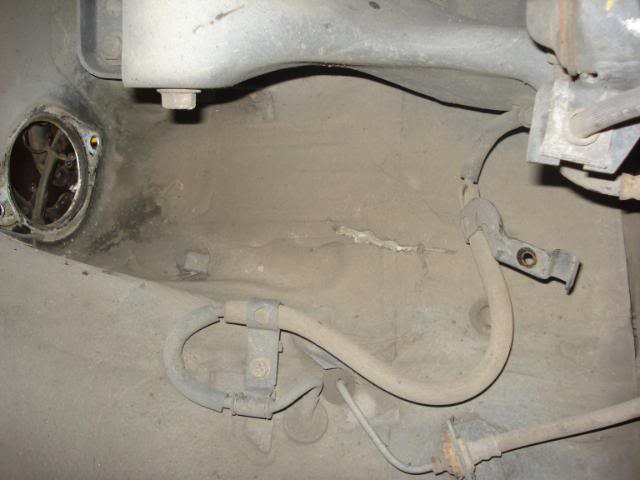
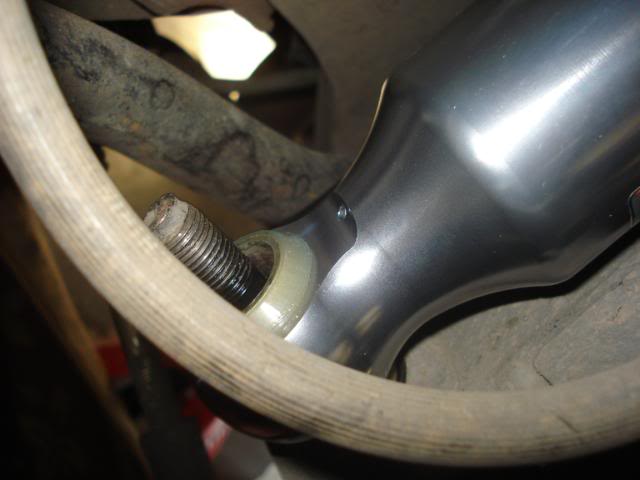
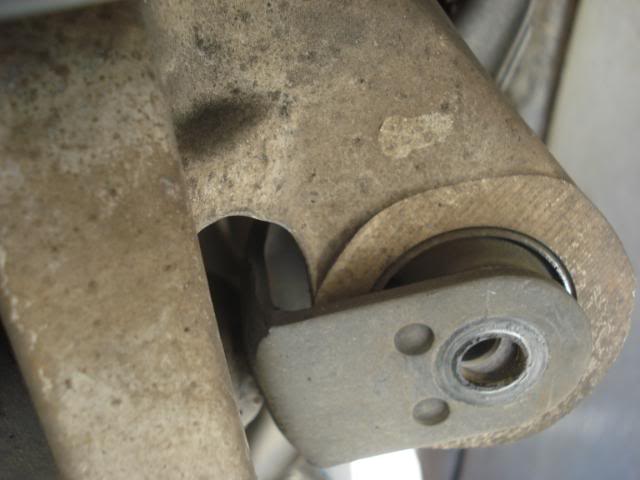
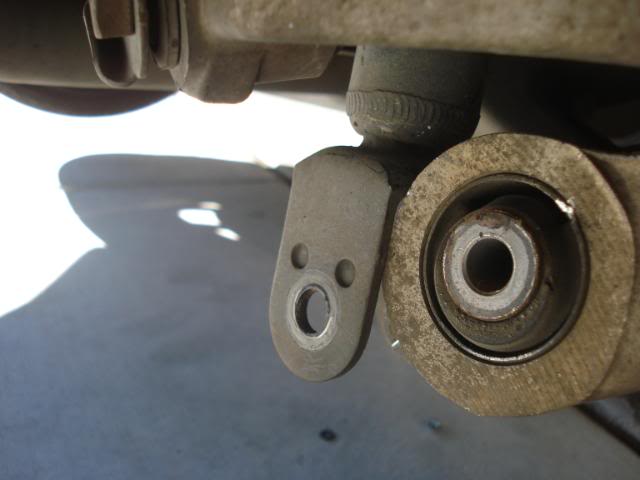
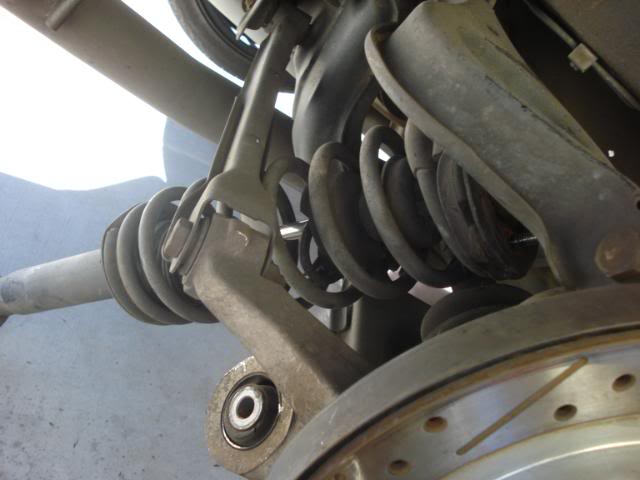
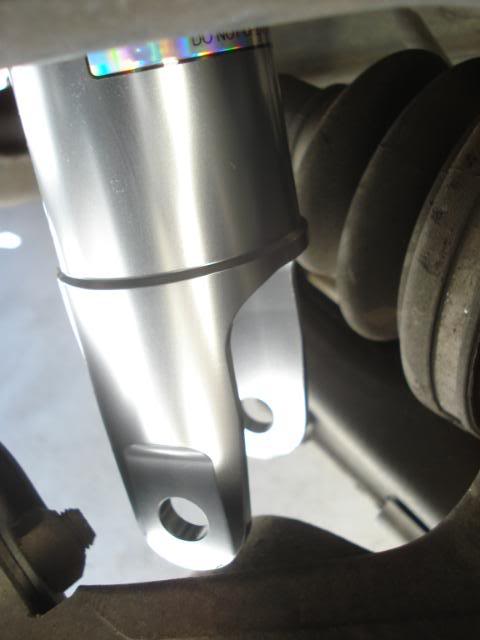
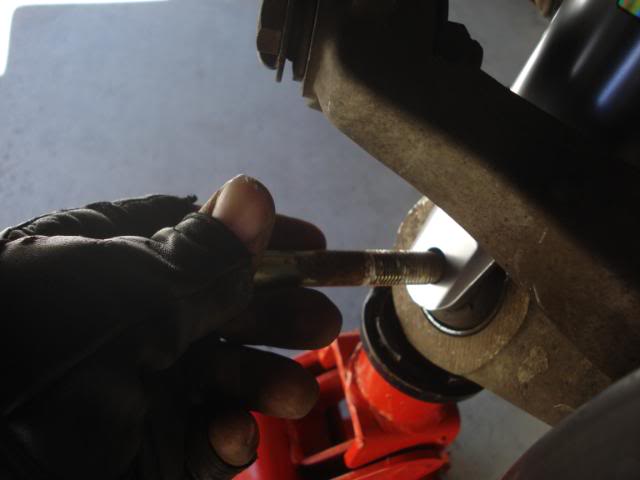
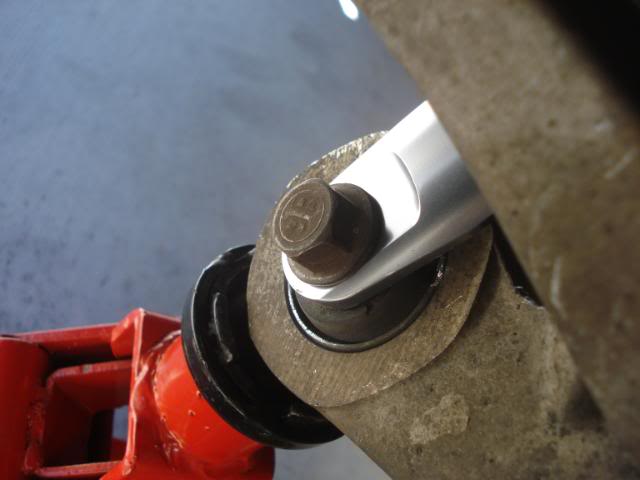
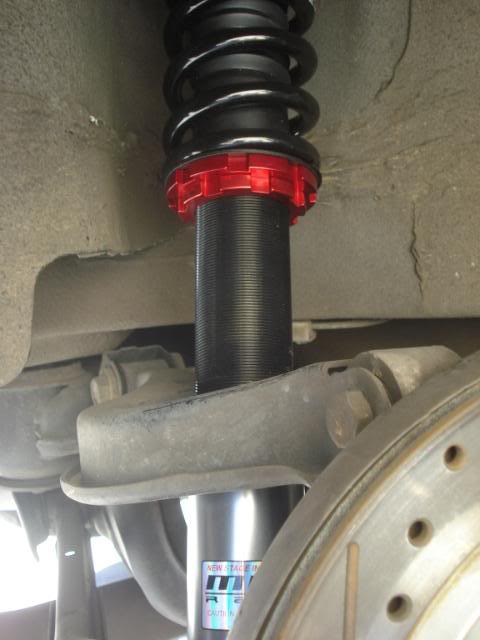
Identify the coilover. There are 2 bolts under the car that must be removed in order to remove the coil. There is one 17mm at the bottom securing the coilover to the knuckle
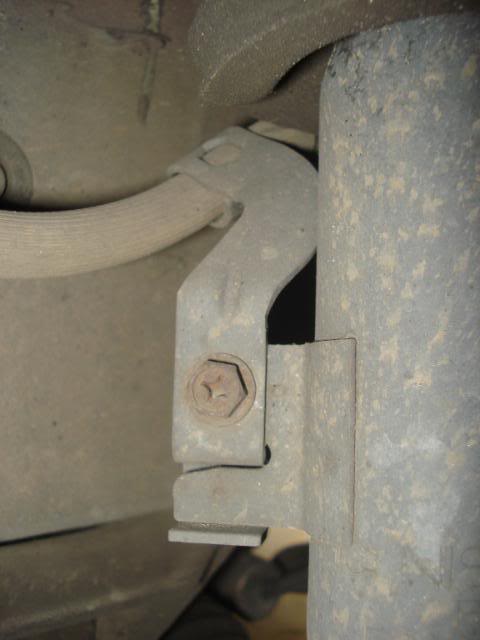
and one 10mm/Phillips towards the middle securing the brake line to the coil
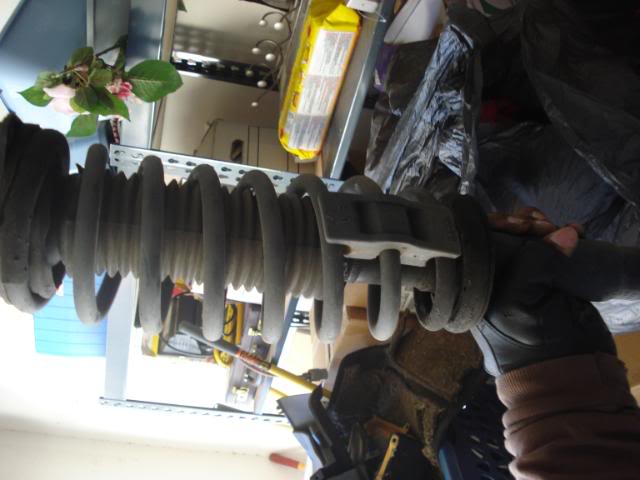
The middle 10mm bolt goes through a small piece welded on the outer edge of the stock coil that your new coil probably won’t have. It’s not really that big of a deal, it’s just an extra precaution. I left mine free, but if you feel insecure about it you can tape it down to the coil or devise some other way of securing it back where it was… but it really isn’t going to hurt to leave it as is.
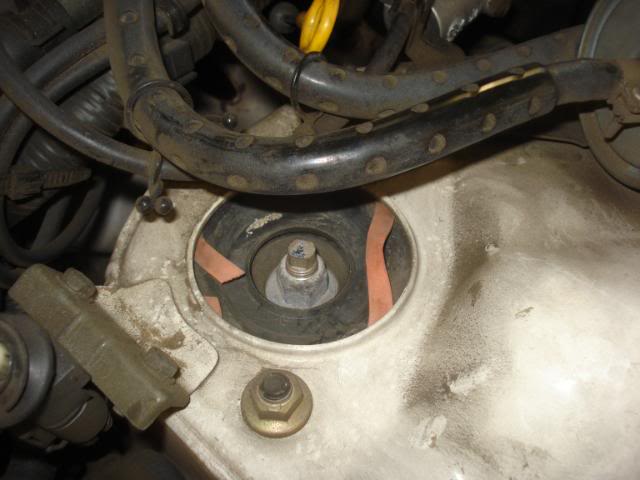
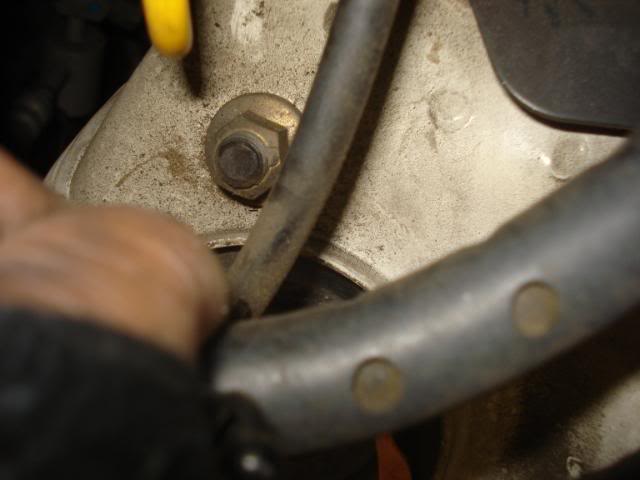
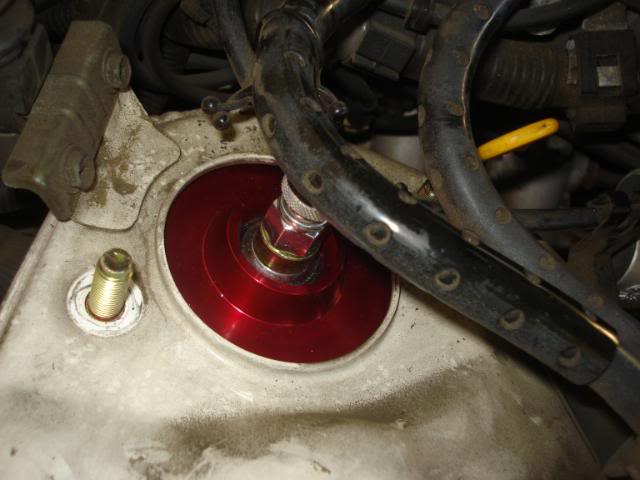
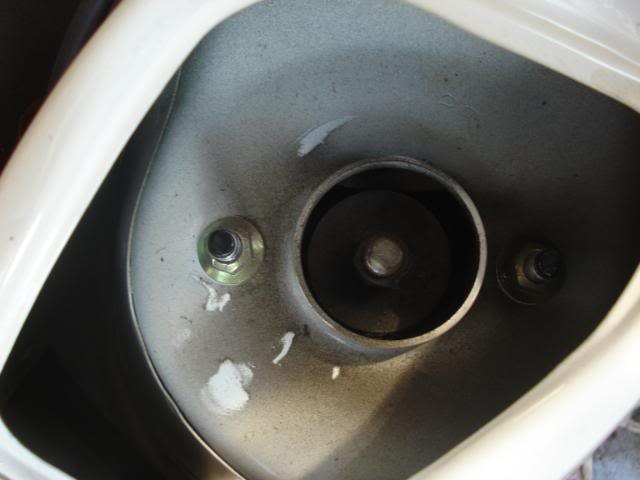
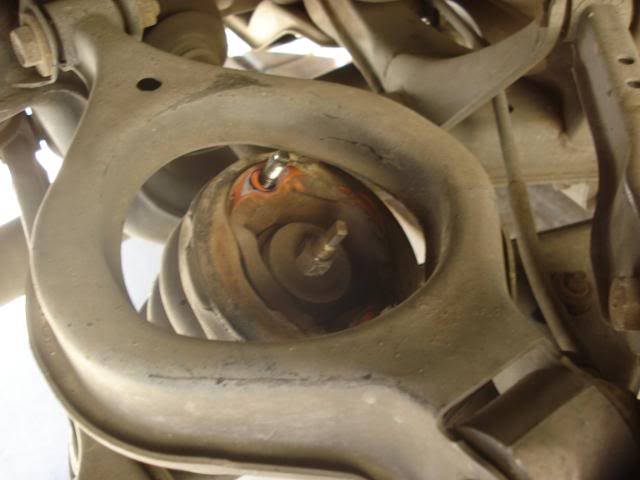
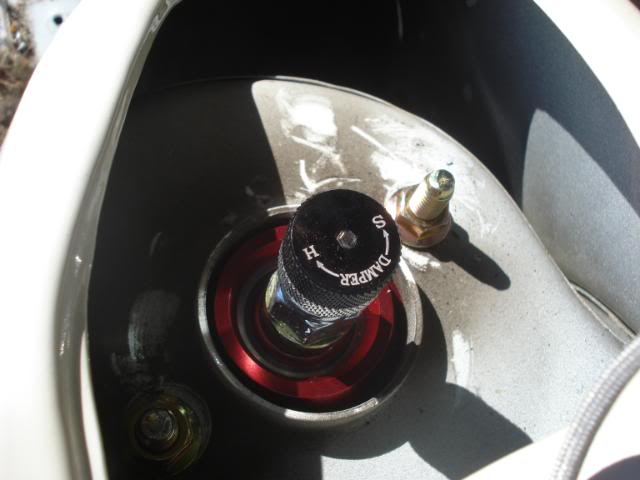
Next, open your hood and on top of the strut tower there are 2 14mm bolts securing the entire coilover assembly to the strut tower.
(technically there are 3 but the 2 on the outer edge are the only ones you want to be worried about unless your coilover does not come with upper pillow ball mounts).
STEP 3.
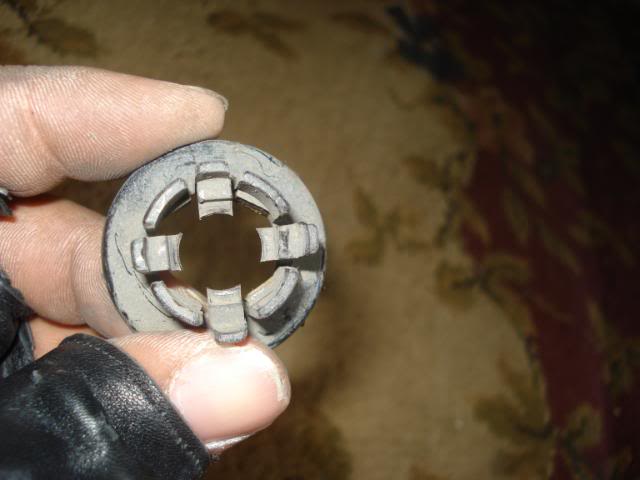
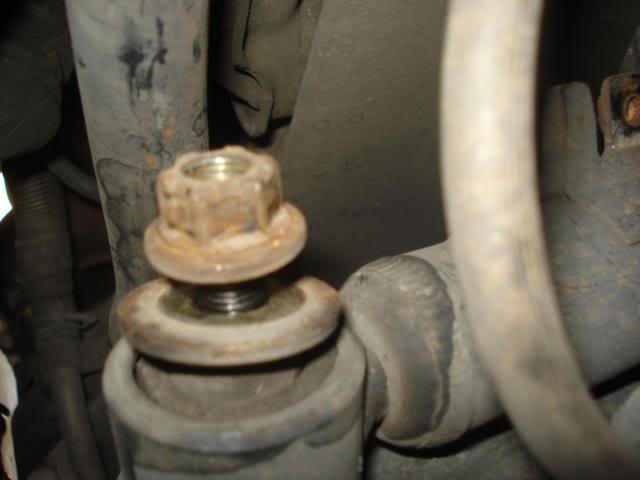
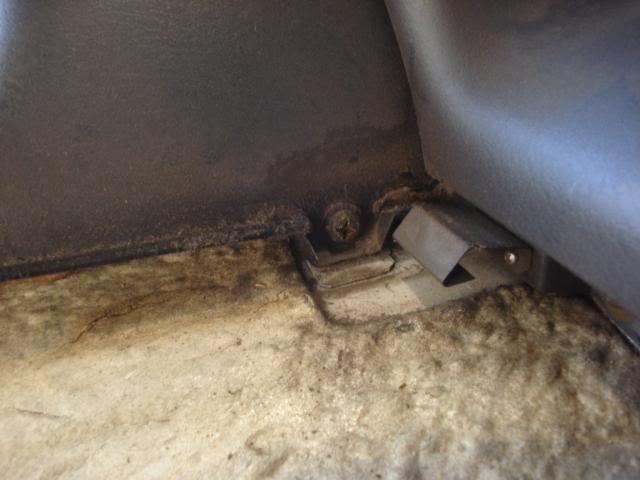
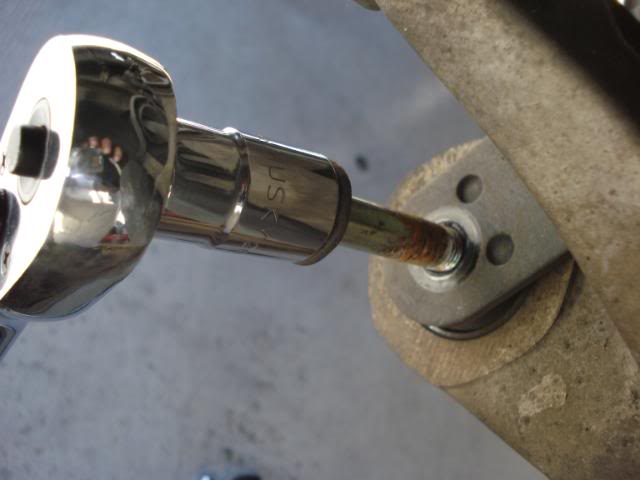
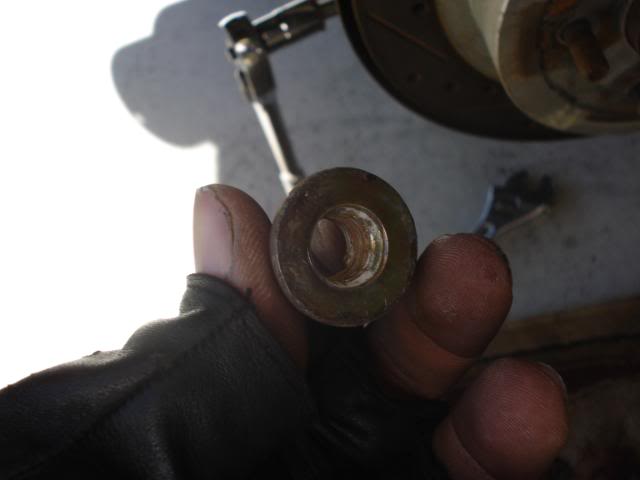
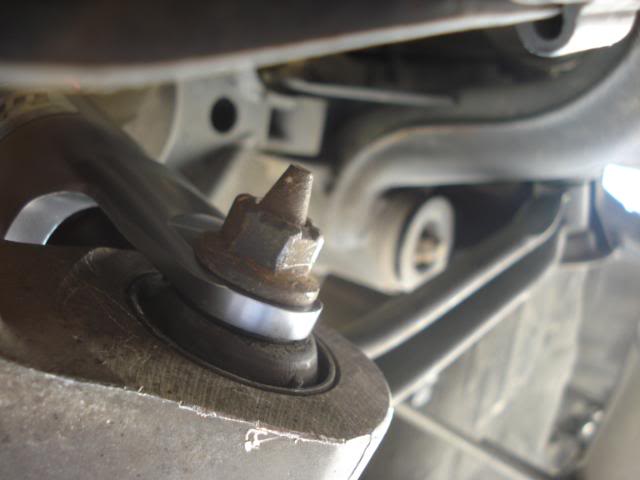
Start by removing the 17mm nut from the bottom of the knuckle. There is a plastic piece that goes over the nut that’s kind of annoying to get off, there are 4 plastic hooks resting over the top of the nut you have to pry back and then the plastic piece will pop off.
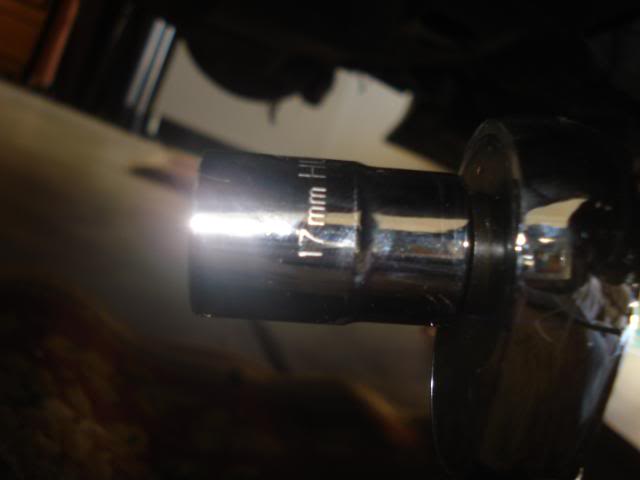
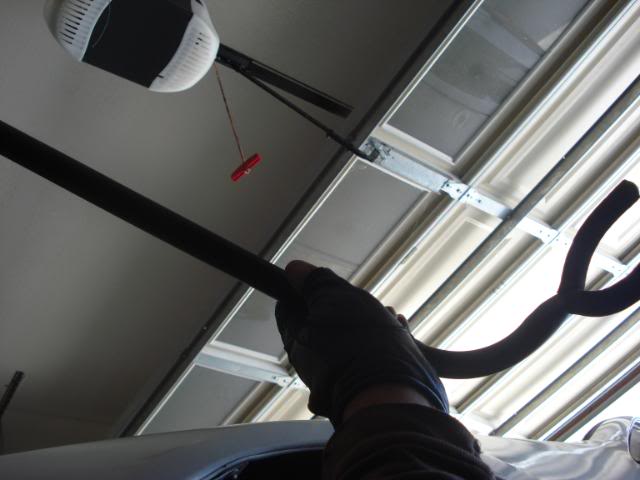
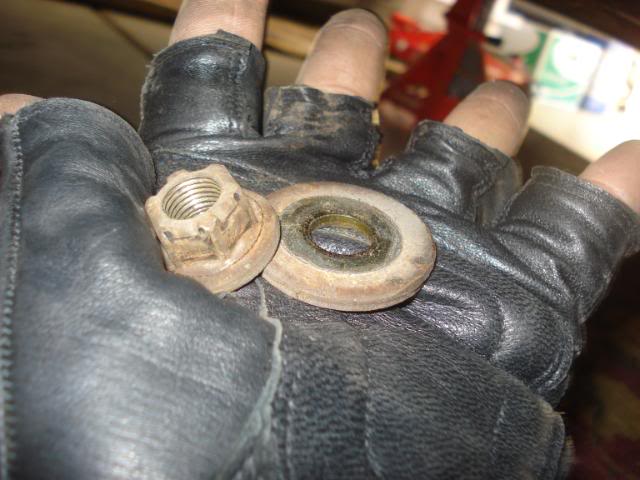
After removing the plastic piece grab your 17mm socket and whatever size ratchet it fits on (you’d better be using a ½ in. drive) remove the nut, (this nut is CRUSTY! You will most likely need a breaker bar for this depending on how crusty your nuts are, mine is a ’91 and I haven’t removed the coilover since I had the car so the nuts were pretty crusty, also I didn’t have a breaker bar so I used an old guitar stand I found in my garage).
Remove the small 10mm bolt from its position above the knuckle. Afterwards get up under the hood and with your 14mm socket remove the 2 nuts from the top of the strut over the coilover
You will probably need a 14mm deep socket and extender because the nut sits kind of low and I could barely get it off with my regular 14mm, also there is a lot of wires in the way so the extender helps a lot. After you get the 2 nuts off the top of the coil if it doesn’t feel loose already place your hand on top of the spindle or the brake and push down (since the top nuts have been removed the coil is no longer secure to the strut so pushing down on your suspension will cause it to come down), push the coil down and pull it out of position so its leaning towards you. This should make it easier to slide the bottom off of the bolt securing it to the spindle. If it doesn’t slide off, spray some PB blaster or wd40 onto it to lube it up a bit.
Slide the coil off of the bolt and it should be free for you to pull from beneath the car.
STEP 3B
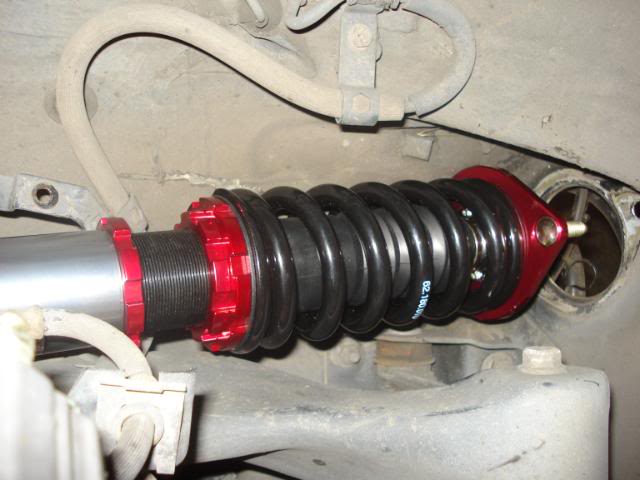
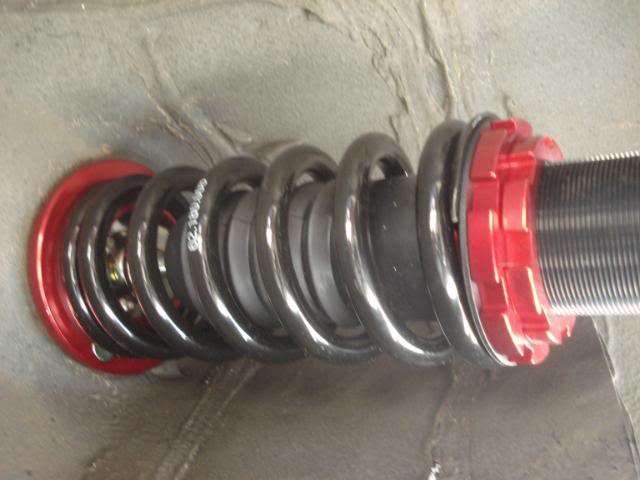
You might need to prep your coilover before putting it on. Check and make sure the spring rates are the same by measuring the springs on both of your front coilovers to verify they are the same length if not follow the instructions included with your coil to adjust the spring rates. You also might need to raise the coil a bit. Mine came WAY too low so I had to raise them up an inch on both sides so the tires wouldn’t rub. If you don’t know how to raise or adjust your coils I STRONGLY suggest you read the manual and figure it out before you get the coils on the car because you may need to remove them to make the adjustments you need.
STEP 4.
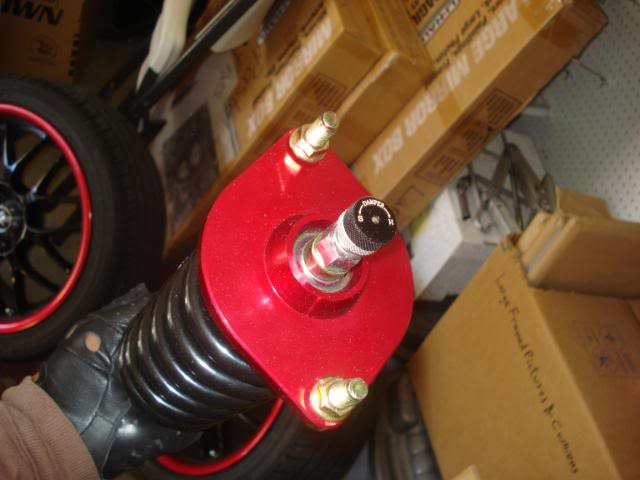
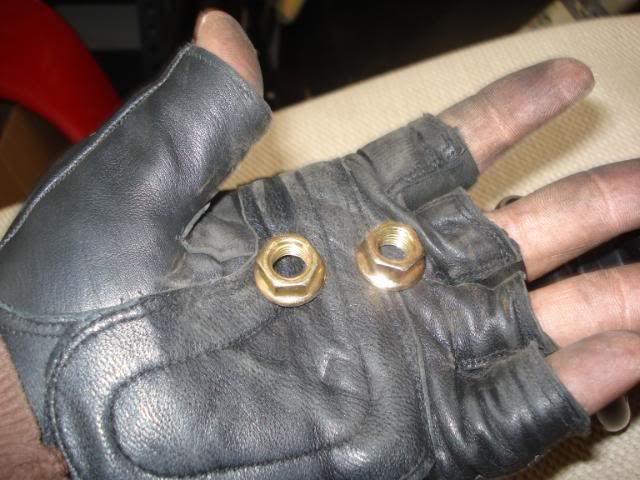
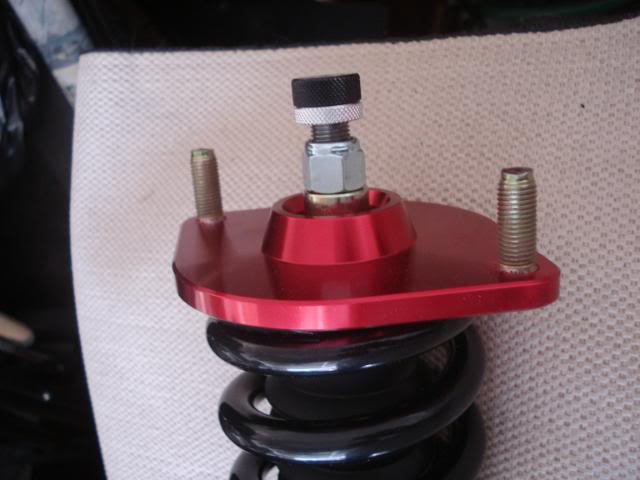
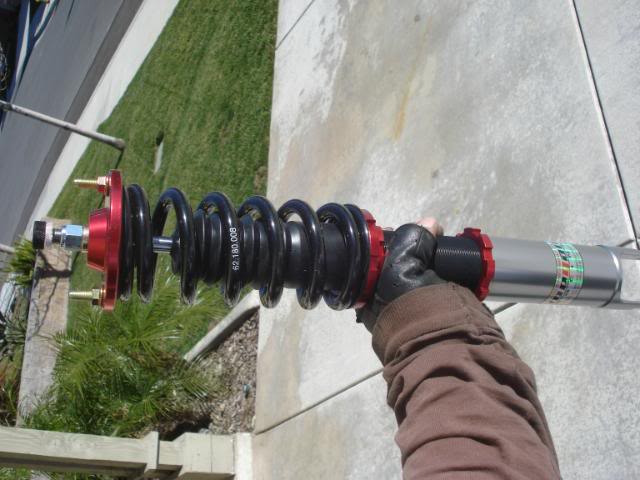
Get the new coil and remove the 2 nuts from the top of the pillowball mount, if it came with them, if not you will have to use the old ones.
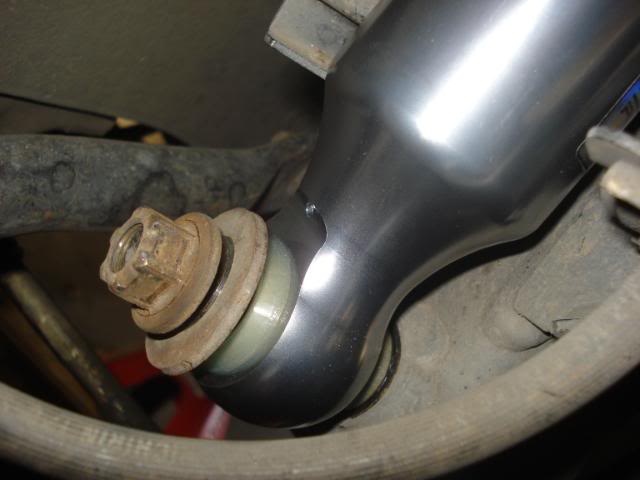
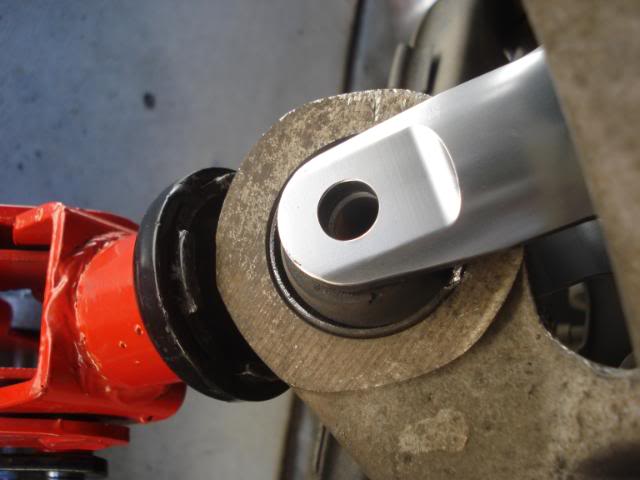
Start by lubing up the new one and sliding it onto the bolt at the bottom of the knuckle and securing it in place with the old 17mm nut using your 17mm socket (your coilover will most likely NOT come with a new 17mm nut so you will have to use the existing one DON’T LOSE IT).
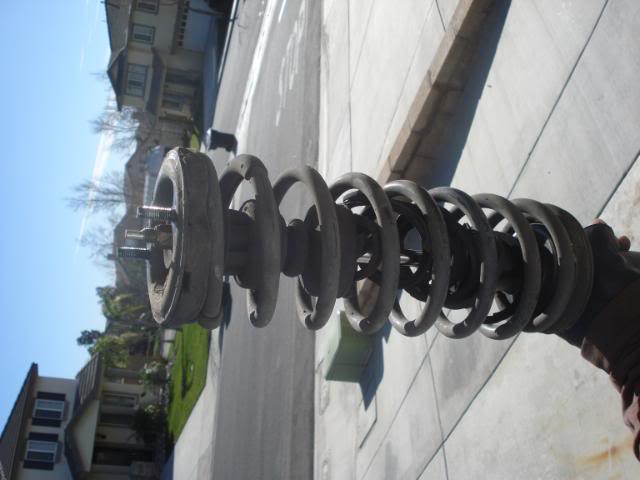
You should notice by now that your coilover is much shorter than the old one, this is how it’s supposed to be, so don’t have a nervous breakdown!
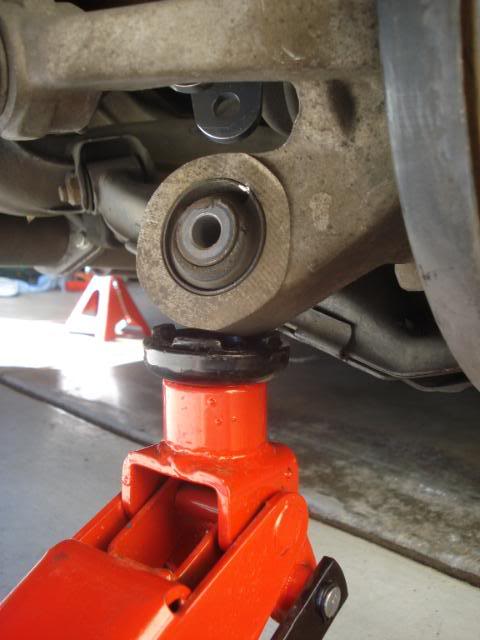
Simply get your jack out again and place it below the knuckle.
Jack up the suspension and line up the bolts on top of the pillowball mounts with the holes in the strut tower.
You might need to turn your pillowball mount to get it aligned – don’t worry about spinning it, you’re only spinning the spring and the mount around the shock, you’re not hurting the shock. After you jack the suspension up until the bolts slide through the holes get under your hood and secure the coilover in place with the 2 14mm nuts using your 14mm socket.
Make sure all nuts and bolts are tight and repeat all 4 steps for the other side and you are finished with your front coilovers!!
_____________________________________________________________________________________________________
REAR
STEP 1
*NOTE* – make sure the car is on a level surface when doing the rear – With your rear end off the ground the e-brake won’t do you any good. Chock the front wheels with 2×4’s or bricks (in front of AND behind the tires!)
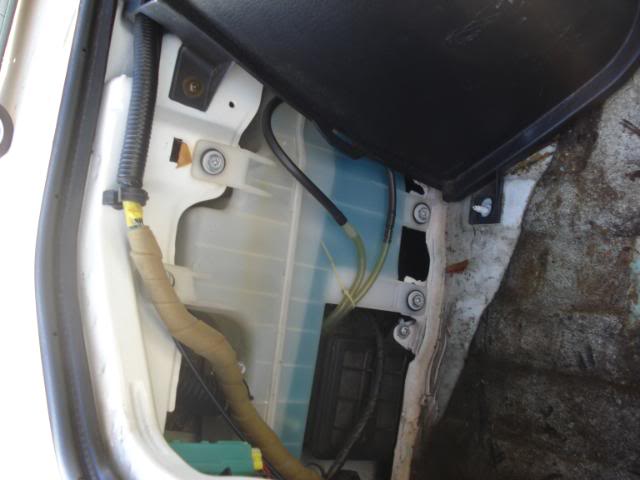
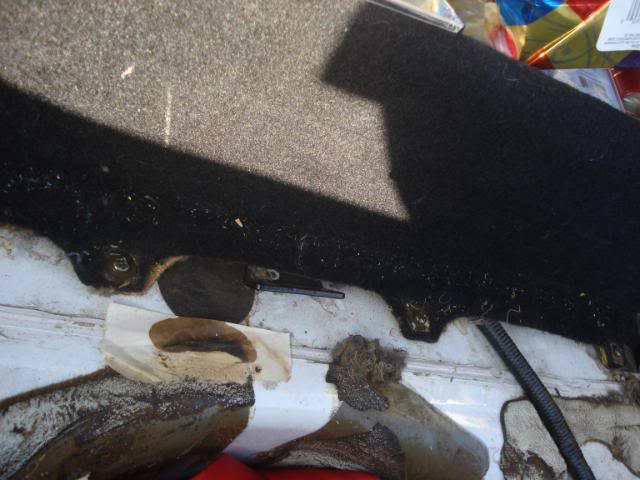
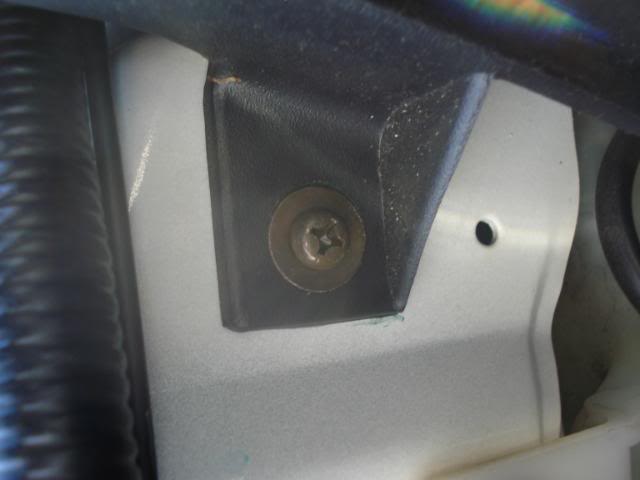
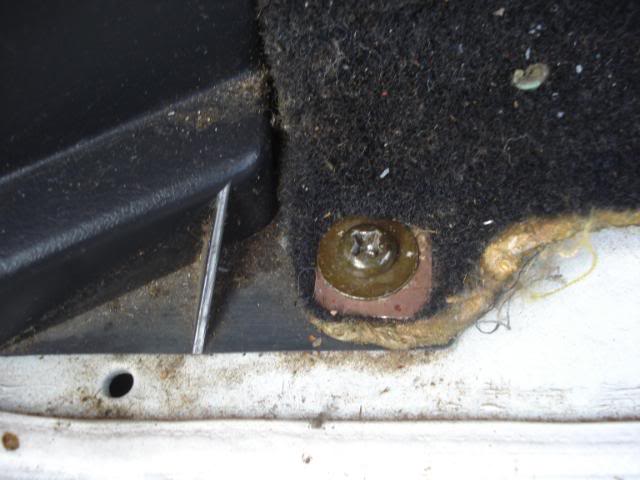
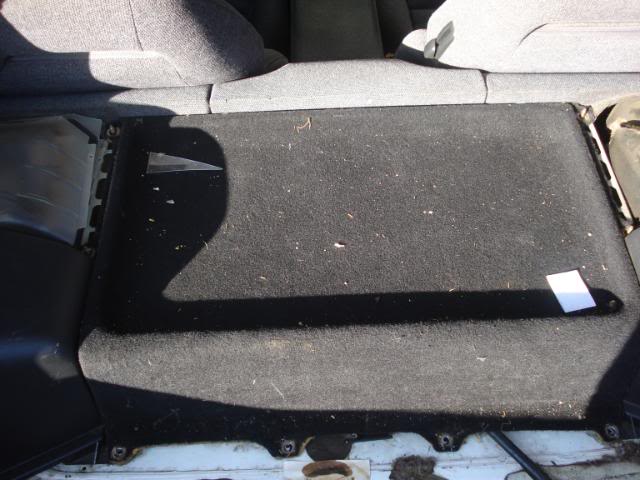
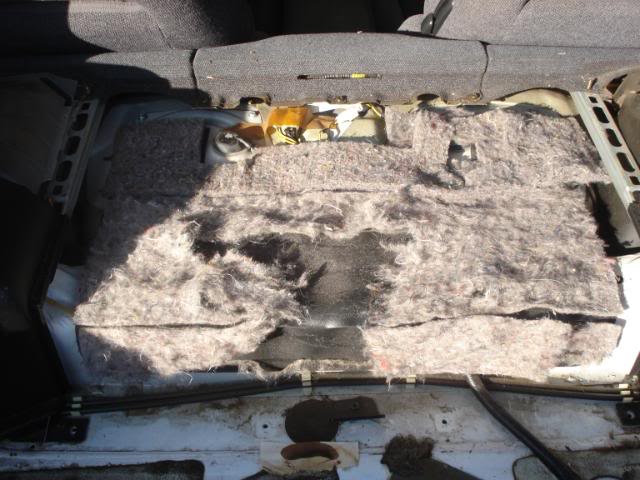
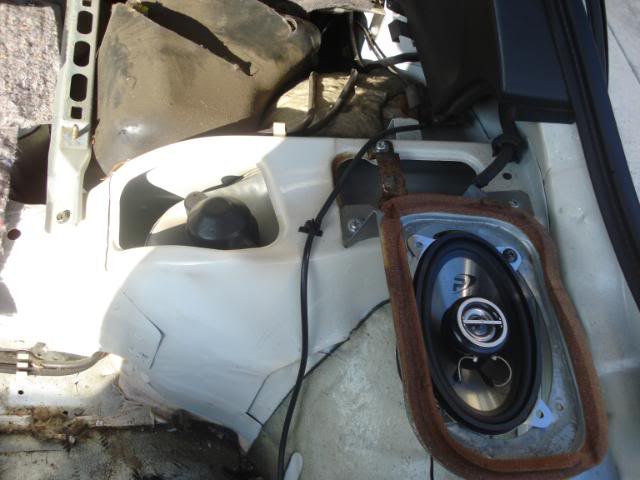
In order to get to the rear struts you will need to strip out your trunk. Start by removing the carpet piece and the particle board under it. Next remove the back panel covering the reverse lights. There are 2 big plastic screws you can untwist by hand securing the back panel. After removing those you will need a 10mm socket and the corresponding ratchet. There are bolts along the bottom and behind each panel that will need to be removed. You should be able to find them by looking so I wont really go into detail as to where they are. After removing the center panel, remove the panels next to it.
Next you will need to use your Phillips screwdriver to take off the adjacent panels. There are screws along the back side of the shelf behind your seats that also need to be removed. The side panels covering your rear speakers and the shelf will not come off until the panels behind your seat are removed.
You will need to remove your shade that attaches to the hatch aswell, just take the hooks off of the window and let it retract. After it is retracted pull up on it so it pops out and place it somewhere out of the way. After the shade is removed you will need to use your screw driver to remove the clamps it was resting in.
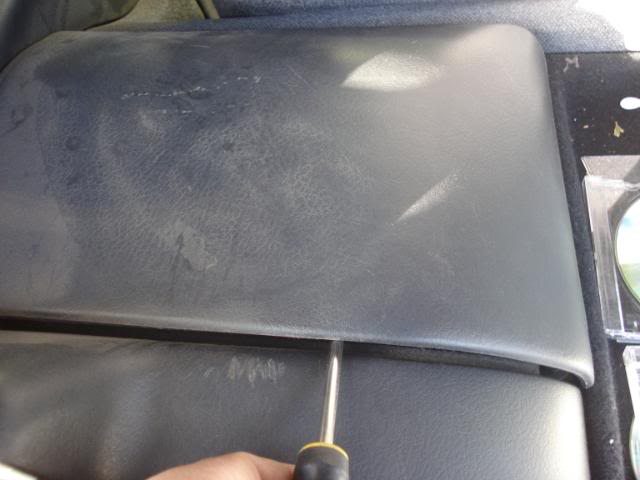
Next use your screw driver to pop off the panels behind your seat. They are not bolted ore screwed in place they simply pop off.
If anyone was wondering where the headlight aiming tools were they are under the panel behind your drivers seat, though how to use them I am still clueless.
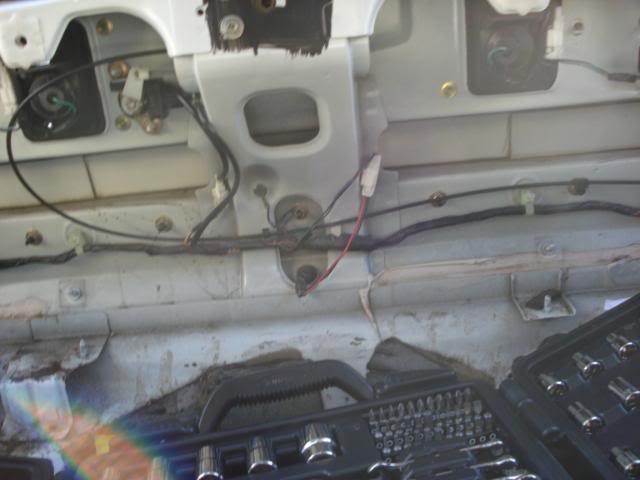
There should be several nuts under this panel that you will need to remove to get the shelf and the panel over your strut to come loose. Remove those nuts and remove the shelf and the panels.
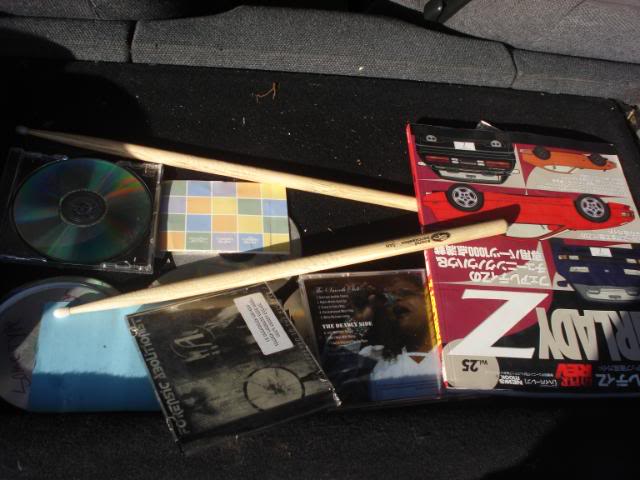
*NOTE* cleaning out your car and trunk would be a good idea before starting the teardown – I got halfway through to where I needed to remove the shelf before I cleaned everything out, so remove your CD collection, drum sticks and “JDM TYTE” HyperREV magazine before you have to remove the shelf. WEIGHT REDUCTION!
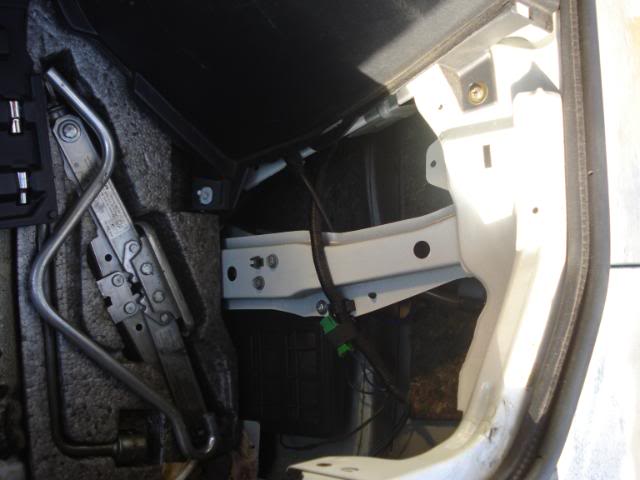
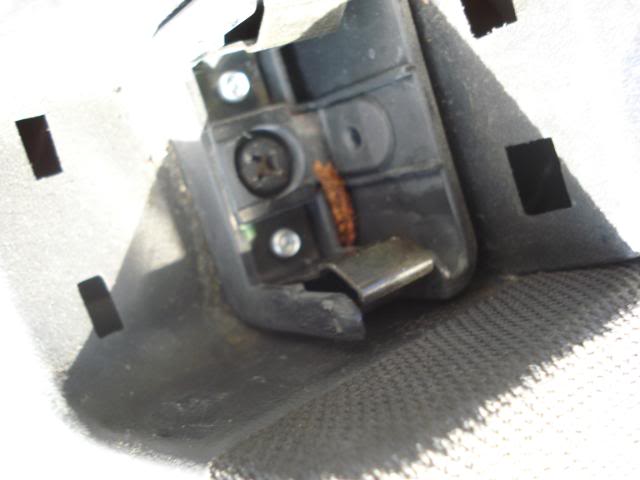
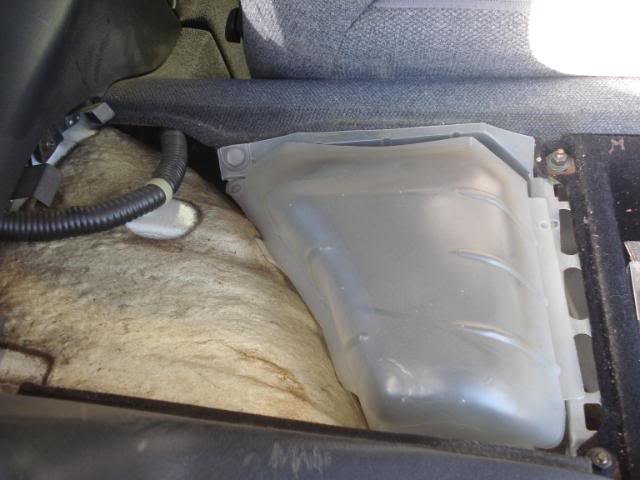
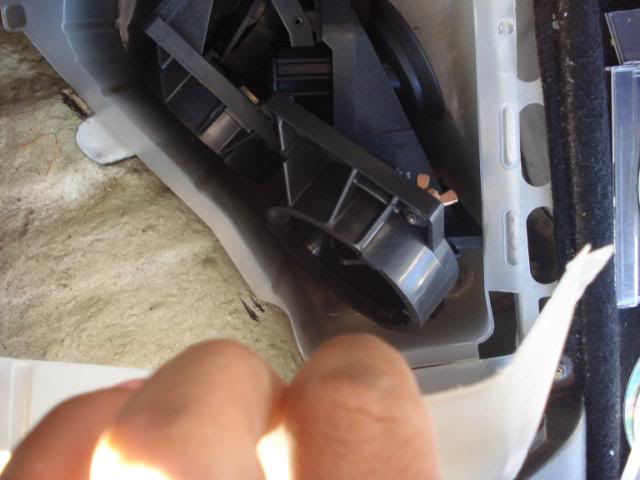
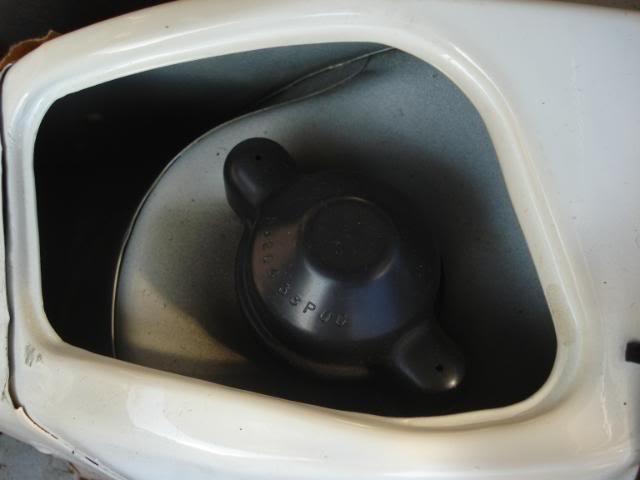
Once you have the shelf off there is a nut behind it that needs to be removed to get the strut panel off. Remove it and pull off the panel. And pull off the rubber cover over the top of the coilover.
STEP 2
Loosen your lug nuts as before and jack up the car and remove your rear wheels. Identify the coilover as before. In the rear, there is one 17mm bolt that goes through the bottom of the coilover and a 17mm nut on the other side securing everything to the knuckle. There is no brake line clamp like in front to worry about, so other than the bolt and nut on the bottom and the 2 on top of the coil there is nothing to worry about. Start by unbolting the top 2 nuts from the top of the coil using your 14mm deep socket, extender and ratchet. Next unbolt the bottom nut and bolt. It’s a bit tricky to get this one off, so get your breaker bar, 17 mm socket and 17mm wrench, use your breaker bar to loosen the bolt, then get your 17mm socket and 17mm wrench. Place the 17mm wrench over the nut on the back of the bolt and use your 17mm socket and ratchet to get the bolt off.
Next slide the bottom of the coil off of the knuckle. (You might need some leverage to do this, I had to use my jack to pry it out.)
Once this is out of place the coil might actually drop out, if not it might be a little crusty on top so just use your lug wrench or something thin to pry the pillow ball mount down and it should drop out.
STEP 3
Prep coilover if necessary. Take off the nuts on top of the pillowball mounts as before.
For the rear I found it easier to bolt the coilover down from the top first then jack up the suspension as before aligning the holes in the bottom of the coilover with the one on the bushing on the knuckle.
Slide the bolt through the coil and the bushing, and screw the nut on the end as much as you can with your hand, then use your wrench/ ratchet combo to secure the coilover in place.
The end!
Keep in mind, your coilovers (just like springs) will need a few days to “settle” to their proper height. DON’T get impatient and adjust them for “moar low” right away, wait and see how it looks in a week. It WILL drop as the week goes by. And remember, functionality is cool – A slammed ride looks great, but only posers drop their car to un-usable heights. You’ll get the most out of your new coilovers if they’re set at an appropriate level to increase handling performance.
Enjoy your new suspension, and if you have any questions or comments about this article, you can ask them here: 300ZX coilover installation!


