Article Series
In our last ‘installment’ of this series, I installed and tested the All-Fit universal lip kit. A couple of NICOclub staff members got the opportunity to put a competitor’s product to the test, and here’s what they had to say!
EZlip – Installation and Review – 1996 Infiniti G20
Sometimes, you can’t find a front lip that is to your liking. Sometimes, you don’t even have the option of a factory fit front lip from the aftermarket. You may even have an aftermarket bumper, but it is still missing that “little something extra”. Fortunately, EZLip has come up with a simple yet effective solution to add a front lip (or rear and sides) to any car imaginable that has modern style bumpers (Sorry Model T owners…). The EZLip currently comes in three forms. The original EZLip, the EZLip Pro, and now, the EZLip Colors. I went with the EZLip Pro on my 96 G20, because the factory front bumper is seriously lacking in any type of style.

I washed the car as best as I could before starting, you’ll have to excuse the plethora of rock chips and scratches, it’s the original paint from 1996!

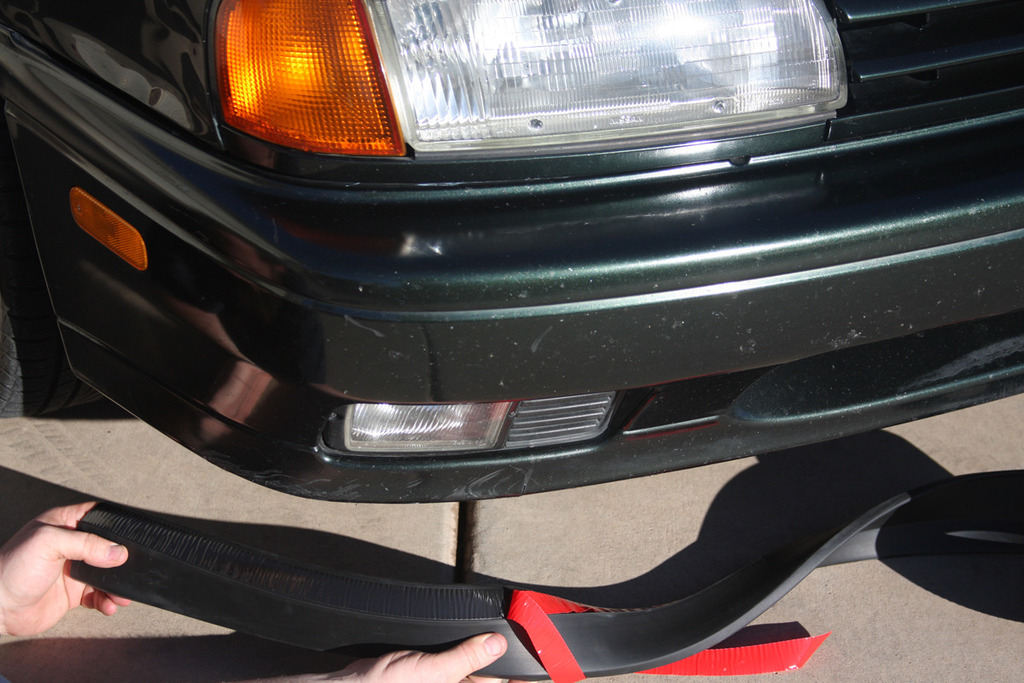
When ordered, the EZLip comes in a roll packaged in a simple sticker wrap. The EZLip is a durable foam material that is easy to work with, yet sturdy enough to not flap around in the wind. It uses a very strong adhesive to attach to your bumper, so there is no drilling required here. It also comes with the typical swag like stickers and such, as well as a couple packets of cleaning wipes and adhesion promoter wipes.

Unrolled, the package I received was just about 100″ long, soa good idea is to measure where you want the lip to ensure you order enough. I had plenty for this application.

Once you receive it, it’s always best to double check to make sure you have enough, plus I let mine sit for a few minutes stretched out before starting since it has been sitting on the shelf as a roll.

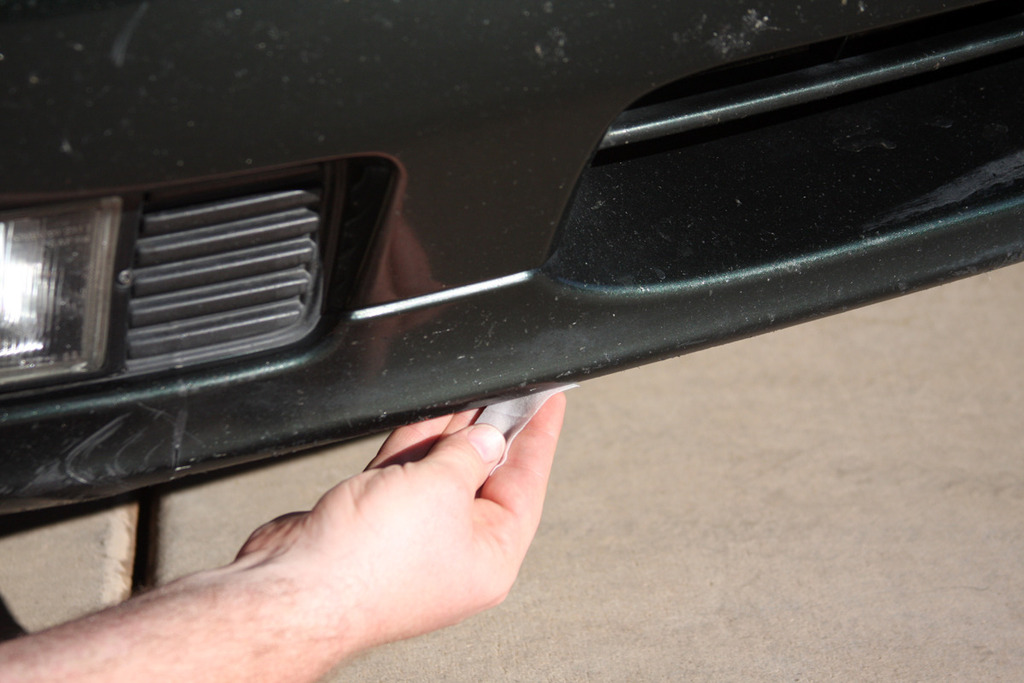
Now to get started, the first thing I did was I used the cleaning wipes to make sure I cleaned off any residue I may have missed with the car wash.

Then, since it wasn’t super warm out (it was only about 70°F), I used my heat gun on the low setting to warm up the adhesive to make it very tacky to bond more securely on the bumper. Don’t go crazy here, you don’t want to make it hot!

The next step is to start installing the lip! Peel back the protective film in small sections as you go and start from one side until you get to the other. Make sure to mock it up before this however to get an idea of where you want the lip to sit. The adhesive is very strong and doesn’t like to be “relocated” once it’s put on a surface!

Make sure to press firmly to work out any air pockets in the adhesive and go slowly to make sure you are following your line. I may have not followed my own advice here, so the lip is “slightly off” on my install. Doh!

Once you get to the end, use a tool like the Craftsman “Handi-Cut” to trim the EZLip. This is to ensure you get a nice clean and straight cut. You want to make sure you get this cut right the first time!

Otherwise, you will end up like me and get a not so clean cut because I trimmed it too long originally, so I tried to fix it with a razor blade. So make sure to trim it right the first time!

And that’s it! Stand back and admire your not-very-hard work!

Now my factory bumper looks a little more aggressive than before!

It’s amazing what a simple universal lip can do for the looks of your car!
