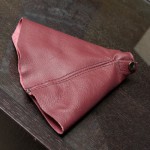
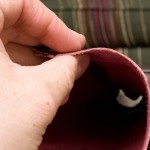
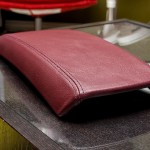
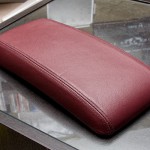
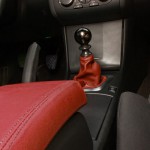
Overview: This DIY is to help install a ShiftStyle or similar product on the Altima Coupe
Difficulty:2
Time:60 minutes
Cost:$50 – $100
Materials: Shift boot and arm rest
Tools: flat screwdriver, philips screw driver
Procedure
This procedure should help guide you to remove and replace the shift boot and/or arm rest on the altima coupe or sedan
Step 1:
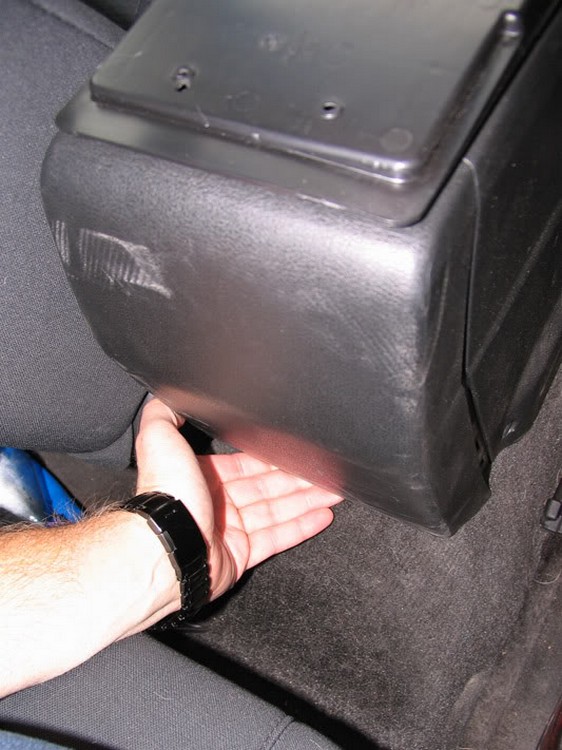
Remove the rear plastic cover of the center console. Just stick your fingers underneath it and give it a yank, or grab the sides and pull.
Step 2:
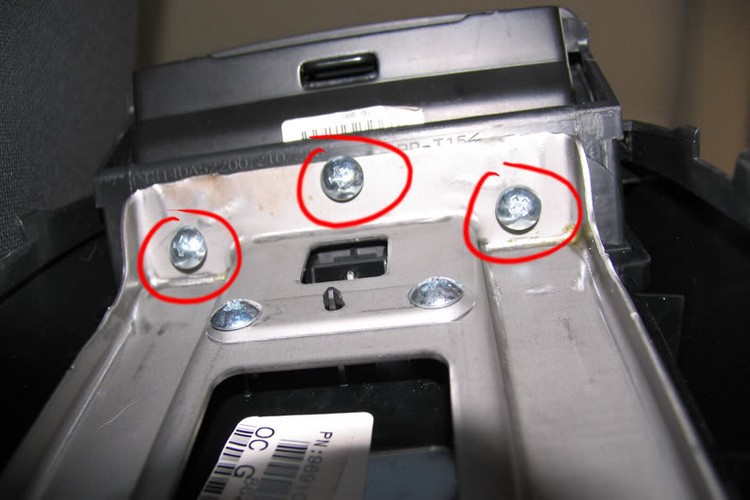
Facing upwards at a 45-degree angle you’ll find these three screws…take ’em out.
Step 3:
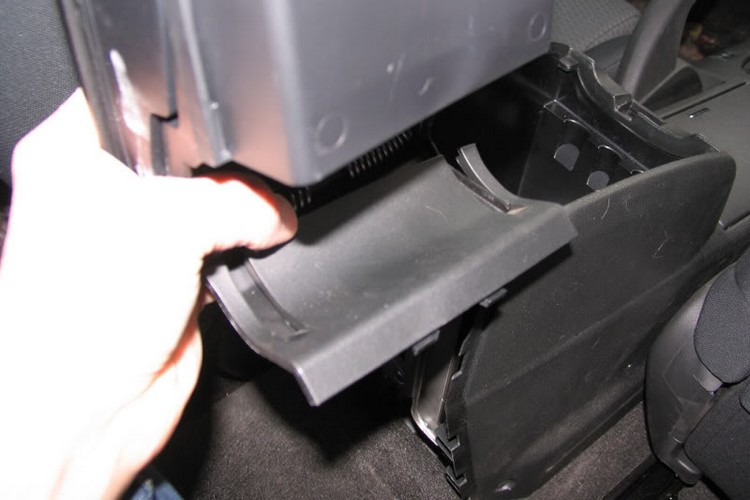
At this point, it’s just a matter of wiggling the armrest up and off the center console. Lift the front tabs that allow you access to the large bin (the small tray is actually attached to the armrest portion that you’re removing). There’s a small plastic finishing piece that’s on top of the hinges…don’t lose it!
Step 4:
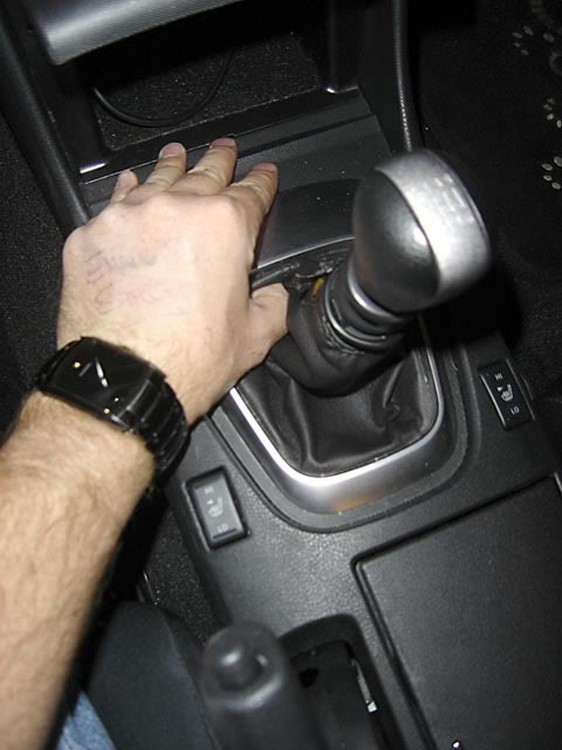
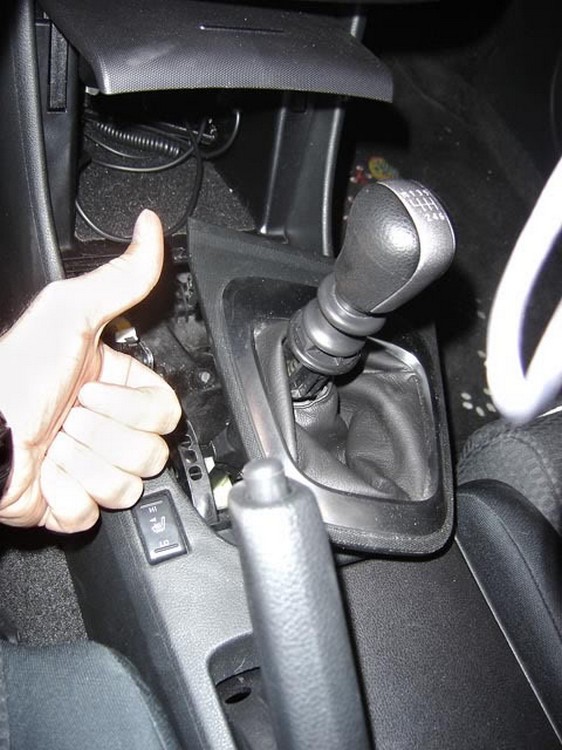
Remove the trim for the shift boot by sticking your fingers underneath the leather and pulling up on the plastic. It’s only held in by a few clips…
Step 5:
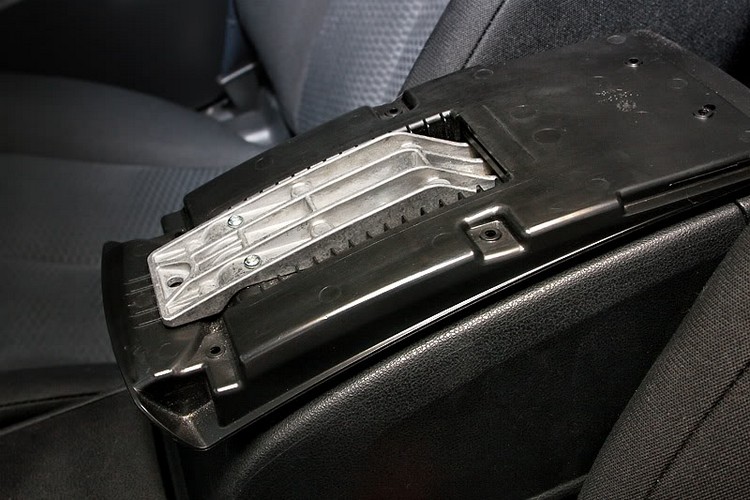
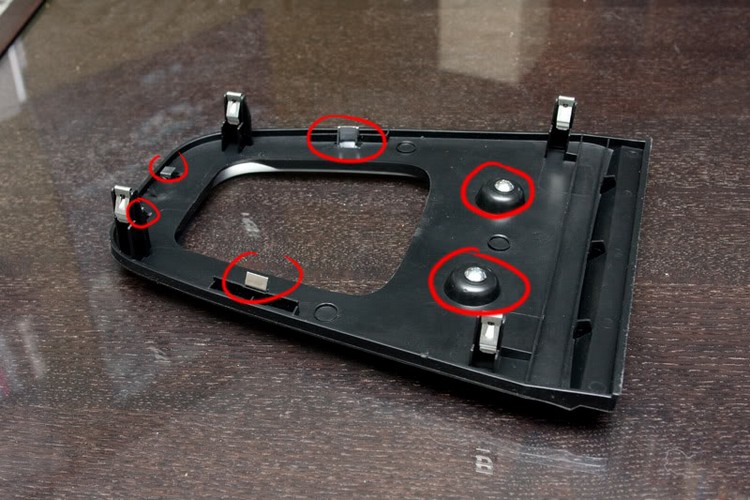
Flip the shift boot trim piece over and remove the two screws you see there. The aluminum trim on top of the plastic should come off very easily now as it’s only held in by the four clips you see circled.
Step 6:
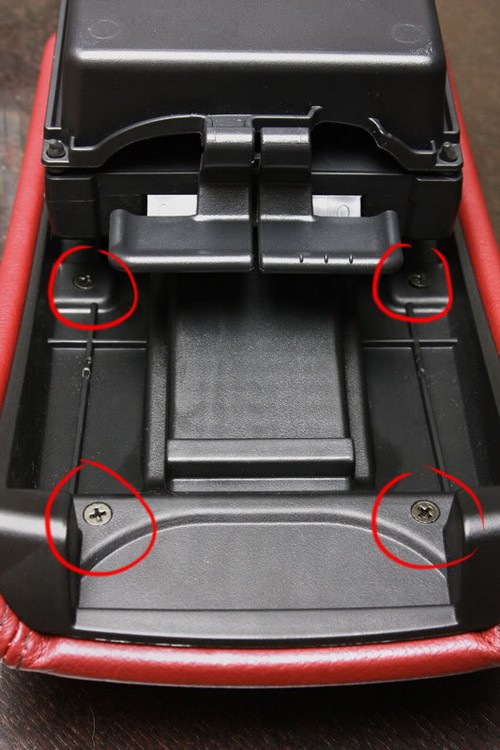
Now it’s time to actually separate the armrest padding from the frame. Slide out the extension as far as it will go and flip it over. You’ll see four screws there that you’ll need to take out. The ones farthest in will require a fair bit of dexterity and a relatively skinny screwdriver…
Step 7:
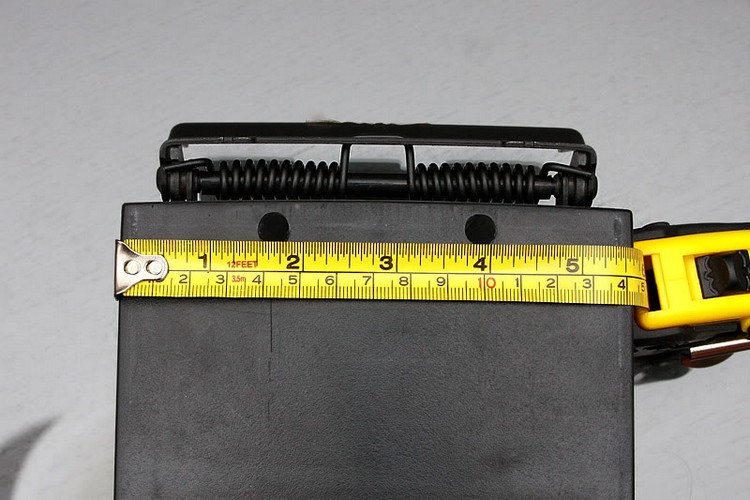
…now this is the part that some people might get a bit uneasy about… I found that the only way I could get to the last pair of screws was to actually drill through the armrest. Keep in mind that the only time you’ll ever see these drill holes is if you’ve got the armrest extended, and even then the holes are behind your field of vision so they’re really not noticeable. If anyone can find a way to simply pop the extension off the slider, then by all means feel free to correct me! I tried to pull that sucker off and it wouldn’t budge…..so out came my drill!!!
This is approximately where you should be drilling your holes…
Step 8:
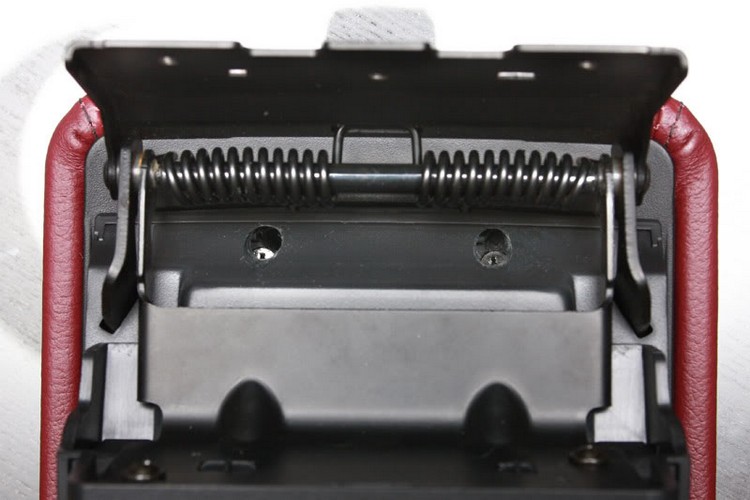
Once you slide the extension back into its regular position, you should be able to see the screws through the holes you just drilled.
…and there you go! Your pieces are off and ready to be reupholstered!
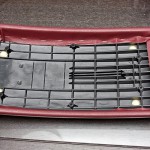
Incidentally, this is what my armrest looked like (sans actual padding) for the last two months!
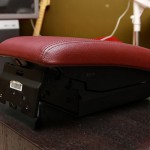
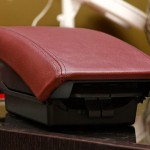
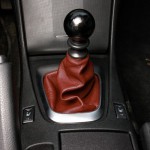
Here are a few pics of the finished products…
