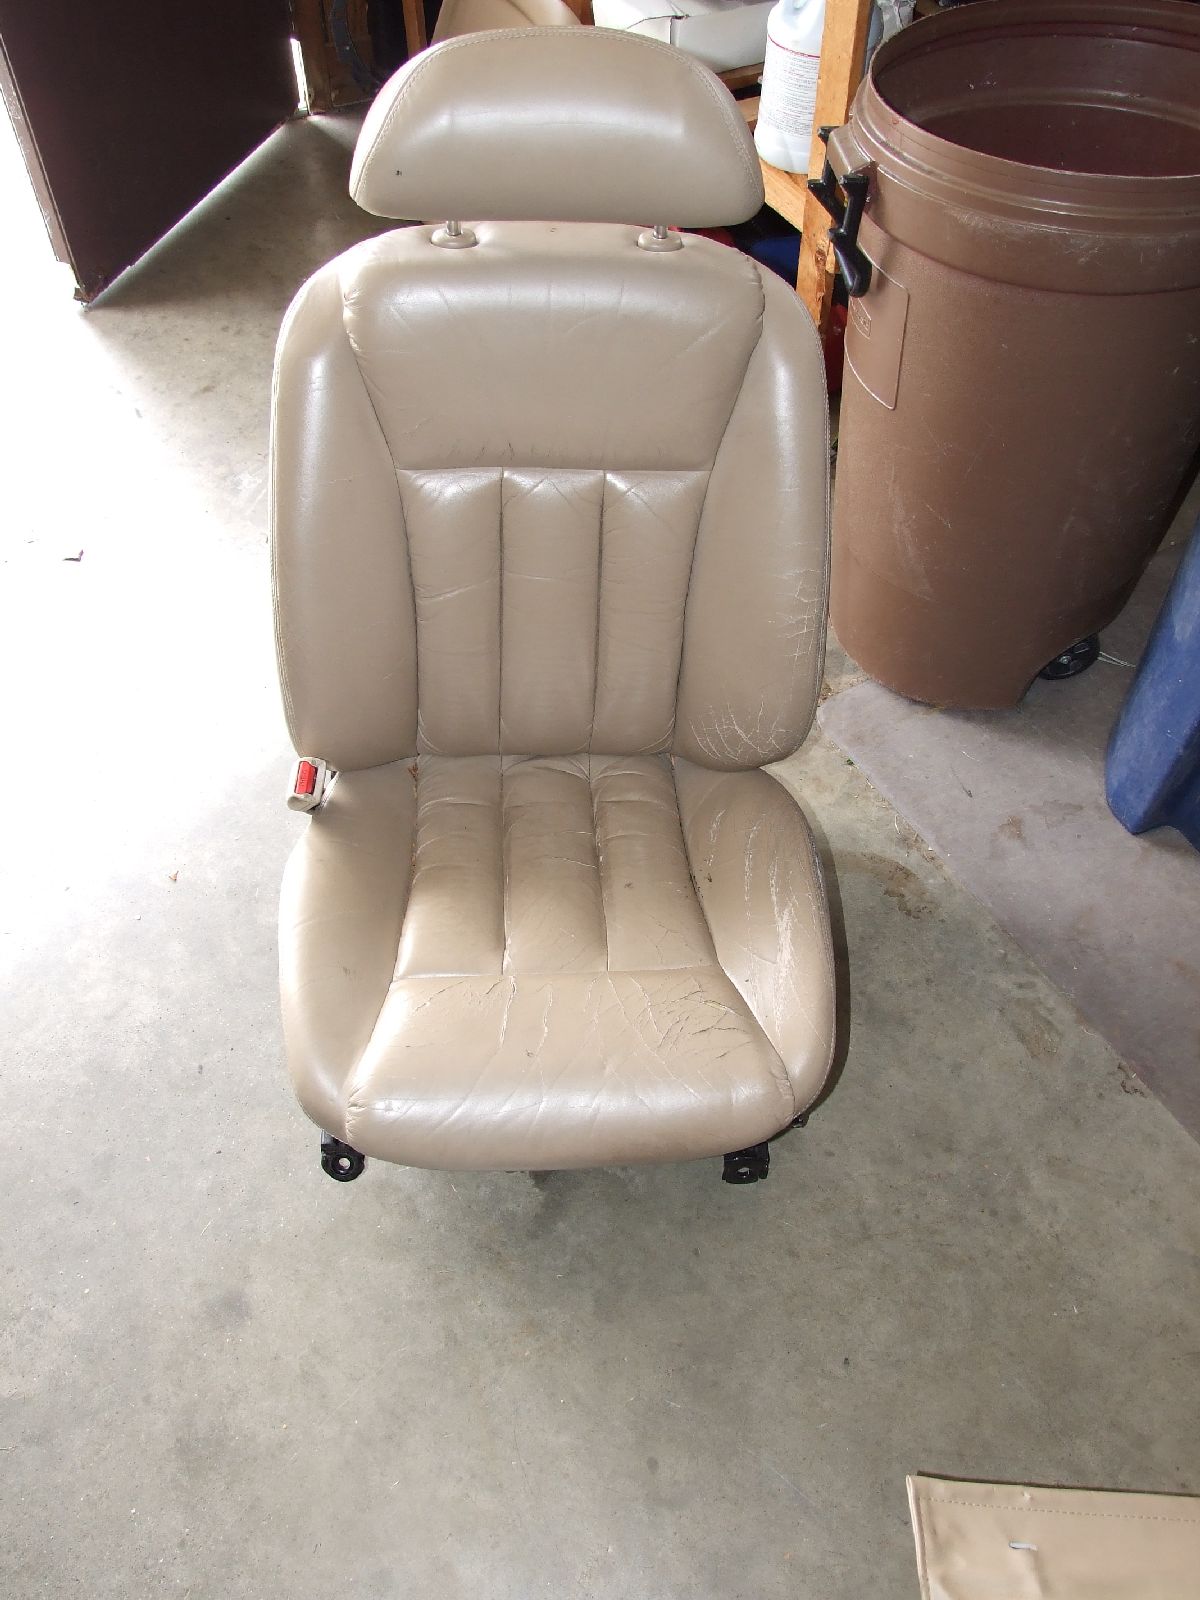
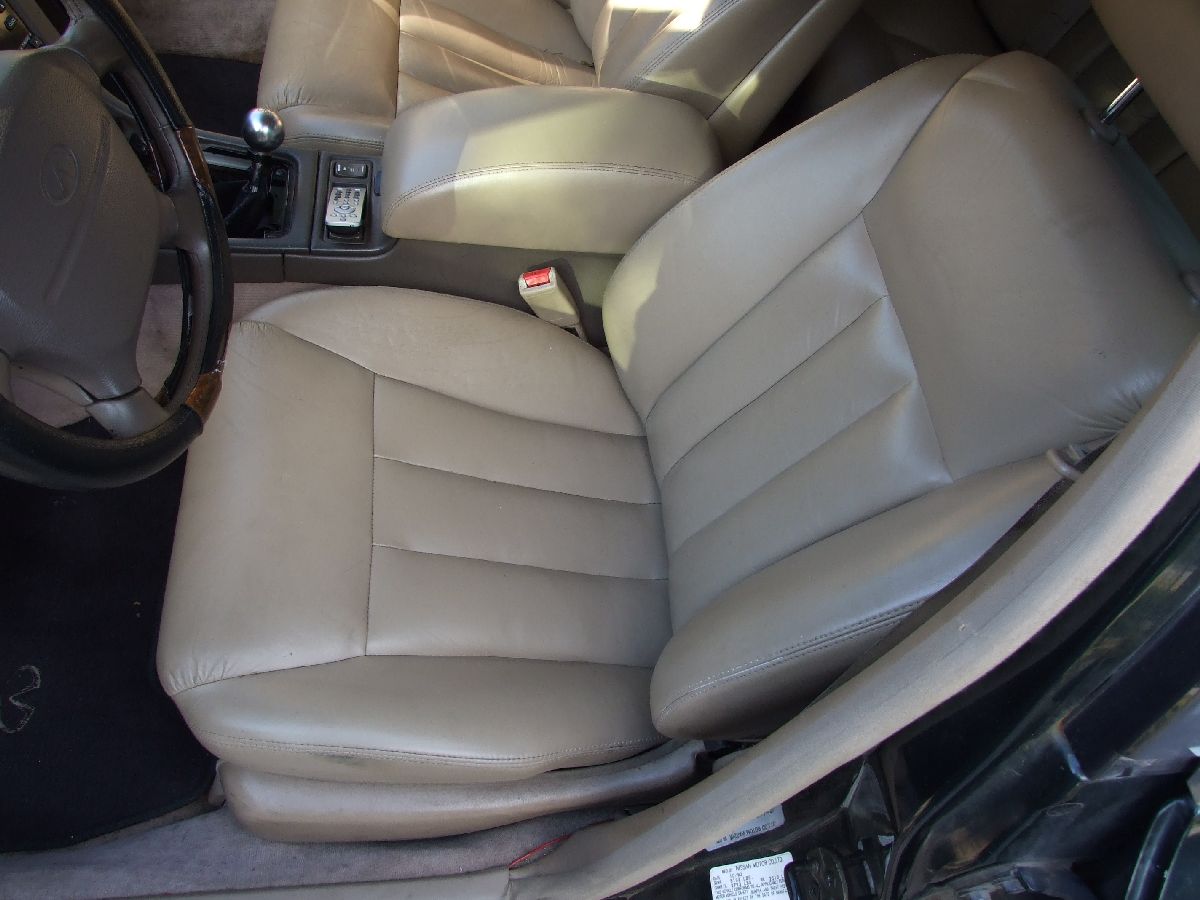
My interior is in about 9/10 condition, outside of the drivers seat.. Which is typical with most cars, since every mile driven theres someone in the drivers seat… at least i’d hope so.. I read somewhere that the drivers and passenger seat could be interchanged with some work, so I figured I had an afternoon to burn so what the heck!
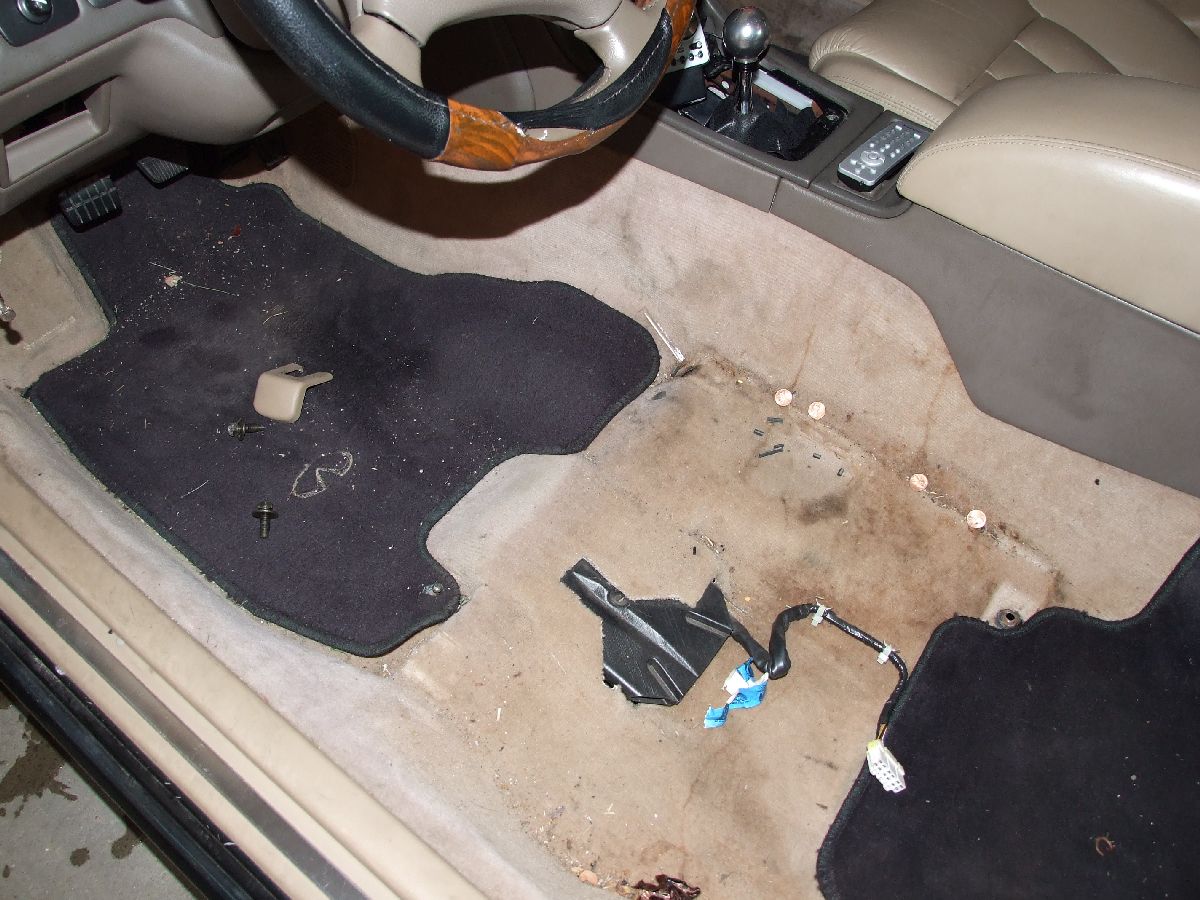
We all know the seat comes out of the car with 4- 14mm bolts, and I pull my seats out every so often to clean under them to find old french fries, and usually i find about $5..
BEFORE removing the seat from the car, make sure that the front and rear mechanisms are all the way up… This will make your life much easier!!!
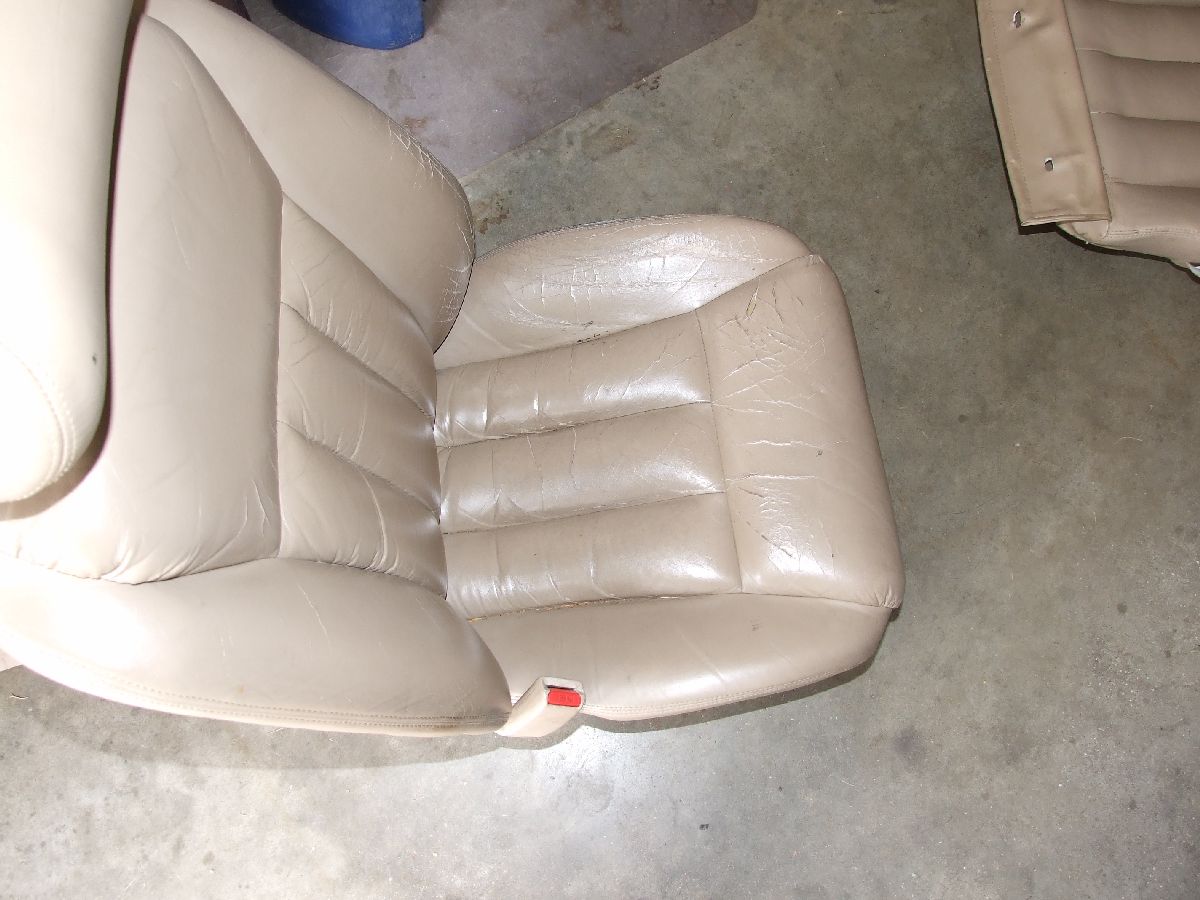
Seat out of the car… Not in good shape, but not horrible. I’ve definitely seen worse…
Unfortunately, this time I only found 4 cents ($0.04), so it was not as big of a pay day as it was usually..
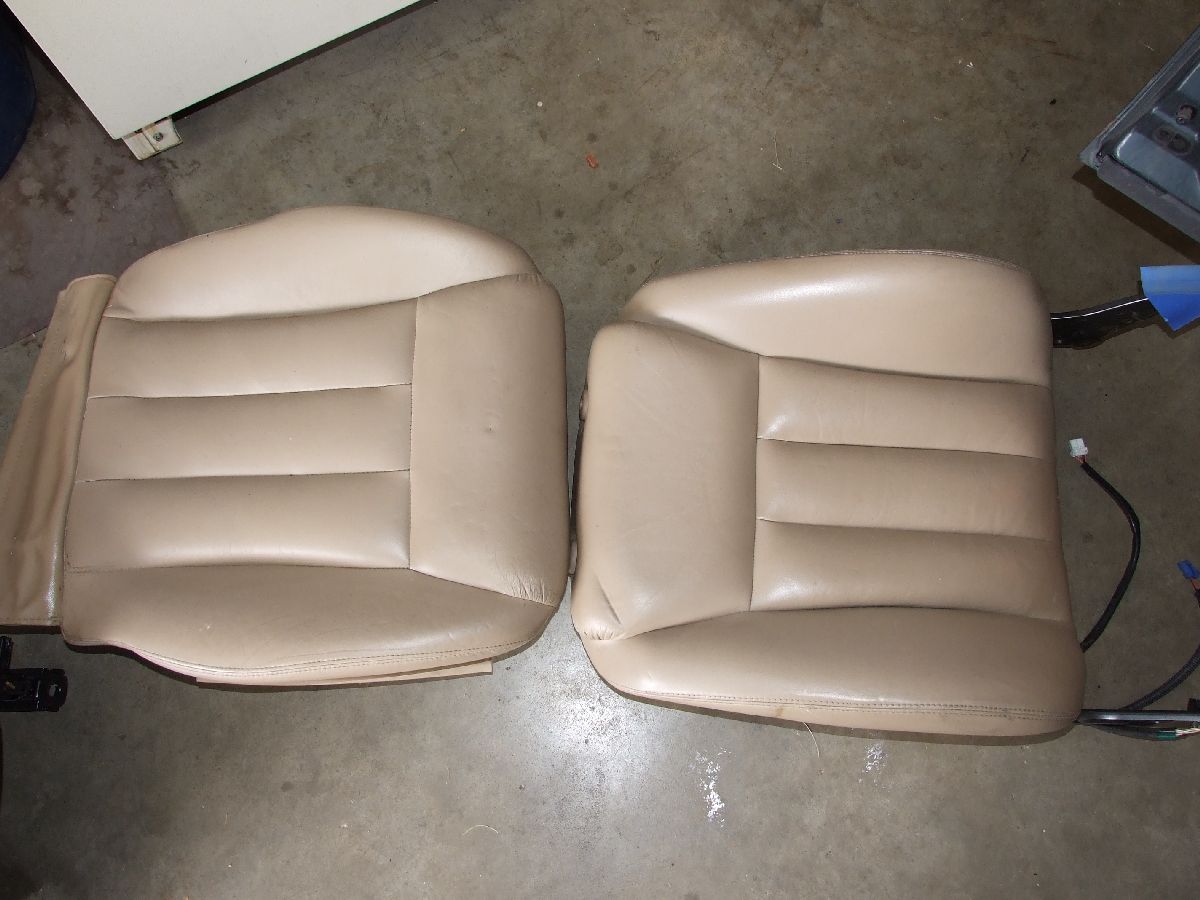
The new seat pads, clearly they are in much better shape..
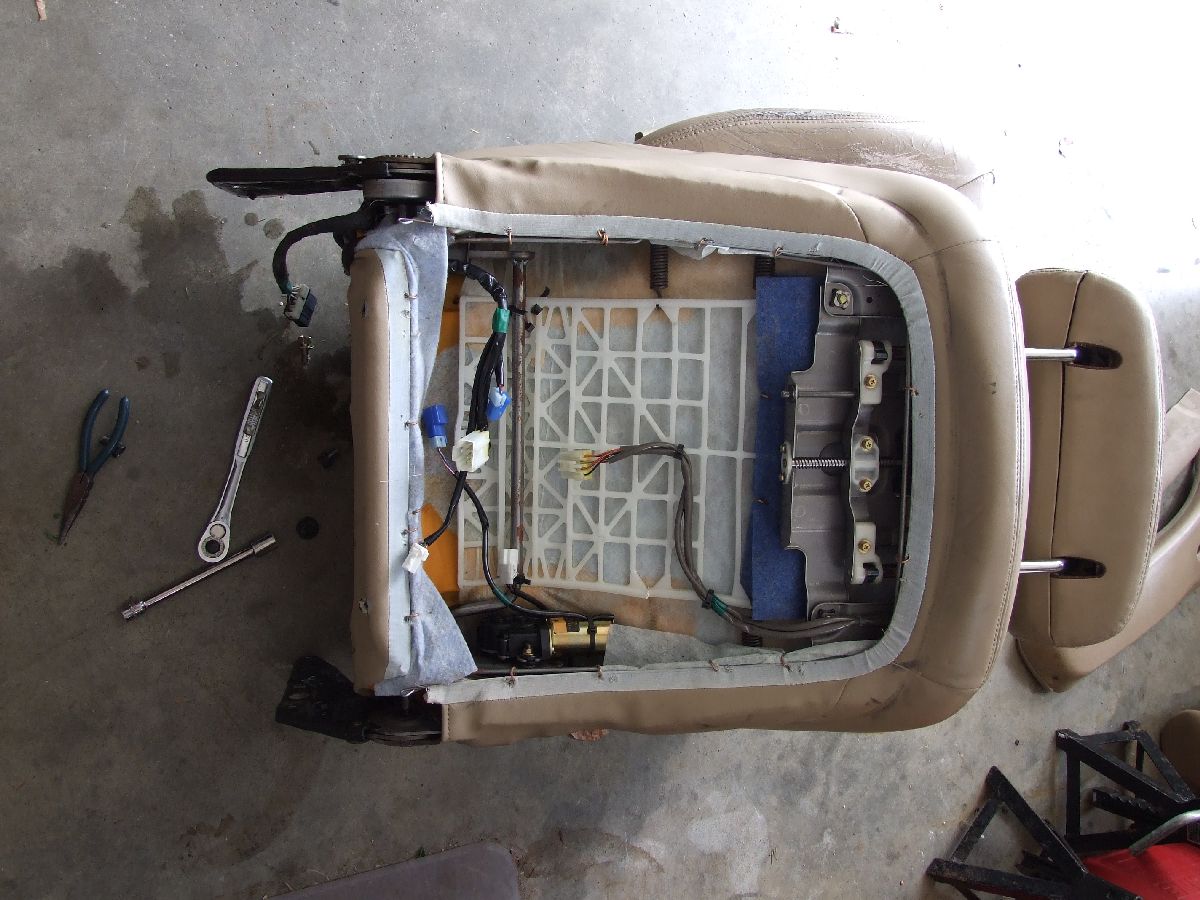
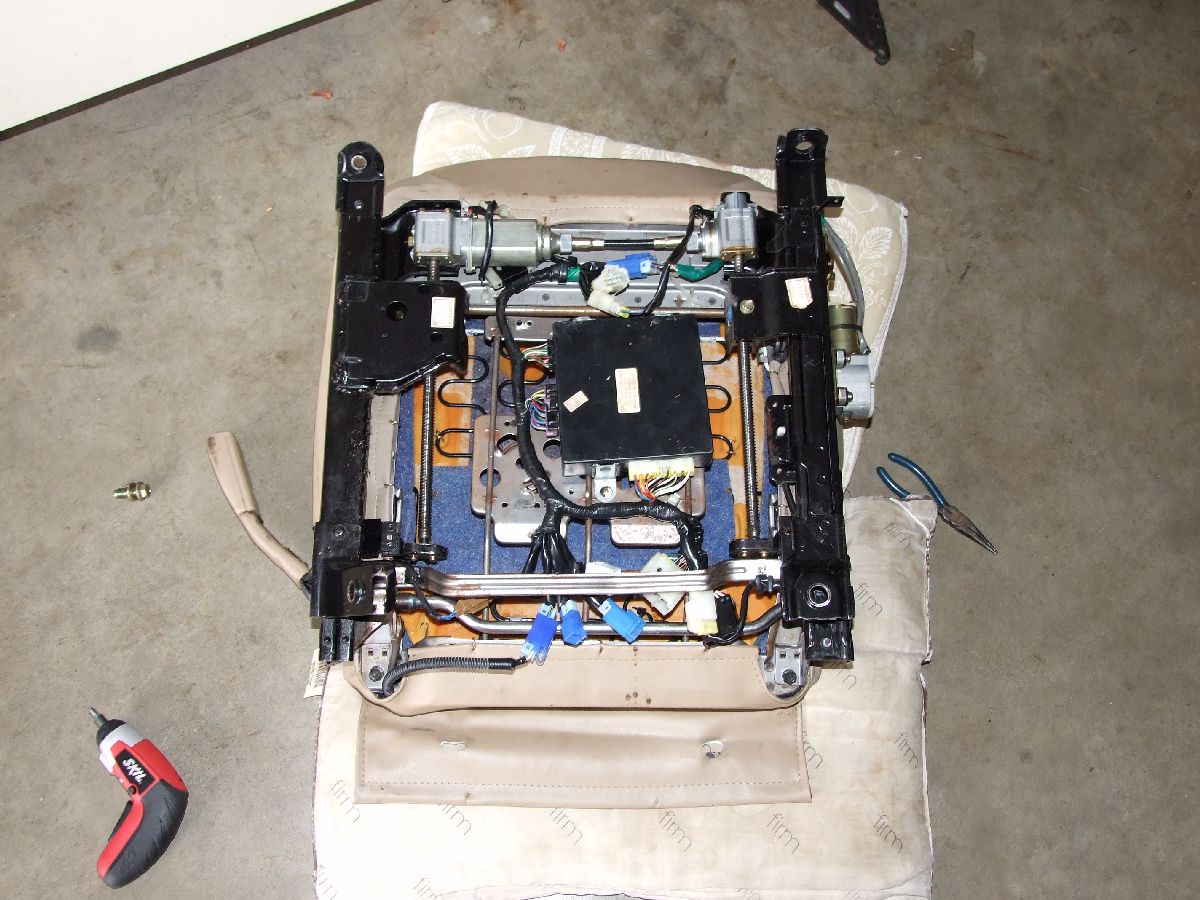
So the first step in doing this you must remove the seat back.. There are 4 bolts holding it onto the seat bottom (2 on each side).. Pictured is one side, the 2 motors you see are the front and rear lifting motors.

Heres a picture of the seat back separated from the seat bottom
Next step is to remove the seat bottom from the seat rail… Pictured is the new seat to more closely show the 4 bolts that hold the cushion onto the sliding rail… 2 bolts horizontal on the front, 2 vertical on the rear..
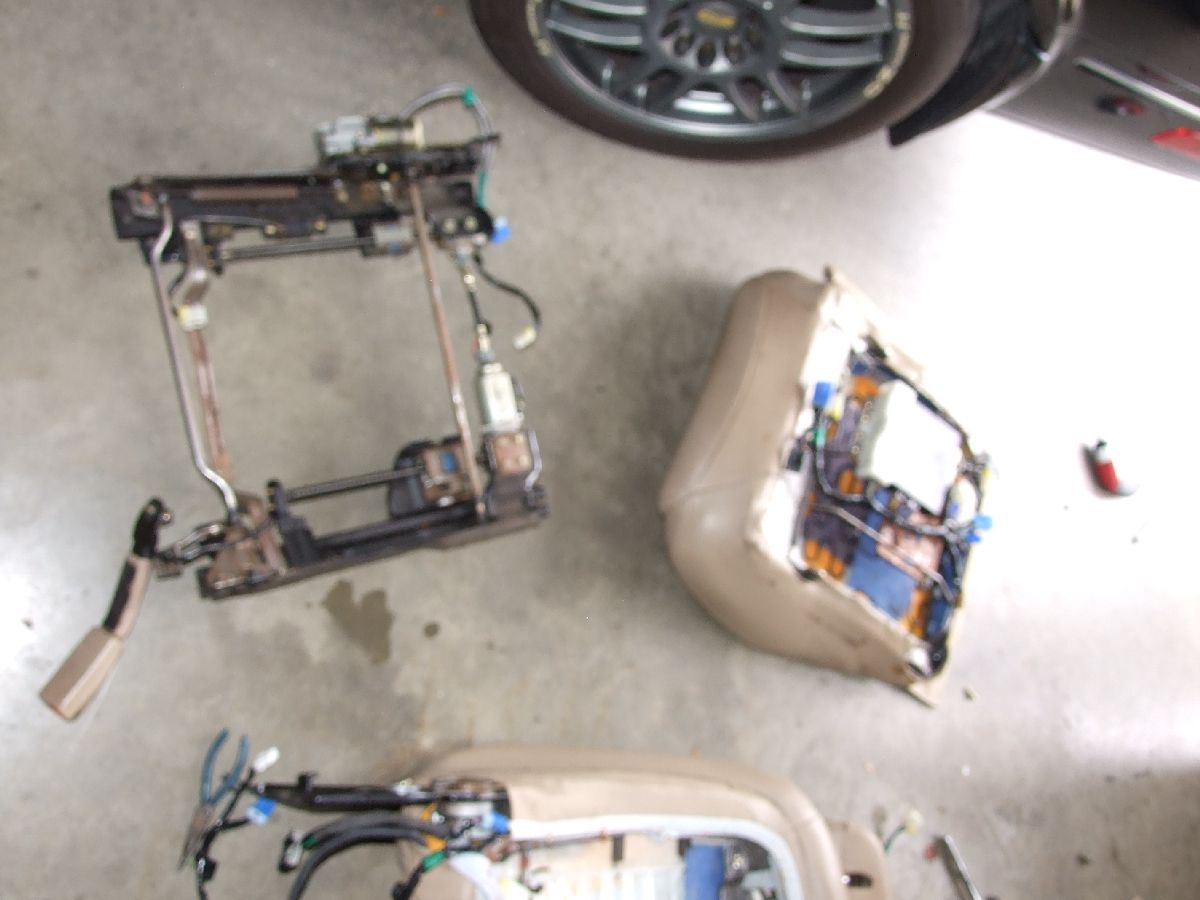
Sorry the focus is off on this, but here you can see the seat rails and cushion seperated
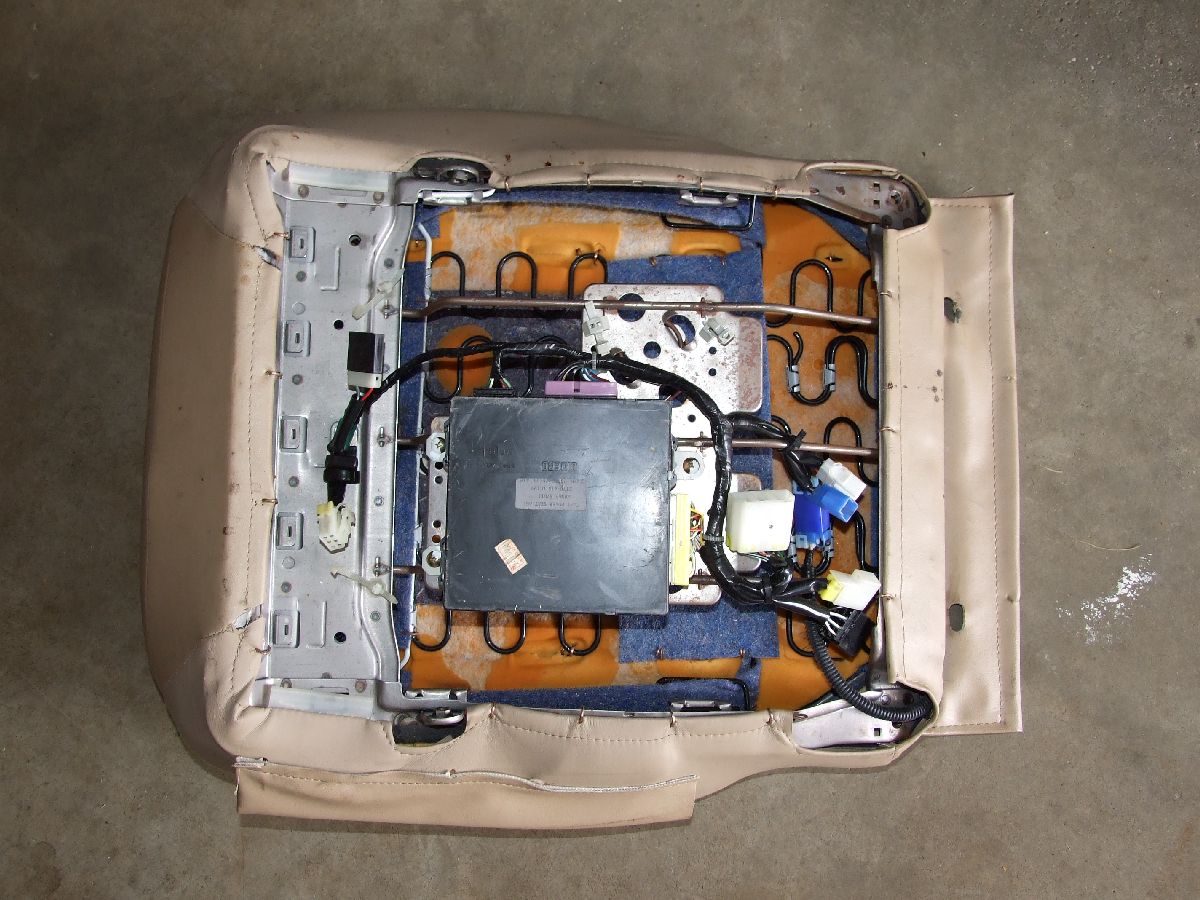
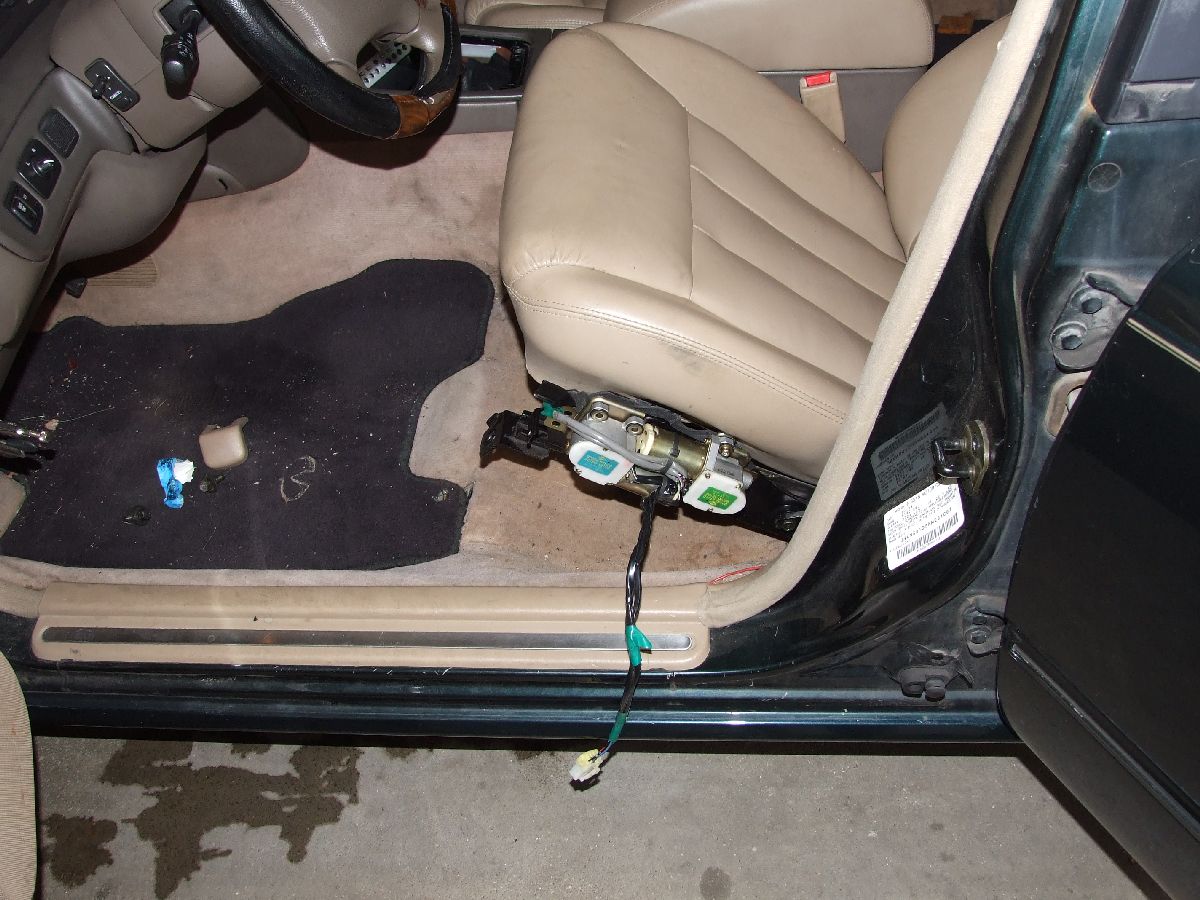
Since the 94s have the LAN system, in order for things to play nicely together, the electronics and wiring must be swapped from the passenger seat to the drivers seat… This is the drivers seat with its electronics removed
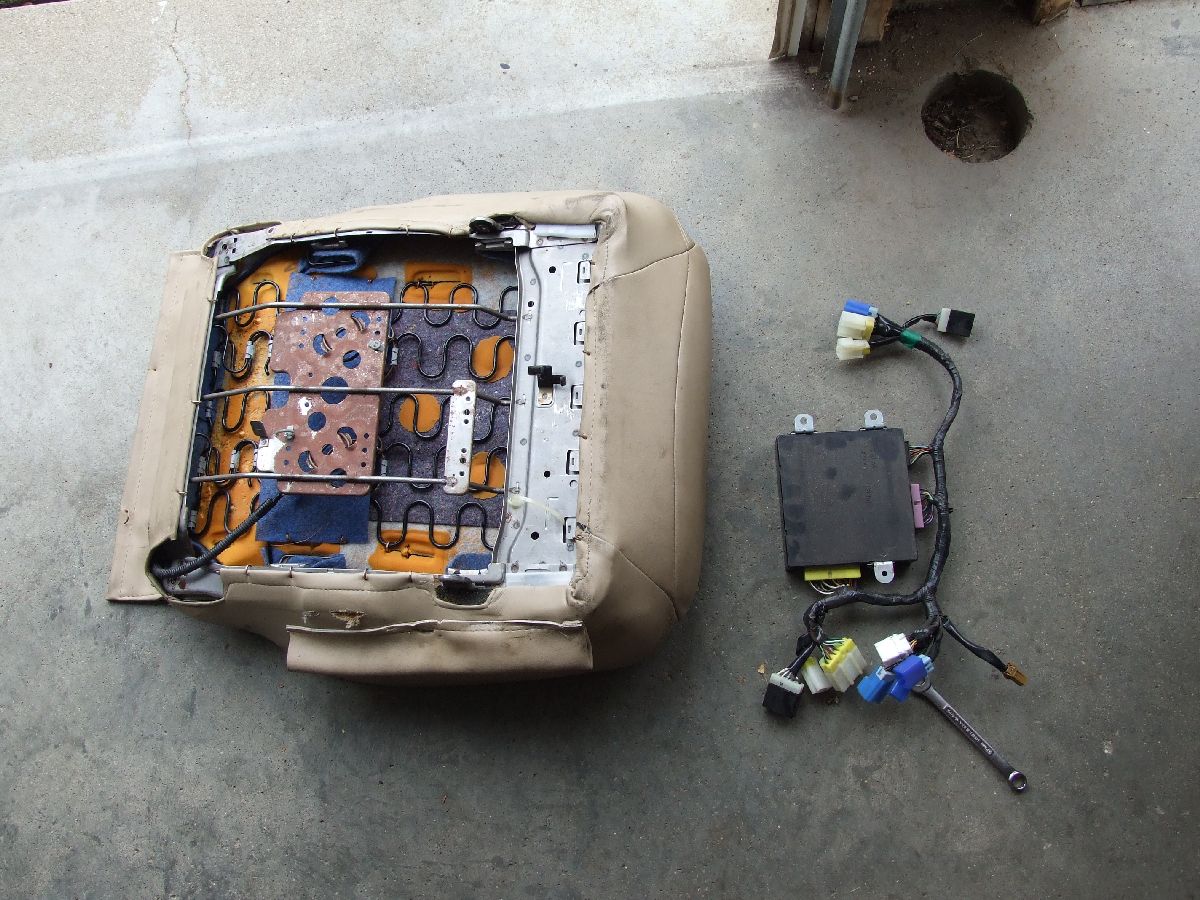
The electronics do not bolt up perfect to the passenger side seat frame, but i was able to line up 2 screw holes, which I figure is enough to hold the seat controller in place… This picture shows the seat controller with seat frame on the new seat cushion. I plugged in as many electrical harnesses as I could to get a good idea how it needed to be oriented. Once I did, I moved the seat controller around a bit until I got it screwed in place securely.
Next, the brackets that hold the seat back to the seat bottom are not compatible from drivers side to passenger side. So, in order to take a passenger side seat back and adapt it to a drivers side seat bottom, you must remove the brackets.. The brackets are held in place with 2 bolts, however you must remove the bottom 2 hogrings on each side to access the bolts. Here is a picture of the bolts holding the brackets onto the seat back.
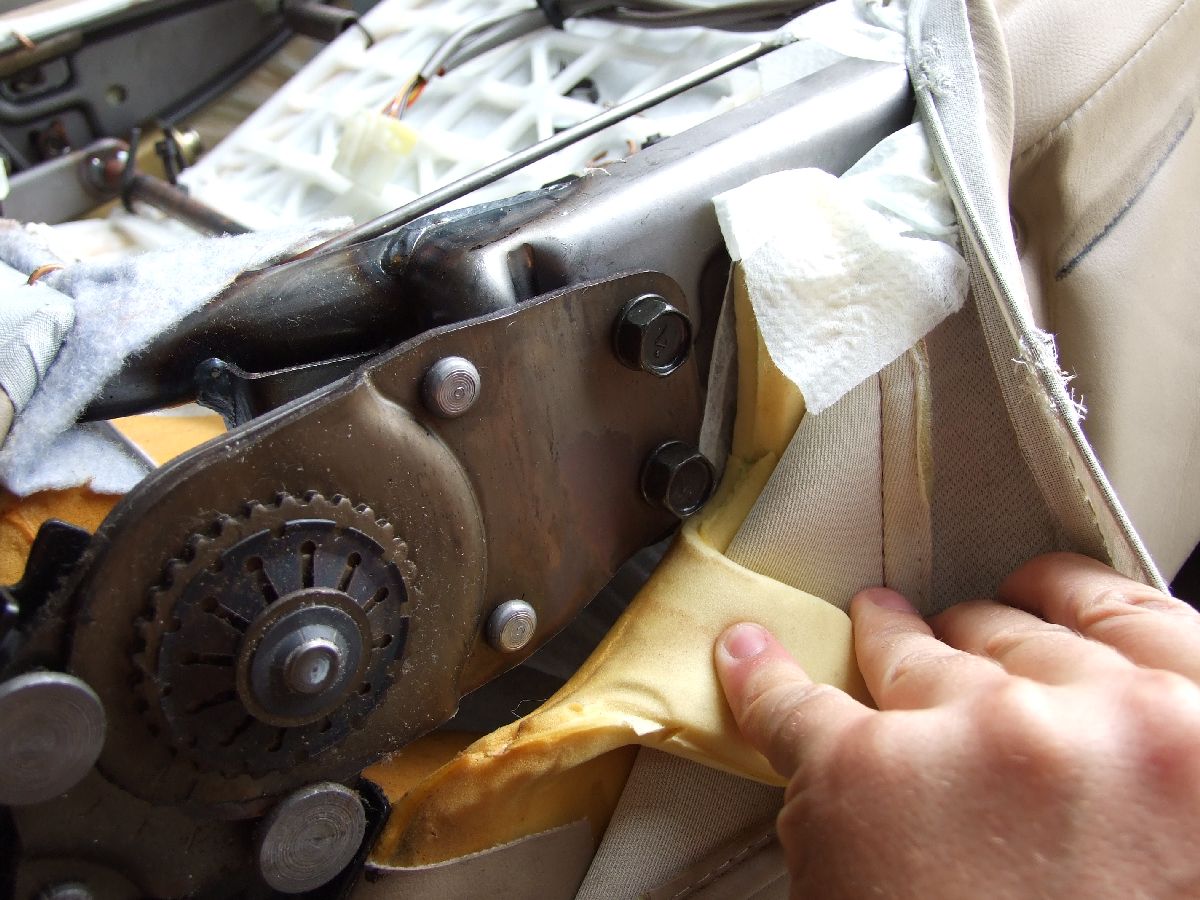
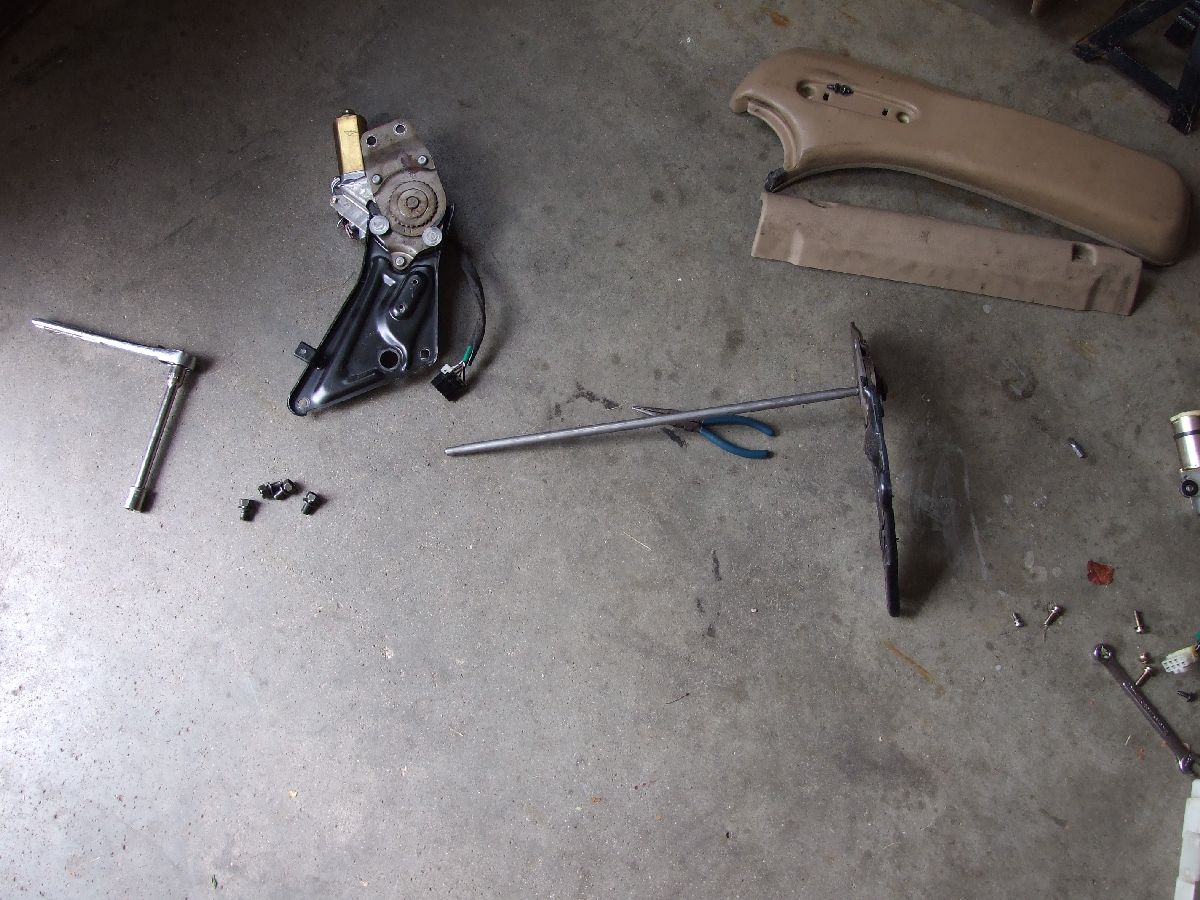
The seat brackets will only go onto the seat one way, so you really cant get it backwards, and they go right onto the passenger side seat.. What you are actually removing is the brackets, as well as the tilt mechanism, which consists of a motor and a rod that goes across to the other side which makes each side move equally.
After the brackets are swapped, the seat bottom will bolt directly to the seat back.. here is a pic of them assembled.
If you are like me, and did NOT set both cushion lifting mechanisms all the way up or down, you must remove the motor, manually push the mechanism, install the seat into the car and with the motor unbolted from the seat frame, move it all the way down, then reinstall it on the seat
All of the electrical harnesses work 100% fine, as you’re using 99% of the electronics and wiring from the drivers side seat anyway.. So everything plugs and goes, the only thing that I came across that did not work directly was the power head rests. Since the drivers seat has memory seats, and the passenger side does not, the head rest has a position sensor on the same harness.. The difference is simply 2 pins
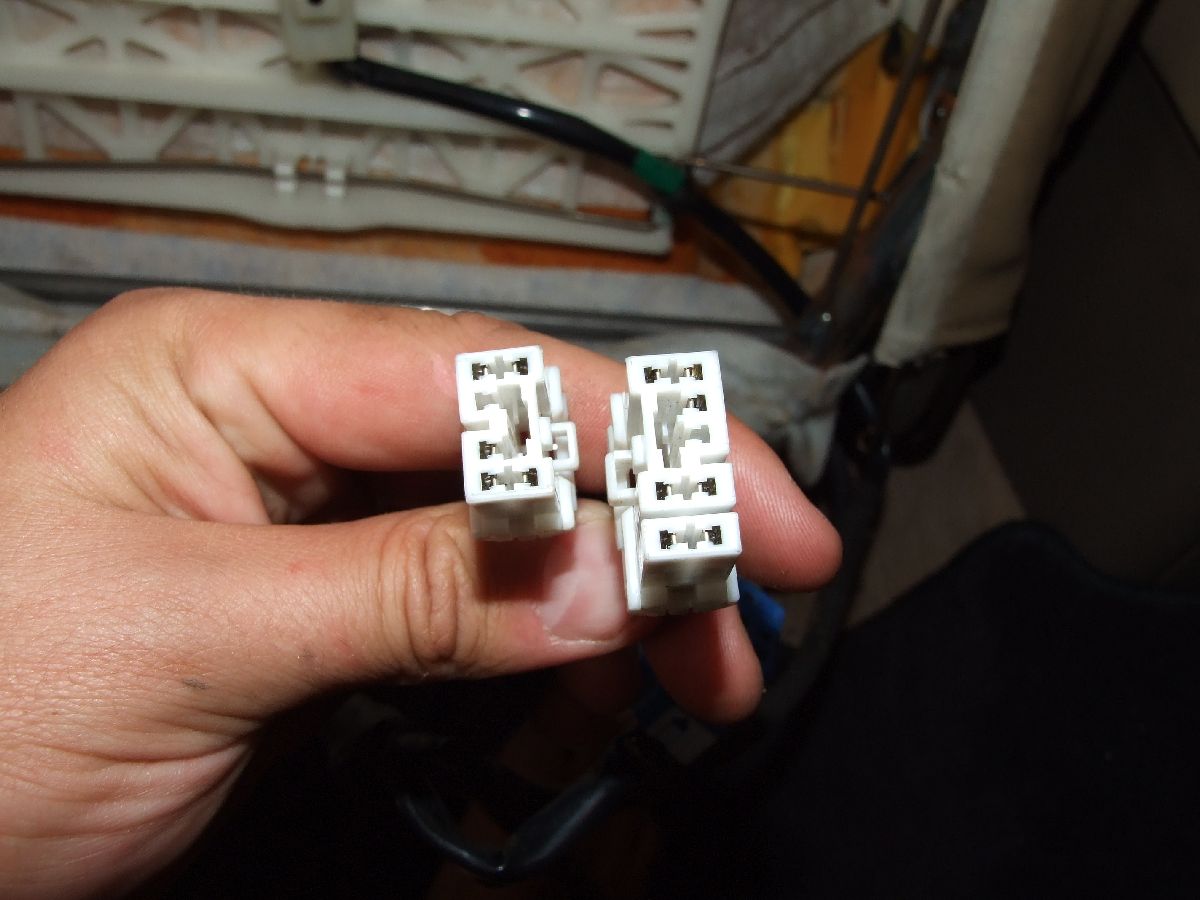
I was really concerned I would lose my power headrests, since I use those on a daily basis, so I was determined to make this work properly.. A quick look at the wiring diagram shows that the drivers side and passenger side share the exact same wire colors, all you have to do is switch the connectors.. Since your going from a passenger side headrest to a drivers side seat controller, I took the drivers side harness and switched the 7 pin connector to the 5 pin connector.. That is, I took the large (seat side connector), not the smaller controller side connector..

This part is a bit tricky, but it can be done.. There is a yellow retainer that you simply pry off gently.. Then, use a tiny screwdriver to press up on a little plastic clip.. The pins will come right out of the connector…
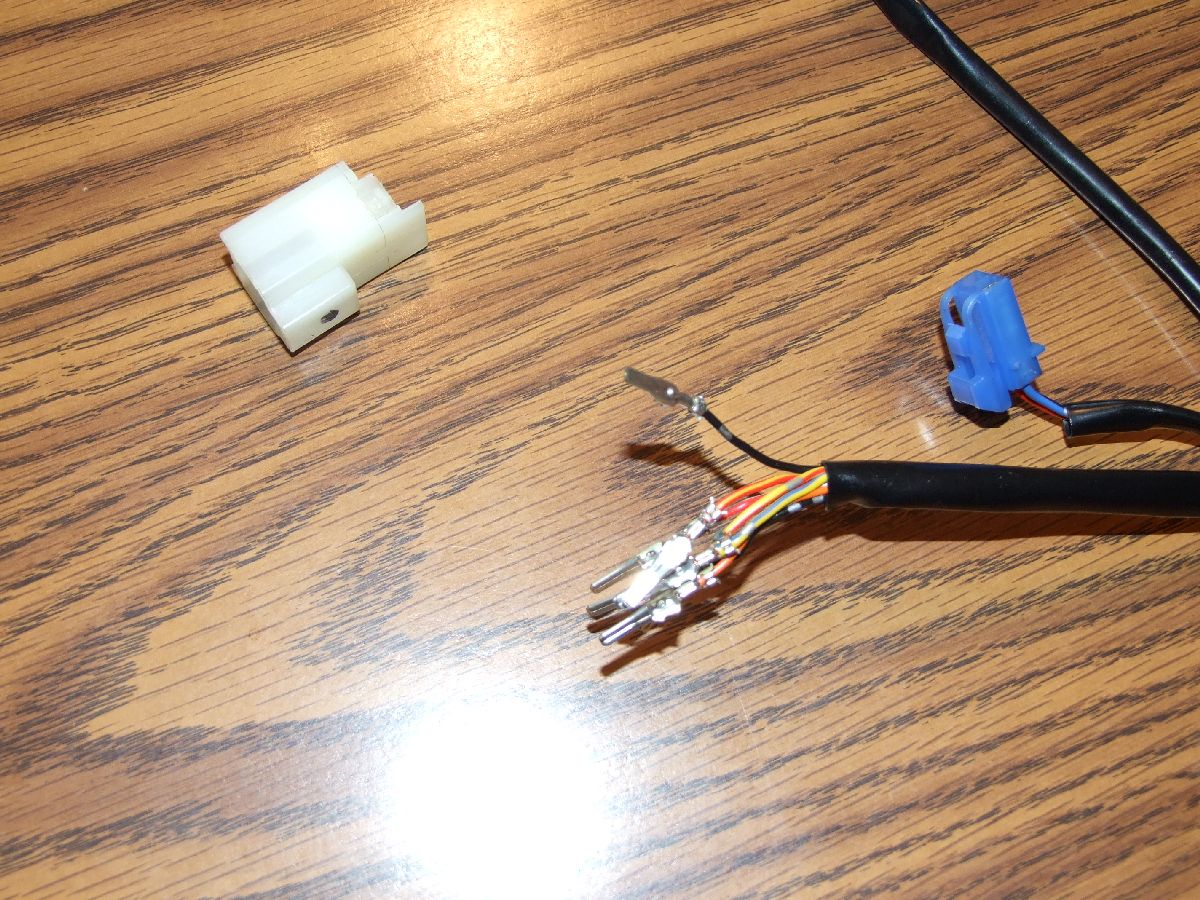
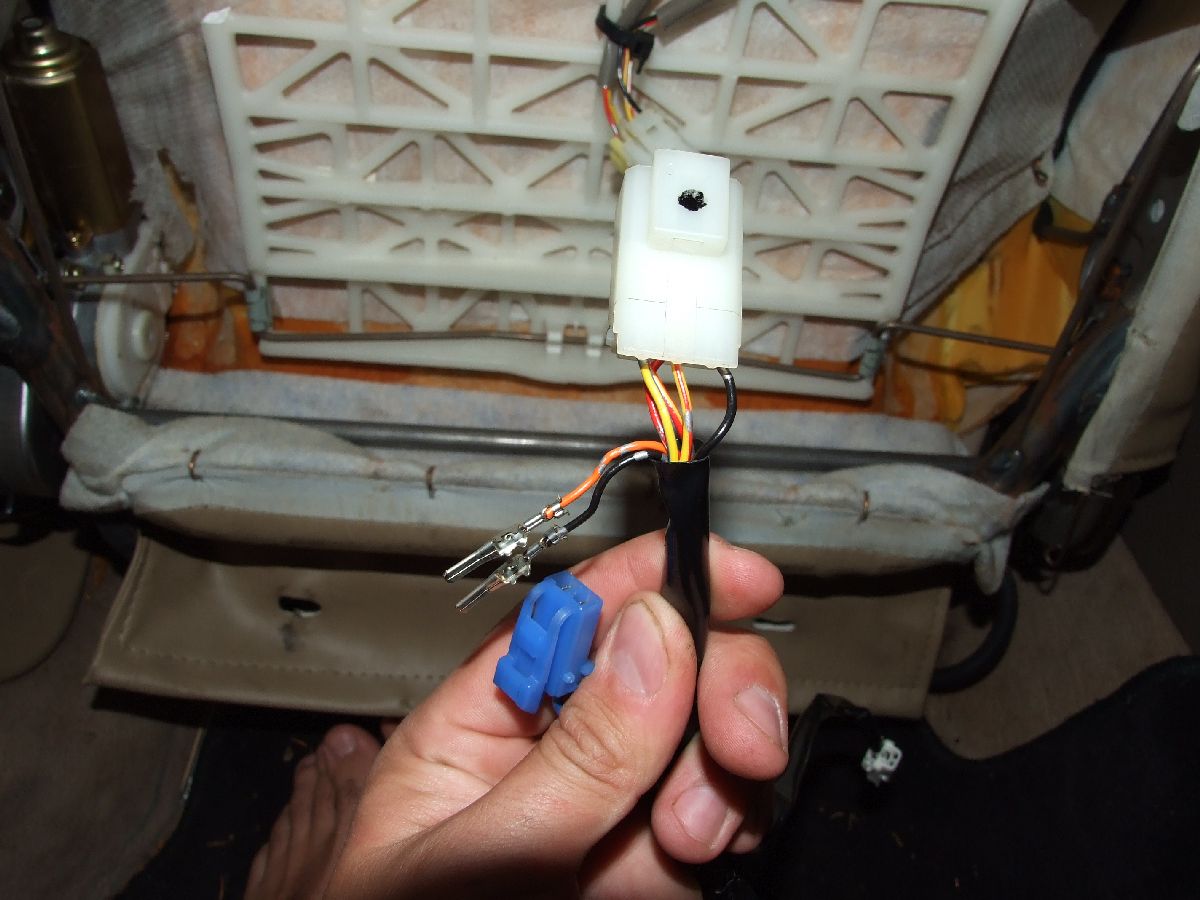
From here, all you have to do is plug the connector back into the headrest harness on the seat, and match the colors up.. The pins will click right into place, and you then put the retainer back in. You will have 2 extra wires for the sensor, and I just left those hanging around..
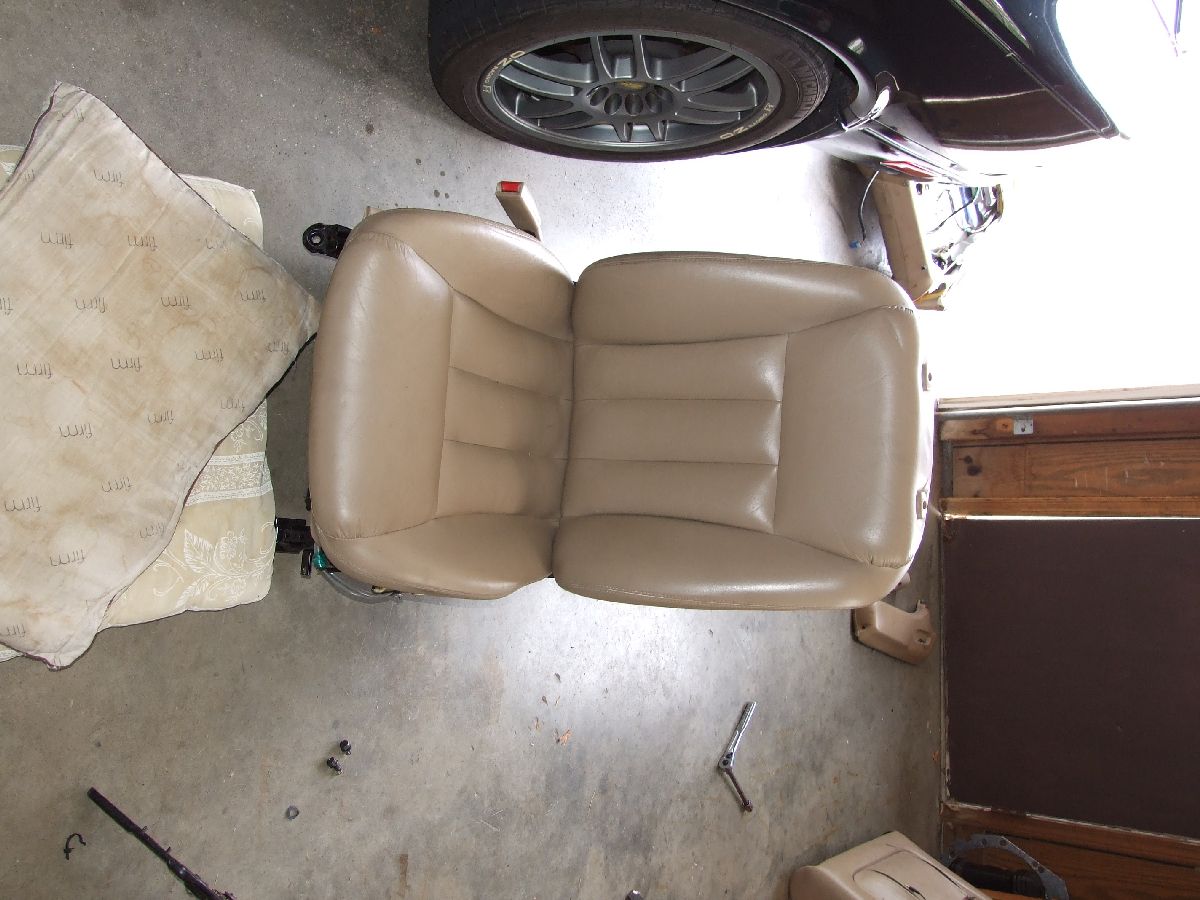
So now, the job is complete and you just bolt the seat back into the car… The end result is I have a nice looking seat, and no one would know that it came from the other side of the car unless they were REALLY smart…
All in all, I’m super happy with how everything came out… There are only 2 features I lost by doing this, and that is the memory seats and the lumbar support, which honestly I don’t think it did anything when I had it, so I don’t miss it at all. The memory seats stopped working for no reason after the 5 speed swap, and I am the only person who drives the car so its not a big deal…