Infiniti Q45 & Infiniti J30
TOOLS:
jack and jack stands
1/2″ ratchat
13/16 socket
19mm socket
17mm socket
14mm socket
12mm socket
10mm wrench
4″ angle grinder
COST BREAKDOWN:
$44 used Q45 calipers, pads, and rotors (I used a digital caliper and measured the rotors and pad so i knew i was getting good ones)
$0.00 machine work on rotors (They owed me a favor )
$56 new rear rotors, pads, and brake fluid
$59 new passenger side rear caliper
TOLTAL:
$159 for big brake upgrade and new rears for me
Of course costs will vary with your area junkyards or if you use new calipers, rotors, pads, and machine work.
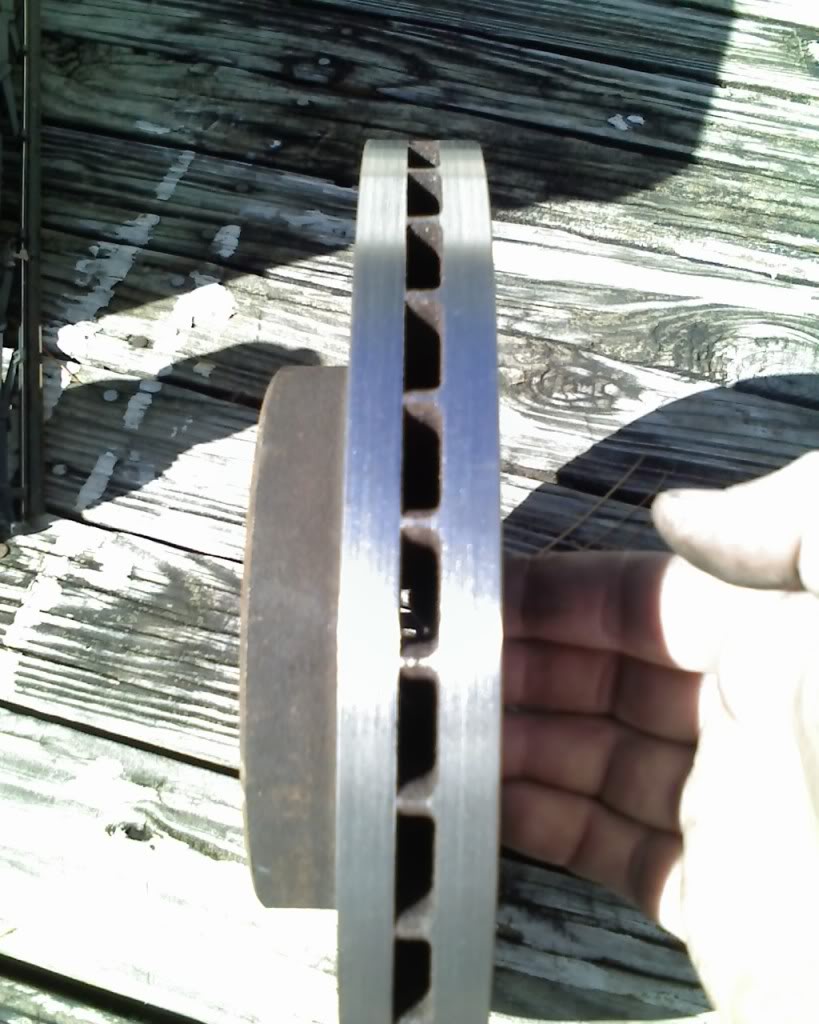
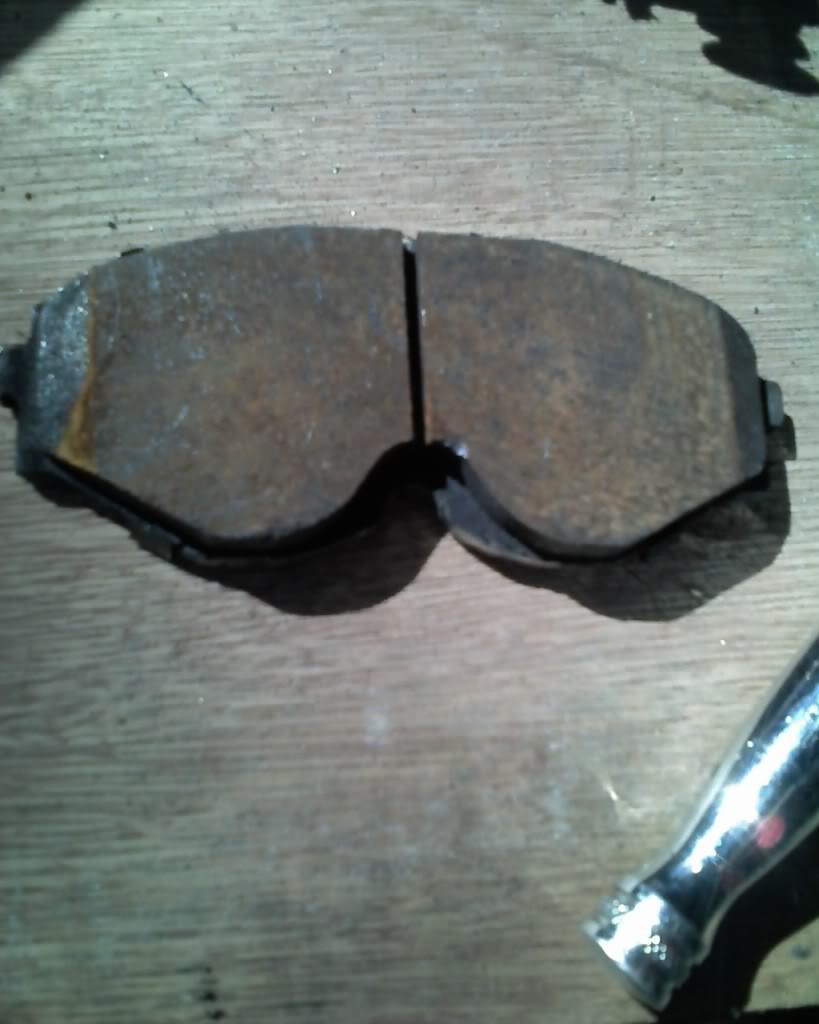
Side by side comparisons of stock vs Q45:
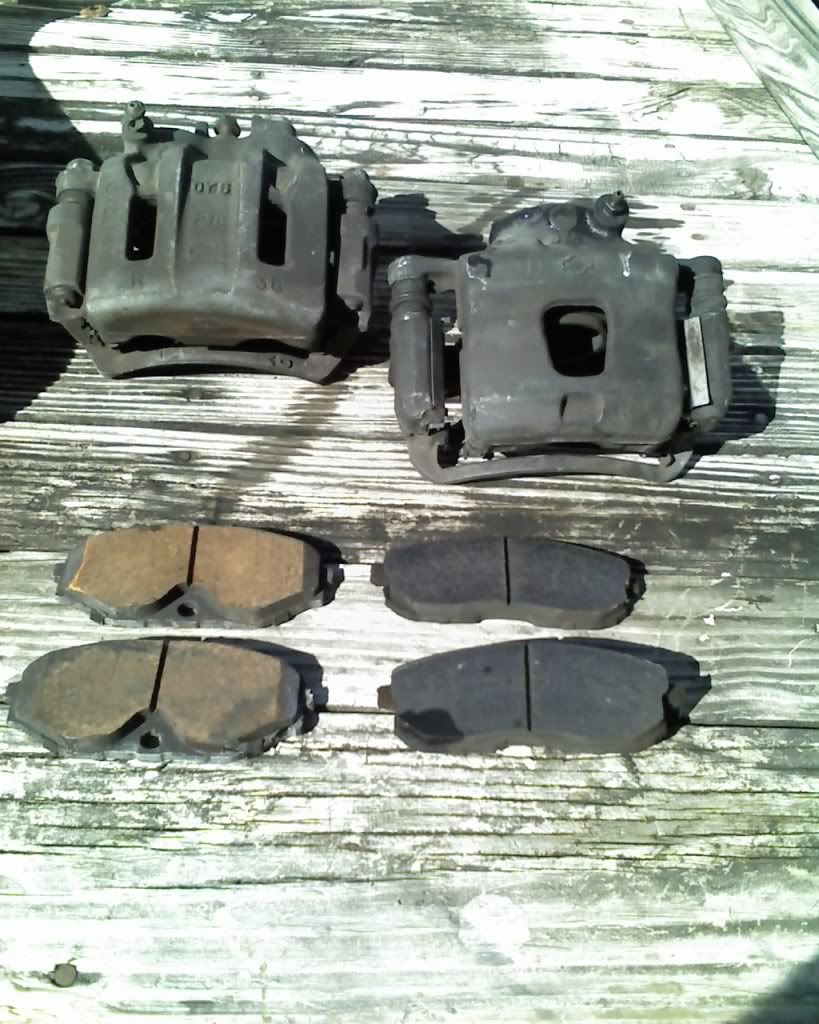
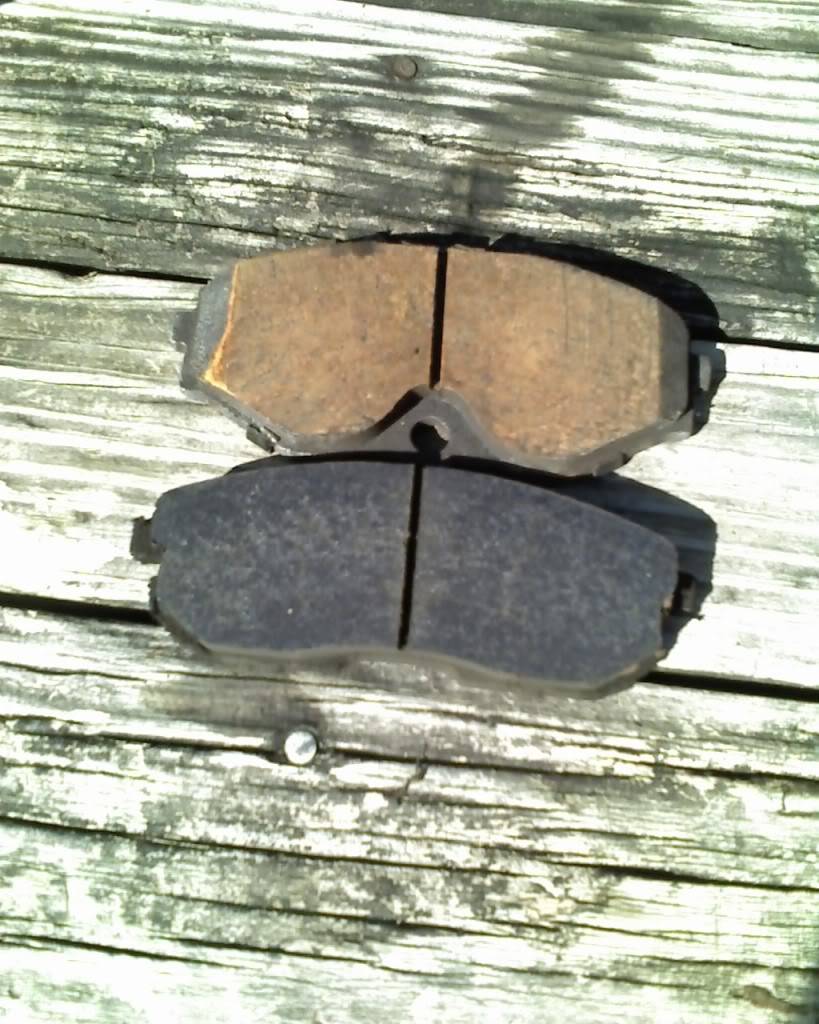
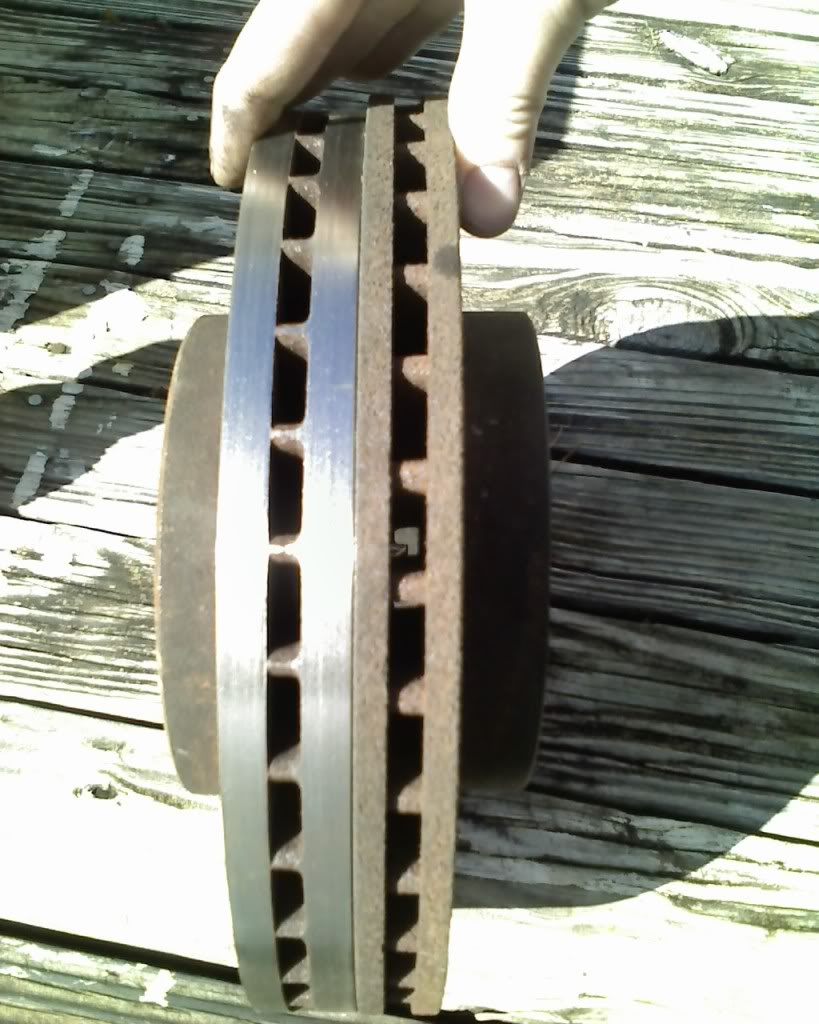
As you can see there are 2 pistons vs the stock 1, the pads have slightly more contact area, and the rotors are thicker. This all translates into more clamping force along with more contact area which also transfers heat better to the rotor and having thicker rotors means more thermal capacity to withstand brake fad and boiling the fluid.
Before you can even start the install, the rotors, OEM or aftermarket, need to be milled down 8mm off of the OUTSIDE diameter.
This is done so that the rotor clears the caliper and caliper bracket.
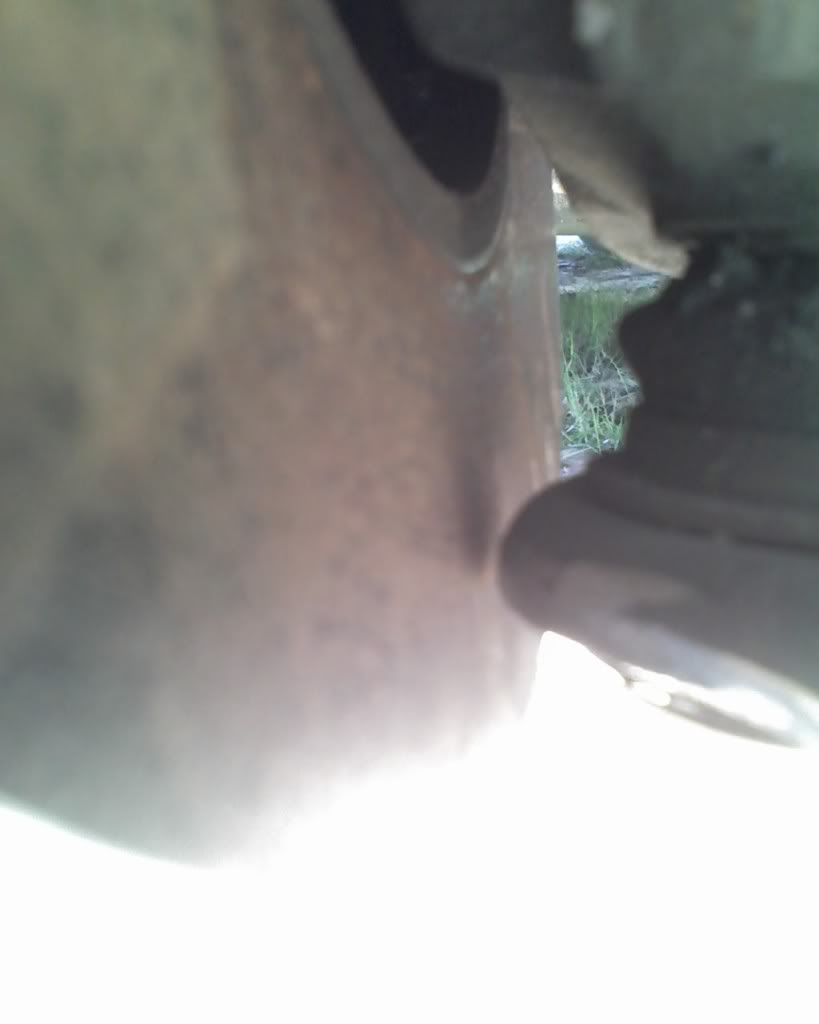
To start installing the brakes, first start by lifting the car up and supporting it. next you need to “load” the suspension by jacking up the lower control arm untill the car just starts to lift off of you supports. next remove all the old brake hardware. I left the caliper connected so to not loose any fluid and prevent a mess. when you get everything tore down you should end up with this,
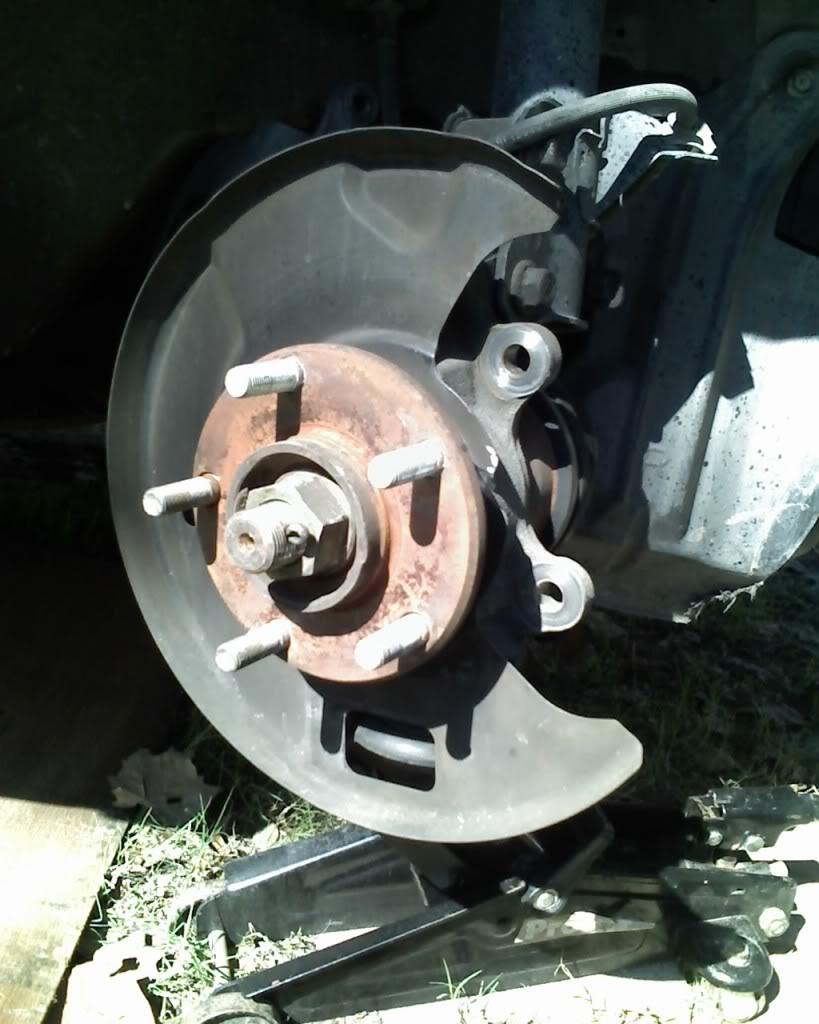
Now there are 2 options here you can do like me and remove the dust shield completely,
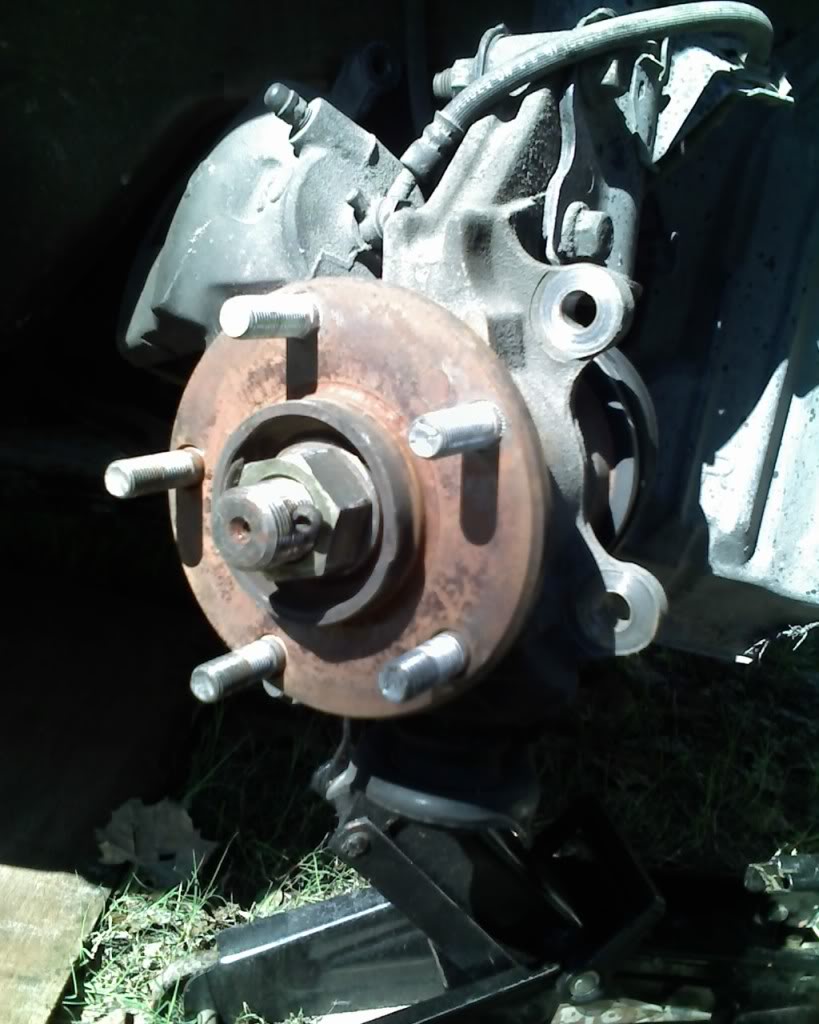
Or try trimming to clear everything. the only bad thing about trimming is the rotor sit sooo close that there is the posibility of it rubbing.
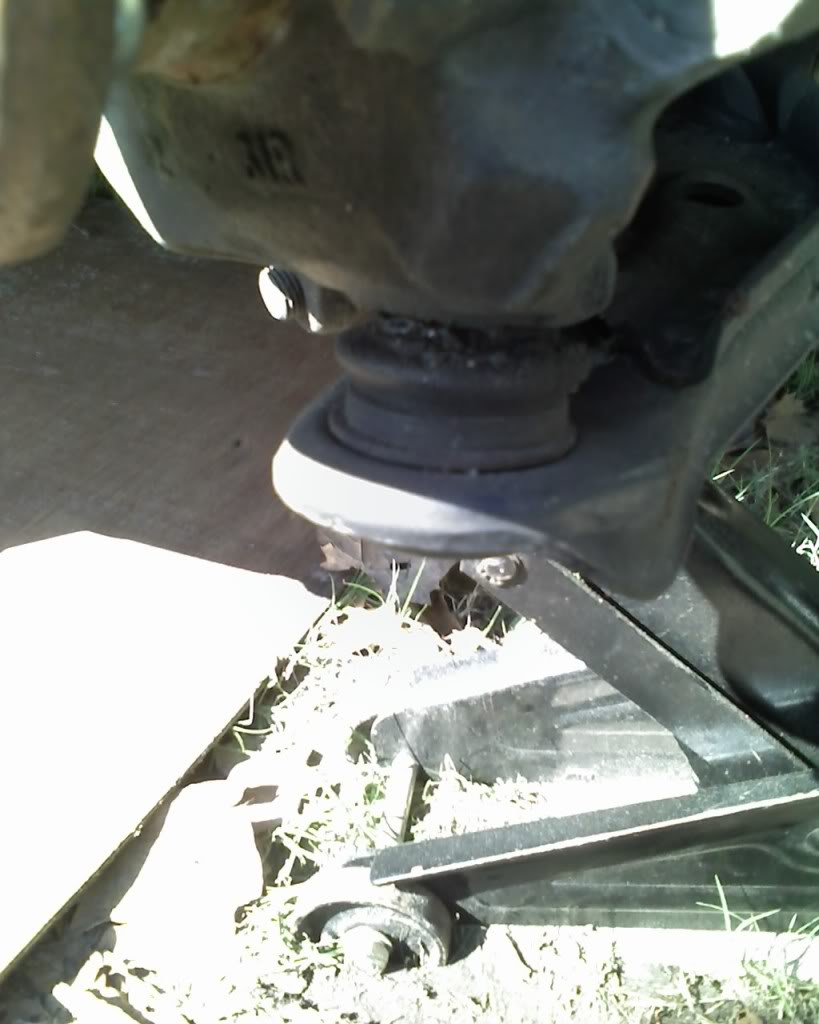
Next you will need a grinder and grind on the lower control arm.
Before grinding:
After grinding:
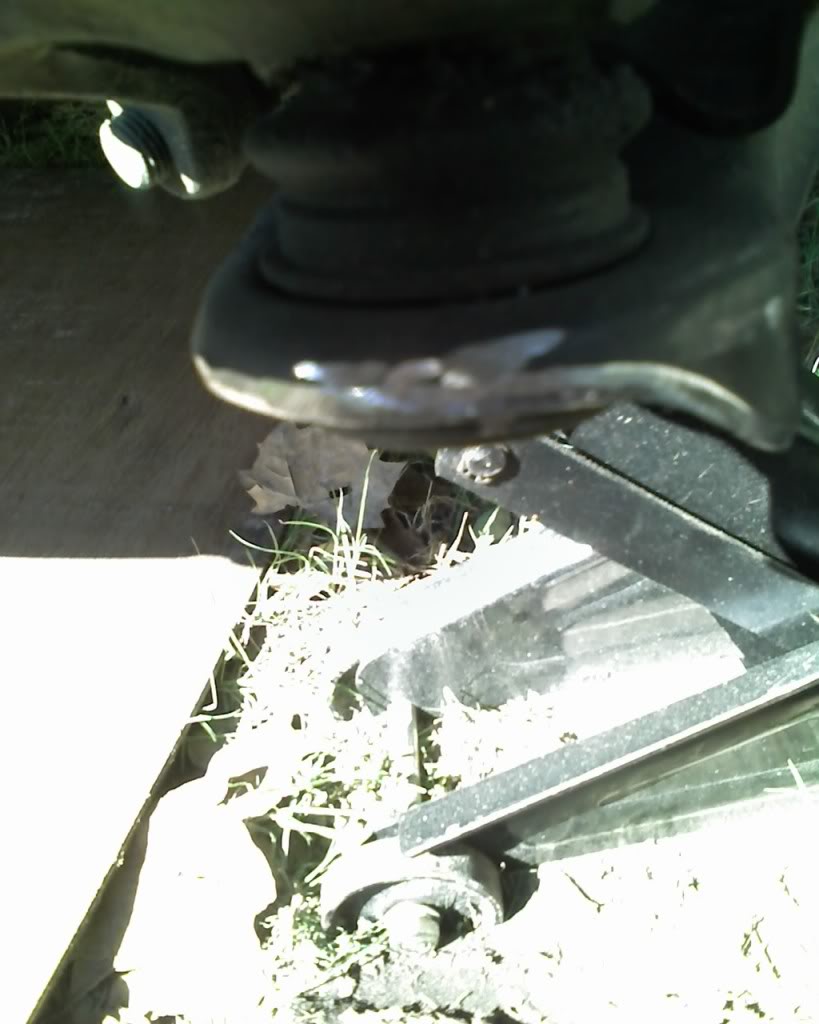
Now to the people that question structual integrity about grinding on the control arm, you only need to take off a maximum of 1/16″ of material – just enough to clear the rotor. This is also the reason of “LOADING” the suspension so that the control arm is at its closest to the rotor. You will need to grind and check often from full lock to full lock for proper clearances.
After this is done the caliper bracket can be bolted on, use the maxima bolts NOT the Q45/J30 as they are longer and will rub the rotor.

Next the inside pad can be installed, but the outside pad needs to be modified to clear the hub. your pad should look like this:
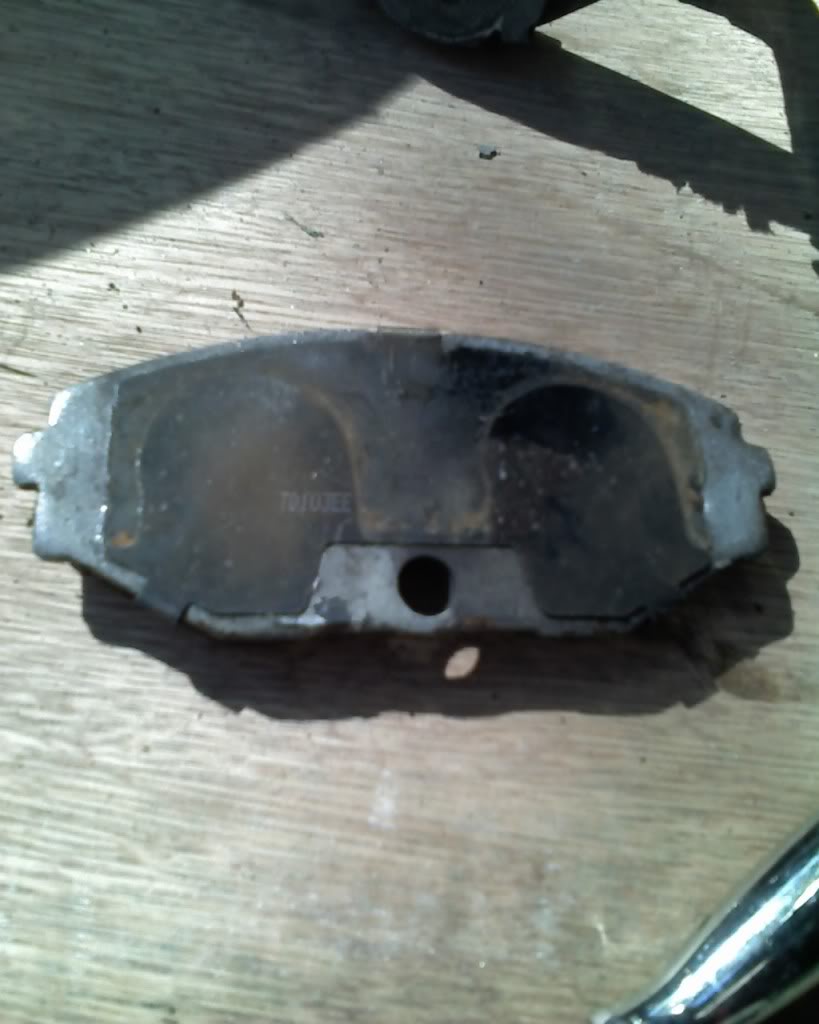
You need to grind the lower part with the circle opening to the contor of the pad material. you do not need to grind ANY pad material, just the steel backing. And you’ll want to end up with this:
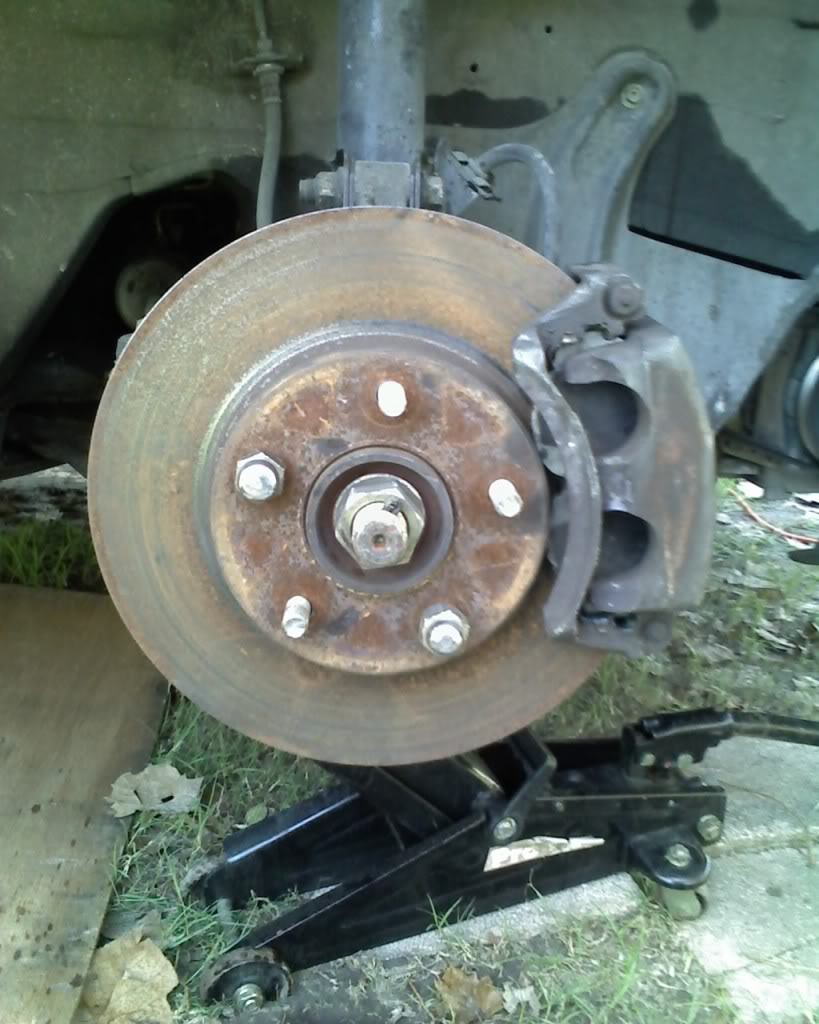
Now bolt the caliper on and bleed the system then move to the other side. The end it sould look like this:
When I did this I also did new rear pads and rotors to complete the install, which was a good idea as I had 2 frozen slide pins, a bad caliper, and I was missing a clip that held the e-brake cable to the bracket.
DRIVING IMPRESSIONS:
This thing stops better than my 300zx brake equiped 240sx. My stopping distances dropped by at least 75ft under heavy braking. I also never felt any brake fad when I was bedding in the new brakes. There is more petal movement, but I like it as its easier to modulate them and keep them from locking them up. I also completely flushed the brake system and filled it with DOT-4 fluid. If you could get it I would use DOT 5.1 for a higher boiling point but DOT-4 is good for daily/spirited driving.
Also to those who might “NEED” more, you could couple this with drilled/slotted rotors and hawk pads.