When we left off last time we had just installed an oil cooler on our project G37. However, we had mentioned the reason we chose to go with an oil cooler as our first modification was because of oil temperature problems at the track causing the ECU to lower the redline to 6100 RPMs. We had also mentioned a problem with the clutch and brake fluid overheating as well as the pads fading. While we intend to address these other issues before we return to the track, in the mean time we thought we’d throw in a mod that we can feel the difference with. I’m not talking about a power adder, but rather suspension.
We didn’t want to compromise ride comfort, yet we wanted the ability to stiffen the suspension when we are at the track. We also wanted a slightly sleeker look by lowering the car, but just enough to make it look “right.”Finally, we didn’t want to put extra stress on the OEM shocks by just installing lowering springs. This left us with really only one option—coilovers.
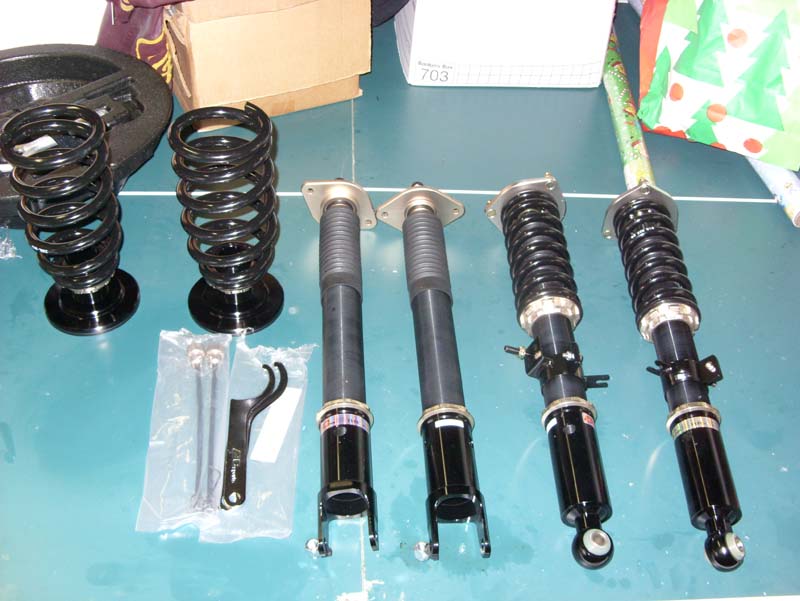
We called up BC Racing and they sent us their BR Series coilover kit for the G37. The BR series kit includes 30-way dampening adjustment as well as adjustable height suspension in both front and rear. BC Racing also offers their ERSeries suspension for the G37 as well. The ER Series utilizes remote reservoir shocks and a twin piston design. The ER Series also allows for independent adjustments for compression and rebound for even more tuning ability.
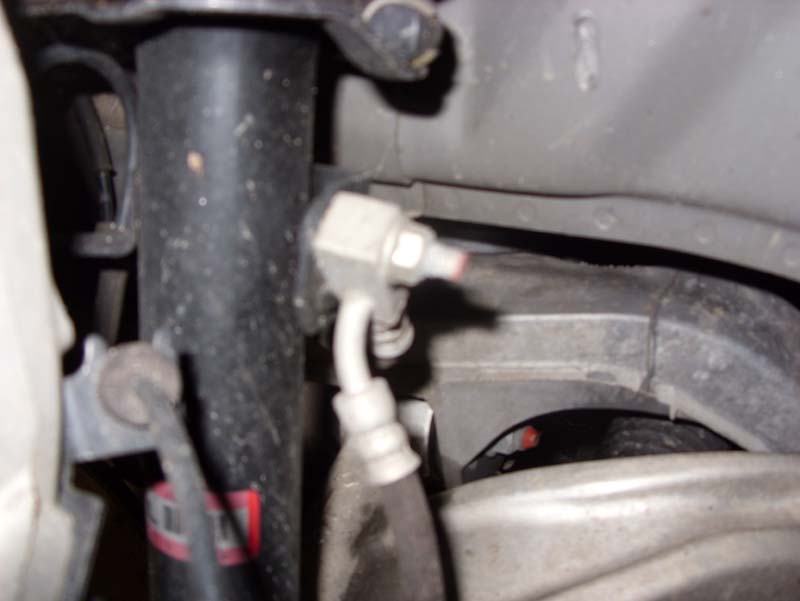
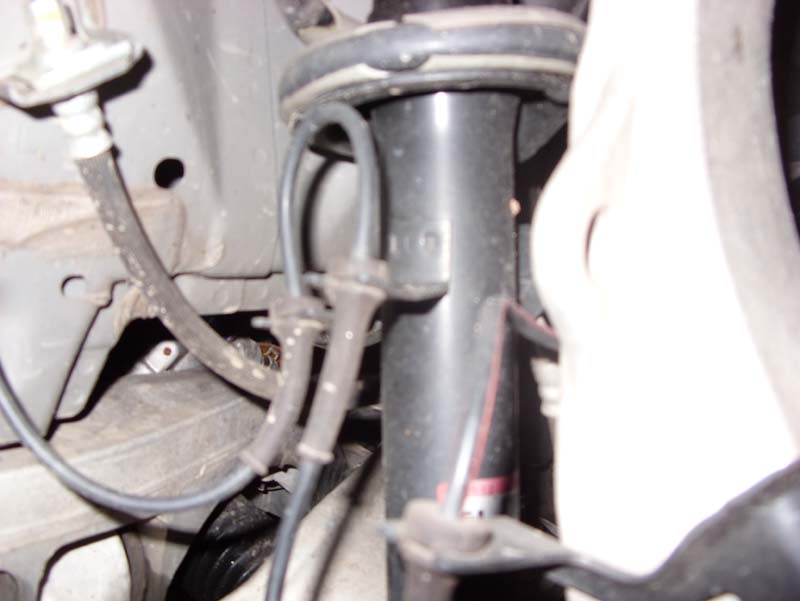
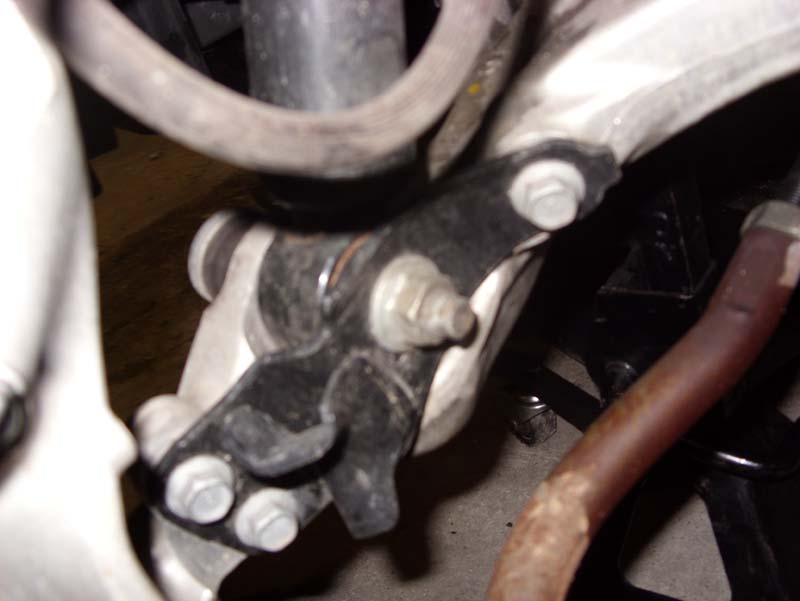
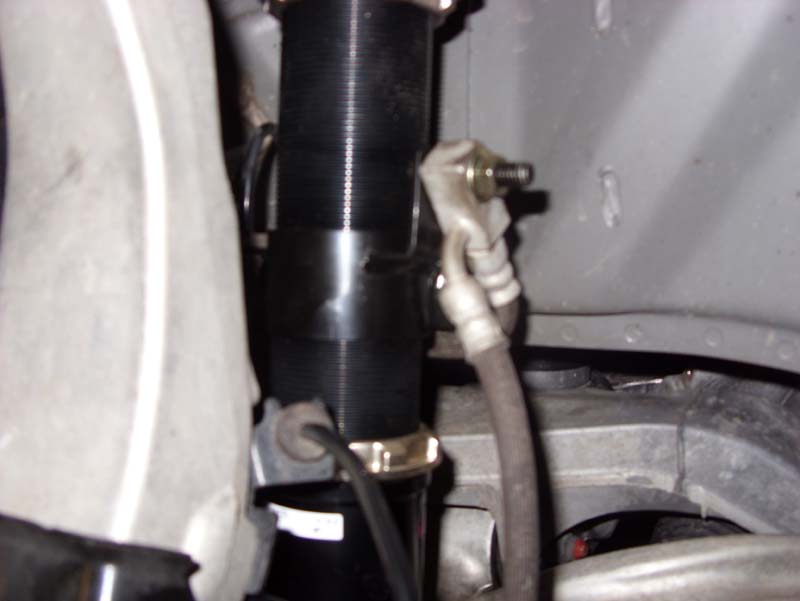
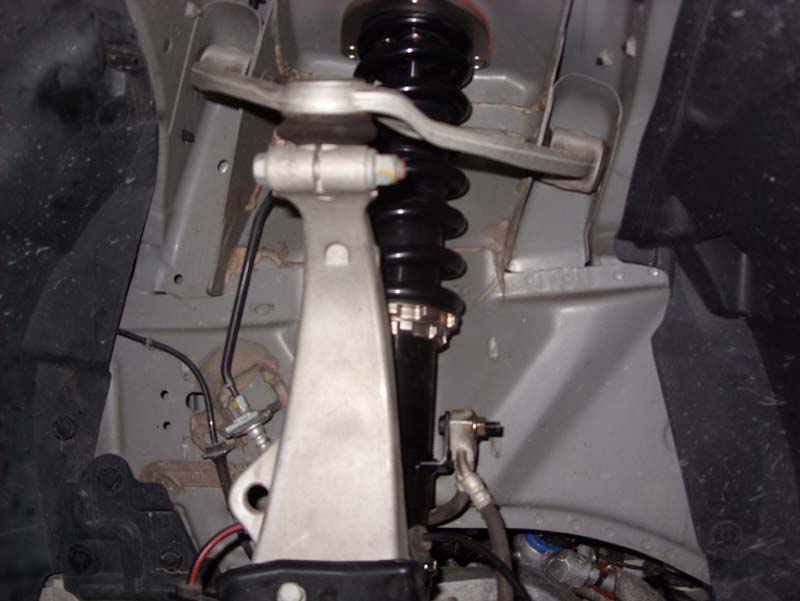
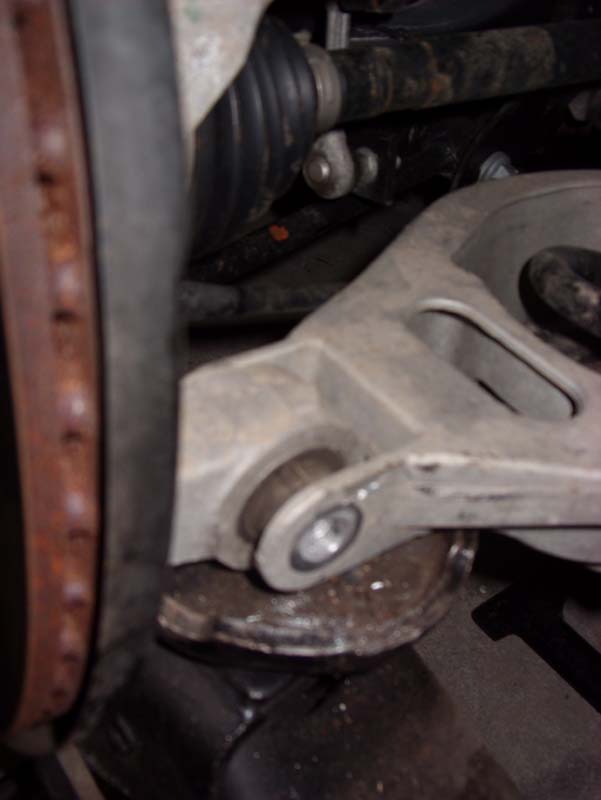
The bottom of the shock is held onto the lower A-arm with a bracket. You will need to remove the nut from the bolt that passes through the eyehole of the shock, and also remove the bracket from the A-arm. The bottom of the shock should now be loose. Looking under the hood, on top of the shock tower, you will see the 3 nuts hold the top of the shock to the frame of the car. Remove these 3 nuts while holding on to the shock below to prevent it from falling. Once these nuts are removed, you can remove the shock assembly.
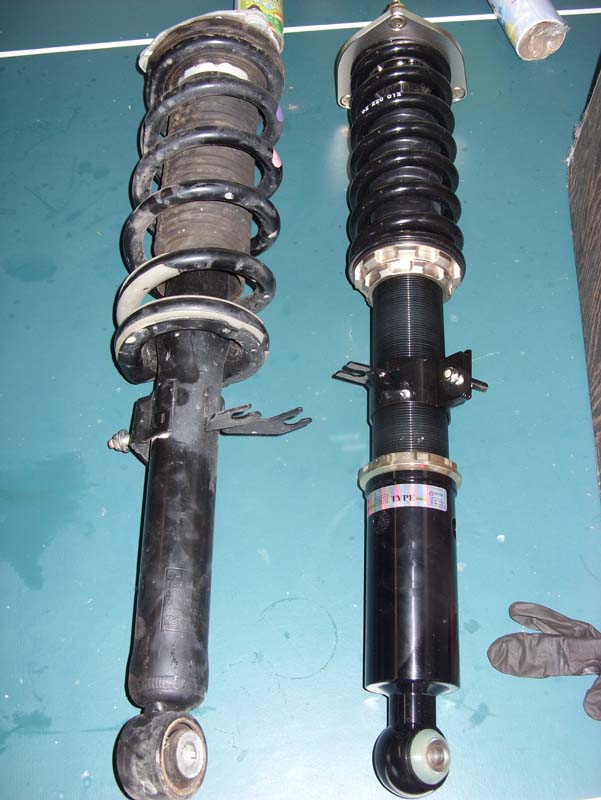
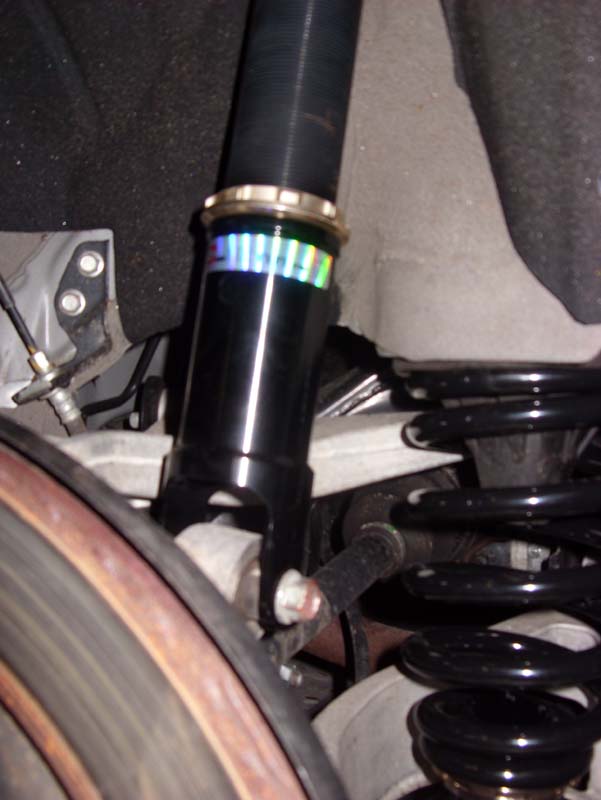
Comparing the new shock assembly to the old shock assembly,you can easily see that the new shock and spring are a much more compact design. The new shock can also be adjusted to be exactly the same length as the old one, which will allow you to keep the exact same ride height as before, if that’s what you desire. Install the new shocks by sliding them up through the shock tower and screwing on the 3 nuts to the top of the shock. Loosen the brake line bracket from the shock and spin it so that the brake line can be attached at the same angle it was removed. Push the ABS sensor line into the bracket on the new shock. Then bolt the bottom of the shock to the A-arm and reinstall the bracket that holds it in place.The finished result should look just like the original shock assembly did when it was on the car.
After the new shocks have been installed on both sides, put the wheels back on and lower the car. It is now time to move to the rear.
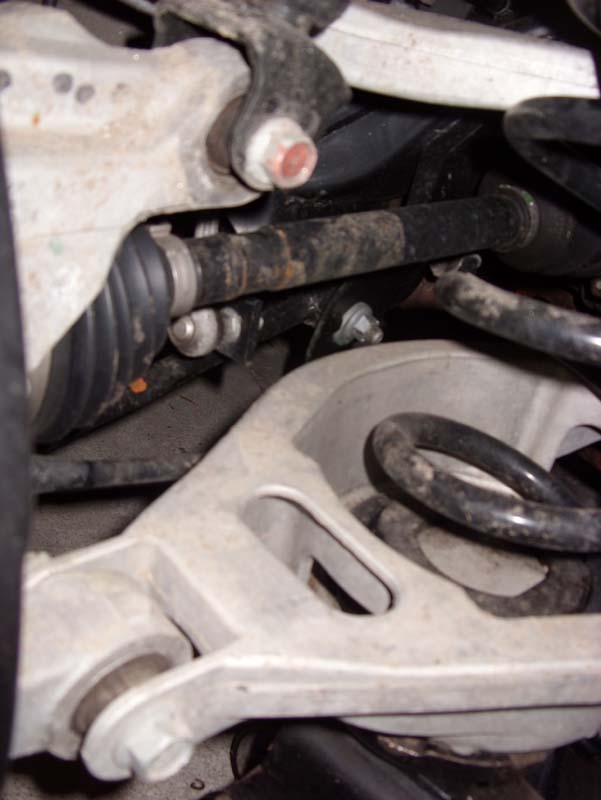
Likewise with the front, jack up the rear of the car and remove both wheels. At the bottom of the rearhub assembly, you will see a nut and bolt that passes through the spring perch. Remove the nut and bolt and allow the spring perch to drop down, loosening the spring. Push the perch down enough so that you can remove the spring.
The new spring includes an adjustable support that allows you to adjust the height of the vehicle by effectively altering the length of the spring. Install the new spring and height adjuster onto the spring perch. To lift the perch back up so that it can be tightened, use a floor jack to jack it up until you can get the bolt back through the mounting point on the lower part of the wheel hub.
Next, remove the bolt from the upper part of the wheelhub that holds the bottom of the shock on. Remove the two nuts on the top of the shock that hold it to the shock tower. The shock can now be removed.
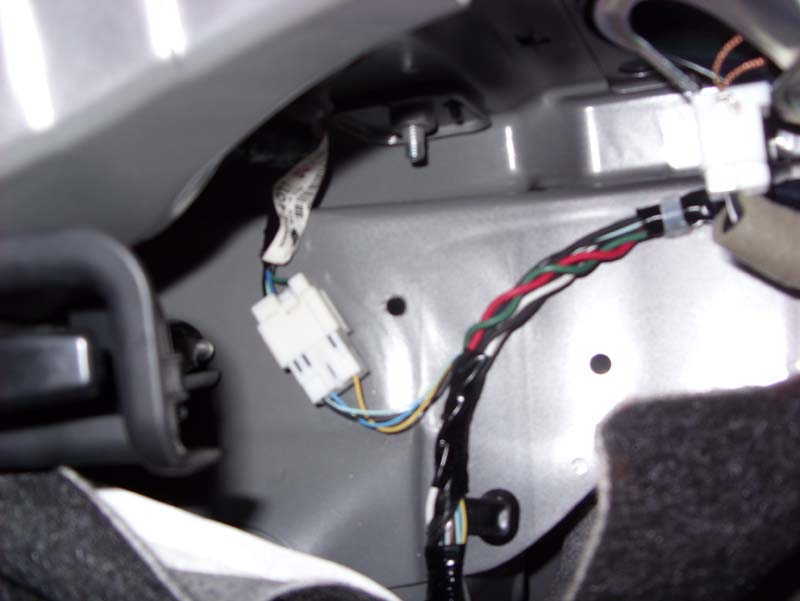
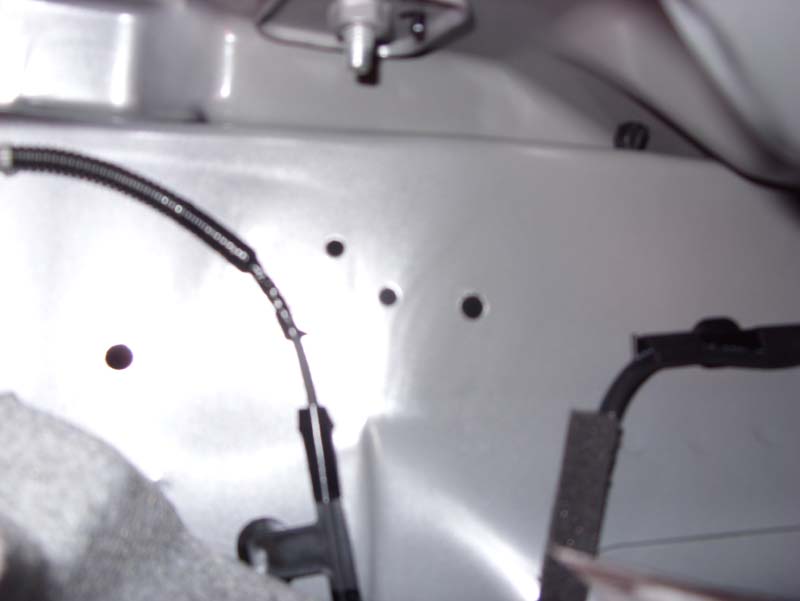
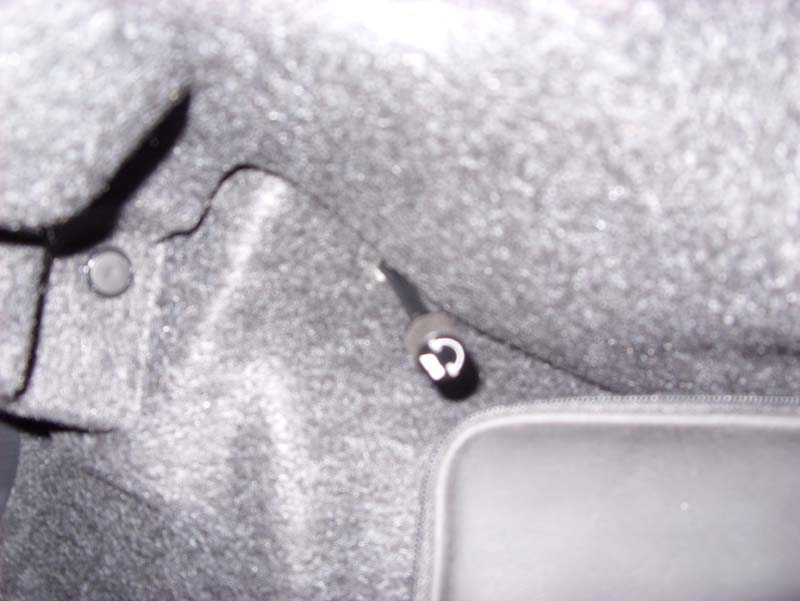
Before installing the rear shocks, you must first make a way to adjust them. The kit comes with two adjusters for the rear shocks. Begin by opening the trunk and removing the carpeting. There are numerous plastic push-snaps that hold the carpeting in. Once the carpeting is removed, you will see a white electrical connector on the left side of the trunk. This connector lies on the shock tower. Drill a hole next to it large enough for the cable of the shock adjuster to fit through it.
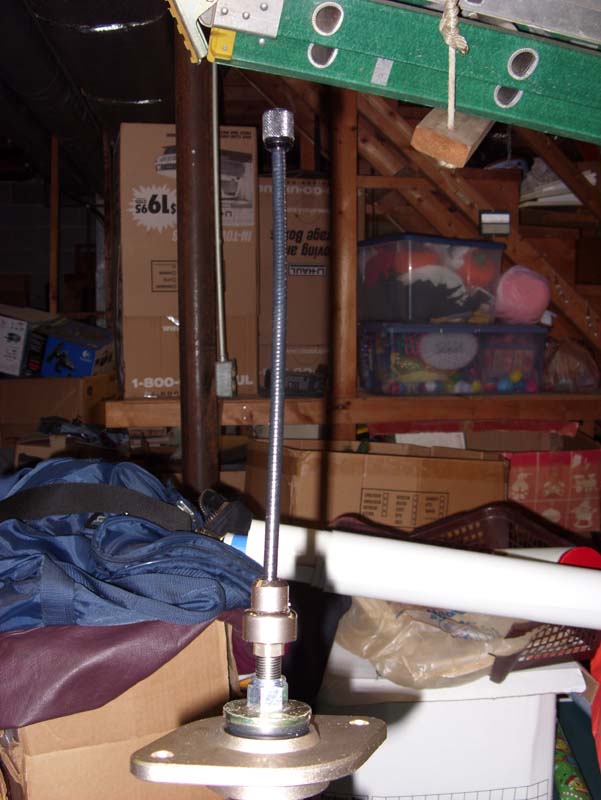
Next you can install the left rear shock. Attach the adjuster to the top and tighten the set screw. Then remove the thumb knob from the adjuster. As you lift the shock into place, guide the adjuster cable up through the shock tower and feed it through the hole you drilled in the trunk. Once the shock is in place with the adjuster cable poking through to the trunk, install the two nuts at the top of the shock and re-attach the bottom of the shock to the wheel hub.
For the right side of the vehicle, follow the same procedure as the left. When it is time to drill a hole through the shock tower, compare the hold drilled on the left side and estimate where to drill on the right. Then, like with the left side, install the shock while guiding the adjuster cable up and through the newly drilled hole. After both shocks have been mounted and are secure, begin to place the trunk carpet back. Drill a hole through the carpet on each side so that the adjuster cables can come through, and re-secure all the carpet fasteners. Finally, re-install the thumb knobs onto the adjusters and tighten the set screws.
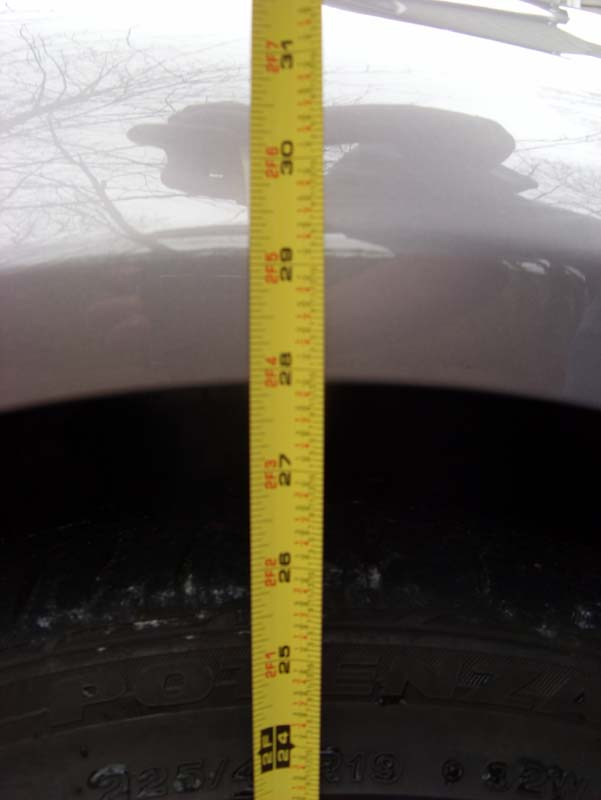
After the rear shocks have been installed, re-install both rear wheels and lower the car. Roll the car a few feet (or drive it) to allow the suspension to settle and re-measure the ride height.
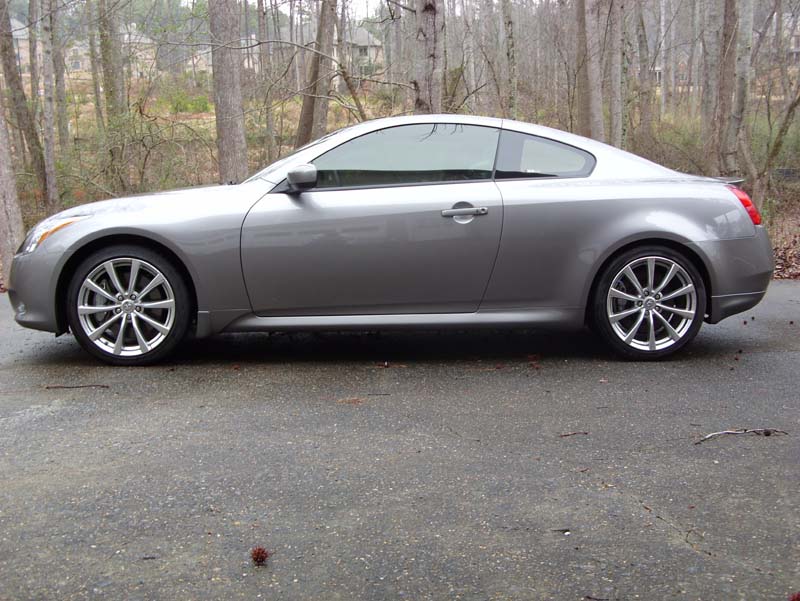
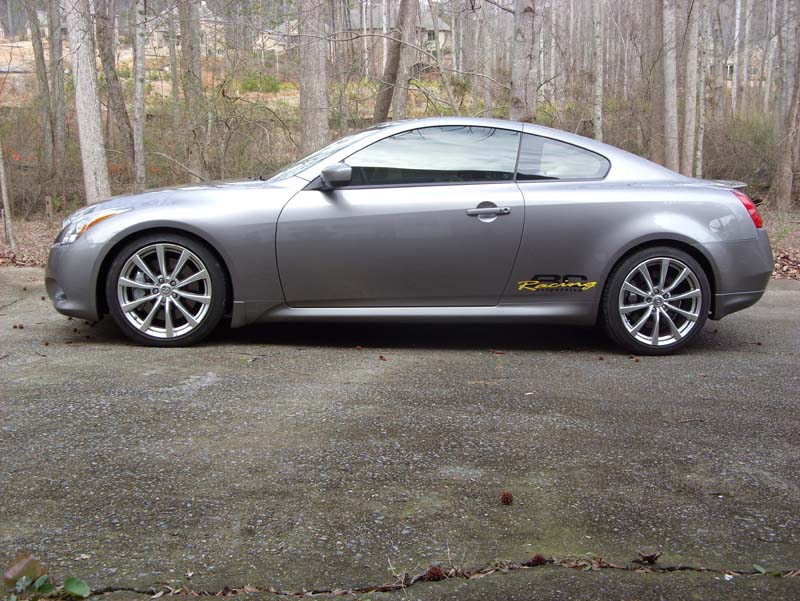
We found that when the kit was installed without any ride height adjustments made, the car was almost exactly the same height as when we started. Like we mentioned before, the front of the car measured 1” higher than the rear. To give the car a much cleaner stance without compromising much ground clearance, we chose to lower the front of the car 1” to match the rear. We left the rear the stock height.
Overall installation is straight forward, and we are delighted with the results. While we haven’t had a chance to take the car to the track yet, we have driven it on the street. The suspension is easily adjustable to match the stock ride comfort, but also has plenty of room to stiffen it up for the track. When we come back to this project, we plan to address the brake and clutch issues as our final step before we head back to the track. So keep checking back as we continue NICO’s Project G37!
View other segments:
Part I: Oil Cooler Install
Part II: Coilovers Install
Part III: Brakes
Part IV: To the Edge of the World and Back
NICOclub is back again with Carlisle Events to host our 18th annual NICOFest Carlisle AutoX…
Kraft Auctions Offers Fans a Chance to Own a Piece of Datsun Racing History
We built Datsun Ranch in 2014, and it was the culmination of a lot of…
Since it's not just Datsuns that are vintage anymore ("classic Nissan" still sounds weird, right?),…
Let's talk about big brake kits for a bit. For the purposes of this article,…
What do these terms mean? Pulsed Secondary Air Injection (PAIR) Valve: The PAIR valve sends…