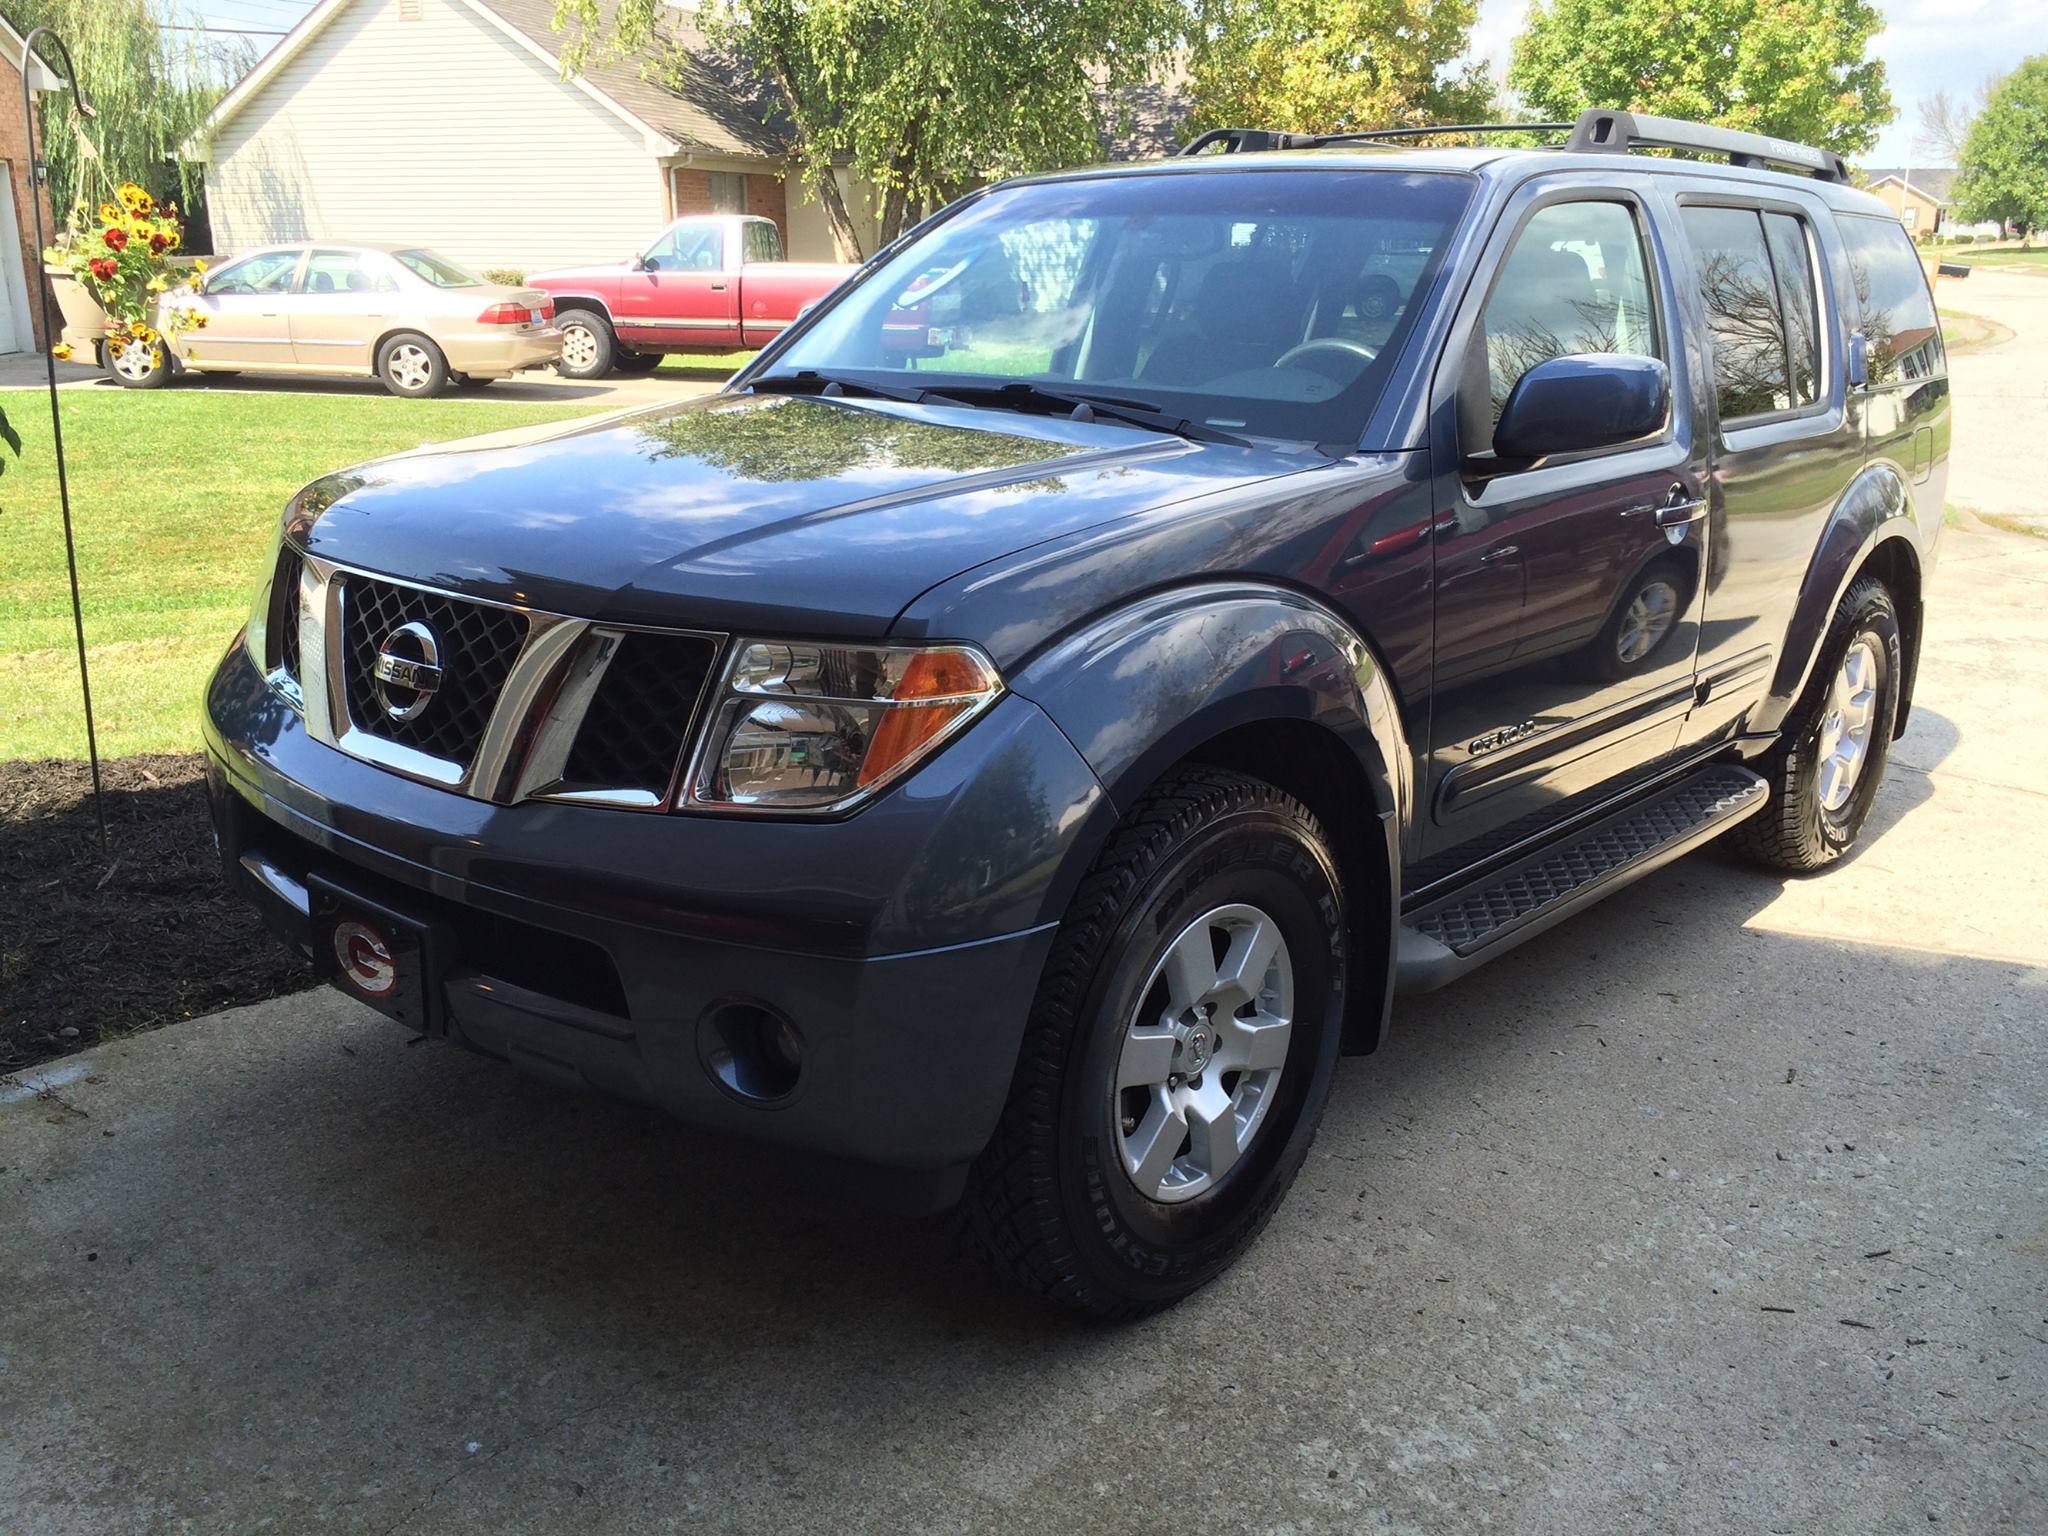
Does your Frontier, Pathfinder, or Xterra make an annoying squeaking or squealing noise when you start it on a cold or rainy morning? Are you tired of being embarrassed and annoyed by the noise? Well this article will show you how to fix your problem!
The belt tensioner on the Nissan 4.0L V6(VQ40) found in the Nissan Frontier(2005 and up), Pathfinder(2005-2011), and Xterra(2005 and up) does not properly tension the belt over time, which is what causes the annoying squeaking noise because the belt is slipping in cold/damp conditions. I highly recommend also replacing your serpentine belt along with the belt tensioner when doing this repair, because you’re already in there and there is no reason not to replace the belt while you have it off. If your old belt still looks serviceable when you remove it, then keep it for a spare belt in case of an emergency.
You’ll need the following tools and parts to complete this repair:
1 Belt Tensioner Assembly
1 Serpentine Drive Belt for your vehicle
*Note: I highly recommend just buying this tensioner/belt kit from Amazon, but if you prefer to purchase from elsewhere then any local auto supplier should have an acceptable replacement.
1 Serpentine Belt Tool (I rented this serpentine belt tool from Advance Auto Parts for $35, then you can get a full refund upon return of the tool within 30 days). I tried to use a breaker bar and a ratchet instead, but there just isn’t enough room without removing the fan and fan shroud. The tool makes the job A LOT easier, so it’s well worth it.

1 14mm socket(This is included with the rental serpentine belt tool if you don’t have one)
1 8mm socket
1 10mm socket
1 ratchet and a short extension
1 pair of pliers(to remove clamps from vacuum hoses)

Optional tools:
Cordless impact driver(I barely used mine on this job, but it makes removing nuts/bolts a lot quicker)
Magnetic tray to hold nuts and bolts
Drop light
Throttle Body Cleaner
MAF Cleaner
Alright, once you’ve gathered your tools and the parts you need to complete the repair we can get started!
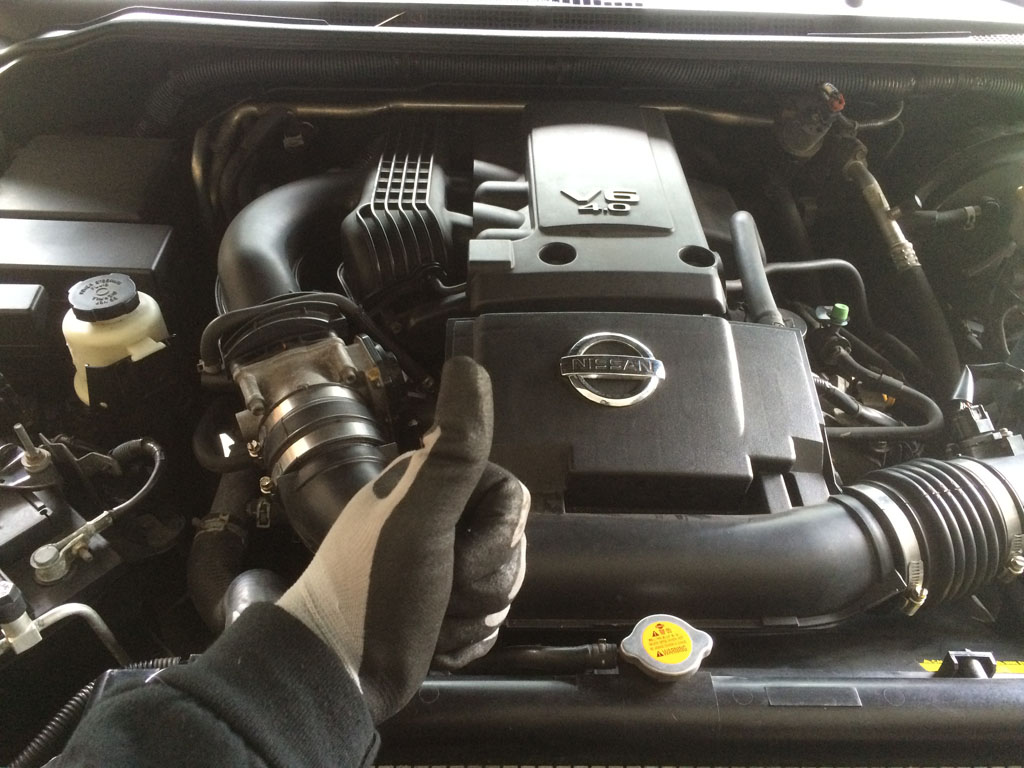
First you’ll need to remove the two bolts holding the plastic engine cover to the intake manifold, which you can see are located inside the tool holes in the photo below. You will need a 10mm socket to remove the bolts from the cover.


Next you’ll pull this cover back out of the way to gain access to the bolts below it. These bolts are also 10mm.

Next you will loosen the clamps on the air intake tube and remove the tube, then set it out of the way.
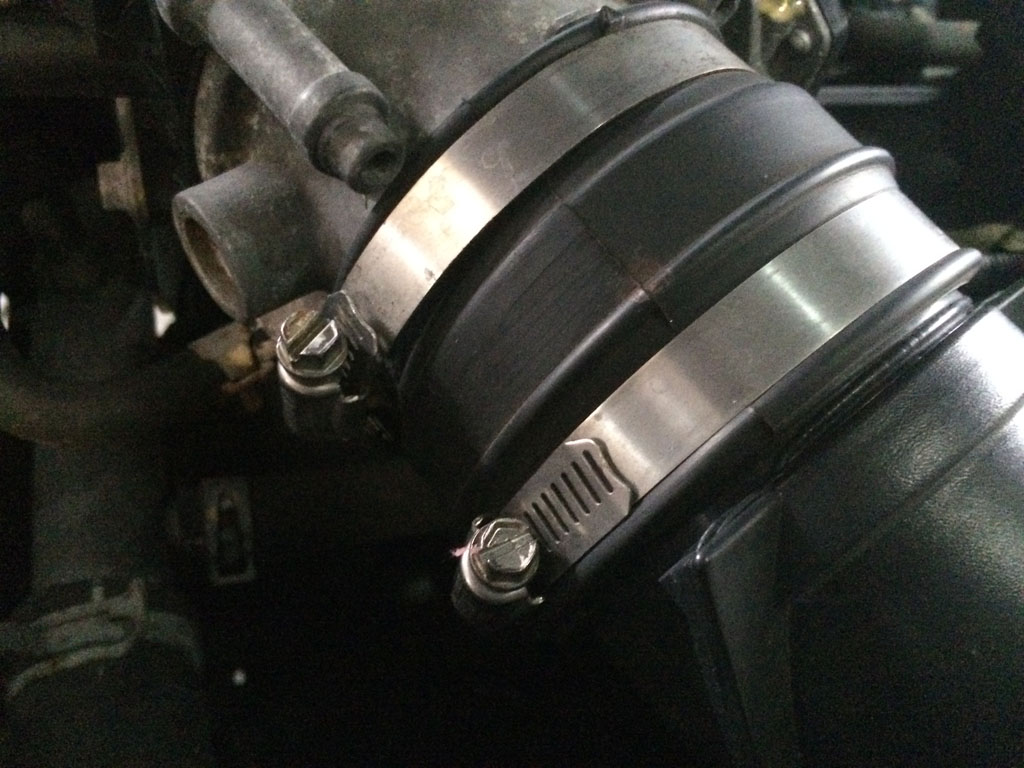

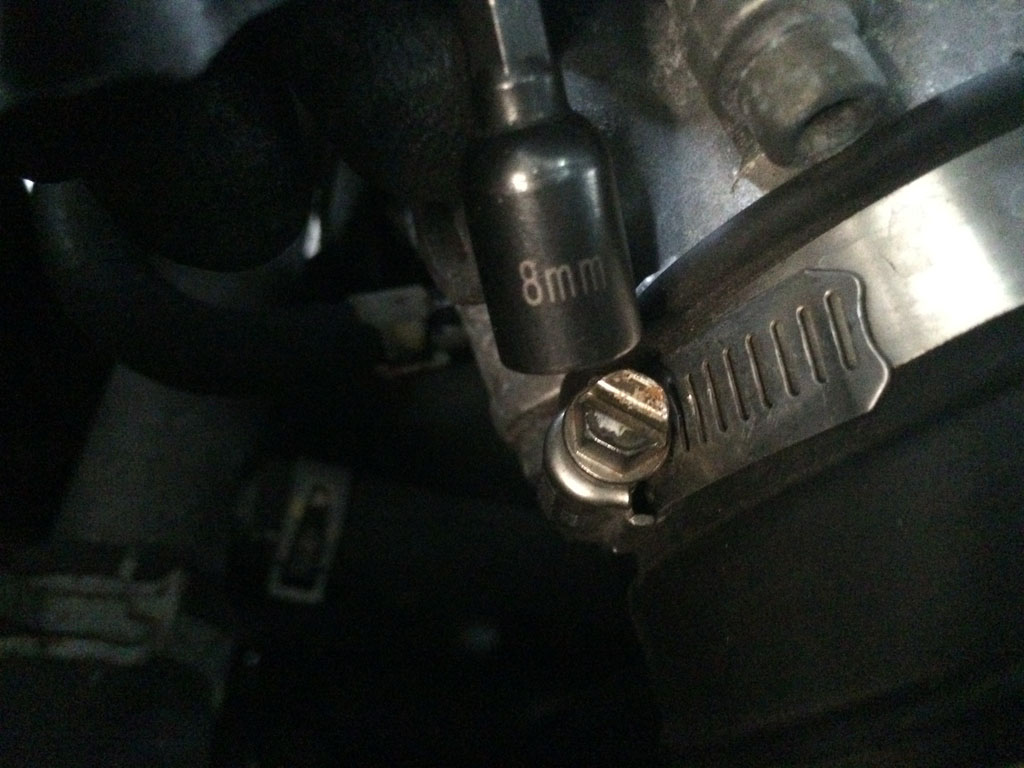

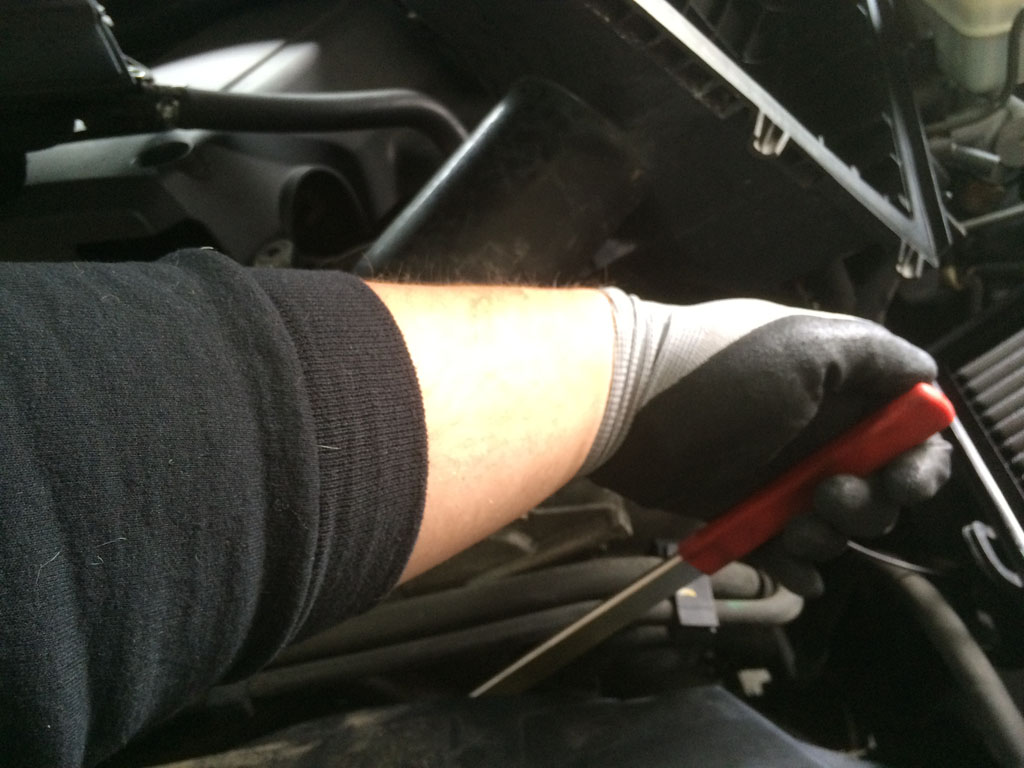
After removing the intake tube, you’ll need to remove the airbox lid for more clearance when you remove the serpentine belt. To remove, you simply pop off the two clips on the right side of the airbox, then lift up the right side of the lid and pull out. Set the air box to the side.

Next you will need to remove the serpentine belt. This is where you will need the serpentine belt tool. You’ll attach the 3/8″ drive end of the tool into the slot on the belt tensioner.
*Note: Take some photos of how your belt is routed before removing, in case you don’t have a belt routing diagram handy when you reinstall it. Reinstalling a belt without a diagram can be very irritating.

Once you do this, you’ll need to push the tensioner handle all to way over to the passenger side of the vehicle to release tension from the belt. Then you’ll need to keep the tension off of the belt, while you remove the belt from the pulleys with your other hand. Once you’ve taken if off of a few pulleys, you should be able to release the tensioner and finish removing the belt.
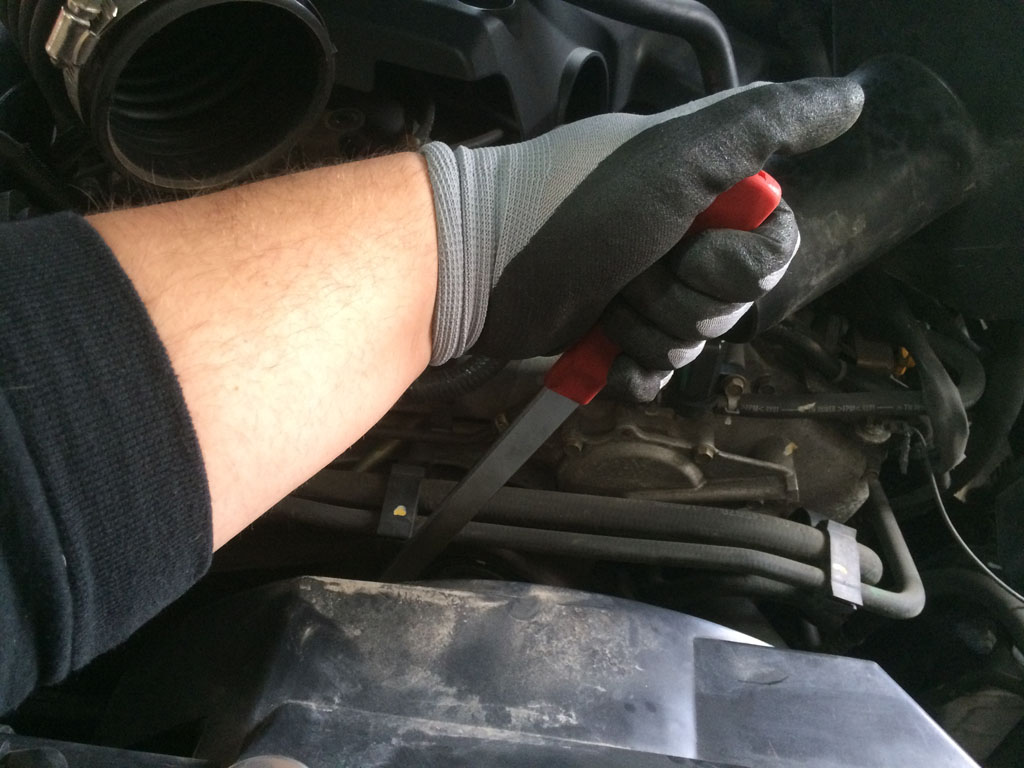
Once you’ve removed the belt, you’ll need to remove the bolt holding the belt tensioner assembly to the engine block. You will need to use the belt tensioner tool with a 14mm socket, which is included in this particular set. Take a photo, or try to remember how the old tensioner is placed roughly. There is a tab on the back to keep it in place, so it’s hard to put it on wrong but it’s good to know just in case.
Once you’ve loosened the bolt, you should be able to remove it with your fingers but if not you may need to use a wrench to finish removing it.
*Note: Set the bolt aside from the old tensioner, because there is not a new one included with the new tensioner kit.

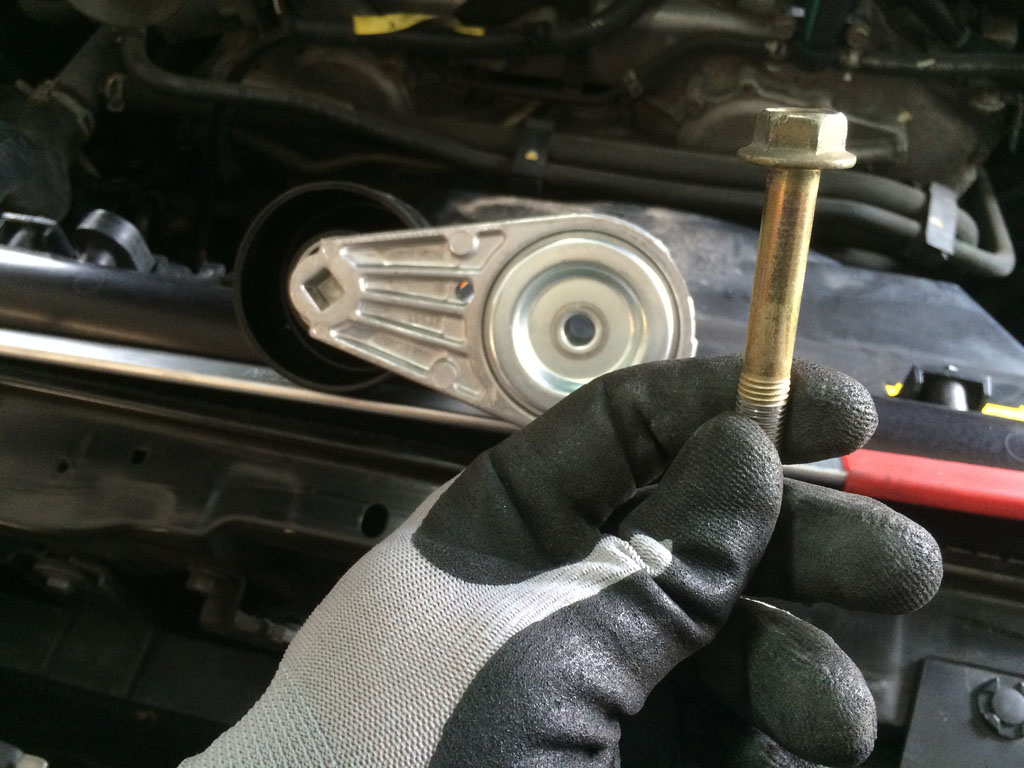
Next you’ll need to install the new tensioner onto the engine block. Notice that there is a tab on the back of both tensioners. This tab will fit into the engine block when you’re installing the tensioner and will help you align it properly. The tensioner pulley should be on the passenger side of the engine, pointing somewhere around the 10 or 11 o’clock position.
Install the old bolt into the new tensioner assembly and finger tighten it until you have it aligned properly. Once you have it aligned, use the belt tensioner tool with the 14mm socket or a 14mm wrench to tighten the bolt. Be sure to not over-tighten the bolt, but make sure it’s still snugged well.
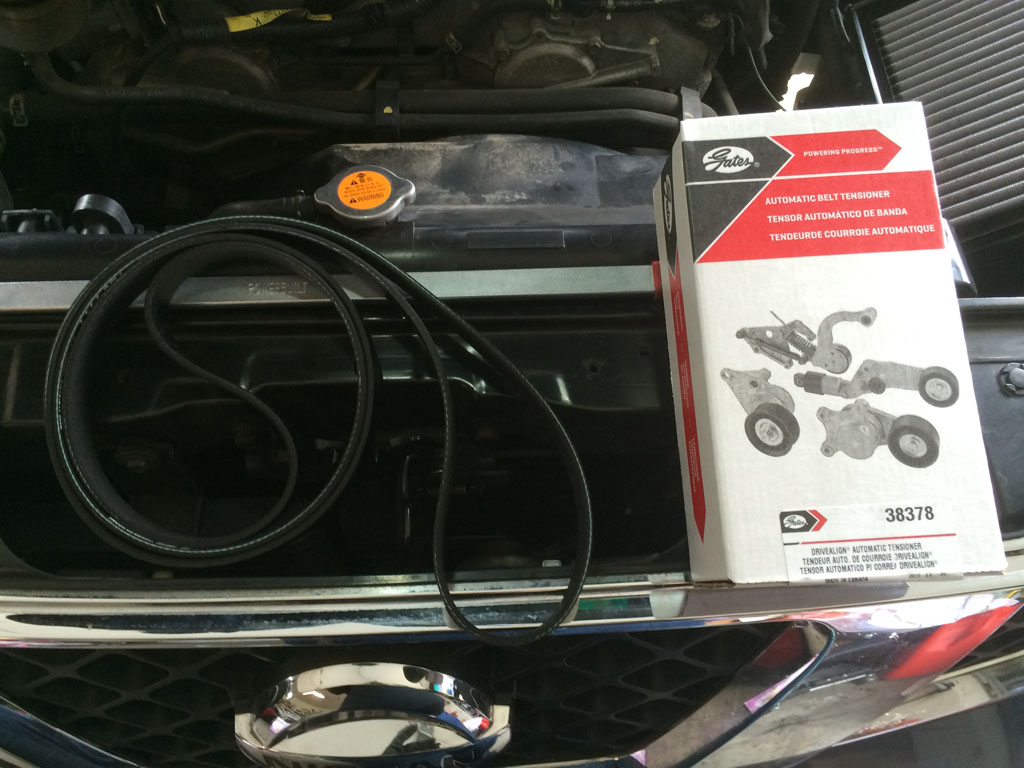
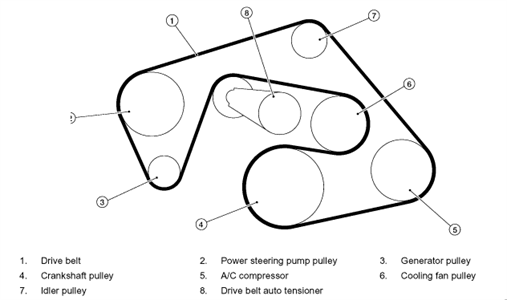
Now you need to reinstall the serpentine belt. You’ll need the belt tensioner tool again for this. Remove the 14mm socket and place the 3/8″ drive end back into the slot of the belt tensioner as you did earlier. Try to place it where the handle is as close to the driver side as possible. If you don’t have enough room to get the proper amount of tension, the kit comes with an additional arm you can use with a 1/2″ drive to 3/8″ adapter to help you get extra leverage a little easier. Just as you did before, push the belt tensioner tool to the passenger side of the vehicle to release as much tension as possible. It can be rather frustrating to reinstall the belt, so try to reference the photos I recommended you should take of the belt above or your can reference the belt routing diagram below.
Once you’ve reinstalled your belt then you’ll just need to reinstall your airbox lid, intake tube, and engine cover. Make sure to secure the clamps on the intake tube and the bolts that hold the intake tube and engine cover to the intake.
That’s it! Now start your engine to make sure everything checks out good and that you’ve annihilated your evil foe the annoying squeak. If everything checks out, then close your hood and go have a beverage for a job well done!
-Kompresshun
