Article Series
This is the contact cement I used. It’s good, and tacks up fast.
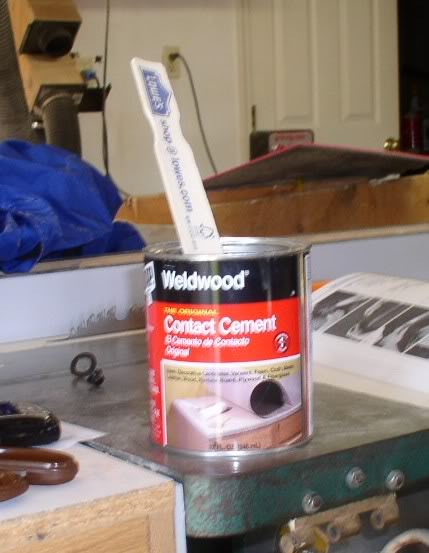
What you want to do is apply cement to both surfaces you’re gluing down and wait for the cement to tack up a bit. This usually takes a few minutes. Then just press the surfaces down firmly and hold for a minute or so and they should set together easily. If you rush it, the glue won’t hold together easily. You can salvage it at least.
It’s hard to see, but I glopped the cement on. It’ll get a nice glaze on it once it starts to tack up, kinda like a glazed donut.
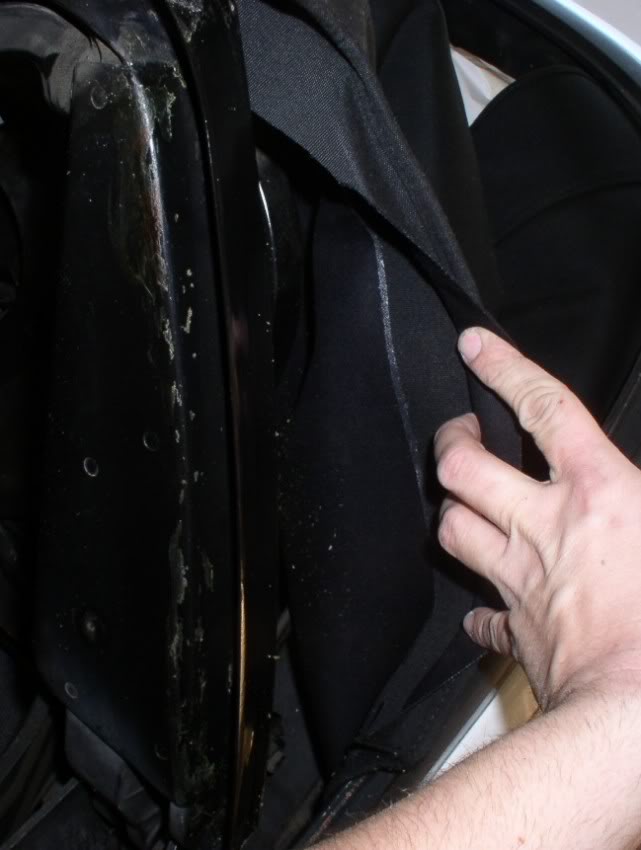
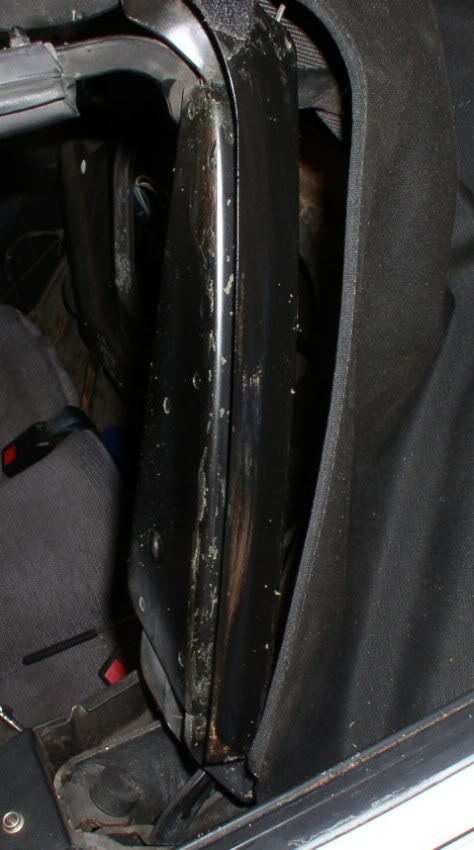
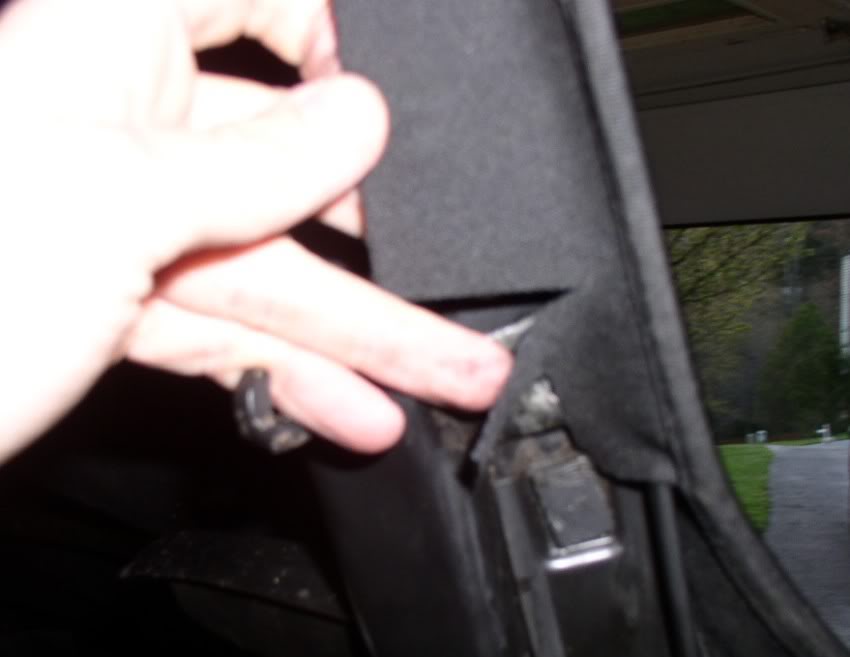
My top had areas glued in to be used as gluing surfaces. Here you can see it under the flap I’m holding back. Just glop the cement on the insides of the flap and top and also on the same spots on the frame.

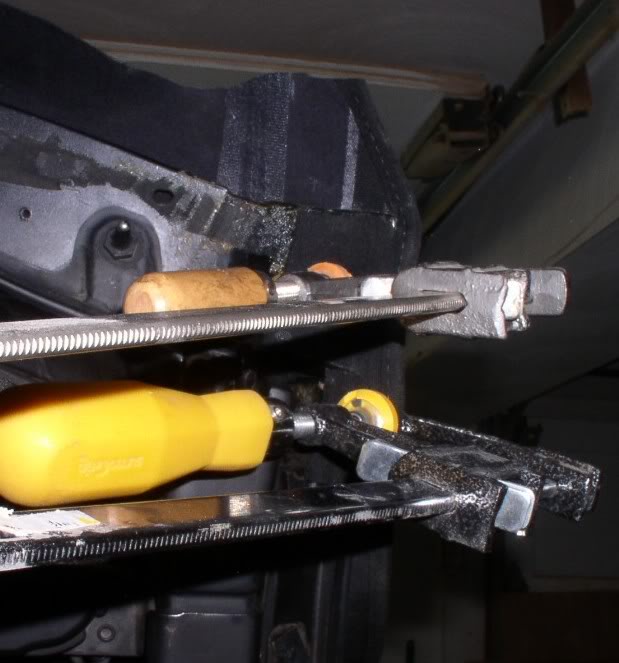
For extra security, and out of sheer laziness, I clamped the cloth down using quick clamps and some blocks of wood.
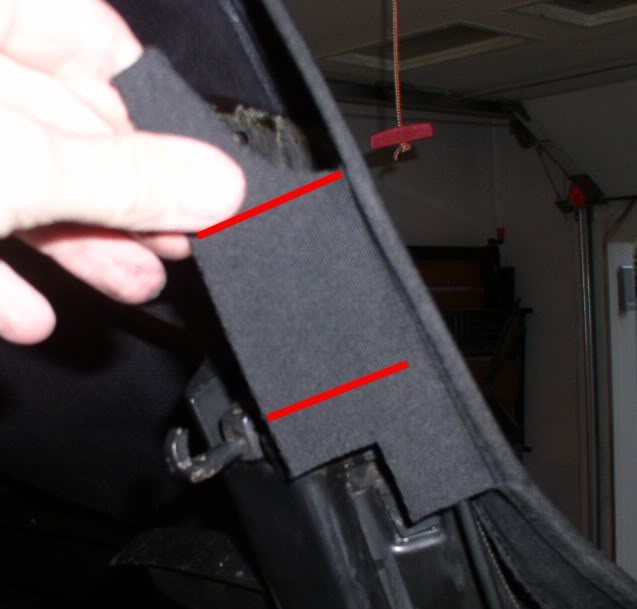
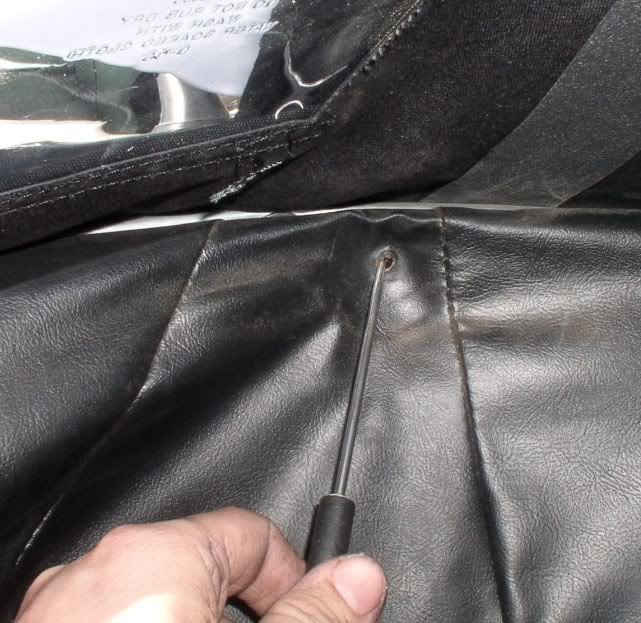
Here’s the edge of the front bow. Again, too much material. I made cuts on the red lines. I also layed the top down over the bow, using my reference line, and trimmed off any excess material.
I set glue on the front and back side of the small flaps and glued them down, making sure my reference mark was lined up to the front bow edge. I set the top at a half down position when doing this to get slack in the material to make sure it lines up properly.
Next, I glued up the underside of the front bow and the top and layed it down.
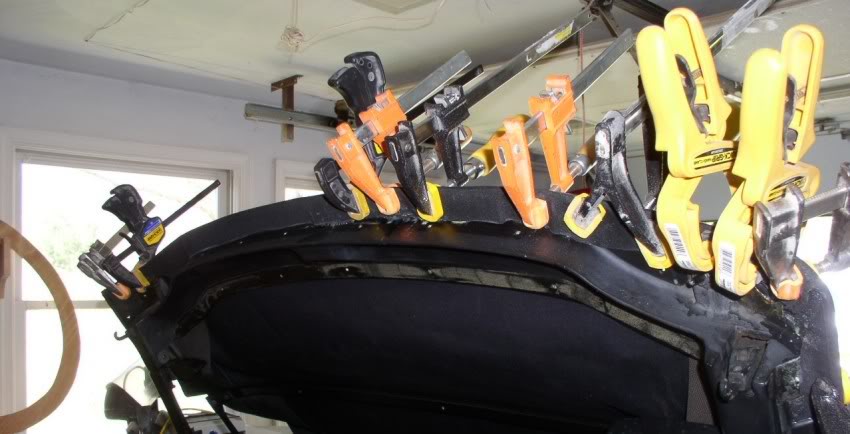
You can tell that I rushed the driver side of the bow. I had to resort to clamps and wood to get the top to stay stuck down. All in all, that process took longer than it should. You can see that the glue on the passenger side was allowed to set properly before I applied it, hence the lack of clamps on that side.
Once you get the front bow glued, go ahead and start adding all the trim pieces back on. I start with the front bow top retainer. It helps clamp the top down for when you do a final stretch test.
Bolt the tack strip in place. The book says to not torque it down yet, but it doesn’t seem to matter in my opinion. Just remember to start bolting down in the center and to work your way out. And if you squeeze just a bit on the ends of the tack strip, it’ll slide onto the studs easier.
Once you have those in place, you can adjust your top header rail clamps all the way out, and clamp the top down. It should be tough to get the clamps far enough forward to clamp in. The cloth is taught and I really had to put some muscle into getting the clamps to latch it down. As it stretches front-to-rear, you can tighten up the adjustments on the header rail clamps.
What you’re looking for are major wrinkles, because you may have to pull the tack strip back out to fix majorly bad wrinkles. If you stretched the drape and top out properly when stapling, you should be ok. Now go ahead and check the top for funky rubbing and clearance issues going down into the top well (it helps to have a friend open / close the top slowly while you watch the mechanism from all angles).
Once you’re satisfied with everything, go ahead and put the seals back into the front rails and the rear frame carrier.
Then put the top well cover back in, using a pick to line the holes up in the tack strip. I find using a socket to pop the speed nuts back in is easiest.
Replace your headliner, gluing it down to the fourth and first bows. If you’re reusing your old headliner (like I did), just line up your old bolt holes in the cloth.
Now you’re done!
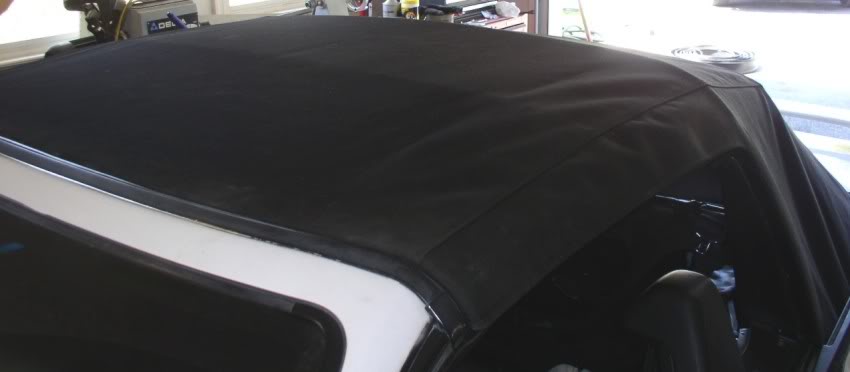
Here you can see a wrinkle on the top between the third and fourth bows. Small wrinkles like this will work themselves out if you leave the car in the sun. The heat shrinks and stretches the top out.
The 4th bow makes a big wrinkle here, but not much you can do about it. The smaller wrinkles will work their way out with heat exposure.
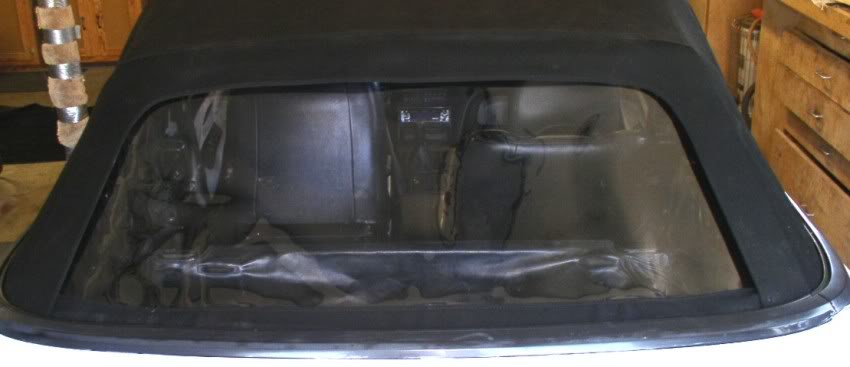
The rear window came out perfect on my car. But if you get any wrinkles in it, you can use a heat gun on a low setting, or even a blow dryer, to work them out. Make large sweeping circles over the wrinkled areas with the gun, and they should work out mostly. Again, sun exposure will clear up some of the smaller ones.
Pat yourself on the back for a job well-done. You probably saved $1200-$1500 doing this job yourself, and you have the benefit of knowing it was done RIGHT by someone who knows the 240sx convertible.
Join us in the 240sx Convertible forums and let us know how your top replacement went!