Article Series
[EDITOR NOTE: Two of our long-time members, Hijacker and mbartel, have compiled an incredibly detailed and easy-to-follow guide (with pictures) to replacement of the convertible top on the 240sx convertible. We’re proud to share it with the 240sx community!]
We’ll start with Hijacker’s guide. Please do yourself a favor and read the ENTIRE series, beginning to end, before tackling this job. It’s not hard if you follow the procedures closely and refer back to the article (and pictures) frequently.
First, you’re going to need to buy a new top. Here’s the one I used, and these guys are great to work with: Nissan 240sx Replacement Convertible Top.
Special Tools for the Job:
–240sx convertible supplement manual (we’ve got you covered here!)
-Pneumatic staple gun (those spring-loaded handhelds don’t have the strength to do the job)
-Staples for said staple gun
-PB Blaster or some kind of lubricant to loosen rusty bolts and nuts
-Straight pick to remove the old staples
-Marking pencil (I prefer wax pencils, but I used a cloth marking pencil in this walk-through)
-Riveting tool and rivets (for the guide cables)
-Contact cement, stirring sticks, and disposable brushes
Removing the old top
My top didn’t look too bad from a distance.
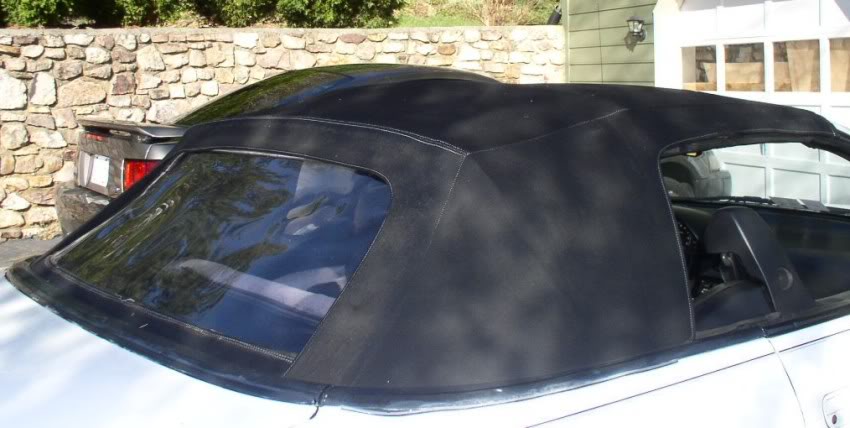
On both sides, the binding had developed dry rot, as well as a worn spot from 15 years of rubbing.

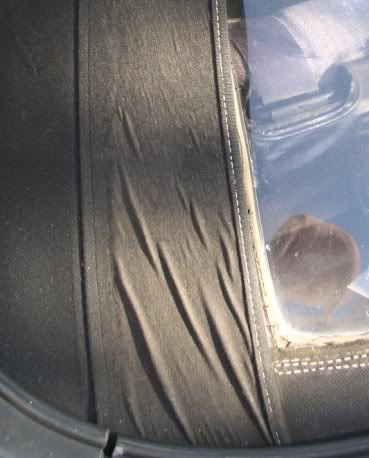
Both sides of the window had these wrinkle marks, and lots of mildew and mold. Too many years of being rained on.
And one shot I couldn’t get was how stretched the top was. The sun had tightened it back up during the day, but after a highway trip, it was evident how torn up the top was.
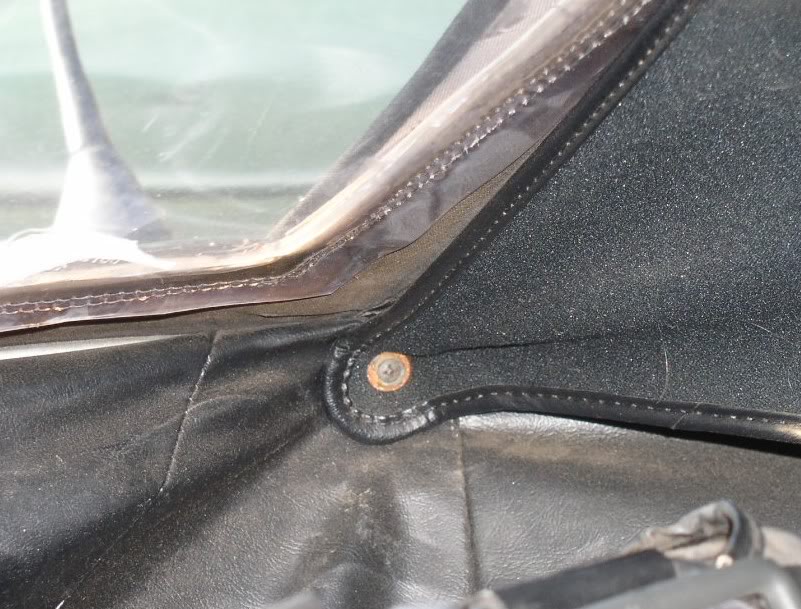
One thing I can’t stress enough is to be careful when you’re removing the glued-in parts. The rear seal that the rear 1/4 window rolls up is next to impossible to find, so please please be careful when you start pulling and tugging these parts.
The first step is to remove the seat back and rear interior panels. Then you’re going to want to take your pencil and make marks where the top well cover is glued to the chassis. Then carefully pull it back (or in my case, estimate where the cover used to be glued to the chassis). It’s vinyl and can take some punishment, but don’t push it.
After that, remove the two screws holding the headliner rear sails to the tack strip.
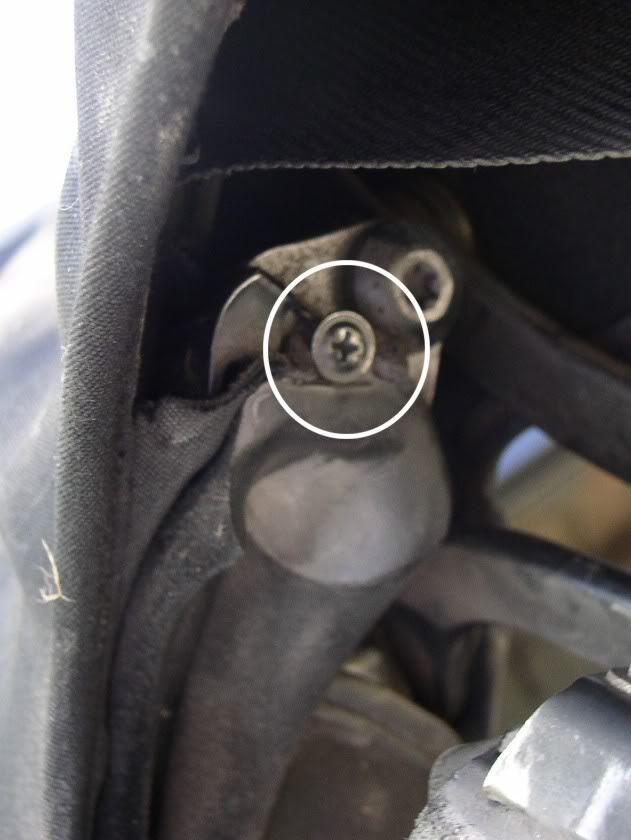
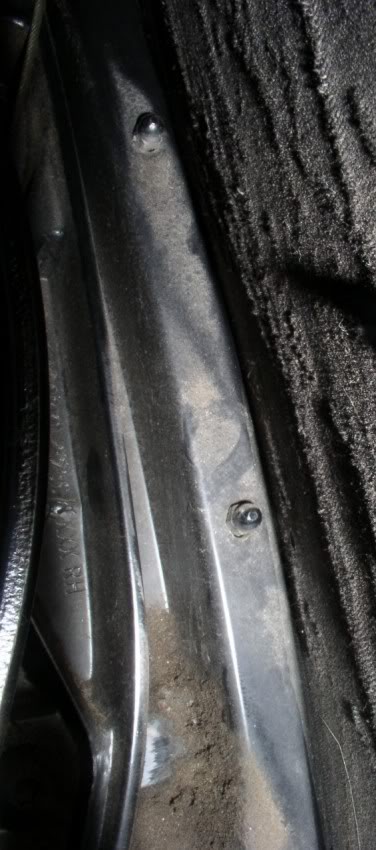
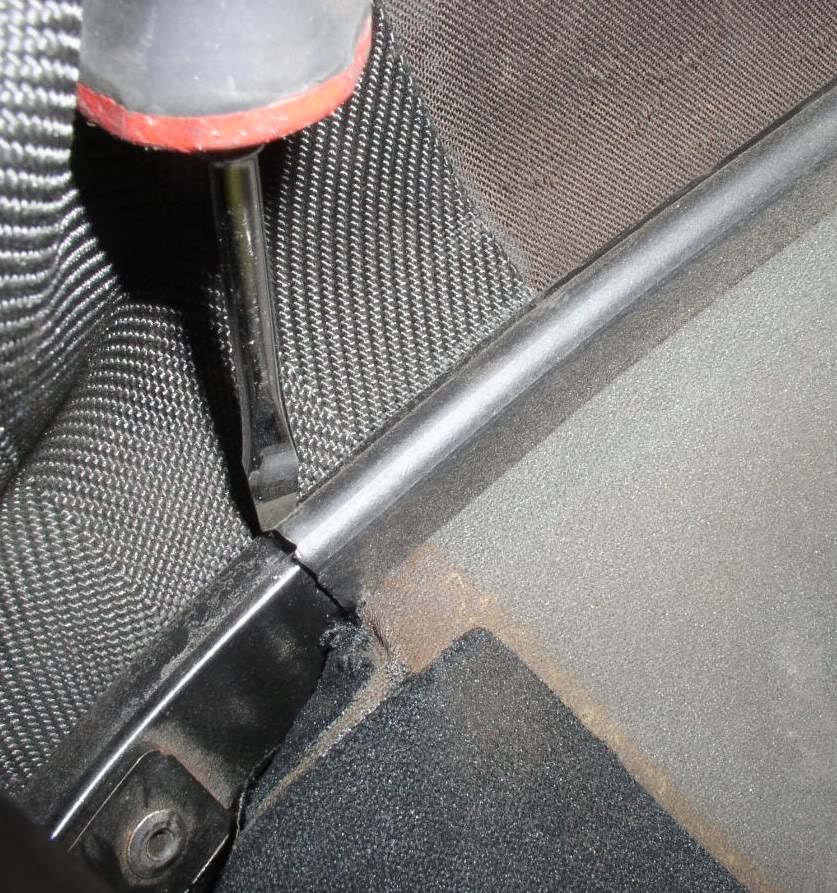
Then start removing the rear seal carrier. There are three nuts on the backside of the carrier. You’ll have to reach up behind the headliner sail with an 8mm socket and extension to get to them. There’s also this little screw at the top. He can be easy to miss, and you’ll have to position the top at a half raised position to get to him.
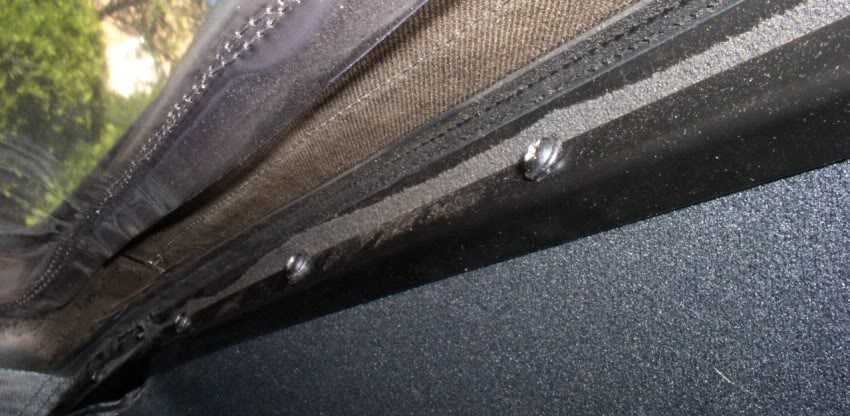
The three nuts on the backside.
Gently pull the rear seal carrier out. It’s not exactly glued in, but years and years of being in that tight confine has adhered him in there.
Then you can find a good spot on the headliner and gently pull it out.
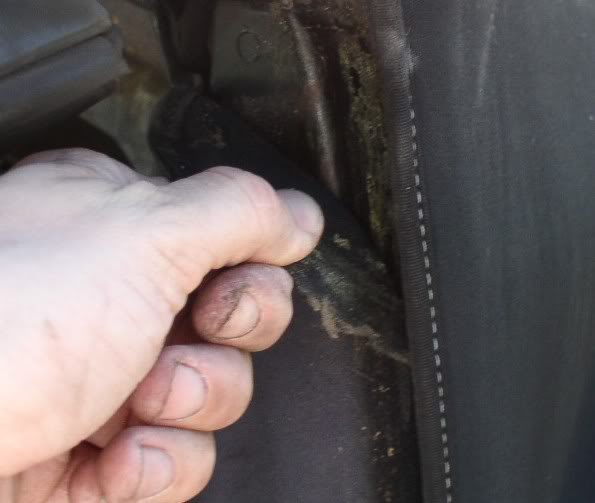
The glue that holds the parts down is old and brittle and it should break away pretty easy.
These little screws are one of the hardest parts of this job. I found it easiest to use a gearwrench with phillips head attachment. Whatever you do, try not to strip these screws out, or else you’re life will be full of pain and torture. To help make sure you don’t, try to use a phillips head that has a blunt tip, and not a pointy tip. The screws are pretty shallow and the pointy tip will force you up into stripping them.
The front will have 7 screws holding a plate down. Remove these and break the glue holding it down.
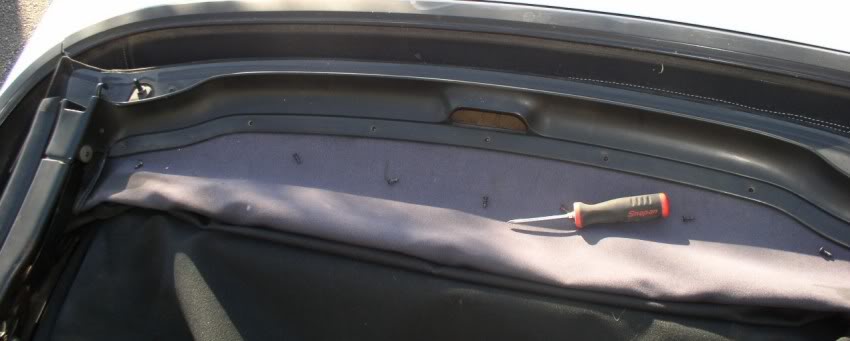

Once you’re done with the number 1 and number 4 bows, the headliner should be hanging from some snapped on plastic bits from the second and third bows.
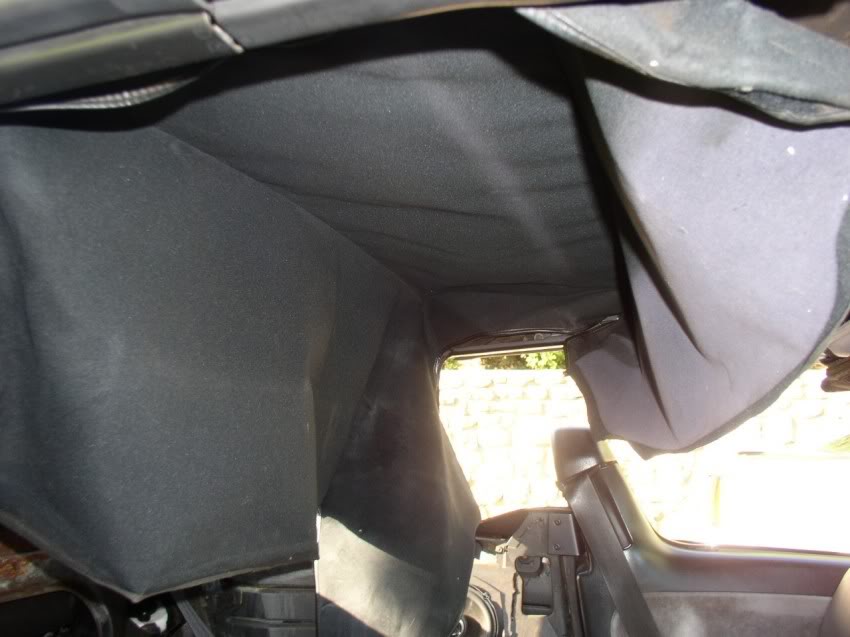
Grab something and start prying the snaps off the bows. Start at one end and work your way to the other side.
Now you should have the headliner totally out of the car. At this point, I’d like to note that some of our headliners will be bleached out in spots that the sun hits it when the top is down. I’m going to dye mine back to a rich black and then let it bake in the sun to set the dye. You can do something similar if you don’t plan on replacing the headliner.
This is a good spot to take a break before we move on to the next part of removing the convertible top.
When you’re ready to dig in again, here’s Part 2 of Replacing your Nissan 240sx Convertible Top!