DIY JGY Turbo Manifold for KA
By:PapaSmurf2k3
note: this is for the stage 1 manifold.
step 1: order all your stuff.
I was building my manifold to accept a 2002 WRX internally wastegated turbo, and they didn’t have that flange, so I had to make it myself. They threw in some random radius plate and flange for some reason though.
Upon receiving the heavy bag of metal, you must first make sure everything is there (there have been some issues with JGS sometimes forgetting stuff).
step 2: clean up the welding surfaces. You’ll need to do this to get good clean welds. I used a bench grinder (wire brush attachment) and some sandpaper to do this.
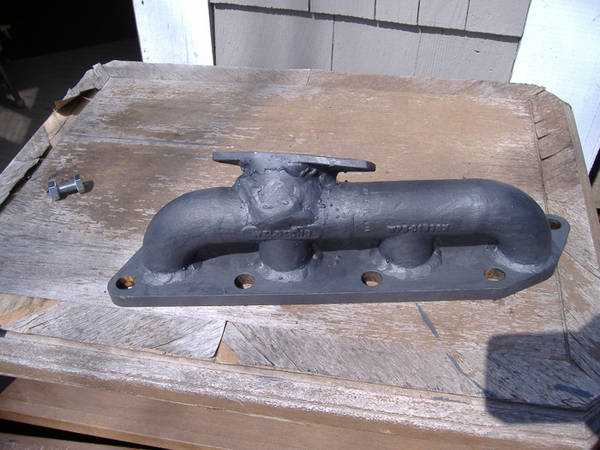
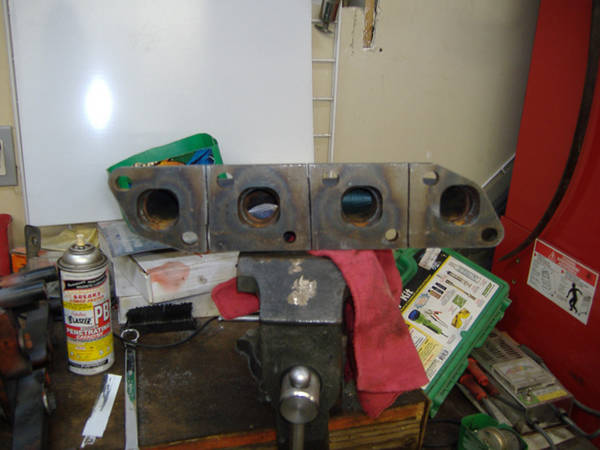
step 3: welding part 1! I didn’t have a welder strong enough (JGS recommends 200 amp or larger, but I have been informed that you can heat up the metal with a torch first, and then weld to achieve better penetration) so I just took it to my local exhaust shop. You can, however tack everything in place and have them run a bead (cost me 30 bucks). it should come out looking something like this:
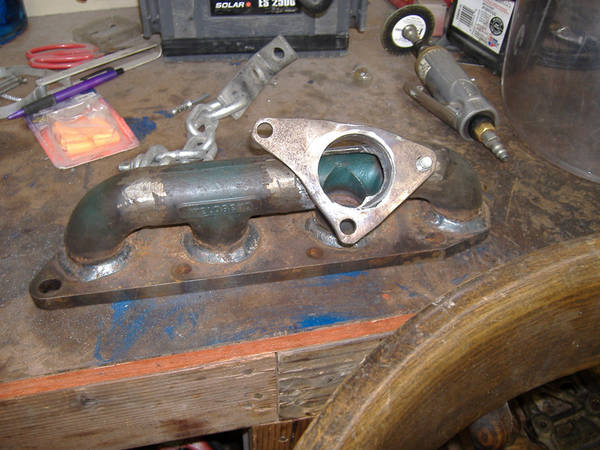
step 4: Fitting. With everything still in the engine bay, I bolted the manifold on with 2 or so bolts and walked over with my turbo, determining what angle I want everything to be at for optimal fitment, clearance, and downpipe angles. Mark it on the manifold with a sharpie. I then made an “up-pipe” out of PVC piping because its easier to work with, and way cheaper to replace if you screw up. I then gave the PVC prototype to a general machining shop and said “make this.. only out of metal” it cost me 20 bucks.
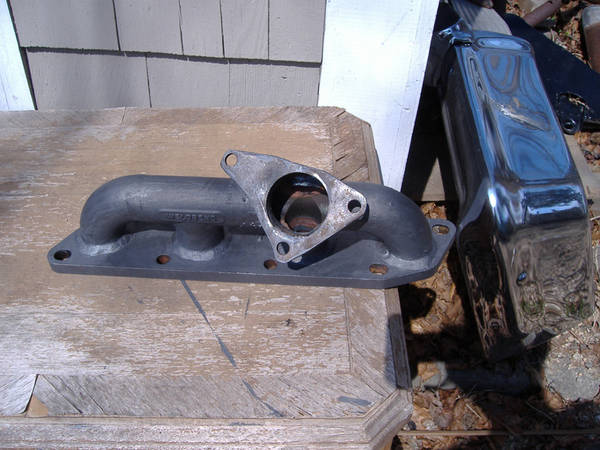
step 5: drill that hole! My turbo flange (IHI series) used a circular design, so I bought a 2″ hole saw and put it on a drill and drilled it where I had marked it. (note: it never hurts to put it back in the car before this step and make sure everything is still where you want it!) JGS says you can use a torch, but not too many people have those laying around. (I actually did, and still opted for the drill)
that’s me cutting out the very bottom of the hole with a pneumatic metal cutter.
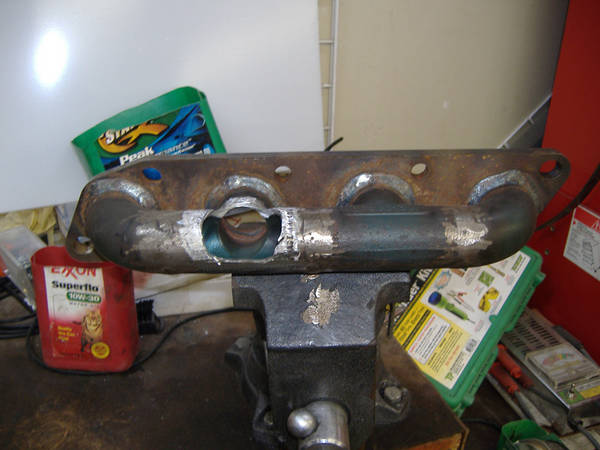
Finish the step by cleaning up all the burrs and such.
step 6: Tack the flange into place. your not going to want to run a whole bead just yet. Clean the area and tack it in. Put everything back in the car and make sure everything still lines up.
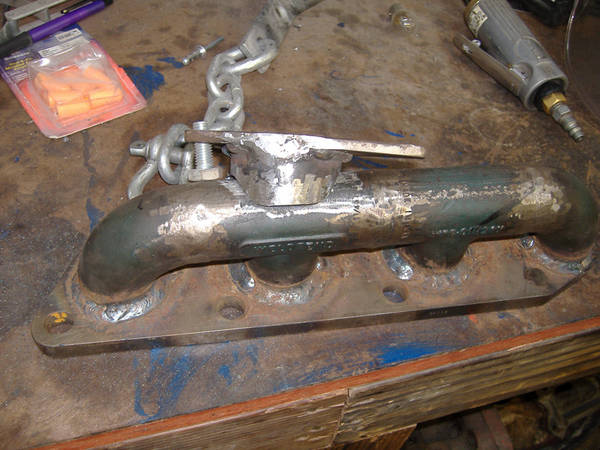
step 7: back to the exhaust shop. I took the whole thing back to the exhaust shop so they could run a high-amp bead and fill in some of the rough gaps I had. Cost: 20 bucks I think.
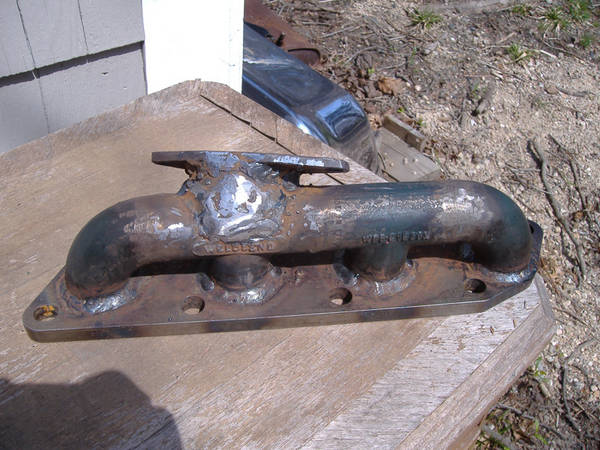
note: this was after I cleaned up the welds a little bit.
Around this time is when your going to want to paint it (if your going to paint it)
I used some crazy high temp header paint stuff (brush on). I don’t exactly remember what it was called, but it contained a lot of metal, and wasn’t the healthiest of stuff to deal with. The back of the can said “and other partially unknown contents”. I found it laying around the garage.
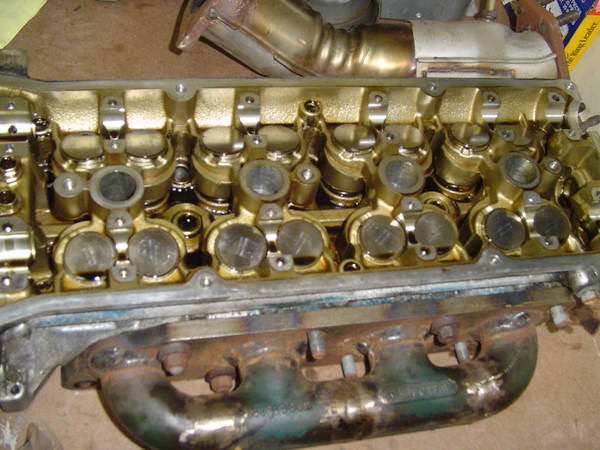
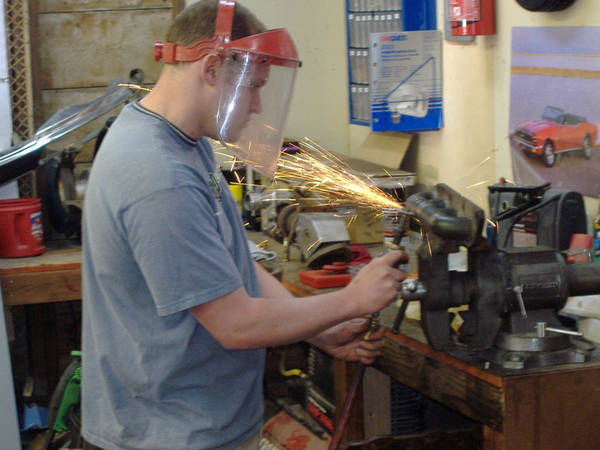
step 8: Slotting the runners. This is not necessary, but just about everyone recommends it. It helps take the stress out of the metal when it heats up. I first attempted with a Sawzall.
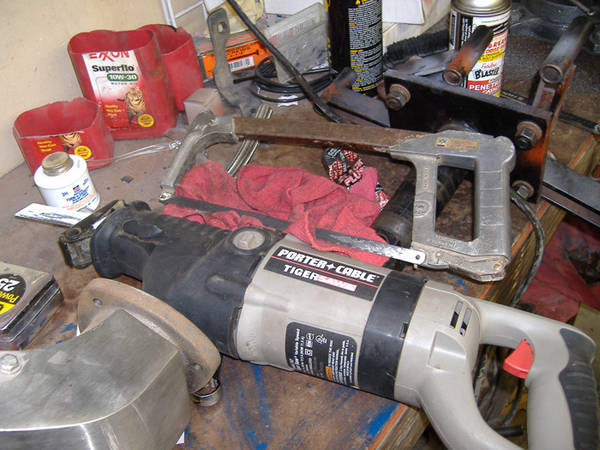
…but it had a crappy blade… so I had to go hack saw. This was a VERY good workout!
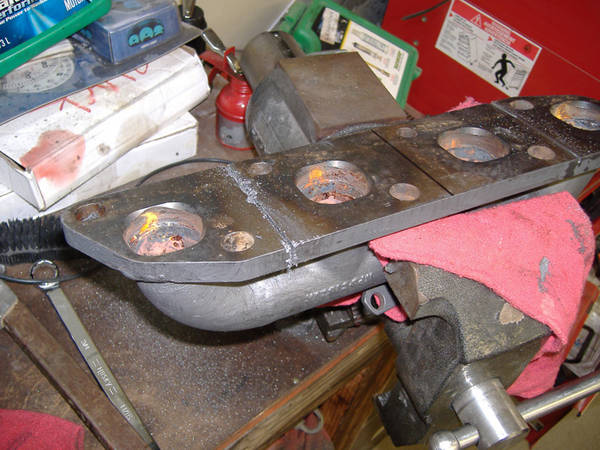
Now go get a coke… and psych yourself up for the next couple of slots.
The PB on the blade helps her slide through a ‘lil better.
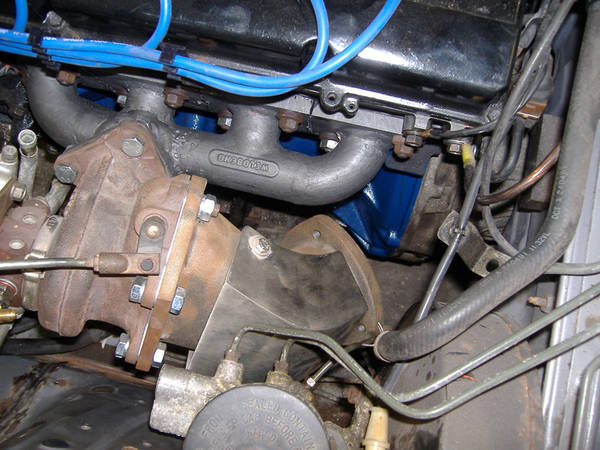
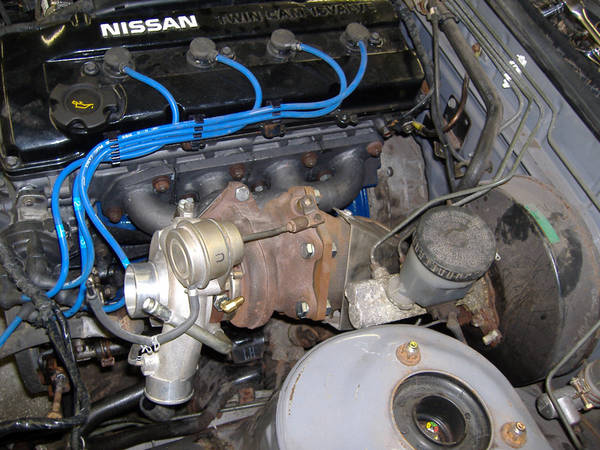
Step 9: Bolt that mother in! This step is fairly self explanatory.