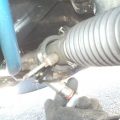
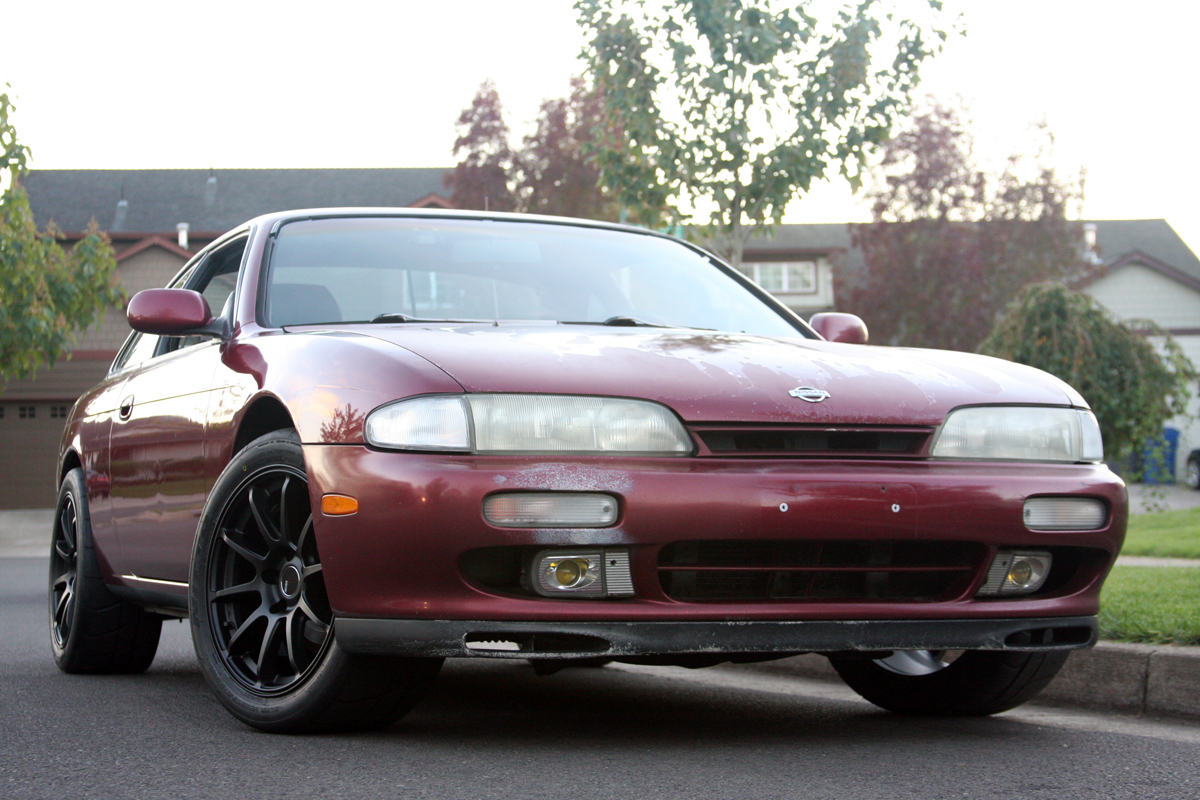
Overview:
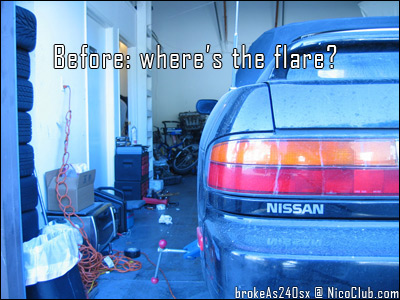
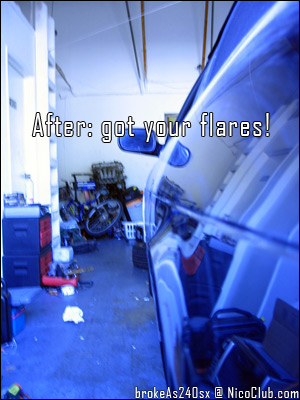
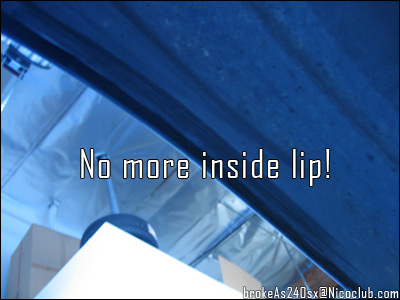
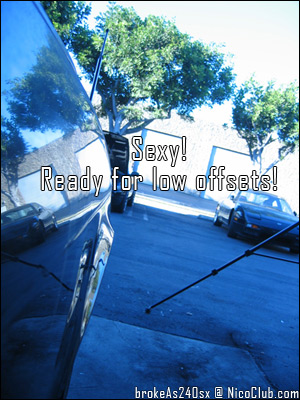
So I dropped by to visit my buddies’ local 240 shop today & decided I should roll and pull / flare my fenders to prepare for upcoming modifications. There are numerous DIY articles and posts floating on the Internet, all with tidbits here & there, but all of them seem to be missing some info. What I will try to do is combine all that knowledge and put as much of it into one post as possible. I’ll probably still miss a lot of info, but hopefully this will help some of you guys out there who want to run bigger tires/less negative camber with your crazy low offset & wide rims.
Note: Although it is possible to use the same method for the front fenders, it is more common to just “hammer” in the lip up front because of the flimsiness of the front fenders. This method has not been tried with the front fenders yet… This rolling tutorial is being performed on a ’92 Nissan 240sx convertible.
Difficulty: 2 out of 5
Time: 1-2 hours
Cost: varies depending on accessibility to fender roller
Tools:
– Ratchet set for loosening/tightening lug nuts (my stock lug nuts are 21mm)
– Towels/rags – something to clean the fenders and work area
– Eastwood fender roller
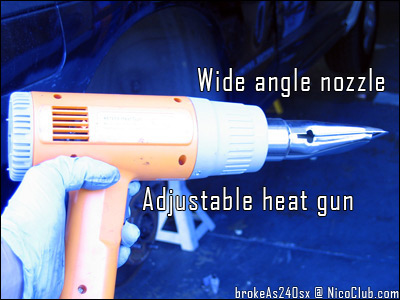
– Heat gun (I used the Chicago Electric Adjustable Heat Gun from Harbor Freight)
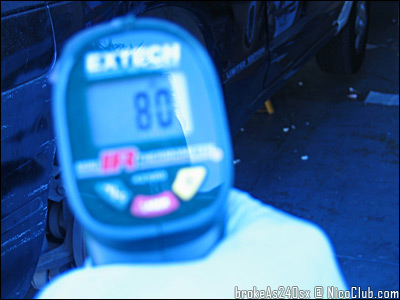
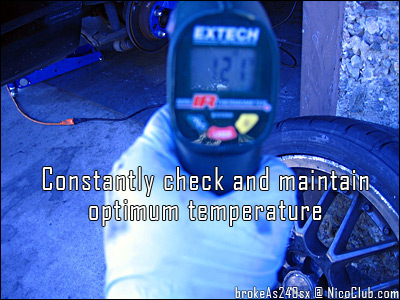
– Infrared Thermometer (not necessary, but highly recommended to prevent paint cracking)
Preparation:
– Put your car up on jack stands.
– Remove the wheels
Procedure:
Step 1: Clean your fenders
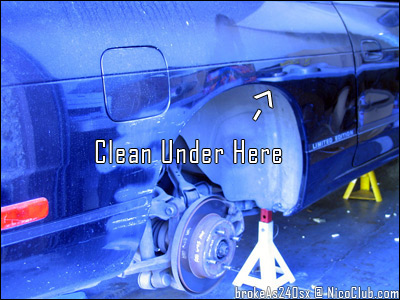
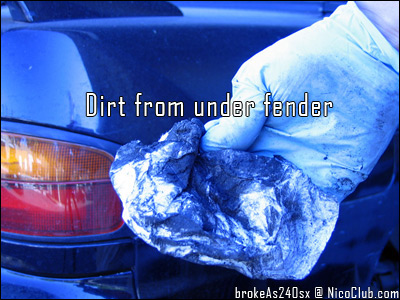
– Clean around the fender area and inside the wheel well behind the lip (this step is VERY important; you don’t want any pebbles getting stuck inside your fenders and showing up when you roll!)
– Clean the fenders again just to be sure
Step 2: Attach the fender roller
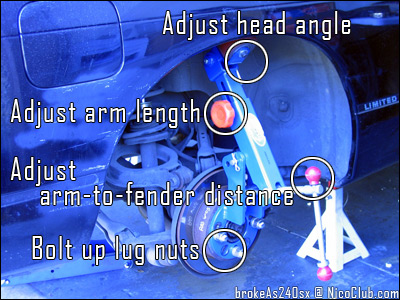
– Use the supplied adapters and your stock lug nuts to attach the fender roller
– The orange knob in the middle of the arm adjusts the height of the roller. I had to change height frequently while rolling to get everywhere – the 240 fender isn’t exactly a circle, but more of an oval.
– The knob by the roller head adjusts the angle of the head. I left it at the same angle my friend used (which is about 15-20 degrees from vertical).
– The long arm in front of the hub adjusts the distance between roller and the fender (counter-clockwise moves the roller closer). I adjusted the roller until it touched the fender. Rolled a bit. Then tightened a little more, approximately 1/2 – 1 turn each time.
Step 3: Heat up fender
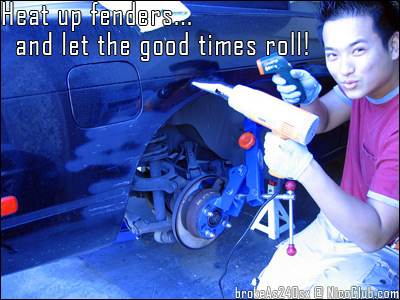
– You will want to heat up the lip, edge, and all around the fender area you will be rolling. 120-140 degrees Fahrenheit is the recommended temperature, according to popular sources. If you don’t have an infrared thermometer just make sure it’s hot to the touch, but not to the point where your paint is boiling!
– Note: we rushed the driver side a bit, and had uneven fender temperatures (120 F backside, 100F front side). The passenger side was done with no cracking at all. This cracked the paint almost right away. So please take your time if you want to minimize paint cracking.
Step 4: Start rolling
– As stated above: I adjusted the roller until it touched the fender. Rolled a bit. Then tightened a little more, approximately 1/2 – 1 turn each time. You will need to apply force liberally, but not too much – if you hear paint cracking, slow down, loosen the roller, and check for damage.
– You can either roll the lip flat and stop, or continue adjusting the arm in front of the lug nuts to get flares. This all depends on your setup preferences.
– It is much easier to have a friend heat and monitor the fenders while rolling. Have him/her heat up the area surrounding where you are rolling and basically follow and lead you while you are rolling. We heated up about 1 foot beyond the fender lip to make sure the metal stays hot & malleable.
– Start rolling from the top of the wheel well and work your way toward front and rear progressively. As you get closer to the front and rear areas, there will be less room for the roller to move, so adjusting height is required. Also, you may need to use a little more force to “persuade” the lip into folding.
– When comparing both sides for evenness, look both behind and in front of the car to see how each side flares. When on the left side behind the car, look w/ the left eye. Try to position yourself in the same relative position on the right side of the car w/ the right eye. Looking from the front of the car and directly above the wheel well will offer more angles to compare both sides.
– Note: the driver side tends to buckle a lot easier than the passenger side when flaring because there is no gas tank equipment to reinforce the fender. Be very careful when working on the passenger side and make sure everything is heated correctly and not too much pressure is being applied. This has happened on both my coupe and my friends hatch. With the ’92 240sx convertible, we did not experience the buckling problem, perhaps due to the extra bracing the vert has, or maybe we were just more careful/prepared this time around.
Step 5: Finish up
– Once everything is even, unbolt the roller, reattach your wheels, torque the wheels to factory spec, and enjoy your new found wheel well room!!!
