How to convert your 300zx (Z32) USDM taillights to JDM taillights
This isn’t meant to be a “How-to” write up. But you can follow it at your own discretion as you may break your tails. I did, but I had a back-up set.
Tools Needed:
Paint Brush
Oven or heat gun
Terry or microfiber cloth (optional)
800-2000 grit sandpaper (optional)
Items needed:
Extra set of taillights (optional, but highly recommended)
Clear lens material (fluorescent light diffusers from Lowe’s or Home Depot can work)
Pinstriping tape
PlastiX or other plastic polish (optional)
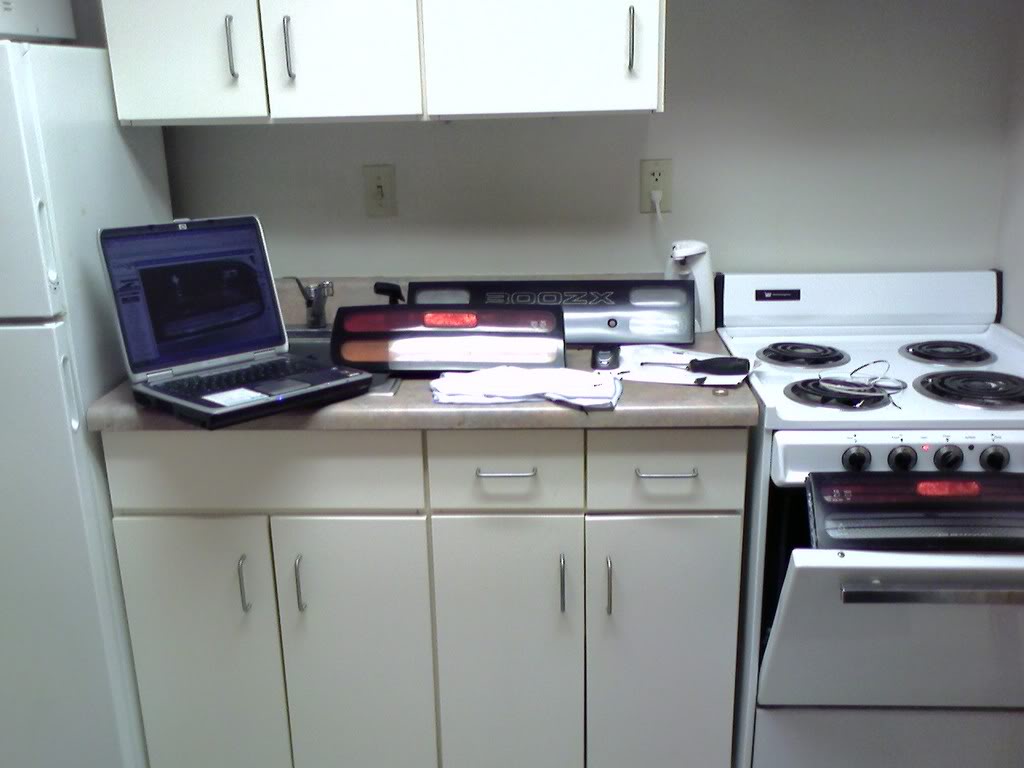
The “Before” shot
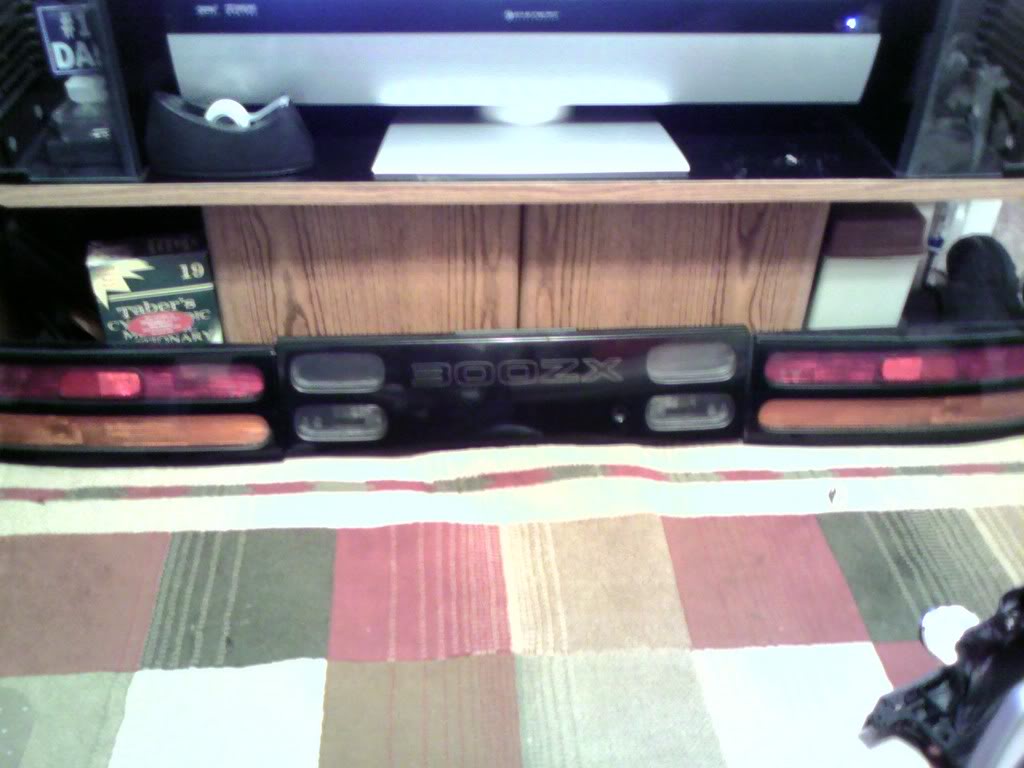
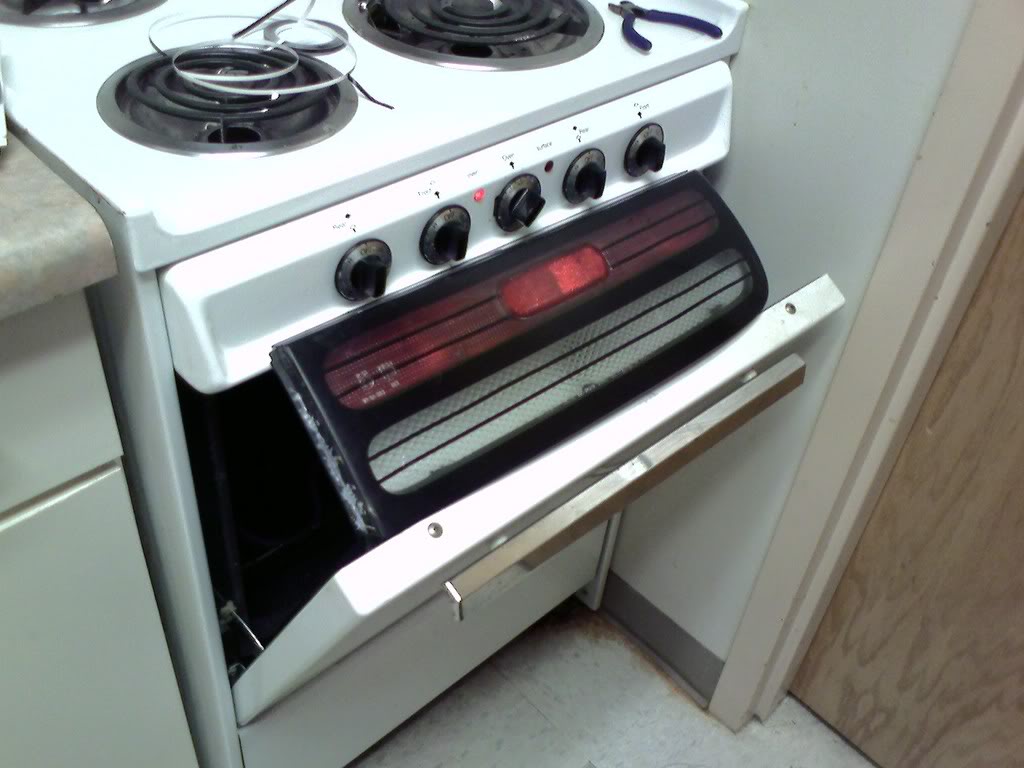
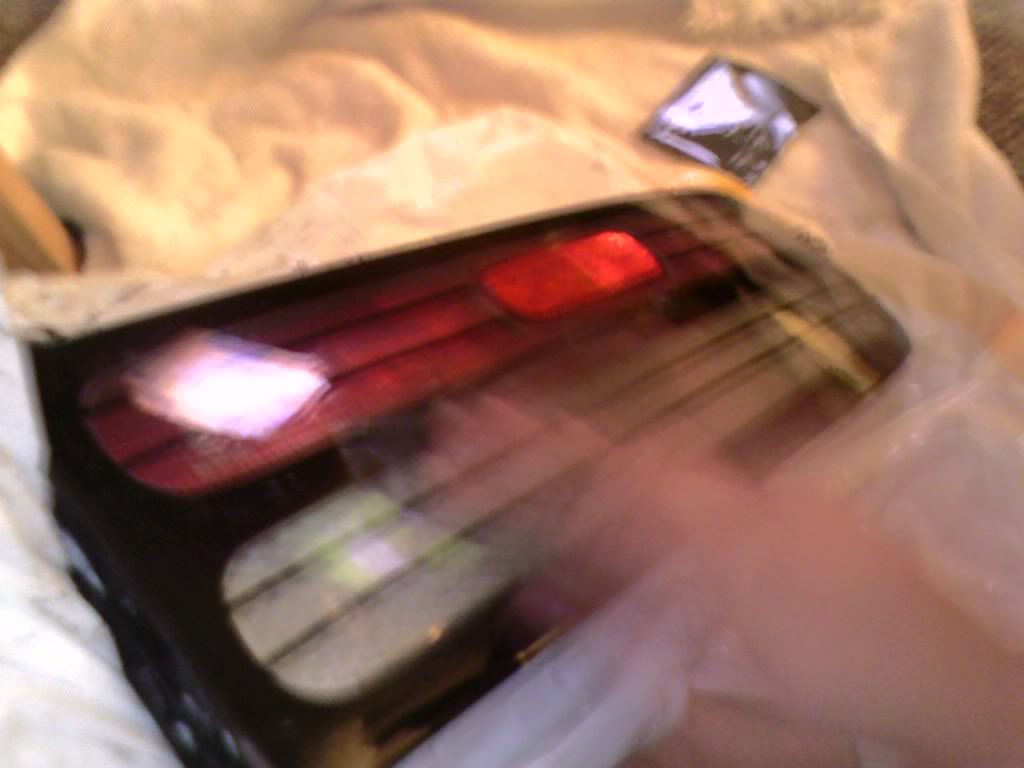
Heat the taillights in/on the oven at very low heat (200 degrees?)
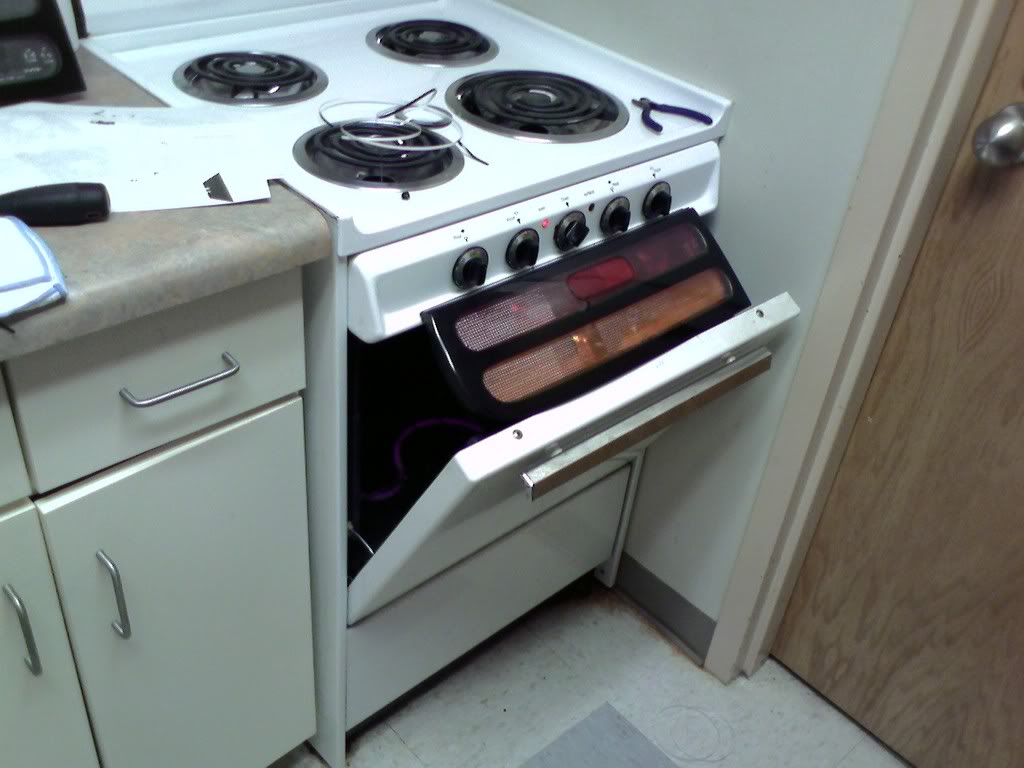
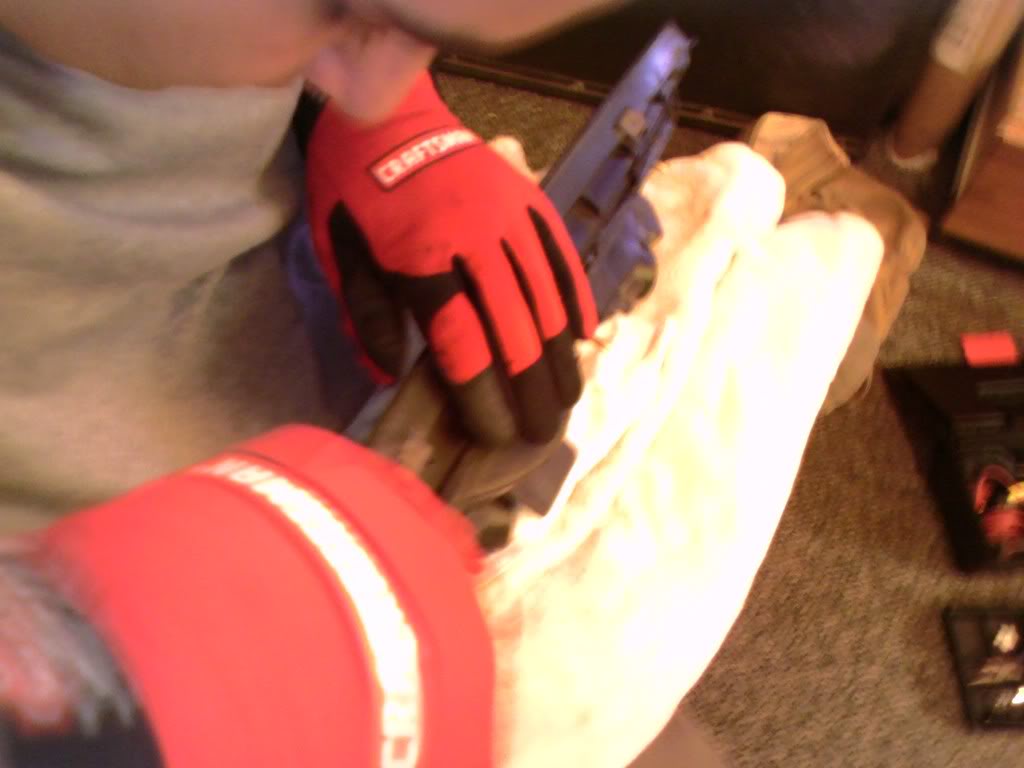
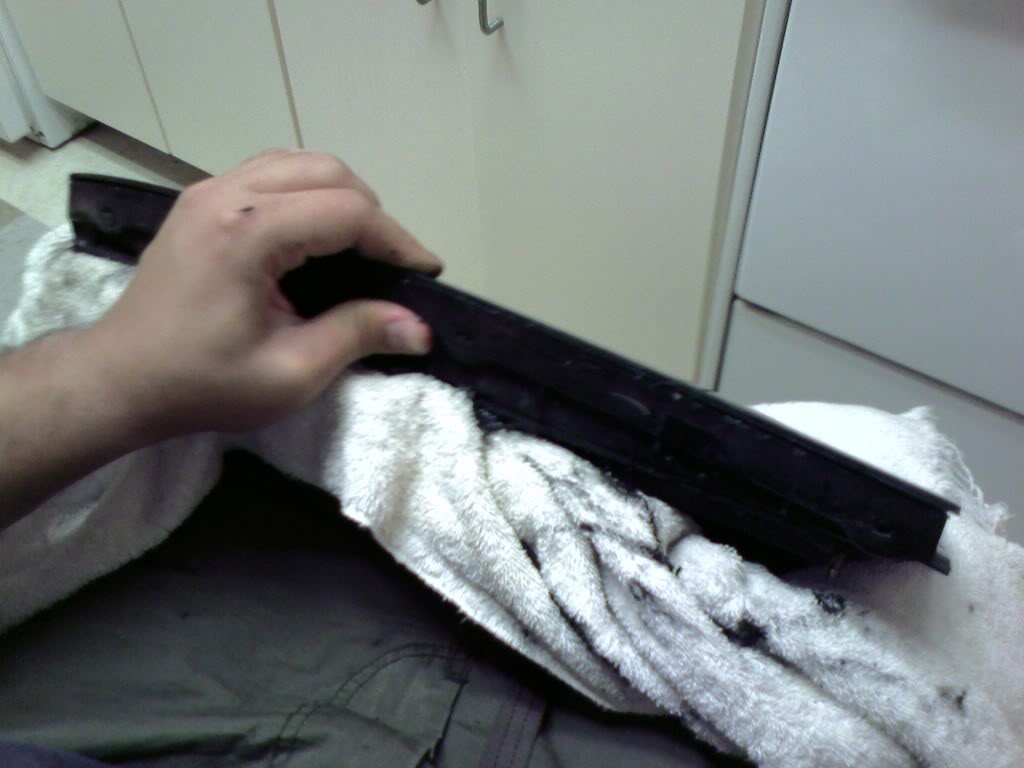
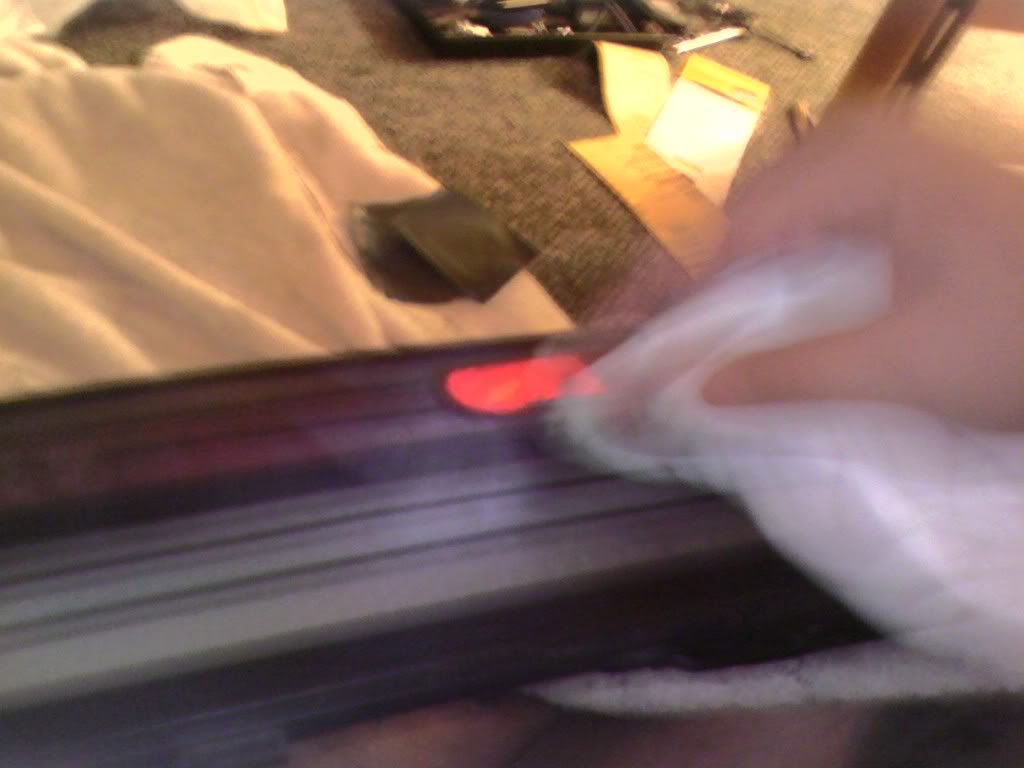
When the silicone has softened enough, begin prying the lens cover from the housing (be sure to look for any screws or clips that need to be removed)
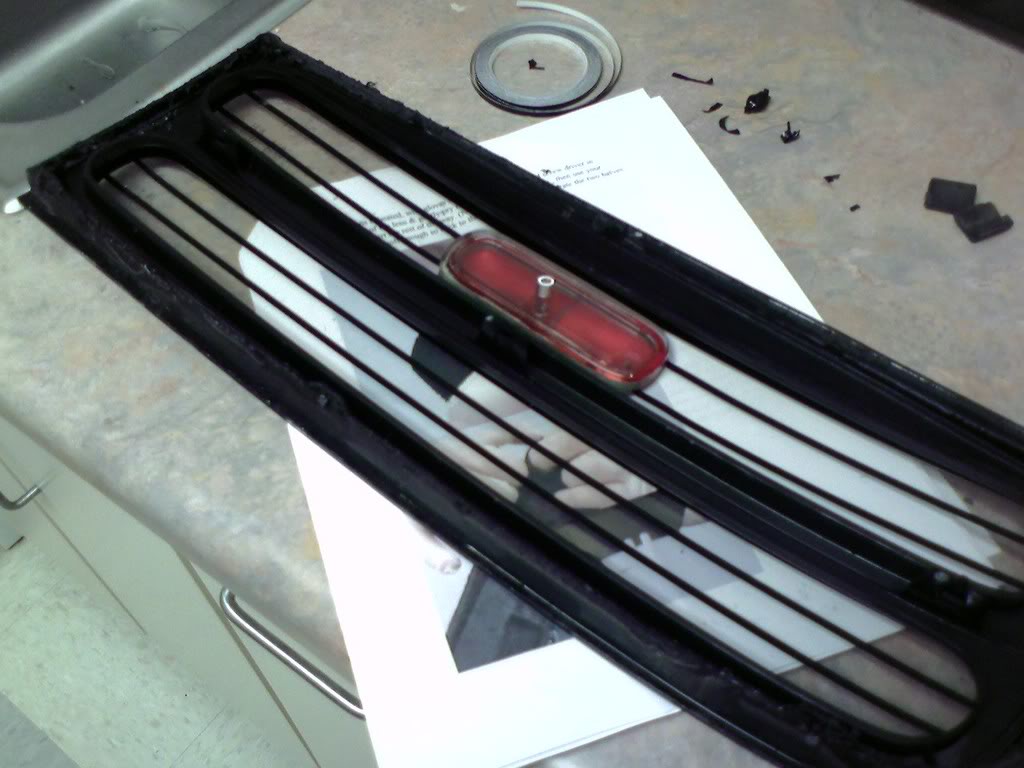
Toss out the old orange crap, and popped in the clear goodness.

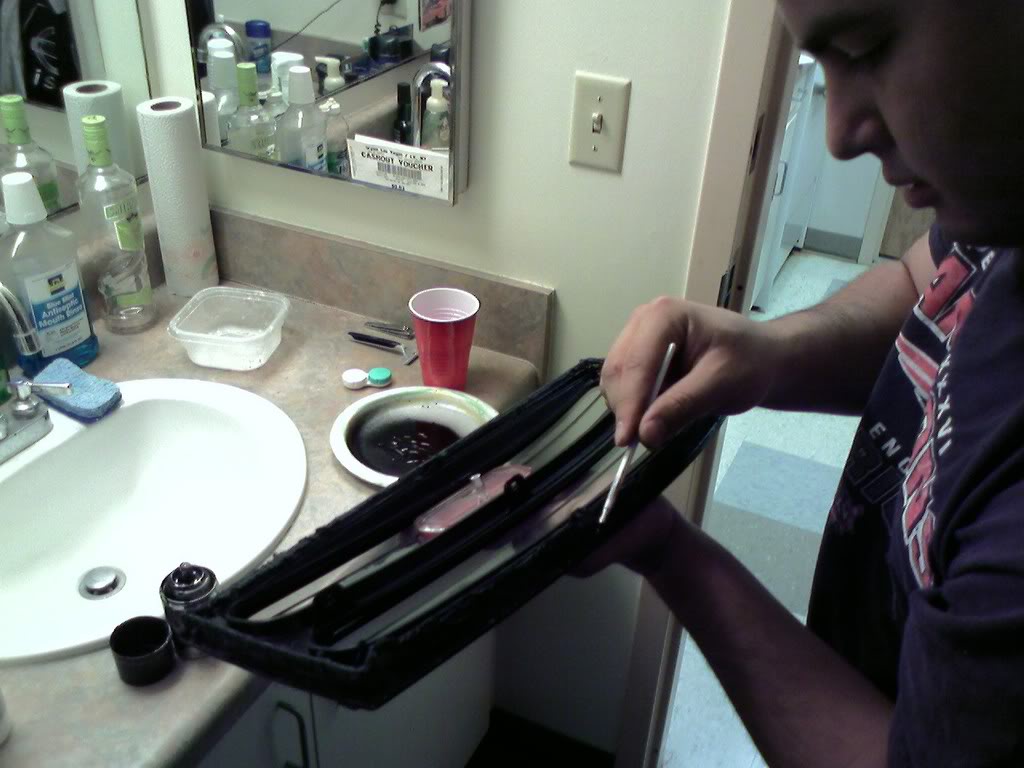
Pinstriping the inside of the of the lens
Painting away the marks made while prying the tail light apart
Sandwiched back together
Back on the stove, then more squeezing
Now that its been put back together and cooled off, you can wetsand the imperfections out of it (optional).
Polish. PlastiX is good stuff!
Voila! One down, one more to go.
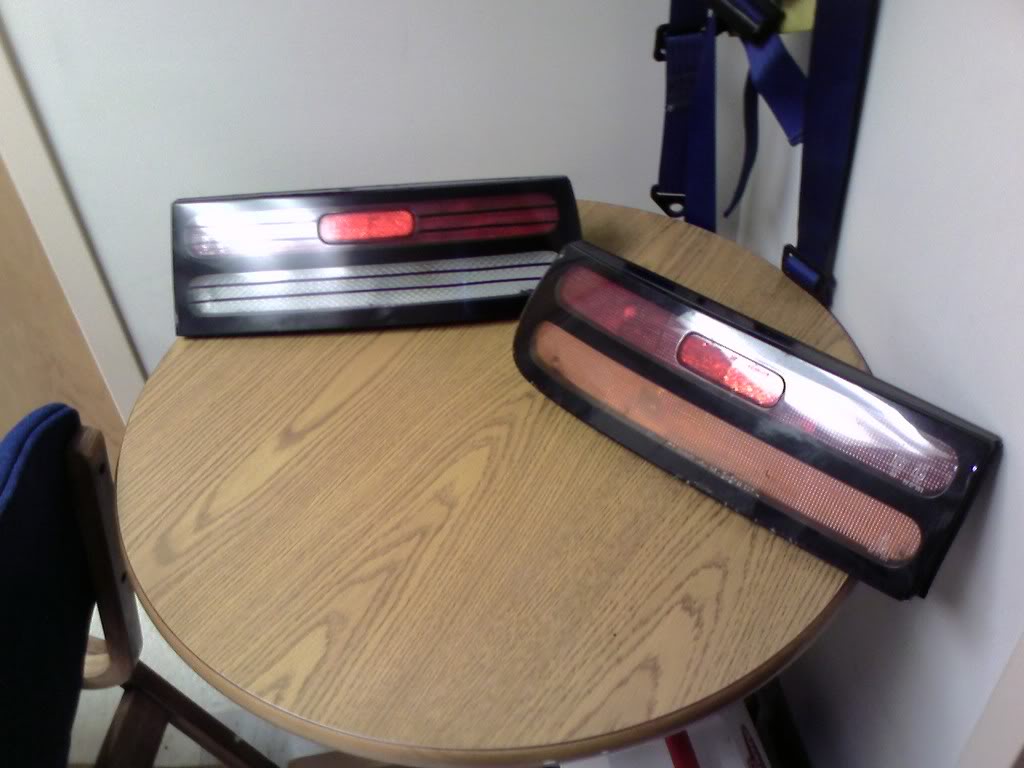
Now done. This took 4 hrs.

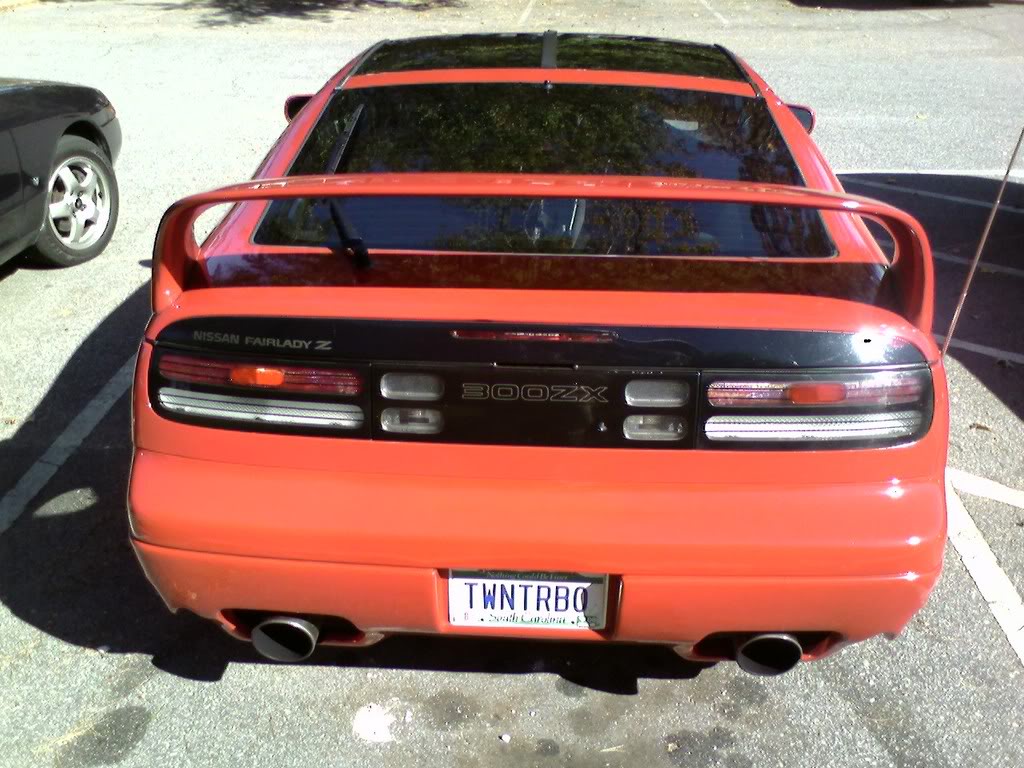
My Z with USDM tails
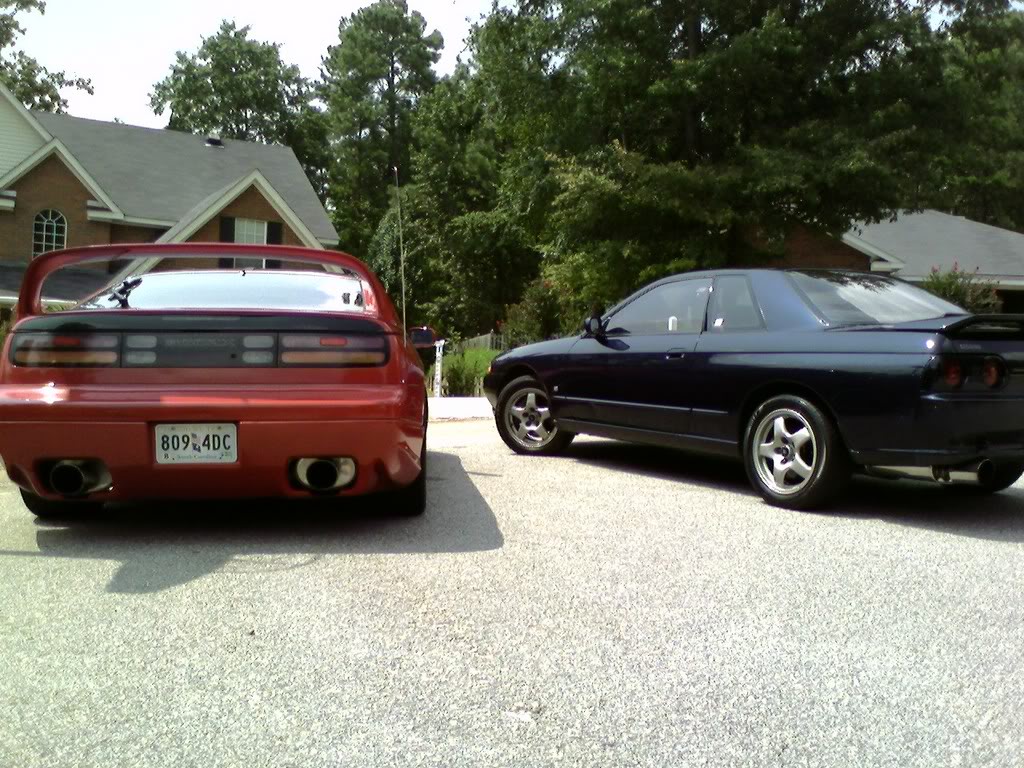
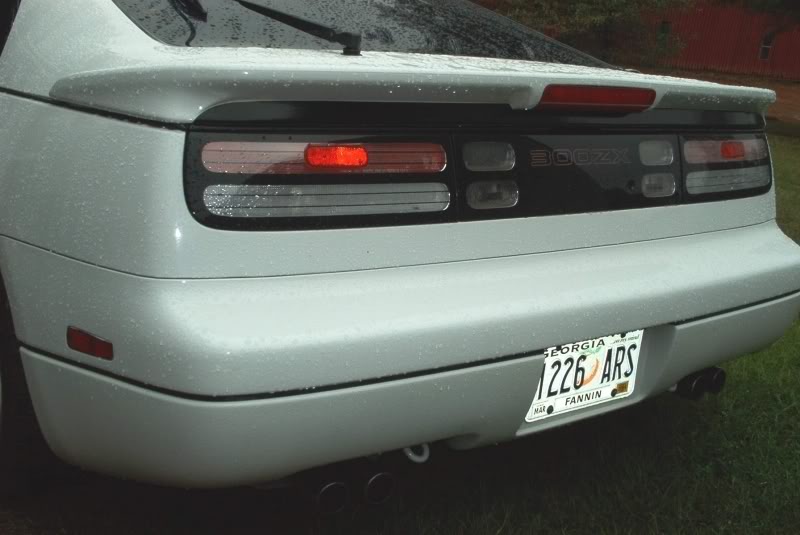
Now with the ones I just made in my kitchen, big diff eh?
Real JDM tails
Total cost (including junkyard tail lights): $40
Real JDM Z32 taillights: $495
Savings: $455