This write-up explains how to check the codes of the ECU in a ’90-’95 300ZX. You guys with the ’96 300ZX have the OBDII system.
Tools Needed:
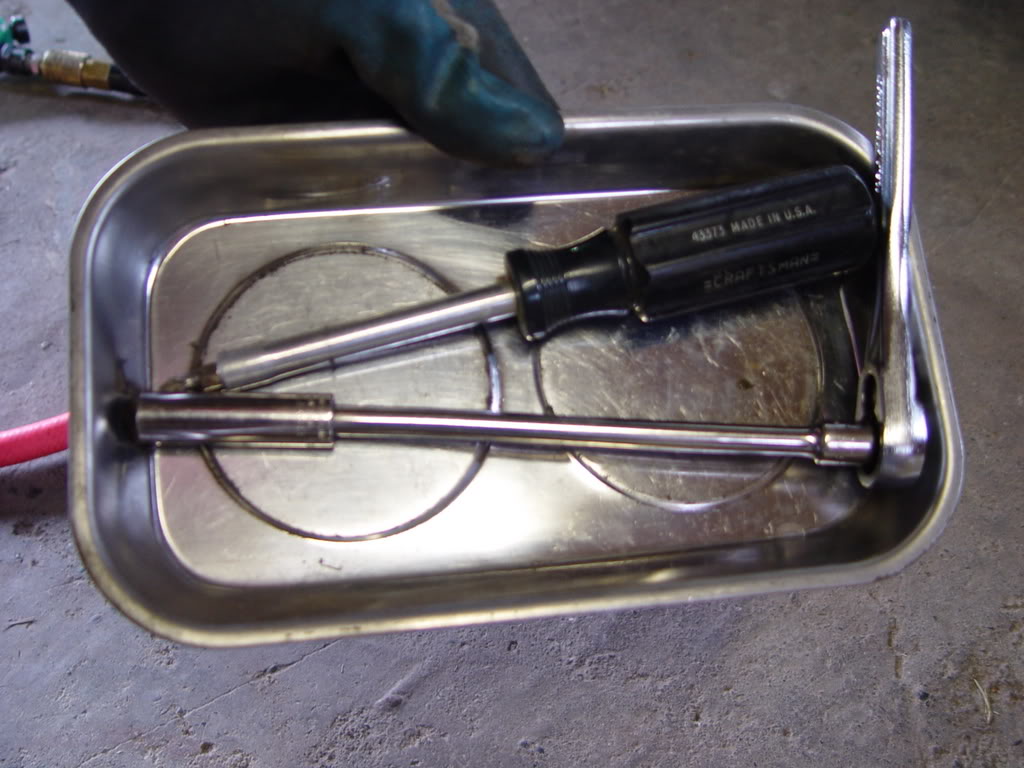
– 10mm socket or Phillips screwdriver
– Flathead screwdriver
Procedure
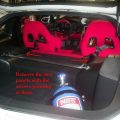
1. Pull back the floor mat.

2. Pull back the carpet. It is held down with three Velcro strips.

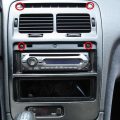
3. Remove the wood floorboard, it is held on by 4 10mm bolts (red circles).

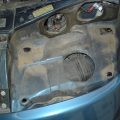
4. Now you will see the ECU.

5. Look at the side of the ECU and you will see a screw (red circle) and a little window (blue circle). The screw is used to switch between diagnostic modes and the window contains a LED.

6. Turn the key to ACC (accessory), but do not start the car. You will see the little LED light up. The ECU is currently in Mode I.

7. Turn the screw with a flathead screwdriver fully clockwise, wait 2 seconds, and then turn the screw fully counter-clockwise. You are now in Mode II. The LED will be flashing now. The long flashes are the first digit, and the short flashes are the second digit. Look at the following list to determine the code.
Codes under Mode II
11: crank angle sensor circuit
12*: air flow meter circuit
13*: engine coolant temp. sensor circuit
14*: vehicle speed sensor circuit
21: ignition signal circuit
26*: boost pressure sensor
31*: ECU
32*: EGR function
33*: exhaust gas sensor circuit (left)
34: detonation sensor circuit
35*: exhaust gas temp. sensor circuit
42: fuel temp. sensor circuit
43*: throttle position sensor circuit
45*: injector leak
51*: injector circuit
53*: exhaust gas sensor circuit (right)
54: signal circuit from A/T control to ECU
55: NO malfunctions in the above
* indicates that the “Check Engine” light will come on under normal driving.
8. Turn the screw fully clockwise, wait 2 seconds, and turn back fully counter-clockwise to exit Mode II and return to Mode I.
To check O2 sensors
1. While in Mode II, start the engine and warm the engine up.
2. The ECU is now checking the left O2 sensor. Run the engine at 2000rpms for 2 minutes and watch the “Check Engine” light. The light should be blinking constantly.
3. To check the right O2 sensor, turn the screw on the ECU fully clockwise, wait 2 seconds, and then turn back fully counter-clockwise, the ECU will now be checking the right O2 sensor. Run the engine at 2000rpms for 2 minutes while watching the “Check Engine” light. As before, the light should be blinking constantly.
4. The light indicates the signal from the O2 sensor to the ECU. When the light is ON, it is rich. When the light is OFF, it is lean. It should be blinking, which means it is constantly switching between rich and lean. If the light is not constantly blinking, there is something wrong and will require further investigation.
5. Turn the screw on the ECU full clockwise, wait 2 seconds, and turn back fully counter-clockwise. The ECU will be back in Mode I.

