Tools: electric palm sander (optional)
Materials:
– primer of your choice (5-8 cans)
– paint of your choice (10-15 cans)
– sandpaper in various grits: 220, 400, 800, 1000+
– masking tape and newspaper
– spray bottle of water
– car wash soap
– grease-cutting dish soap
– latex gloves (for keeping oil from your skin off of the surface)
Procedure:
Begin by thoroughly washing your car with the car soap and allowing it to dry.
before pic:

Techniques:
Sanding out imperfections – You should use a diagonal criss-cross pattern to avoid sanding in any imperfections as opposed to removing them.
For wet sanding, make sure you use light pressure, and let the sand paper do the work or you will wind up creating gouges. Use a circular motion, otherwise it will create visible lines in the paint. Maintain a wet surface – Having someone lightly mist the area while you’re working will make the job go smoother.
Preparation:
Everything you can take off of your car should be taken off. This includes all lights, trim and mirrors. The more you remove, the better the finished product will look!
Start sanding – If you can see it and plan on painting it, you’d better sand it.
I sanded with 220-grit to scuff the car up and get rid of some small defects in the paint. This is what you want your car to look like before you begin primering:


You’re not ready to paint just yet. Wash all the dust off of it again, and then degrease the car with the dish soap. You can also use a very diluted mix of Simple Green or some other industrial chemical, but make sure to rinse VERY thoroughly!
Start primering your car, light coats will produce the best results. Paint only one panel at a time. After you get the car completely covered in primer and it has had sufficient time to dry, wet sand with 400 grit cloth-backed sandpaper.
Now wash, dry, degrease, dry again.
if you feel the need to put another coat of primer on, or you have a few more small dings you are working out of your paint, you can. If you wet sanded through the primer to the original paint again, you should apply another coat of primer, and repeat the above sanding step.
After the car is primered, mask off all of the areas you DON’T want paint on. Taking some extra time during this step will save you a lot of headache later. BE THOROUGH AND PRECISE! I like to use good-quality masking tape from 3M, using a small plastic piece to “burnish” the edges of the tape for best adhesion. You can also use an Xacto knife for fine detailed masking.

Painting:
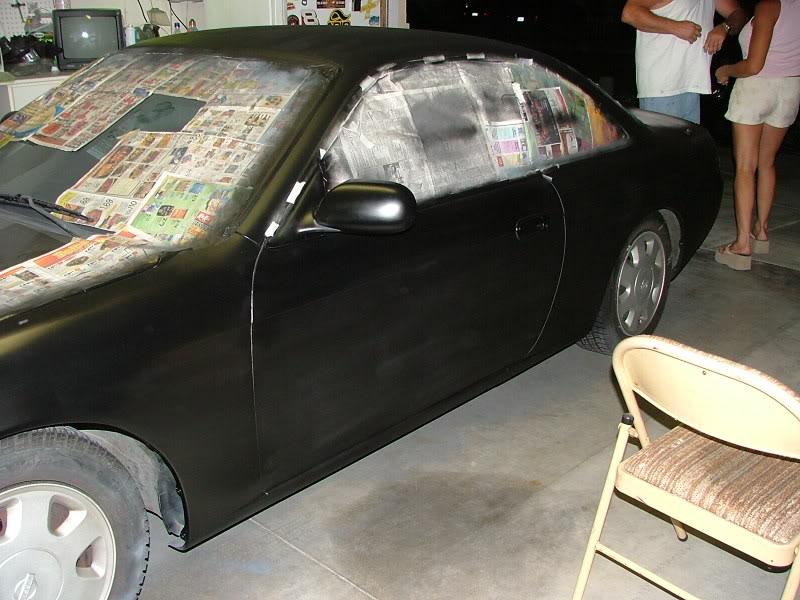
Now you can begin painting. Remember the one panel at a time mantra, it still applies. Ensure you are overlapping your spray by half as well. As you start it should look something like this:


Continue to cover the entire car until you have one complete coat of flat black. Let it dry, and then wet sand with 400 grit again. Clean, degrease, dry and apply another coat. This time, wet sand with 800 grit. Clean, degrease, dry and then do it all again, wet sanding with 1000 grit.
Your finished project will look something like this if you have taken the time to clean and prepare your car for paint properly:
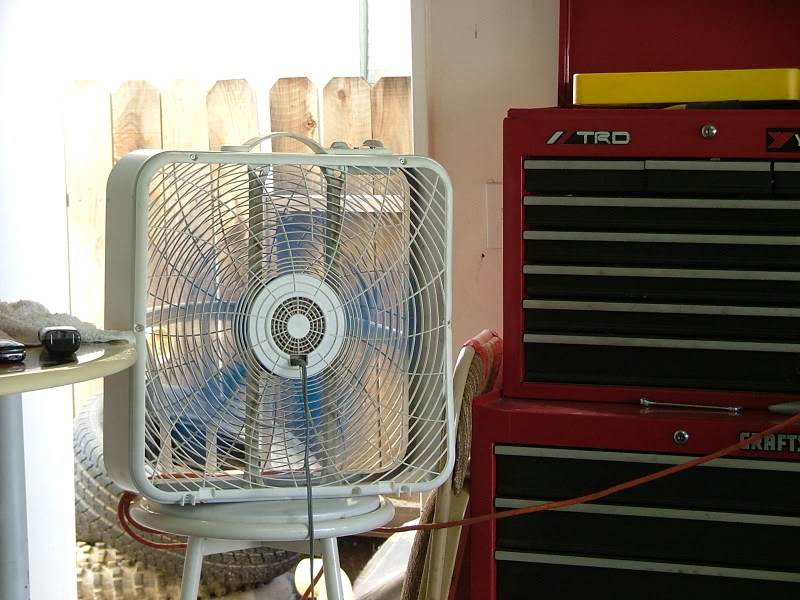
When you paint it is a good idea to have some sort of ventilation system to pull the dust and paint that isn’t on the car out of the “paint booth” – Something even as simple as this will help a lot.
This is what my car looked like in the sun the week after we painted it:

This is what it looks like now, after almost a year in the sun and dirt. There should be no fading with this paint if applied properly.


Remember, if you are looking for a show room quality, or shiny paint job, rattle can is probably not for you. But if you are like I was and had a car that was 2 different colors of bad paint, this might be for you. Total cost was around 50-60 dollars over a weekend. I hope this helps someone fall in love with the look of their car again!

