TOOLS NEEDED:
Soldering iron
Rosen core
6 White 3mm LEDS (preferred) or 5mm LEDS
6 470 Ohms resistors
Breadboard
Dremel
sand paper
Flat head screwdriver
Hot glue gun
Heat shrink
Snap or slide connectors
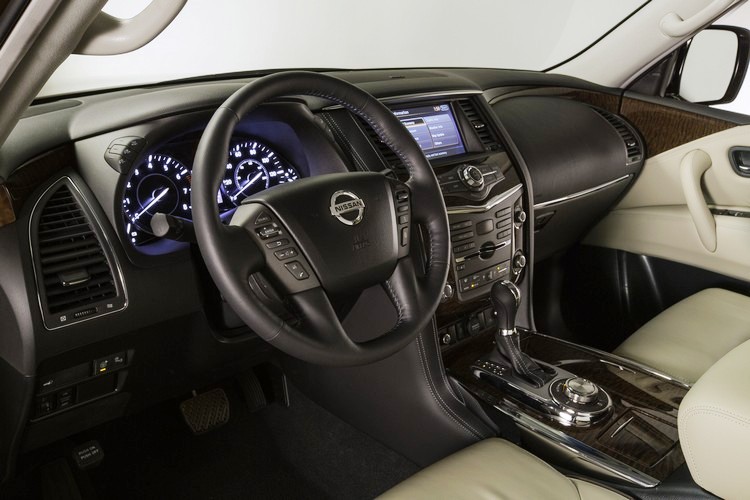
First, remove the gear selector trim from the car. Remove the shifter trim, then remove the 4 screws holding the gear selector trim. Then remove the bulb socket. the gear trim is held by 4 plastic tabs, just lightly pry each one around. Disassemble like shown:
Second, cut out a piece of the breadboard to fit it in the gear selector like so.
Goal is to try to get it sitting as low as possible, so more light output can dissipate, and reduce hot spots.
Third, Wire your LEDs:
Add a dot of hot glue, to keep close connections from shorting out.
Solder on + and – connections, wrap with electrical tape, then heat shrink. Afterwards, lightly sand off the tip of the LEDs to reduce hot spots 
Fourth, refer back to Step Two. Place board as low as possible, then hot glue both ends.
Results:
it appears a rather bluish b/c of the blue overlay underneath the display. There’s nothing you can do about that.

Now, go cut off the stock bulb harness. Then connect it to your LED wires:
Reassemble, and your done
One other side note. For the last 2 LEDS, displaying gear 1 and 2, you will be able to see some of the white light from led itself, off to the side in the passenger seat. You can tell slightly in the picture above. Not necessary, but I went ahead and took care of it. Just get a 1/2 inch high x 1.25 inch long piece of plastic, and stick it beside it. You can use black electrical tape as well.
Article by: G4nismo


