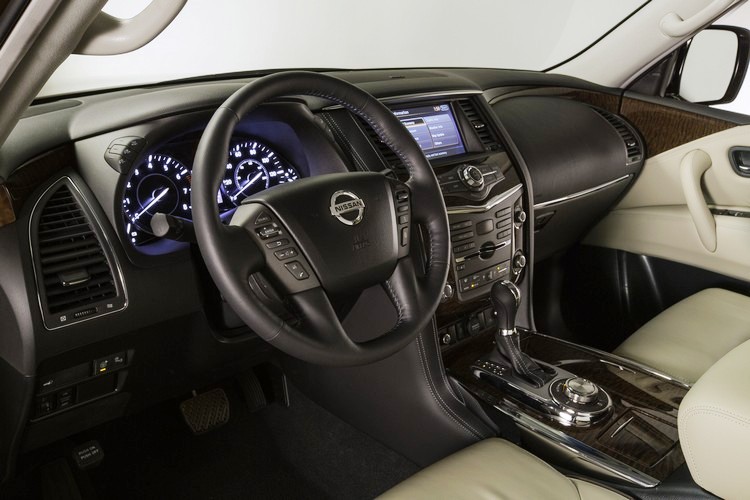
This article will show you how to remove the center console mounted DVD player. The DVD player may require replacement or repair and this walk through will help get it out.
Skill Level 2 of 5
Time Required ~1hr
Tools
-Phillips Screwdriver
-Small Flathead Screwdriver

Procedure
1. 1. Remove instrument lower cover RH. There are two screws on the bottom part of the lid.
2. Remove glove box assembly.

3. Remove instrument lower cover LH.
4. Remove shift knob and A/T console finisher. Refer to IP-13, “A/T Finisher” .
– Remove cup holder insert.
– Remove shift indicator.

5. Remove cluster lid D. Refer to IP-12, “Cluster Lid D” .

6. Disconnect shift cable and electrical harness from shifter.
7. Remove shifter.Note: I really do not know if they mean to remove the entire assembly, but if you are only taking the DVD player out then this should not be necessary.
8. Remove screws from center console.
– Disconnect electrical harnesses.
9. Move front seats forward and remove center console assembly in a rearward direction.
10. Remove tray and mat from console bin.
11. Remove latch from console lid.
12. Remove hinge from console lid. Remove console lid.
– Remove console lid mat.
13. Remove console bin.
– Disconnect electrical harness from DVD player, if equipped.
– Remove hinge from console bin.
14. Remove rear upper finisher.
15. Remove rear cup holder assembly.
16. Remove upper side finishers LH/RH.
17. Remove screws on each side, disconnect clips and remove console covers LH/RH.
18. Remove rear finisher assembly.
– Disconnect electrical connectors.
19. Remove power point assembly.
20. Remove mask and storage compartment.
21. Remove console front bracket.
22. Remove heat duct and console rear duct.
23. Remove console rear bracket.
Assembly is in the reverse order of disassembly.
This is a pretty long way to get at it but this is how the factory recommends, you may be able to adjust some of these steps to suit your particular situation.


