240sx Dimmer Switch Bulb Replacement
You have two choices. You can buy another bulb and holder from the dealer, or order it online. It’s your choice, but the dealer route is more expensive but less time consuming.
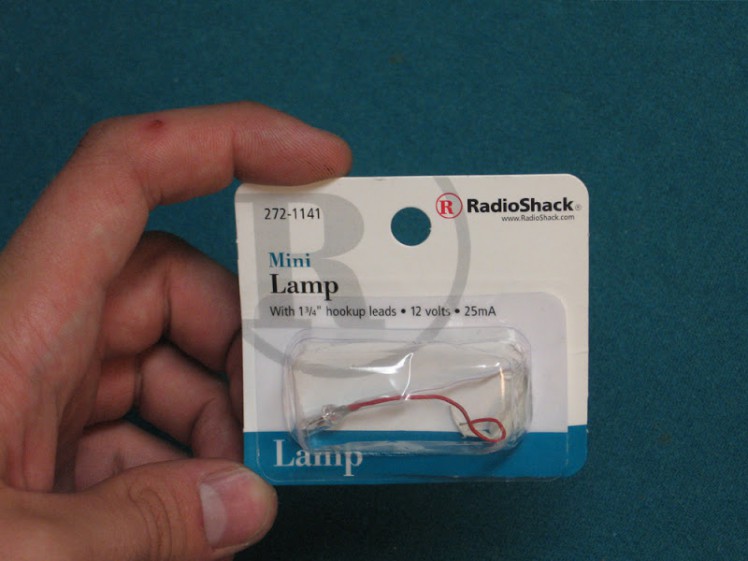
Here’s the bulb you need.
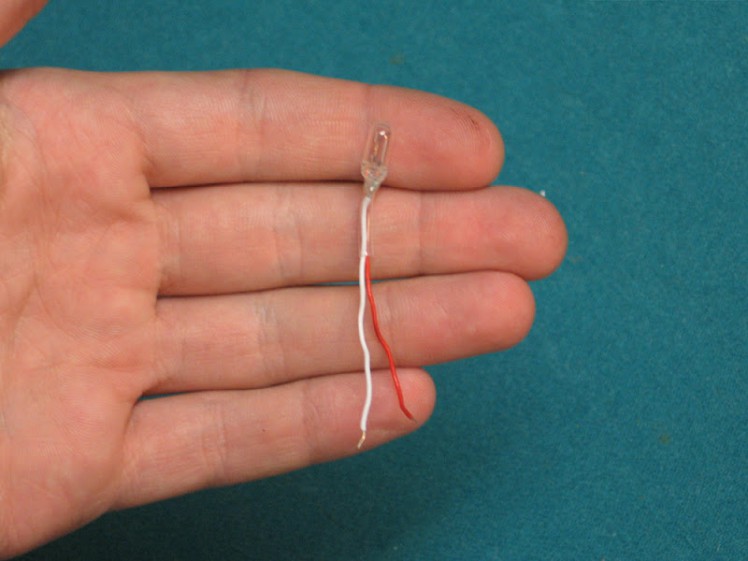
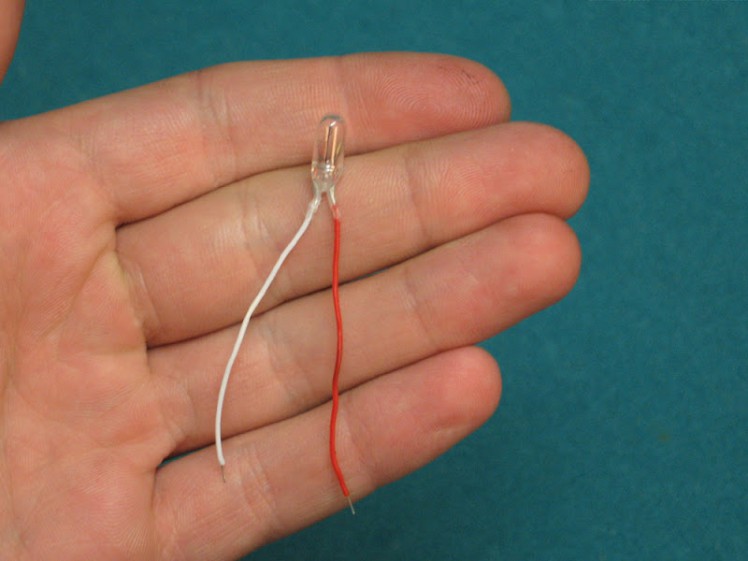
Properly cut down.
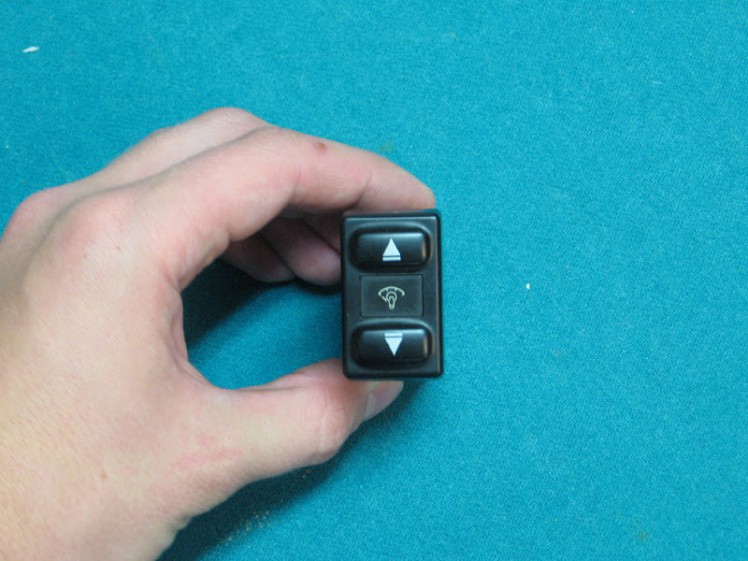
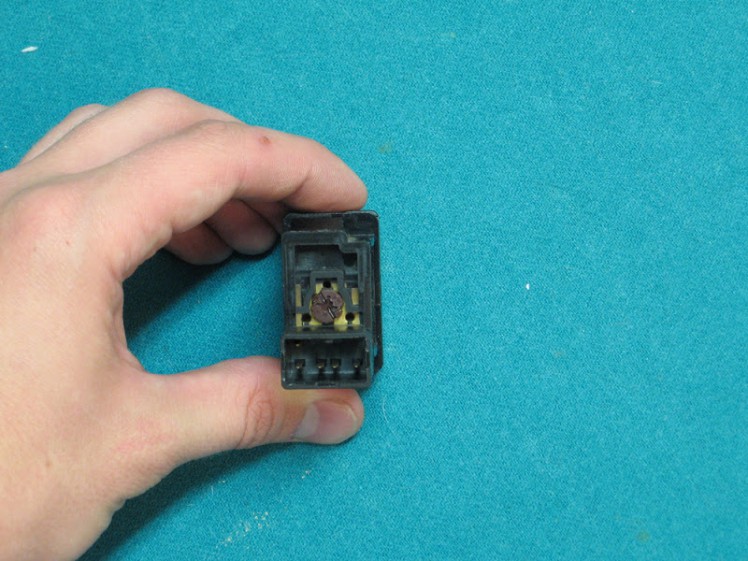
Dimmer Switch
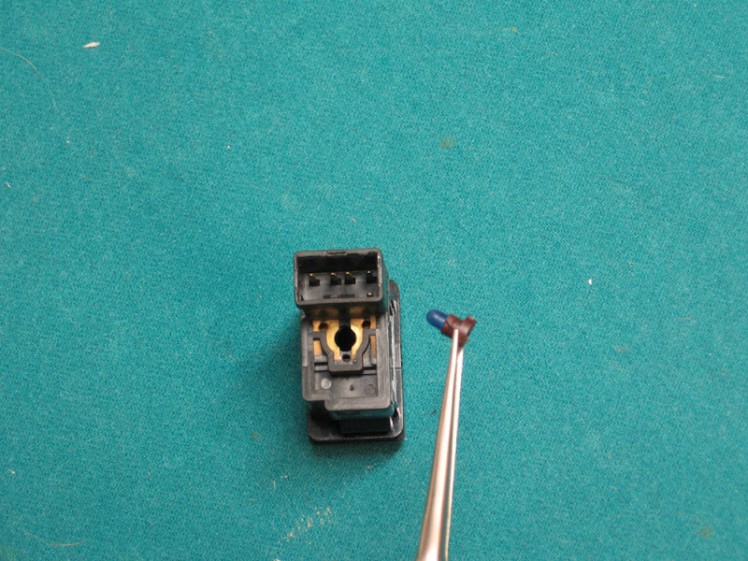
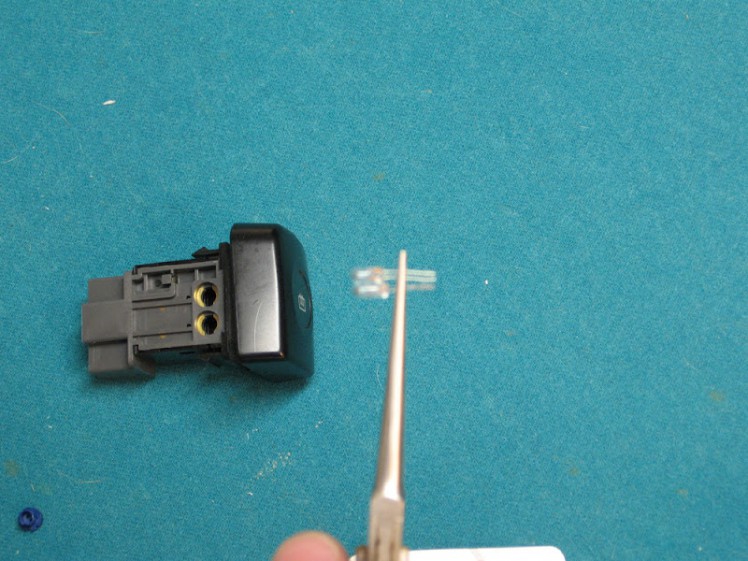
Remove the bulb with a screwdriver and a set of pliers. The holders are a type that only needs to be turned ¼ turn to release.
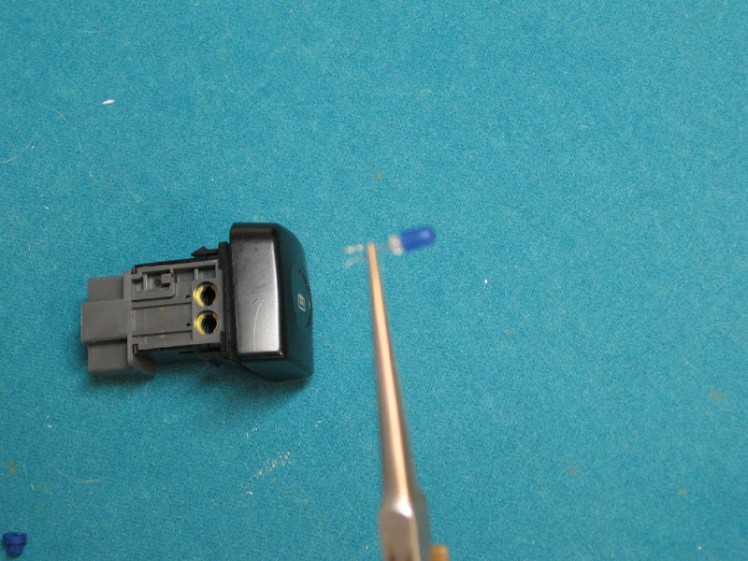
Unwrap the wires from the bulb holder and remove the bulb. Be careful with the holder, as you’ll need to reuse it. Ignore the switches in the following images, the directions are the same for the bulb replacement.
Carefully remove the bulb condom. You’ll need to reuse it, so make sure to get it off without ripping it. Match up the new bulb to the old one, and cut the wires to length.
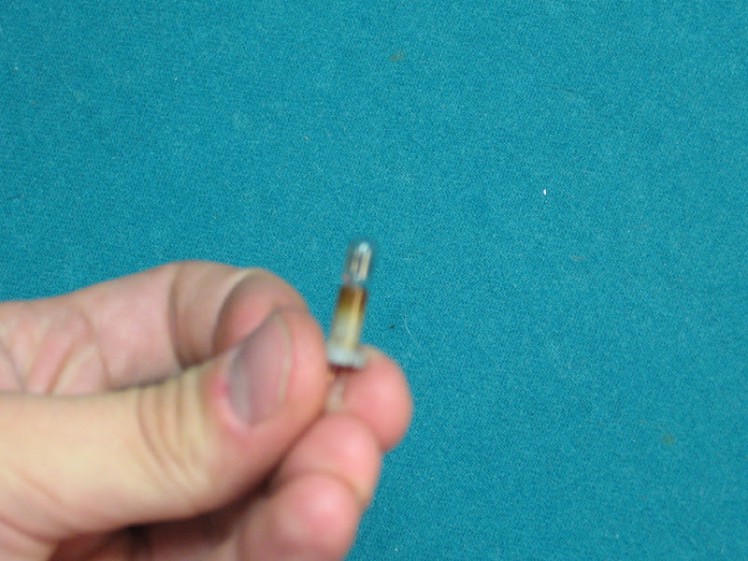
OEM bulb in holder. (Sorry about the blurry pictures. It’s the best I could get with my camera. It hates macro shots.)
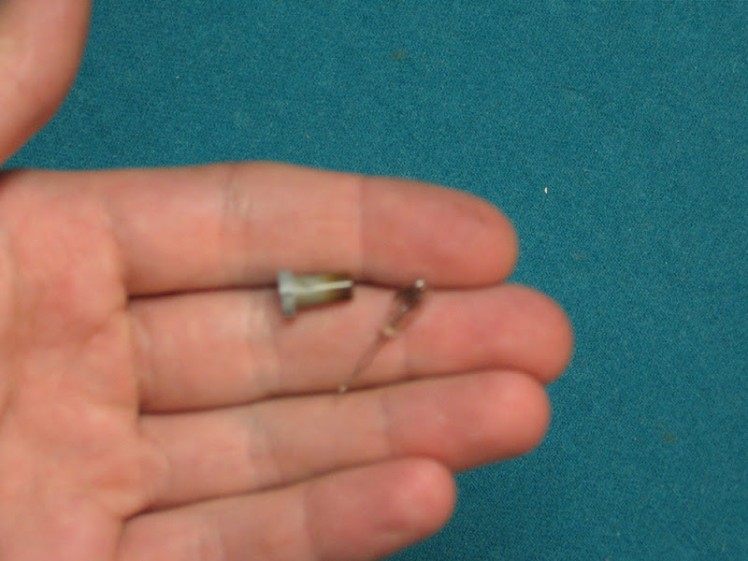
Pull the bulb out of the holder. There are two little wires curled around the holder that you will need to undo to get it out.
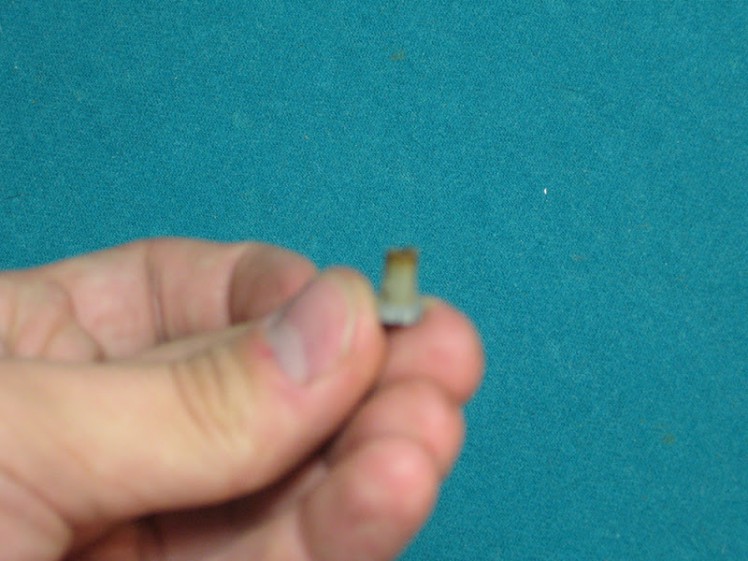
Trim the top edge off of the holder with a set of nippers or the like. It should look something like this.
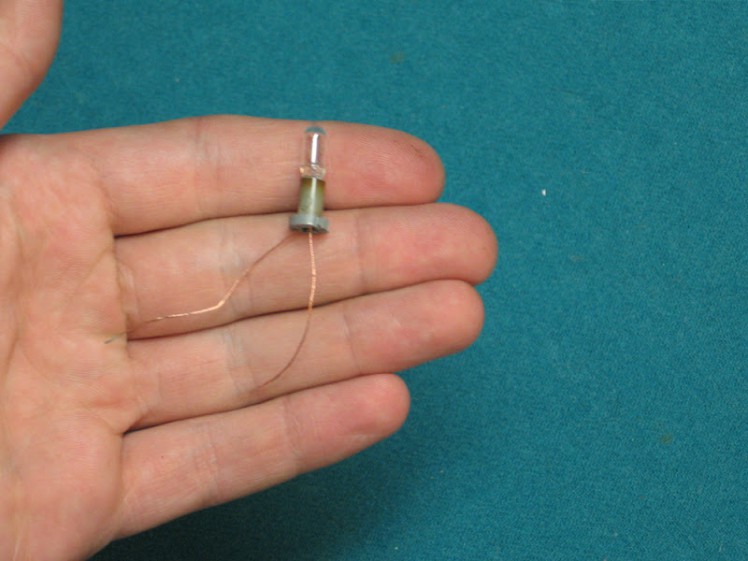
Strip the majority of the insulation off the wires of the replacement bulb and insert it into the holder.
Cut the excess wire to length and rewrap the wires around the holder.
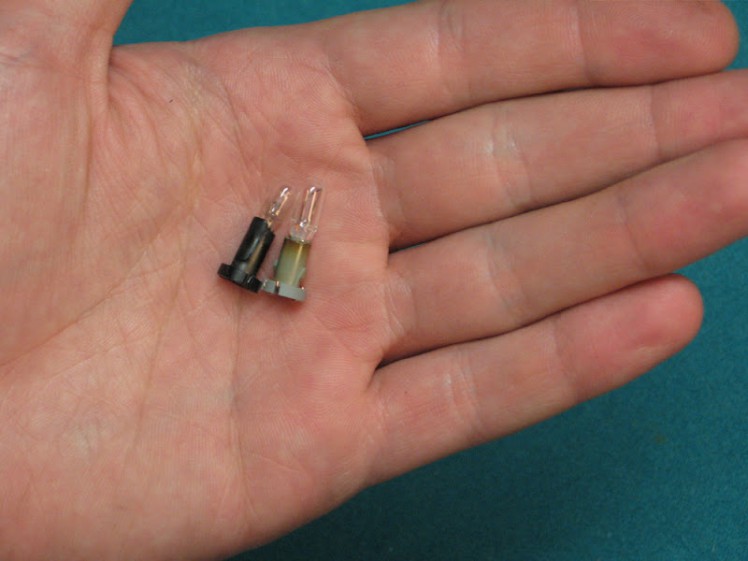
As you can see, the replacement is a bit bigger, but it still fits fine.
Put the condom back on the bulb and put the bulb in the holder.
Wrap the wires back around the holder the way they were before and reinstall. The same process applies to any of the holders of that design. Here is the finished product.
Written by Nico member qat727.
